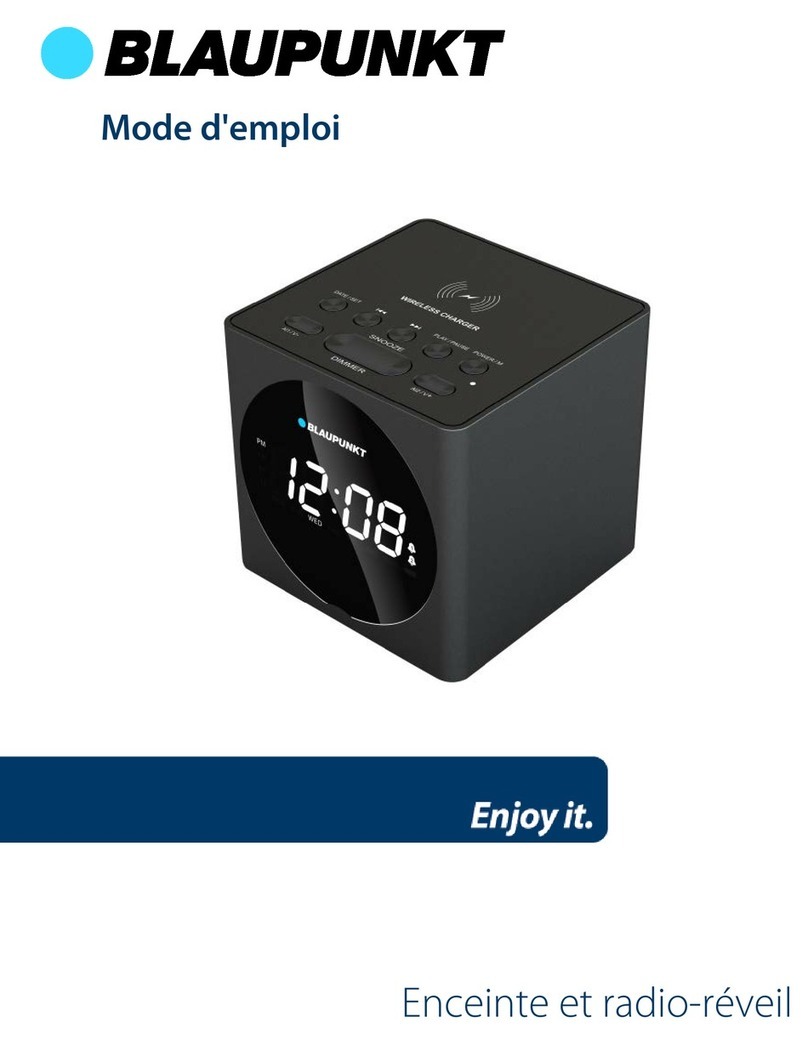
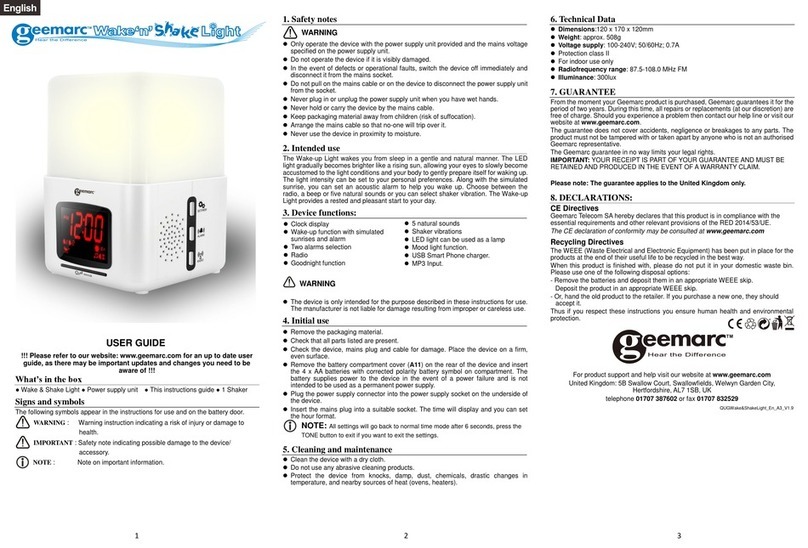
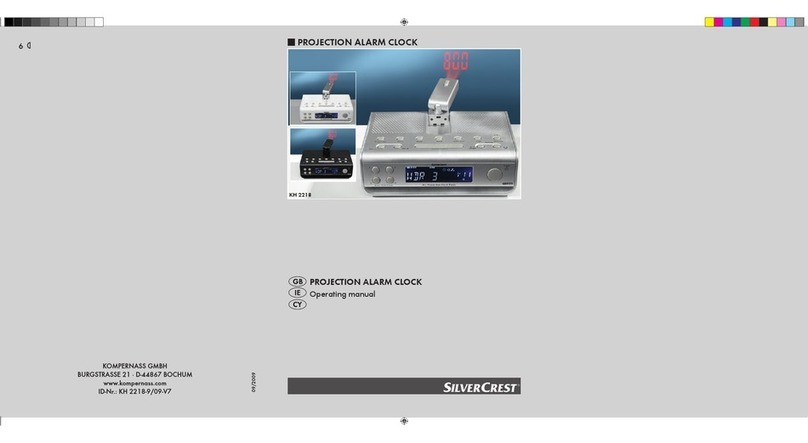
PowerTran D 2321 User manual

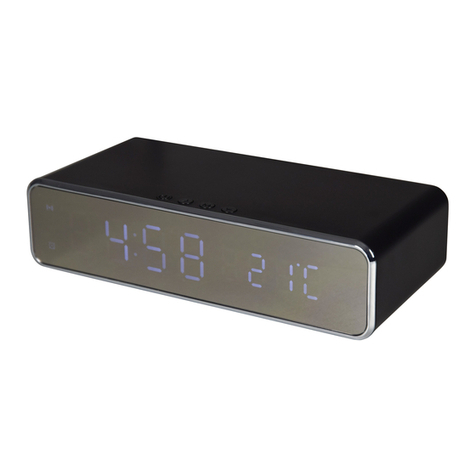
Fast Charger Radio Alarm Clock
Operating Instructions
D 2321
Features
• 15W wireless charging
• USB Type C power input
• USB Type A power output (charge a secondary device such as your watch)
• Stylish design
• Day of the week displayed
• Date Display
• Temperature Display
• Two alarm time settings.
• Snooze function KEEP OUT OF REACH OF CHILDREN
WARNING
Swallowing can lead to chemical
burns, perforation of soft tissue, and
death. Severe burns can occur within
2 hours of ingestion. Seek medical
attention immediately.

D 2321 Wireless Fast Charger Radio Alarm Clock
Overview
A stylish bedside or desktop device with in-built 15W wireless charging for your phone &
FM radio. Display also shows calendar and temperature. A USB type A output is provided for
recharging a secondary device such as your watch.
Technical Specications
USB Type-C Input: DC 5V/3A, 9V/3A, 12V/2A
Output: 15W (MAX)
Charging efciency: 73%
Charging distance: ≤6mm
USB-A output: 5V/1A (MAX)
Work frequency: 110 - 205KHz
Size: 161.5 x123 x 57mm
FM Frequency: 76.0 to 108.0MHz in 0.1Mhz steps
FM Channel Memories: 12 Frequencies
Weight: 310g
Back-up power: 1 x CR2032 3V Lithium Coin Battery
1
2
3
4
5
6
7
8
9
10
11
12
13
14
15
16
17
1. - Button (decrease/reverse)
2. + Button (increase/forward)
3. Snooze Button
4. Mode Button
5. FM Button
6. Charging
7. Temperature Sensor
8. PM Indicator (AM Indicator when not lit)
9. Alarm Clock 1 Set
10. Alarm Clock 2 Set
11. Day of the Week
12. Month/Celsius/Fahrenheit
13. Date of current month
14. FM Antenna
15. Phone Charging Area
16. USB Type-C Input
17. USB Type-A Output
Button Function Diagram

D 2321 Wireless Fast Charger Radio Alarm Clock
3
Function Description
Power connection:
1. Plug the USB Type-A end of the provided cable into a USB power adapter and plug the USB
Type-C end into the alarm clock.
2. After this, the clock will be ready and enter the standby state after all the indicators light up
momentarily.
Note: It is important to use a USB power adapter with sufcient current output to power the
device. If using wireless charging AND the USB output provided on the back of the alarm
clock you should use a power supply with at least 3A QC3.0 output (27W). If connected to an
insufciently powerful USB adapter, the unit will be limited to clock function and low power
5W wireless charging.
Indication Display:
• Power connection successful: The charging icon will turn off after ashing twice following
initial power connection
• Standby: No light on
• Charging: Light on
• Fully charged: Light off (some Apple phones do not support this function)
• FOD: If foreign object debris is detected a light will ash continuously
• Clock Display: Will display at max brightness upon power on
Alarm Clock Functions:
• Button Functions: FM, M, +, - and SNOOZE
• Time System Setting: Double click M button to switch between 12 hour and 24 hour
systems; PM will display while 12 hour time system is set.
• Eco-power back-up function: The Button battery is only used to store clock memory
function and FM channels saved. All functions are out during power disconnection.
Functions restored when power is connected.
Time Setting:
1. Click the M button once to enter Hour setting, adjust the value with +/- button; Press and
hold the +/- button to adjust continuously.
2. After nishing the Hour setting, Click the M button once to enter Minute setting, adjust the
value with +/- button; press and hold the +/- button to adjust continuously.
3. Click the M button again to complete time setting.

D 2321 Wireless Fast Charger Radio Alarm Clock
4
Alarm clock and brightness setting:
1. In standby state, press and hold “+” button to activate or deactivate Alarm 1, press and
hold “-” button to activate or deactivate Alarm 2. Alarm indicator is on while Alarm is
activated daily.
2. To set alarm times, Press and hold the M button to enter alarm hour setting. Adjust the
value with +/- button; Press and hold the +/- button to adjust continuously.
3. After nishing the Hour setting, click the M button once to enter the alarm minutes setting.
Adjust the value with +/- button; Press and hold the +/- button to adjust continuously.
4. After the minutes setting is completed, click the “+/-” button to select 01 as Alarm ring
reminder; select 02 as FM playing reminder (The FM reminder will be available after the
automatic channel search is completed. See setting the FM radio.
5. If you choose the 01 Alarm ring reminder, then click the M button to enter the alarm clock
2 setting. The operation method is the same as steps 2-4/
6. If you choose 02 FM Playing as alarm reminder, then click the M button to enter the
selection of FM channel: Click the “+/-” button to switch channel. Then click the M button
to enter the adjustment of FM volume: Click the “+/-” button to increase or decrease FM
volume. After the setting of alarm clock 1 completed, then click the M button to enter the
alarm clock 2 setting. The operation method is the same.
7. Alarm rings 3 minute/ or FM plays 3 minute before automatic switch-off if no button is
pressed in the interim.
8. Press any key to enter the alarm’s snooze mode. The alarm rings again after 5 minutes. The
alarm clock indicator will remain ashing unless another button is pressed. Press and hold
the “+”or“-”button in the Sleepy Mode to activate alarm clock 1 or alarm clock 2. Press
and hold the SNOOZE button to turn off the alarm clock of the current day. The alarm clock
of the next day is still valid.
9. The brightness of the clocks digital display can be manually adjusted with ve levels by
clicking “+” and “-” is standard clock mode. After connecting to power, the clock will
keep the max brightness by default. Press “-” to decrease the brightness and press “+’’ to
increase the brightness . Press“-” one last time to turn off the clock display entirely.
Perpetual calendar & Temperature:
1. Click the Snooze button to check the Year+Month+Day, it will exit automatically after 5
seconds.
2. Press and hold the “Snooze” button to enter the calendar setting YEAR (No display while
standby) - MONTH - DAY; Adjust value by clicking +/-;press and hold+/- can be adjusted
continuously.
3. Double click the “Snooze” button to switch three kinds of standby interface Month/Celsius/
Fahrenheit + date.

D 2321 Wireless Fast Charger Radio Alarm Clock
5
Setting the FM Radio:
(Note: Please perform the rst radio search in an open and unobstructed
environment.)
1. Click the “FM” button to turn on or turn off the FM Radio. Please pay attention to
extending the receiving antenna of the radio as far as possible to obtain better FM
reception. (The number and effect of FM channels accepted are related to the surrounding
environment, weather and local FM programs. Please pay attention to conrm before use).
2. While FM Radio is on, press and hold the “FM” button to search the stations automatically
and display the corresponding frequency; After the search is completed, the station codes
will be saved automatically.
3. While the FM Radio is on, click “+” or “-” button to select the programmed radio channels.
4. While the FM Radio is on, press and hold “+” or “-” button to increase or decrease the FM
volume.
WARNING!
1. Do not squeeze or collide.
2. Do not disassemble or put into the re, water, to avoid short-circuit leakage.
3. Do not use wireless chargers in severe high temperature, humidity or corrosive
environments to avoid leakage of damaged circuits.
4. Do not place too close to magnetic cards (ID cards, bank cards, etc.) with magnetic strips
or chips to avoid magnetic card failure.
5. Keep more than 20cm between the implanted medical device (pacemaker, implantable
cochlea, etc.) and the wireless charger to avoid potential disruption to medical devices.
6. To avoid accidents, keep children from the product in case they play the wireless charger.
7. Keep the device away from water and other liquids.
8. To clean the charger, make sure the power supply is disconnected.
9. Usage temperature: 0-45°C
10. Usage humidity: 20-85% (40°C)
Button battery
inside this product.
WARNING:
This product contains a lithium type button battery, which can
cause serious or fatal injury within 2 hours if swallowed. Batteries
must be kept away from children. If you think the battery may have
been swallowed or placed anywhere in your body, seek immediate
medical attention.
Battery Capsule located on
bottom of device

D 2321 Wireless Fast Charger Radio Alarm Clock
Distributed by Altronic Distributors Pty. Ltd. altronics.com.au
Altronic Distributors warrants this product for one year from date of purchase from Altronics or its resellers
to the consumer. If this item is part of an installation or another product, please contact the installer or
supplier for your warranty.
During the warranty period, we undertake to repair or replace your product at no charge if found to be
defective due to a manufacturing fault. The warranty excludes damage by misuse or incorrect installation
(i.e. failure to install and operate device according to specifications in the supplied instruction manual),
neglect, shipping accident, or no fault found, nor by use in a way or manner not intended by the supplier.
For speakers, misuse includes burnt out voice coils.
For repair or service please contact your PLACE OF PURCHASE.
If this item was purchased directly from Altronics please make a warranty claim by:
1. FOR MAIL ORDER CUSTOMERS (includes school and trade orders),
a) Ringing us on 1300 797 007 and quoting your tax invoice number.
b) Upon contacting Altronics, we will issue an R.A. (Return Authorisation). As Altronics have a
number of service agents throughout Australia, a copy of the R.A. will be emailed, faxed or mailed to
you with full instructions of how and where to send the goods. The freight for shipping goods back to
Altronics for all repairs is at the customer’s expense.
c) A copy of the R.A. form, (or at the very minimum, the R.A. number) must accompany the goods to
effect the repair.
d) Altronics will pay the return freight to the customer where the warranty claim has been accepted.
e) Please quote the R.A. number in any correspondence to us.
2. FOR OVER THE COUNTER PURCHASES; to make a warranty claim, please return the goods to
us in any of our stores, with a copy of your proof of purchase (tax invoice).
a) Upon leaving the goods at one of our stores, an R.A. number will be issued to you.
b) Once repaired, you will be contacted, advising that the goods are ready to be collected from
the store.
It is at Altronics discretion as to whether the goods will be repaired or replaced (whilst under warranty);
and as to whether identical goods will be used to replace the item due to changes of models / products.
Note: Under no circumstances should you attempt to repair the device yourself or via a
non-authorised service centre, as this will invalidate the warranty!
Our goods come with guarantees that cannot be excluded under the Australian Consumer Law. You are
entitled to a replacement or refund for a major failure and for compensation for any other reasonably
foreseeable loss or damage. You are also entitled to have the goods repaired or replaced if the goods fail
to be of acceptable quality and the failure does not amount to a major failure.
