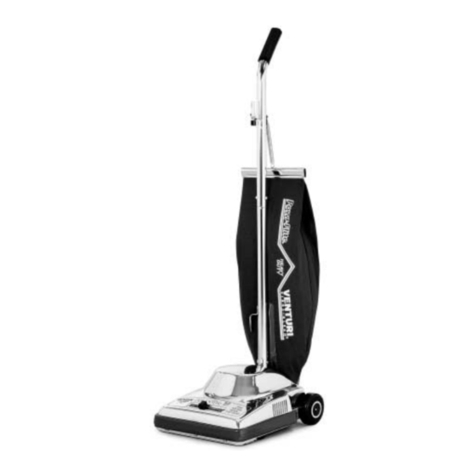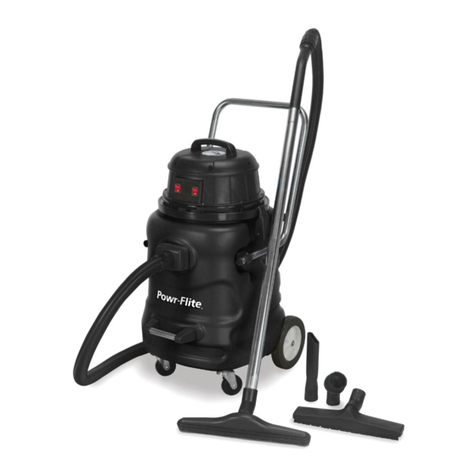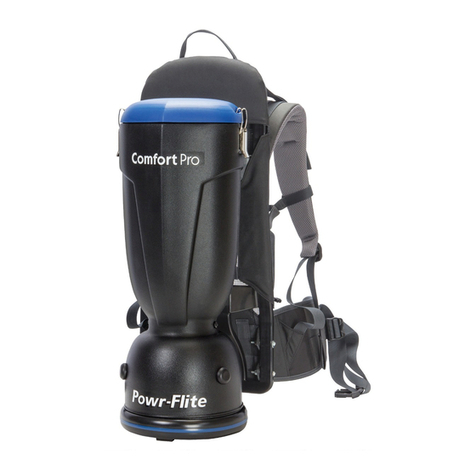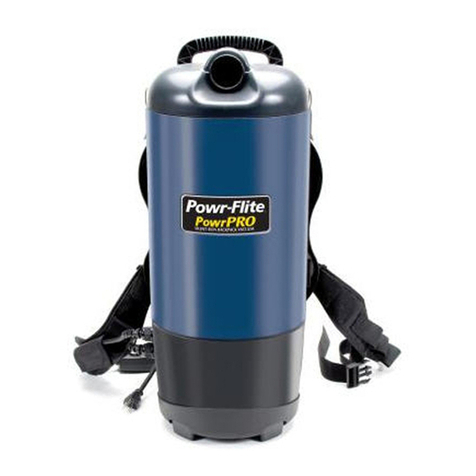
●Do not vacuum water or liquids.
●Do not vacuum up hard or sharp objects,
as they may damage the hose, vacuum
bag or the vacuum motor.
●Do not drop the vacuum on the floor.
●Do not operate the vacuum while it is
standing on high-pile carpet. It is
essential that the exhaust airflow is
not restricted.
●Do not kink or twist the power cord.
●Do not attempt to service the vacuum
yourself. Repair by anyone other than
an authorized repair service may void
the warranty.
Carefully check carton to signs of damage.
Report damages at once to carrier.
Unpack the machine and check machine
for completeness according to the packing
list. Check the cord plug installed corre-
sponds to your wall outlet.
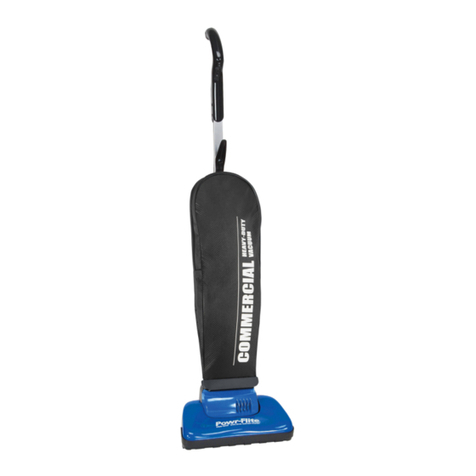
1. Install handle by sliding it into the
opening in the top of the bag housing
until it bottoms out. Install and tighten
with the thumbscrew.
2. Install the hose by pushing one end into
the top of the bag housing. Push the
other end into the wand.
3. Make sure the dust bag is installed.
For instructions refer to the DUST BAG
REMOVAL AND INSTALLATION.
4. Snap the upholstery tool and crevice
tool into the option mount.
5. Plug the cord pigtail into the outlet at the
back of the vacuum housing.
6. Plug power cord into outlet at top of
housing (next to handle). The power
switch will glow when cord is connect
to a wall outlet correctly.
Note: this machine is suitable for voltages
from 110-120 AC/60 Hz.
1. Check to ensure a dust bag is installed.
Replace bag if needed.
2. Check brush area for any thread, string
or debris that may be wrapped around
the brush.
3. Plug the power cord into a receptacle.
4. Adjust the brush height knob to suit the
carpet thickness.
5. Turn the main power switch on.
The vacuum fan motor will turn.
6. While holding the handle depress the
red release and lower the handle to a
convenient operating position. When
the handle is lowered the brush motor
will start turning.
7. Clean the floor using normal vacuuming
procedure.
8. For cleaning with wand, remove the
wand by snapping it out of the retainer
clip and pulling it from its inlet.
The brush motor will stop automatically.
9. Attach tools and clean as you like.
1. Your machine has a red full bag light
which comes on when the airflow is
obstructed, indicating the dust bag
is full.
2. If the light comes on, switch off the
machine, unplug the cord and check
the dust bag. If the bag is not full, there
is an obstruction somewhere in
the system.
3. To remove the bag, open the bag
housing by pushing the door latch.
Fold the ends of the dust bag together
and carefully remove the bag.
4. To install a new dust bag, push the bag
into the inlet of the vacuum intake as
far as ti will go. Fold the top down so it
will not interfere with the door latch.
5. Close the door,ensuring that it
latches properly.
BAG REMOVAL
OPERATION
ASSEMBLY
SAFETY PRECAUTIONS
PF14-18 4/18/05 10:43 AM Page 3
www.johnson-wholesale.com
