Praxair StarWatch User manual

P-15-754 Issued: 12 Oct 2016
User Guide
Praxair®
StarWatch
™
Connect Website

PRAXAIR®StarWatch™ Connect Website
Copyright 2016, Praxair Technology, Inc.
All rights reserved
Printed in the USA. 12 Oct 2016
Praxair, Inc. P-15-754
Technical Communications
175 East Park Drive
Tonawanda, NY 14150
Mail: P.O. Box 44
Tonawanda, NY 14151-0044
USA
www.praxair.com
Phone: 800-PRAXAIR
800-772-9247
716-879-2155
Fax: 800-772-9985
716-879-2146
Praxair Specialty Gases & Equipment
Web: www.PraxairDirect.com
Email: SpecialtyGases@Praxair.com
Technical/Customer Support
Call 1-877-PRAXAIR (1-877-772-9247),
and follow the voice prompts.
In an emergency, call 1-800-PRAXAIR (1-800-772-9247).

PRAXAIR®StarWatch™Connect Website
P-15-754 User Guide
Issued: 11 Jul 2016, Revised: 12 Oct 2016 Page iii of ix
NOTICES
BUSINESS CONFIDENTIAL:This manual contains confidential and proprietary information of
Praxair, Inc. and is provided in confidence and solely for use in conjunction with the
PRAXAIR®StarWatch™ Connect Website. The manual may not be reproduced or its
contents disclosed to third parties without the prior written consent of Praxair, Inc.
DISCLAIMERS:All information referred to and/or included in this user guide is current as of the
issue/revision date of this manual. Praxair, Inc. makes no warranty or representation
with respect to the accuracy of the information or with respect to the suitability of the use
of such information outside Praxair, Inc., nor does Praxair, Inc. assume responsibility for
any injury or damage which may result, directly or indirectly, from the use of such
information.
This user guide could include technical inaccuracies or typographical errors. Changes
are made periodically to the information herein; these changes will be incorporated in
subsequent revisions of the manual. Praxair, Inc. reserves the right to make
improvements and/or changes to the product(s) and/or programs described in this
manual at any time and without notice.
TRADEMARKS:Praxair, Making our planet more productive, StarWatch, and the Flowing
Airstream design are trademarks or registered trademarks of Praxair Technology, Inc. in
the United States and/or other countries. Other trademarks used herein are trademarks
or registered trademarks of their respective owners.

User Guide P-15-754
Page iv of ix Issued: 11 Jul 2016, Revised: 12 Oct 2016

P-15-754 User Guide
Issued: 11 Jul 2016, Revised: 12 Oct 2016 Page v of ix
TABLE OF CONTENTS
NOTICES ................................................................................................................................iii
INTRODUCTION........................................................................................................................1
CHAPTER 1—DEVICES..........................................................................................................3
1.1 Device List.................................................................................................................3
1.2 Searching For Devices ..............................................................................................6
1.3 Device View...............................................................................................................6
1.3.1 Device Information.....................................................................................................7
1.3.2 Device Alerts .............................................................................................................8
1.3.3 Sensor Information ..................................................................................................10
1.4 Alerts.......................................................................................................................11
1.4.1 Add New Sensor Alert .............................................................................................14
1.4.2 Add New Device Alert..............................................................................................17
1.5 Organize Groups .....................................................................................................20
1.5.1 Create a Group........................................................................................................20
1.5.2 Add Devices to A Group ..........................................................................................20
1.5.3 Move Devices Within Groups...................................................................................20
1.5.4 Group Permissions..................................................................................................21
1.6 Group Alerts ............................................................................................................21
CHAPTER 2—INCIDENTS ....................................................................................................26
CHAPTER 3—REPORTS......................................................................................................28
CHAPTER 4—USERS...........................................................................................................31
CHAPTER 5—MY ACCOUNT...............................................................................................34
CHAPTER 6—HELP..............................................................................................................35
FIGURES
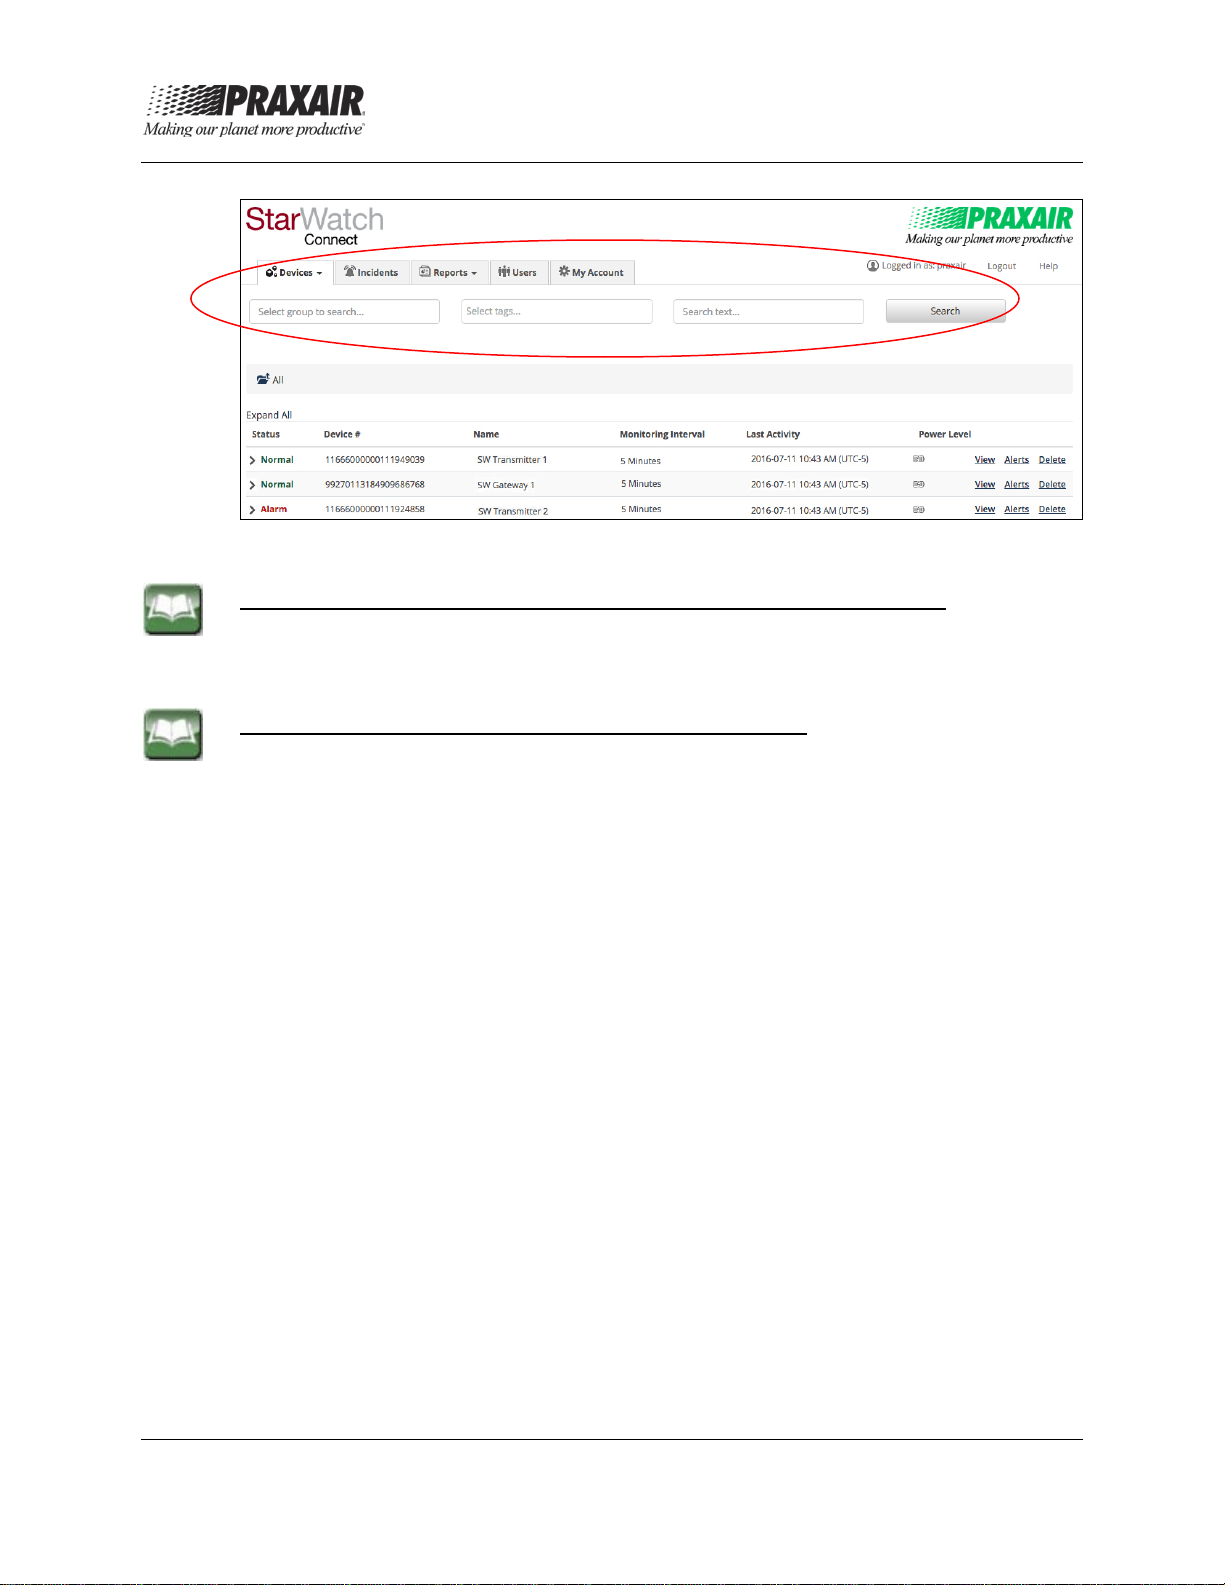
1 Device List Screen Example......................................................................................2
2 Devices Menu Tab Dropdown Options.......................................................................3
3 Search Tools on the Device List Screen....................................................................4
4 Device View Screen Showing Examples of Device Information
and Device Alerts.......................................................................................................7
5 Device View Screen Showing Examples of Sensor Information
and Sensor Alerts....................................................................................................10

User Guide P-15-754
Page vi of ix Issued: 11 Jul 2016, Revised: 12 Oct 2016
6 Alert List Screen Example........................................................................................12
7 Adding a New Sensor Alert Screen Example...........................................................15
8 Adding a New Device Alert Screen Example ...........................................................17
9 Adding a New Group Alert Screen Example ............................................................22
10 Incidents Screen Example.......................................................................................26
11 Reports Screen Example.........................................................................................28
12 Generating a Scheduled Report Screen Example....................................................30
13 Users Screen Example............................................................................................31
14 View User Screen Example.....................................................................................33
15 Add New User Screen Example...............................................................................33
16 My Account Screen Example...................................................................................34
17 Help Screen Example..............................................................................................35
ATTACHMENTS
A StarWatch Connect Regulatory Statements...........................................................A-1

Praxair®StarWatch Connect Website
P-15-748 User Guide
Issued: 11 Jul 2016, Revised: 12 Oct 2016 Page 1 of 35
Praxair®StarWatch™ Connect Website User Guide
This guide covers the following topics:
•Introduction
•Devices
•Alerts
•Groups
•Incidents
•Reports
•Users
•My Accounts
Introduction
The Praxair StarWatch
™ Cryogenic Monitoring System measures and displays
the liquid level of any non-conducting cryogenic liquid including liquid nitrogen,
liquid oxygen, liquid argon, and liquid carbon dioxide. The system also
measures and displays the current pressure within a cryogenic container. The
StarWatch Connect system can connect with the StarWatch Cryogenic
Monitoring S
ystem and transfer the liquid level and pressure data to the sensor
cloud and the data is accessible through the website and mobile app. The
Praxair StarWatch Connect Website allows you to view liquid level and
pressure measurements on the cryogenic container installed with the
StarWatch Cryogenic Monitoring System, and configure the monitoring system
settings.
This system is accessed using the following URL:
http://praxair.myalertlist.com
1. Log into the StarWatch Connect Website using the credentials that were
provided separately. Once you have logged in, default settings display
on the Device List Screen (see Figure 1 for an example).
Note: All individual and grouped StarWatch Connect devices assigned to your
StarWatch Connect account are listed on this screen.
Note: Select Logout to log out of the website. Select Help to access help
text. These options are located at the upper-right corner of the screen.

Praxair®StarWatch Connect Website
User Guide P-15-748
Page 2 of 35 Issued: 11 Jul 2016, Revised: 12 Oct 2016
Figure 1: Device List Screen Example
Depending on the level of user access, four or five menu tabs display at the
top of every screen.
Table 1 identifies these menu tabs, and describes each tab function. These
tabs allow you to quickly navigate to the different areas of the StarWatch
Connect Website.
Table 1: Menu Tabs
View assigned devices and update their settings.
View and manage current and historical incidents, which
include data about incidents within your account.
Export and configure device measurement reports.
View and manage settings for other users under the
same overall department, company, or organization
account. This menu tab is available only for users with
Administrator or Owner access levels.
Manage settings for his/her own account.

Praxair®StarWatch Connect Website
P-15-748 User Guide
Issued: 11 Jul 2016, Revised: 12 Oct 2016 Page 3 of 35
Chapter 1— Devices
This chapter covers the following:
•Device List
•Searching for Devices
•Device View
•Alerts
•Organize Groups
•Group Alerts
1. Select the tab, which displays a dropdown menu.
2. Select either Device List or Organize Groups from the dropdown
menu (see Figure 2).
Figure 2: Devices Menu Tab Dropdown Options
Description of Devices Dropdown Menu Options
Device List: Displays a list of all individual devices and grouped devices that
are assigned to your account.
Organize Groups: Allows you to create groups to better organize and
manage the devices (see section 1.5).
1.1 Device List
When the Device List menu option is selected, a list of all the individual
devices and grouped devices that are assigned to your account display (see
Figure 3). Device groups are shown at the top of the screen (see section 1.5.2
for information on assigning/adding devices to groups).
Individual devices not assigned to a group are listed below the groups. By
clicking on a group name, you can view the list of individual devices that have
been assigned to that group.

Praxair®StarWatch Connect Website
User Guide P-15-748
Page 4 of 35 Issued: 11 Jul 2016, Revised: 12 Oct 2016
Figure 3: Search Tools on the Device List Screen
Description of how to expand or collapse the displayed information
Expand All: Select to show expanded details for all individual devices.
Collapse All: Select to show only the summary information for each device.
Description of what is listed for each individual device
Status:
•Normal: Device and sensors are within their specified acceptable
ranges.
•Warning: Device and/or sensor(s) have exceeded a specified Alert
threshold, but an Alarm Delay threshold has not been met. Notifications
have not been sent.
•Alarm: Device and/or sensor(s) have exceeded a specified Alert
threshold for a number of consecutive readings exceeding the Alarm
Delay threshold. The device and/or sensor(s) are in alarm. Notifications
have been sent. Select View for more details.
Device #: Every StarWatch Connect device that communicates with the
StarWatch Connect Website has a unique device identification number
(Device #). Click once to sort in ascending order; click again to sort in
descending order.
Name: Each device can be assigned a descriptive name. Click once to sort in
ascending order; click again to sort in descending order.
Monitoring Interval: Lists the time specified between each reading. Click
once to sort in ascending order; click again to sort in descending order.
Last Activity: Lists the time when the last reading was recorded. Click once
to sort in ascending order; click again to sort in descending order.

Praxair®StarWatch Connect Website
P-15-748 User Guide
Issued: 11 Jul 2016, Revised: 12 Oct 2016 Page 5 of 35
Power Level: The Grey bar within the battery icon indicates approximate
percentage of battery life remaining in the device.
•The battery icon will contain a question mark ( ) if the device misses
one transmission interval or if a device is powered off.
•If external power is supplied to the StarWatch Connect gateway, the
battery icon will contain the power symbol ( ) and display the
percentage of charged battery.
The battery icon for StarWatch Connect transmitters will indicate how much
battery the device has remaining, and will have five grey bars when the battery
is at full capacity ( ).
Description of selectable options that each individual device listing also
includes:
View: Select to configure the settings of the device, including device name,
device time zone, device address, sensor name, sensor data, and device
alerts.
Alert: Select to add and edit alerts for the device and the sensors associated
with the device.
Delete: Select to permanently delete the device and/or sensor and associated
historical data from your account. The users at the Owner and Administrator
access levels have this function. CAUTION: USE WITH CAUTION; DATA
WILL BE LOST PERMANENTLY.
1. Click on any individual device row to show expanded details for that
device.
The Details field for a StarWatch Connect transmitter will display the
status of:
•All sensors connected to the transmitter.
•Corresponding port numbers for each sensor.
•Assigned sensor names.
•Last sensor reading values.
•Last sensor reading times.
•Maximum, minimum, and average reading for each sensor over the
prior 24 hours.
There is no additional information shown in the Details field for a
StarWatch Connect gateway. Clicking on the individual device row
again will collapse the expanded details.

Praxair®StarWatch Connect Website
User Guide P-15-748
Page 6 of 35 Issued: 11 Jul 2016, Revised: 12 Oct 2016
1.2 Searching for Devices
Multiple search tools are included in the Device List menu option that allows a
user to find and show desired devices. The three different tools available for
searching are identified below in the Definition of Search Tool section (see
Figure 3).
Note: The search tools can be combined to further narrow the search. For
example, a user may search a selected group for a selected tag or text
string.
Note:To leave the search results and return to the full list of grouped and
individual devices, select Device List from the Devices tab.
Definition of Search Tools
Select group to search: Find devices within a specified group (see section
1.5.2 for information on assigning devices to groups). All the current groups
will appear in a separate window for user selection. If it is left blank, it searches
the device in all groups and ungrouped devices.
Select tags: Find devices having the specified tag (see sections 1.3.1 and
1.3.3 for information on assigning tags to a device). All the current tags will
appear in a dropdown list for user selection.
Search text: Find devices based on the specified text you have entered into
the search bar.
1.3 Device View
The Device View selection allows you to view and edit information for a
particular device. Figures 4 and 5 show screen examples that display different
information that can be accessed.
1. From the Device List Screen, select View next to any device to view
and edit information for that device. The Device View Screen displays
Device Information and Device Alerts (see Figure 4), and sensor
information and sensor alerts that are associated with the device (see
Figure 5).

Praxair®StarWatch Connect Website
P-15-748 User Guide
Issued: 11 Jul 2016, Revised: 12 Oct 2016 Page 7 of 35
Figure 4: Device View Screen Showing
Examples of Device Information and Device Alerts
1.3.1 Device Information
1. Select edit to configure the device settings.
The field values identified below can be viewed or adjusted
(see Figure 4)
Definition of the Field Values that can be Viewed or Adjusted
ID: Unique ID given to every device (cannot be edited).
Name: Common name for the device. This name will appear in all device
alerts.
Interval:
•If the device is a StarWatch Connect transmitter, this parameter defines
the interval between sensor readings.
•If the device is a StarWatchConnect gateway, this parameter defines
the interval between each time the gateway uploads information to the
StarWatch Connect Website.
Battery/Power Status: Displays the battery level and charging status of
applicable devices.
•For the StarWatch Connect transmitter, less than 20 percent battery
level will trigger a Low Battery reading.

Praxair®StarWatch Connect Website
User Guide P-15-748
Page 8 of 35 Issued: 11 Jul 2016, Revised: 12 Oct 2016
•For the StarWatch Connect gateway, loss of AC power will trigger an
AC Power Lost reading.
The user can set up an alert that will notify him/her if a Low Battery reading or
AC Power Lost reading occurs.
Signal Strength:
•For the StarWatch Connect gateway, the numerical value that is
displayed represents the communication signal strength between the
gateway and cellular network.
•For the StarWatch Connect transmitter, the numerical value that is
displayed represents the communication signal strength between the
transmitter and its respective gateway.
Address: Enter the physical address or coordinates of the device.
Time Zone: Select the time zone of the device; the selection is worldwise. For
example:
•UTC-5:00 Eastern time (U.S. and Canada)
•UTC-6:00 Central time (U.S. and Canada)
•UTC-7:00 Mountain time (U.S. and Canada)
•UTC-8:00 Pacific time (U.S. and Canada)
Unit: Select the type of units to use—U.S. Customary (Fahrenheit) or Metric
(Celsius)—for the temperature sensor built into the StarWatch Connect
transmitter.
Public URL: If enabled, the link can be distributed to allow view-only access
to this specific device on a web browser.
Tags: Tags can be applied to devices and sensors. When tags are applied to
devices, they can be used to filter devices for easy searching (see section 1.2
for an overview of searching for devices). Tags applied to devices can be
used to select which devices belong to a group alert (see section 1.6 for how to
set up a group alert).
1.3.2 Device Alerts
The Device Alerts window displays the status of all alerts created for that
device. Device alerts assess the functionality of the monitoring device. The
Device Alerts window displays the Alert Status, Alert Type, Alert Name,
Threshold Value triggering the alert, Alarm Delay, and Last Alarm (see
Figure 4).
1. Select edit to configure the device alerts.See section 1.4 for a detailed
description.

Praxair®StarWatch Connect Website
P-15-748 User Guide
Issued: 11 Jul 2016, Revised: 12 Oct 2016 Page 9 of 35
Definition of the Available Alert Types for the StarWatch Connect Transmitter
Low Battery: The battery level has dropped below 20 percent.
Missed Report: The device has not reported to the StarWatch Connect
Website at the specified interval. Missed reports can be triggered by one of
the following reasons:
•The StarWatch gauge is on power conservation (PCO) Mode. No level
or pressure data can be transmitted to the StarWatch Connect Website.
•The cable between the StarWatch Connect transmitter and gauge is not
connected, or not connected well. No level or pressure data is
transmitted to the StarWatch Connect Website.
•Communication between the StarWatch Connect transmitter and
gateway is lost. Temperature, pressure, and level data will no longer be
transmitted to the StarWatch Connect Website; however, the gateway is
still reporting at the set interval.
•Communication between the StarWatch Connect gateway and cellular
network is lost. Temperature, pressure, and level data will no longer be
transmitted to the StarWatch Connect Website, and the gateway is not
reporting at the set interval.
Two alert types are available for StarWatch Connect gateway:
Power Monitor: External power to the device has been interrupted.
Missed Report: The device has not reported to the StarWatch Connect
Website at the specified interval. Missed reports can be triggered by one of
the following reasons:
•Communication between the StarWatch Connect gateway and cellular
network is lost.
•The StarWatch Connect gateway is failing to communicate with the
server.
•The StarWatch Connect gateway has become unplugged and the
backup battery has completely discharged.
•The StarWatch Connect gateway has been turned off and missed
reporting into the StarWatch Connect Website.
•There is a hardware failure that is causing the StarWatch Connect
gateway to miss reporting into the StarWatch Connect Website.

Praxair®StarWatch Connect Website
User Guide P-15-748
Page 10 of 35 Issued: 11 Jul 2016, Revised: 12 Oct 2016
1.3.3 Sensor Information
The StarWatch Connect transmitter possesses a built-in temperature sensor.
When the StarWatch Connect transmitter is connected to the StarWatch
gauge, it accesses sensors measuring liquid level and pressure in the
cryogenic vessel. The three sensors are displayed on the StarWatch Connect
Website as:
•Temperature sensor on Port #0
•Pressure sensor on Port #21
•Level sensor on Port #22
Note: The port numbers do not matter.
1. Select edit to configure the sensor settings. The following field values
can be viewed or adjusted (see section 1.4 for a detailed description):
Figure 5: Device View Screen Showing
Examples of Sensor Information and Sensor Alerts
Definition of Field Values that can be Viewed or Adjusted
Name: Common name for the sensor. This sensor name will appear in all
sensor alerts.
Offset: Any number entered here will be added to all future readings. For
example:

Praxair®StarWatch Connect Website
P-15-748 User Guide
Issued: 11 Jul 2016, Revised: 12 Oct 2016 Page 11 of 35
•Entering 0 (default) will display the reading exactly as transmitted by the
device.
•Entering 5.2 will add 5.2 units to the transmitted readings.
•Entering –3.3 will subtract 3.3 units from the transmitted readings.
Tag: Tags can be applied to devices and sensors. Tags applied to sensors
can be used to select which sensors belong to a group alert (see section 1.6
for how to set up a group alert).
Sensor Reports: The graph can display historical data from the prior 1 day, 3
days, 7 days, 1 month, 3 months, 6 months, or 1 year. When choosing longer
periods, such as 3 months, 6 months, and 1 year, sampled data will be used,
and may not show all maximum and minimum values during that time-frame.
Use the Export feature to view all sensor data.
Sensor Readings: Displays the last 10 measurements and reading times for
the sensor.
Export: This option exports a sensor’s historical data as an Excel (.xls) file.
Select a Start Date and End Date, and then click [Export].
Sensor Alerts: The Sensor Alerts Screen displays the status of all alerts
created for that sensor. Sensor alerts display alarms if a sensor reading
crosses a specified Threshold Value. The Sensor Alerts Screen displays the
Alert Status, Alert Type, Alert Name, Threshold Value triggering the alert,
Alarm Delay, and Last Alarm (see example in Figure 5).
1.4 Alerts
Alerts notify users about changes in device functionality or sensor readings.
The Alert Configuration Screens can be accessed in three different ways on
the StarWatch Connect Website:
Selecting on any of the following options will take you to an Alerts List Screen
that displays the status of all the alerts created for that device and any sensors
it possesses. An Alert List Screen example is shown in Figure 6.
1. From the Device List Screen, select Alerts next to any individual device
(see section 1.1).
OR
From the Device View Screen (see Figure 4), select edit located above
the Device Alerts window (see section 1.3.2).
OR
From the Device View Screen (see Figure 5), select edit located above
the Sensor Alerts window (see section 1.3.3).

Praxair®StarWatch Connect Website
User Guide P-15-748
Page 12 of 35 Issued: 11 Jul 2016, Revised: 12 Oct 2016
The Alert List displays for each alert. The following information displays:
•Alert Status
•Sensor Name (if the alert corresponds to a sensor)
•Alert Type
•Alert Name
•Threshold Value triggering the alert
•Alarm Delay
•Last Alarm
Figure 6: Alert List Screen Example
The Alarm Delay feature can be used to delay alert notifications until a device
or sensor has exceeded its specified Threshold Value for a specified number
of intervals. For example, if a device’s Monitoring Interval is 5 minutes and the
Alarm Delay is set to 3, an alert will be sent out after the sensor has remained
outside its assigned Threshold Value for 3*5=15 minutes.
When viewing the alert on the Alert List Screen, the Alarm Delay column will
show two numbers separated by a slash (/) symbol. The first, left-most
number is the actual number of consecutive readings that have remained
outside the assigned Threshold Value. The second, right-most number is the
specified Alarm Delay, i.e., the number of consecutive readings outside the
assigned Threshold Value that would trigger an alert notification.
The default Alarm Delay setting for any sensor or device is 1.
Definition of Alert Status Display
Alarm (color red): The reading has remained outside the assigned Threshold
Value for a consecutive number of readings equal to the Alarm Delay.

Praxair®StarWatch Connect Website
P-15-748 User Guide
Issued: 11 Jul 2016, Revised: 12 Oct 2016 Page 13 of 35
Warning (color yellow) : The last reading was outside the assigned
Threshold Value, but the consecutive number of readings outside the assigned
Threshold Value is less than the Alarm Delay.
Normal (color green) : The last reading was not outside the assigned
Threshold Value.
Definition of Options that the User can Select for Existing Alerts
Edit: Select Edit to modify the alert settings. Users at Owner, Administrator,
Editor and Sensor Alert Editor access level can use this function.
Disable/Enable:
•Select Disable to
disable the alert without deleting it. Once disabled, the
option will change to Enable.
•Select Enable to enable the previously disabled alert. Once enabled,
the option will change to Disable. When an alert is disabled, the alert
status will change from Normal, Warning, or Alarm to Disabled.
Users at Owner, Administrator, Editor, and Sensor Alert Editor access
level can have these functions.
Delete: Select Delete to permanently delete the alert. Users at Owner,
Administrator, and Editor and Sensor Alert Editor access levels can perform
these functions, while the Sensor Alert Editor access level can only delete
sensor alerts.
1. Click on any individual alert row to show expanded details for that alert.
The Details field will display the type of notification (SMS, email, or
phone), the phone number or email address for the notification, and
whether an additional notification should be sent once the reading is
cleared (i.e., no longer outside the specified Threshold Value).
2. Select Send a Test Message to send a test notification to test if your
notification method is correct.
3. Click on the individual alert row again to collapse the expanded details.
The Alert List Screen also includes [+ Add New Sensor Alert] and
[+ Add New Device Alert] buttons for a StarWatch Connect transmitter or
gateway. These options are described in detail in sections 1.4.1 and 1.4.2.

Praxair®StarWatch Connect Website
User Guide P-15-748
Page 14 of 35 Issued: 11 Jul 2016, Revised: 12 Oct 2016
1.4.1 Add New Sensor Alert
Sensor alerts can only be created for a StarWatch Connect transmitter. As
described in section 1.3.3, each StarWatch Connect transmitter is connected
to three sensors that measure:
1. Ambient temperature.
2. Liquid level in the cryogenic vessel.
3. Pressure in the cryogenic vessel. Alerts can be set up to notify users of
changes in these measurements (see Figure 7).
Figure 7: Adding a New Sensor Alert Screen Example
Table of contents
Popular Measuring Instrument manuals by other brands

GE Panametrics
GE Panametrics GF868 Programming manual

Larsen & Brusgaard
Larsen & Brusgaard ALTITRACK quick start guide

Extech Instruments
Extech Instruments AN10 user guide

Micronics
Micronics U1000-HM user manual

AGS
AGS Merlin GDP2 User & installation manual

Extech Instruments
Extech Instruments ExStik EC500 user manual