PRE LABS PALLATON Instruction Manual

PALLATON™
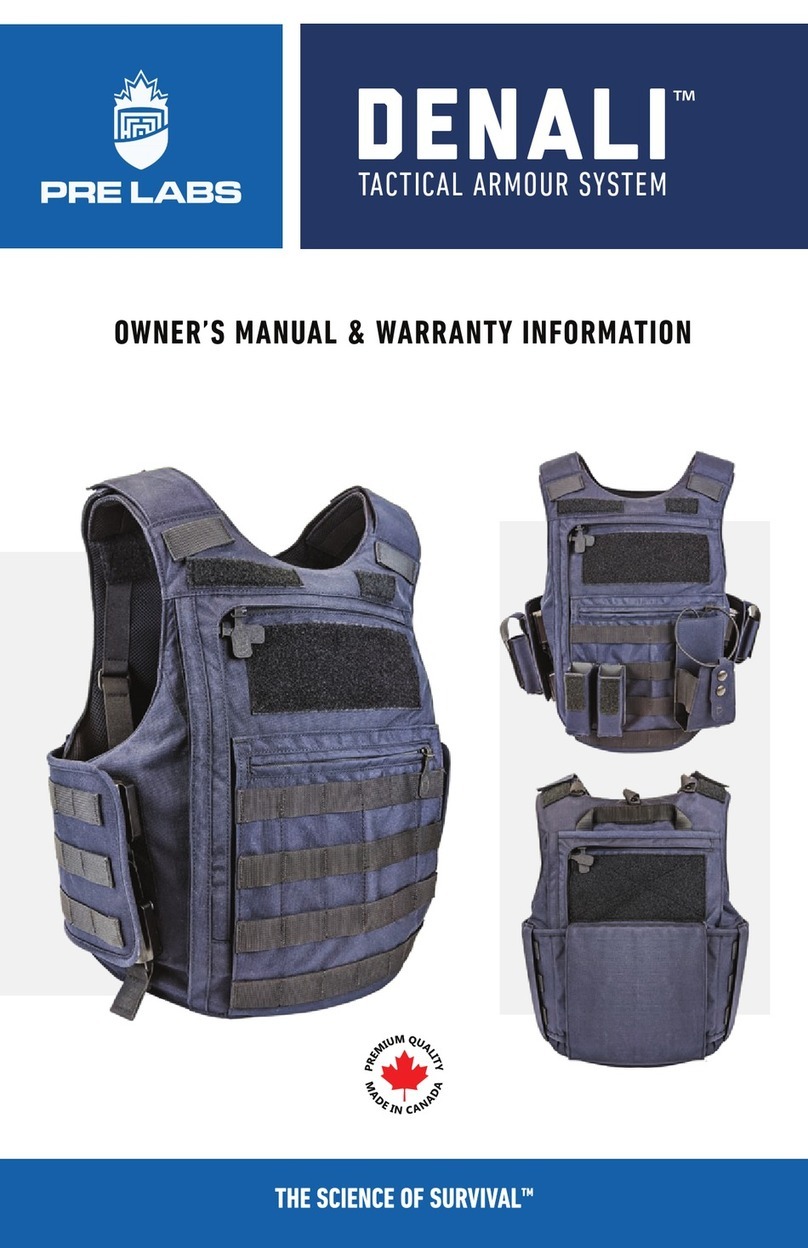
TACTICAL CARRIER
OWNER’S MANUAL & WARRANTY INFORMATION

32
ABOUT YOUR CARRIER
TABLE OF CONTENTS
ABOUT YOUR CARRIER 3
ASSEMBLING THE CARRIER 4
FITTING THE CARRIER 8
TRAUMA PADS AND PLATES 10
MOLLE POUCHES 11
CARE AND MAINTENANCE 12
OUTER VEST 12
SOFT BODY ARMOUR PANELS 13
IMPORTANT NOTES FOR PROPER CARE 14
WARRANTY INFORMATION 15
CARRIER WARRANTY 15
SOFT ARMOUR PANEL WARRANTY 15
PALLATON MEANS ‘WARRIOR’ AND IS OF NATIVE AMERICAN ORIGIN.
WARRIORS HAVE A DEEP INNER DESIRE TO LEAD, ORGANIZE AND SUPERVISE.
Features of your Pallaton™ Tactical Carrier include:
• Constructed from tough 500 denier CORDURA® nylon and built to last
• Available with double-overlap VELCRO® closures or our proprietary
QUICKLOC™ Side Attachment Systems
• Extensive MOLLE webbing attachment points
• Highly breathable 3D inner mesh lining and OUTLAST® thermal control layer
• Integrated trauma pocket accommodates standard 5”x8” or 7”x10”
trauma plates or pads
• Large volume front accessory pocket with inner pocket organizers
• Adjustable double-overlap shoulder flaps with neoprene padding
• Dual microphone/camera shoulder tabs
• Front and back VELCRO® for ID patches
• Integrated cable routing loops
• Internal ballistic nylon wear strips
• Optional detachable load-bearing suspender system
PALLATON
TACTICAL CARRIER
TM

54
ASSEMBLING THE CARRIER
When you first receive your carrier, please take a moment to carefully inspect it and
confirm that:
• It is your personalized system - your name and specific manufacturing
information is located on the label located on the inside of the carrier.
• The soft armour panels are the correct threat or protection level -
located on the armour panel label.
• There are no manufacturing defects or missing components.
Your body armour has been specifically designed to fit you. Using a proprietary set
of algorithms, we take your measurements and convert them into highly accurate
patterns which we use to manufacture your armour panels and carrier.
However, this is only the first step in ensuring that your armour fits perfectly. The
second step is to properly adjust your armour. The following instructions will assist
you to achieve the most comfortable fit.
1. Lay out the carrier components on a clean, flat surface.
2. Separate the front and back of your carrier by
opening the shoulders and side closures.
3. Unzip the zipper on the inside of each part of the carrier.
4. Your carrier may include the optional removable load-baring suspender
system. To attach the suspenders, reach up into the shoulders and
thread the Velcro® end of the suspenders through the cut-outs (Fig. 1).
5. Grab the Velcro® tab and pull towards the zipper opening
to invert the carrier to secure the suspender strap to
the top of the inside Velcro® flaps (Fig. 2).
6. Repeat for all four suspenders.
Figure 1 Figure 2

76
ASSEMBLING THE CARRIER
7. To install the soft armour panels, locate the inner Velcro®
tabs. Pull the tabs towards the zipper opening to invert the
carrier. This makes it easier to properly secure the panels.
8. Select the panel that corresponds with the front or
back of the carrier and place it on the carrier with
the information label facing upward (Fig. 3).
9. Attach the VELCRO® flaps on the
inside of the shoulder area of the
carrier, which are designed to hold
your panels in place (Fig. 4).
10. Fold the side flaps of the panel
inward and insert the panel
through the open zipper fully
into the carrier (Fig. 5).
Figure 3 Figure 4
Figure 5
11. Unfold the side flaps and ensure that the panel lays completely flat.
12. Repeat steps 8-10 for the other half of your carrier.
13. Zip the openings closed and ensure that your soft armour
panels are properly positioned and lying flat.
14. Peel open the rear MOLLE panel (Fig. 6) and attach the
side components to the Velcro® (Fig. 7). These can be
adjusted later for a proper and comfortable fit.
15. Reattach the MOLLE panel to secure the side flaps.
16. The armour system is now ready to be adjusted to fit the wearer.
Figure 7Figure 6

98
FITTING THE CARRIER
Properly adjusting your armour is a critical step to ensure maximum coverage and
protection. The following instructions will assist you to achieve the most accurate and
comfortable fit.
1. Undo the side closures and place the vest over your head.
2. Adjust the Velcro® shoulders (Fig. 9) so the front armour
panel sits just below the center notch at the base of your
throat (Fig. 10) and the rear armour panel sits just below
the prominent vertebrae at the base of your neck.
3. Once you have adjusted the shoulders you will likely not
need to change the positioning unless you increase the
amount of clothing worn underneath the carrier.
Figure 10Figure 9
4. To adjust the side closures, spin the vest around so you are
wearing it backwards and reattach the side closures.
5. Peel open the rear flap of the carrier and adjust the length
of each side strap until both are properly centred, positioned
evenly. and tensioned snugly around the torso (Fig. 11 & 12).
6. Turn the vest back around and double-check the fit. Repeat
steps 4 & 5 if needed until the vest fits comfortably
and the double VELCRO® side closures are snug, or the
QUICKLOC™ System self-aligns and engages easily.
Note: It is recommended that you do not over tighten the side closures as it reduces
comfort and airflow to your torso. For an ideal fit, secure the vest to a point where it
feels snug and then allow an additional 1/2” of allowance on either side.
Figure 12Figure 11

1110
MOLLE POUCHES
TRAUMA PADS AND PLATES
The Pallaton™ Tactical Carrier also accepts standard 5”x8” or 7”x10” trauma pads or
plates in the integrated trauma pocket. These can be inserted to upgrade the ballistic
protection of your carrier system. Additional sizes can also be accommodated, contact
us for more information.
To insert a trauma pad or plate, simply unzip the front inside panel zipper, lift the soft
armour panel, locate the pocket, and slide in the plate with the label facing toward
the body (Fig. 16 & 17).
There is an additional row of Velcro® inside the pocket that will need to be opened to
accept a 7”x10” pad or plate.
Please ensure you remove any inserted trauma pads/plates, hard armour plates,
and soft body armour panels prior to laundering the carrier.
Your Pallaton™ Tactical Carrier is outfitted with MOLLE webbing that accommodates a
variety of pouches and is compatible with most PALS/MOLLE platforms.
It is recommended you carefully plan out the placement of your pouches prior to
installation to ensure optimal access to your critical equipment.
1. Empty any contents of the pouch.
2. Release the bottom snap and
pull out the attachment strap.
3. Thread the strap through the
top MOLLE attachment point and
continue down weaving the strap
in-between the each the carrier
and pouch webbing openings.
4. Once you have threaded
through all the MOLLE
attachment points, secure the
bottom snap of the pouch.
5. Repeat for all of your MOLLE
compatible pouches.
Figure 17Figure 16
Figure 18
Figure 19

1312
CARE AND MAINTENANCE
OUTER VEST
To ensure that the carrier provides you with years of unfailing service, please follow
the care instructions listed below. These can also be found on the label located on the
inside of your carrier.
• Prior to cleaning, remove the soft armour panels and any inserted
trauma pads or plates from your carrier. Empty all contents of pouches
and secure the shoulder and side closures.
• Machine wash on a gentle cycle with the side closures attached.
• Use mild laundry detergent.
• Do not bleach.
• Hang to dry.
• After cleaning, carefully inspect the carrier for signs of wear or defects.
Should you identify any issues, please contact us immediately.
SOFT BODY ARMOUR PANELS
The soft body armour panels are covered with a durable 170 denier polyamide fabric
and are ultrasonically sealed to provide an impermeable protective layer. Each armour
panel is vacuum tested to ensure a perfect seal. Maintaining this protective layer is
critical to the performance of your ballistic panels.
It is imperative that if you identify any flaws or breaches in your soft armour
protective layer you contact us immediately.
To care for your soft body armour panels, please follow these instructions:
• Wipe panels with a damp cloth using mild soap.
• Lay the panels flat or hang to dry.
• When storing your panels, hang or lay flat.
• Do not machine wash or dry clean.
• Do not machine dry.
• Do not store in direct sunlight.
• Do not bleach.
• Do not iron.

1514
CARRIER WARRANTY
Your PRE Labs carrier is warrantied against defects in materials and workmanship for
a period of two (2) years and is limited to the conditions listed below.
SOFT ARMOUR PANEL WARRANTY
Your PRE Labs armour panels are warrantied to provide you with the stated protection
from the specified threats for a period of five (5) years from the date of manufacture.
In order to qualify for both warranties, the purchaser must:
• Complete and submit the online warranty form within thirty (30) days of
receiving your carrier and panels: https://prelabsinc.com/warranty-form
• Provide PRE Labs your new contact information should you move during
the warranty period.
This warranty is void if:
• Maintenance care as stated on the protective panel label has not been
followed; and/or
• the product has been altered in any matter after delivery to the
purchaser; and/or
• the product has been subjected to abnormal use or abuse.
This warranty is extended to the original user-purchaser only. Since coordinated and
compatible protective panels and carrier are essential for proper protection, use of a
carrier not produced or approved by PRE Labs Inc. voids the warranty.
Complete the online warranty form:
prelabsinc.com/warranty-form
WARRANTY INFORMATION
CARE AND MAINTENANCE
IMPORTANT NOTES FOR PROPER CARE
1. After cleaning, carefully inspect the panels for signs of wear or defects.
Should you identify any issues, please contact us immediately.
2. The body armour panels and outer vest must be fully dry
prior to reinserting them back into the carrier.
3. Initially, the soft armour panels may feel stiff. As with
a new pair of shoes, the panels will break in and soften
over time. The more the armour is worn, the softer,
pliable, and more comfortable the panels become.
If you have any questions or require assistance in assembling or fitting your armour
system, please don’t hesitate to reach out to us:
Toll Free: 1-877-435-7360
Phone: 1-778-753-6539
info@prelabsinc.com

TACTICAL ARMOUR SYSTEM
With the industry’s most innovative technology and the most trusted
certifications behind our body armour, PRE Labs has become a
choice supplier of armour to security, defence, military and police
organizations across North America and the world.
100-2600 Enterprise Way
Kelowna, British Columbia
Canada, V1X 7Y5
1-877-435-7360
info@prelabsinc.com
Table of contents
Other PRE LABS Personal Care Product manuals
