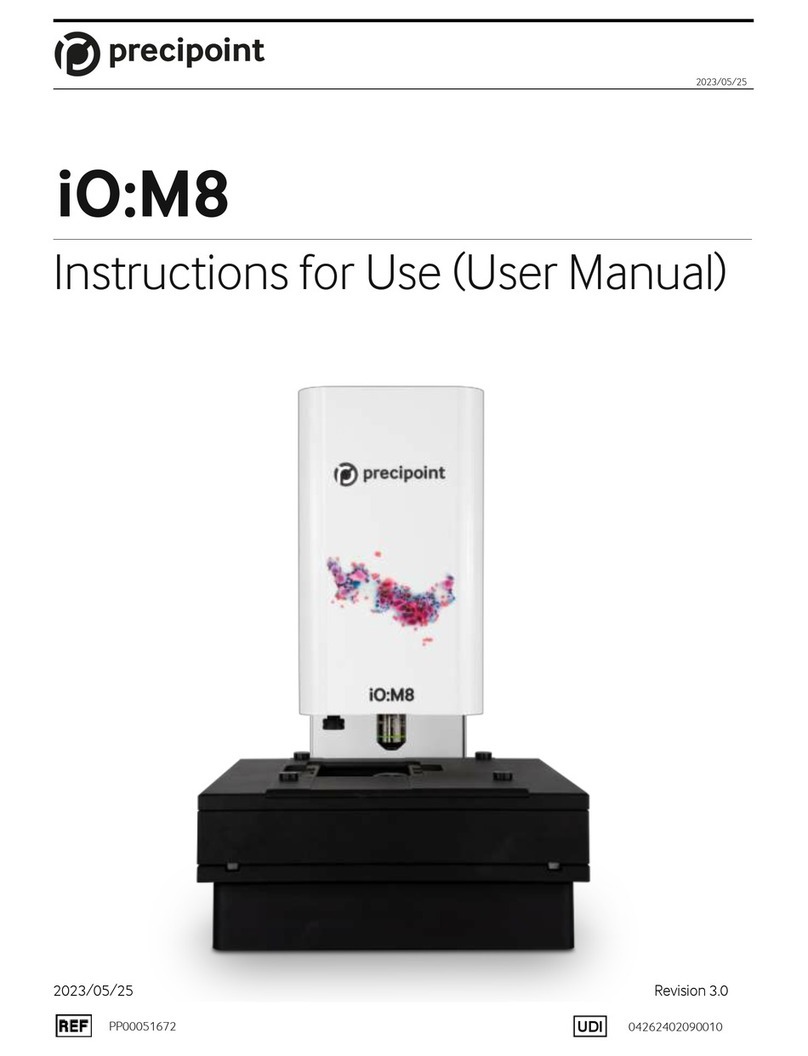
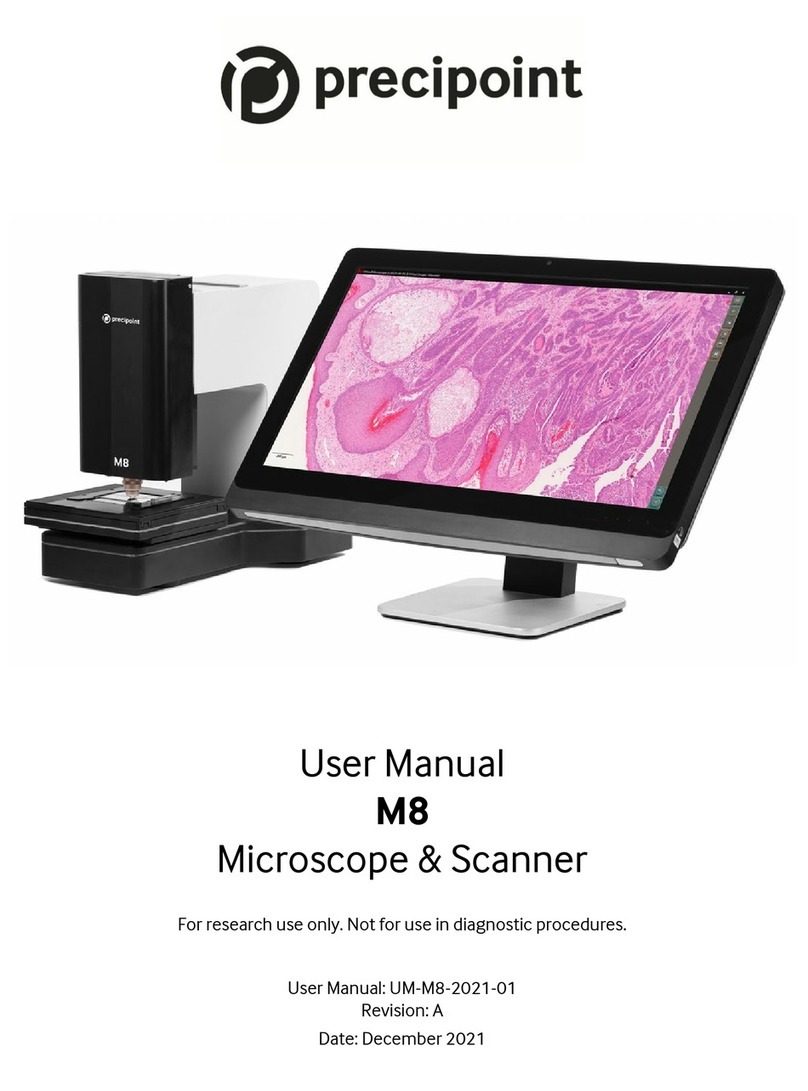
Precipoint M8 User manual

Operating Manual
Digital Microscope M8
Version: 1.0
January 2016

ii
Index
1Indications for Usage of Microscope......................................................................................... 4
1.1 General Information........................................................................................................... 4
1.2 Target Group..................................................................................................................... 4
1.3 Information about used Pictograms................................................................................... 5
1.4 Intended Use..................................................................................................................... 5
1.5 Features of Microscope..................................................................................................... 7
2Scope of Delivery..................................................................................................................... 8
3Transport, Storage and Disposal.............................................................................................. 9
3.1 Transport........................................................................................................................... 9
3.2 Intermediate and Permanent Storage................................................................................ 9
3.3 Disposal.......................................................................................................................... 10
3.3.1 Packaging................................................................................................................ 10
3.3.2 Disposal of Microscope............................................................................................ 10
4Operating Safety .................................................................................................................... 11
4.1 Safety for Operating Staff................................................................................................ 11
4.2 Operational Safety .......................................................................................................... 11
5Initial Operation...................................................................................................................... 12
5.1 General Information......................................................................................................... 12
5.2 Connection...................................................................................................................... 12
5.3 Starting the Software....................................................................................................... 13
6Menu Structure....................................................................................................................... 15
7Changing the Slides............................................................................................................... 16
8Changing the Objective.......................................................................................................... 18
9Care of the microscope .......................................................................................................... 21
10 Troubleshooting.................................................................................................................. 22
11 Service ............................................................................................................................... 23
12 Specifications and Dimensions........................................................................................... 24
12.1 General Specifications .................................................................................................... 24

iii
12.2 Environmental Conditions ............................................................................................... 24
12.3 Operating Data................................................................................................................ 25
12.4 Specification of Z-axis..................................................................................................... 25
12.5 Specification of XY- stage ............................................................................................... 25
12.6 Objective Prerequisites ................................................................................................... 25
12.7 Optical and Imaging Data................................................................................................ 26
List of Figures................................................................................................................................ 27

1Indications for Usage of Microscope
15.01.2016 Operating Manual M8 Page 4 of 27
1 Indications for Usage of Microscope
1.1 General Information
To avoid mishandling of the product, make sure to read the user manual of the microscope M8
and this user manual before installing and using the microscope.
This user manual is designed to make it easier to learn how to use the software
“TouchMicroscope” and take advantage of its intended applications.
This user manual contains important information designed to operate the Digital Microscope M8
safely, properlyand economically. Observing these instructions helps to avoid risks, reduce repair
costs and downtime and increase the reliability and lifetime of the product.
This user manual must be stored away within reach of the device!
In addition to the general operating instructions, observe and instruct legal and other binding
regulations relating to accident prevention and environmental protection! Such obligations may
also be, for example, the handling of hazardous materials or the provision / wearing of personal
protection.
This manual can’t cover all cases necessary for safety instructions. Therefore, it does contain
only a small variety of safety provisions. Hence, it lies in the user’s responsibility to use the
equipment with diligent care and consideration.
Staff, charged with operating the device, must read the operating instruction (particularly the
chapter safety instructions) before working with the product.
The microscope is certified to DIN EN 61321-1 (VDE 0843-20-1:2013-07) and DIN EN 61326-2-
2 (VDE 0843-20-2-2:2013-08).
1.2 Target Group
Only staff who have been briefed and trained in the use of the digital microscope M8 and find
themselves in optimal physical and mental conditions, may use the digital microscope M8.
Each user must be taught allfunctional routines relevant to their work as well as all relevant safety
provisions.

1Indications for Usage of Microscope
15.01.2016 Operating Manual M8 Page 5 of 27
1.3 Information about used Pictograms
The following symbols are used in the operating instructions:
“General Warning”
Working and operating procedures which must be followed to avoid personal
and material damage.
“Warning: High Voltage”
Working and operating procedures which must be followed to avoid that persons
are injured or endangered by voltage-carrying elements.
“Warning: Risk of crushing”
Working and operating procedures which must be followed to avoid that persons
are injured or endangered by moving parts.
“Warning: Risk of inflammable substances”
Working and operating procedures which must be followed to avoid that persons
are injured or endangered by inflammable substances.
1.4 Intended Use
The Software “TouchMicroscope” is designed to operate the Digital Microscope M8. It is intended
to investigate and digitize samples, mainly histological samples and sections, on glass slides.
Scope of application:
- Research
- Teaching
- Life Science
- Industry

1Indications for Usage of Microscope
15.01.2016 Operating Manual M8 Page 6 of 27
The digital microscope is not intended for applications that require a medical
certification! Not for use in diagnostic procedures!
Although this device is tested for compliance with the electromagnetic radiation emission limit
(EMC), there remains a risk of affecting other devices.
This device must not be placed in a room with life support devices!
.
Specification of intended microscope slides:
Two types of slides with the following dimensions can be used on the x-y-stage.
a)
Length
75.5mm ± 0.5mm
Width
25.5mm ± 0.5mm
Thickness
1mm ± 0.05 mm
b)
Length
75.5mm ± 0.5mm
Width
51 mm ± 1mm
Thickness
1mm ± 0.05 mm
It is considered as improper use, if slides or objects with dimensions other than
shown in above specification list are used with the microscope. The microscope,
the objective and the slide may be damaged.
The device is constructed according to state of the art and accepted safety-relevant regulations.
Improper use of this device can result in danger for life and health, for this device and connected
devices. Any other use or extended use is considered as improper use. The manufacturer and
supplier shall not be liable for any resulting damage.
The intended use includes following the instructions in this manual.

1Indications for Usage of Microscope
15.01.2016 Operating Manual M8 Page 7 of 27
Operate the device only in a technically perfect condition. Malfunctions which can
impair safety must be remedied immediately!
1.5 Key Features of the Microscope M8
1. View specimen on glass slides in high magnification (20x, 40x, 60x,100x)
2. View large areas of slides in high magnification, annotate, measure and count.
3. Scan/ Digitize of specimen on glass slides for documentation and further examinations.

2Scope of Delivery
15.01.2016 Operating Manual M8 Page 8 of 27
2 Scope of Delivery
Digital Microscope M8
Objective with 20x magnification (scope of delivery can differ, objective with other
magnification or further objectives are available upon request)
„All in One“ – computer with touch screen (Dell) with pre-installed operating system and
supplies like power plug, mouse and keyboard
All required connecting cables like USB 3.0 cable
Microscope software „TouchMicroscope“
Viewer software „VirtualMicroscope“
Protective dust cover
Figure 2.1: Digital Microscope and PC

3Transport, Storage and Disposal
15.01.2016 Operating Manual M8 Page 9 of 27
3 Transport, Storage and Disposal
In this chapter you will find information about the correct storage and disposal of this device.
Please read these instructions carefully and observe the notes contained therein.
3.1 Transport
Always carry the microscope using two hands. Grab the microscope below the
girder holding the microscope head. Improper carrying of the microscope can
cause dropping of the device damaging the microscope and the slides.
Figure 2: Illustration of correct grabbing position for safe transportation of the microscope.
While lifting the microscope, be careful not to lift the side parts of the microscope
as they are fixed magnetically. Moving of the side parts of the microscope can
cause a dropping of the device so that damage to the microscope and the slides
can occur. Additionally, shifted side parts can cause scratches to the microscope
head and thus causing damage to it.
When moving the microscope, never grab the x-y-stage. You may damage it.
3.2 Intermediate and Permanent Storage
This device is equipped with advanced mechanical and electronic components.

3Transport, Storage and Disposal
15.01.2016 Operating Manual M8 Page 10 of 27
To maintain the function of the device, observe following instructions for intermediate and
permanent storage:
The storage location must be dry and without precipitation.
The device must be protected against sunlight.
The device must be protected against fine sand and dust.
The device must be protected against aggressive substances such as abrasive solvents.
The floor must have sufficient load-bearing capacity and withstand the gross weight of
the device over a longer storage period.
The temperature range is limited from 10 °C to 40°C.
To avoid condensation of the packaging film, the maximum relative humidity is 75%.
Always cover the microscope with the protective dust cover (provided with the
instrument) when it is not in use. Therefore, ensure that the microscope is turned off.
The device should be placed in an environment with low incidence of extraneous light in
order to ensure high quality images with correct illumination.
3.3 Disposal
3.3.1 Packaging
Dispose the materials that were used for packaging of the appliance environmentally friendly and
supply it to the local disposal facility. Check your local disposal regulations for further information.
3.3.2 Disposal of Microscope
This device falls under the EU Directive 2002 / 96 / EU in order to reduce the increasing amount
of electronic waste. This device may not be disposed in unsorted residual and domestic waste!
Check your local disposal regulations for further information.

4Operating Safety
15.01.2016 Operating Manual M8 Page 11 of 27
4 Operating Safety
4.1 Safety for Operating Staff
Maintenance or repair which requires to open the housing, shall be performed by
no other person except staff of PreciPoint GmbH. Inside of the device prevails
life-threatening voltage.
There is a risk of injury if a hand is placed between x-y-stage and the objective or
head part of the microscope while the z-axis moves down. The hand may only be
placed between x-y-stage and objective if the objective or the slide has to be
changed. Read the corresponding chapters for further details.
There should be no long sight contact to the active LED, built into the x-y-stage.
The bright light can damage the eyes.
4.2 Operational Safety
The system may only be operated with the indicated power supply voltage. Wrong
voltage may lead to the destruction of the device.

5Initial Operation
15.01.2016 Operating Manual M8 Page 12 of 27
5 Initial Operation
5.1 General Information
The microscope needs time to adapt to the ambient temperature. Use the microscope only after
a waiting time, if the temperature in transport or storage environment strongly differs from the
temperature in the operating environment.
5.2 Connection
First, the computer should be connected to the digital microscope: Put the USB cable into the
USB 3.0 cable connection of the digital microscope and fasten this cable in place using the
enclosed screws. Now take the other end of the cable and plug it into a USB 3.0 cable port on the
computer. Now, plug the power cord into the power cable connector of the digital microscope.
Check that the plug is firmly placed in the connector. The power cord is now plugged into an
electrical outlet (please pay attention to the operating data). The cable for the x-y-stage is
preinstalled. Make sure that all cables used are without damage and that the magnetically fixed
side parts of the M8 are in proper position and are not in touch with parts moving on the z-axis.
Make sure that the computer is turned on and booted safely. Wait at least 3 minutes after booting
before proceeding without taking further actions. Now you can switch the device on by using the
toggle switch on the back of the microscope. When the switch is depressed in I, the unit is turned
on. Once the switch is depressed at O, there is no active power supply.
Figure 5.1: Rear sight of Digital Microscope M8

5Initial Operation
15.01.2016 Operating Manual M8 Page 13 of 27
5.3 Starting the Software
Before starting the software, (1) ensure that the microscope is properly connected to the
computer, (2) that the power connection to the microscope is established and (3) that the
microscope is turned on.
1. After turning on the microscope, wait for about 30 seconds. Then, double-click on the
white desktop shortcut TouchMicroscope. Alternatively you can start the software by a
Double Tap on the screen.
Figure 5.2: Desktop shortcut of the microscope software „TouchMicroscope“
2. Thereafter an opening screen appears and the microscope will connect to the computer –
initializing the camera, the overview camera, the z-axis and the x-y-stage.
Figure 5.3: Opening screen of the microscope software „TouchMicroscope“
3. Wait until all components are initialized (see left part of the start screen). After the
initialization has been completed, the buttons at the bottom will be activated / unlocked.

5Initial Operation
15.01.2016 Operating Manual M8 Page 14 of 27
Figure 5.4: Opening screen of the microscope software „TouchMicroscope“ with initialized hardware and
unlocked buttons
1. Ensure that the displayed objective in the opening screen fits to the objective mounted in
the microscope. If this is not the case, switch the configuration by pressing Change
Objective. Select the appropriate objective (see chapter 8).
Never run the microscope with inappropriate objective configuration. This can
cause damage to the objective, the M8 and the slide.
2. Choose the operating mode of desire. You can choose between Live, Synthetic and
SlideScan. Detailed information about the different modes can be found in chapter (6) on
page 15.
3. Now you will be asked to place the slide into the designated mount of the x-y-stage.
Instructions on how to do this can be found in chapter 7 on page 16.
4. When you are finished with the insertion of the samples, click the Continue - button in the
dialogue-window of the software. You may now start using the M8.

6Menu Structure
15.01.2016 Operating Manual M8 Page 15 of 27
6 Menu Structure
In Live-Mode, the transmitted image from the microscope camera is shown live on the screen.
Only a particular area of the sample can be seen. A fast navigation to different areas within the
sample is possible by navigating in the overview picture at the top right. By using the manual
focus adjustment on the right side of the shown picture, the z-axis is lifted/lowered and the sample
can be re-focused. It is also possible to focus with the help of the autofocus button. You may save
snapshots of the picture to the hard drive of the computer.
The Synthetic-Mode features Live-Stitching: Concatenation of individual pictures taken at the
maximum resolution of the objective within seconds to a full single picture. A fast overview of the
specimen is available (top left) while zooming seamlessly through the details of the sample is
possible as well. A change of objective is not necessary, since the live-stitching enables
magnification of 1x-350x with the use of a single objective. Once a magnification smaller or equal
the magnification of the objective is achieved, the live-image will be shown in the middle of the
screen and functions of the Live-Mode like autofocus and manual focus will be made available.
Additionally, in Synthetic-Mode areas can be marked, annotated, measured and counted. All
measurements etc. can be saved and exported onto the hard drive in a CSV-format file. Beyond
that, manipulation of the shown image is possible. For example, changes in contrast and
brightness are possible. Snapshots of the image may be saved onto the hard drive as jpg or png.
With the aid of the SlideScan-Mode you are able to digitize your samples and to observe it later
on with the software VirtualMicroscope. Mark the parts of the sample which you would like to
scan and choose the scan-mode most appropriate for the slide. Four different scanning-modes
are available differing in speed and quality.

7Changing Slides
15.01.2016 Operating Manual M8 Page 16 of 27
7 Changing Slides
There are two possibilities for the change of slides:
a) When starting the software, after selecting of the operation mode you will always be asked
to insert a slide.
b) In every mode you can press the button Change Slide in order to start the replacement
mechanism. This button is located in the bottom right of the Toolbar.
Figure 7.1: The „Change Slide” button
Both possibilities follow the same procedure:
1. Wait until the following dialogue is shown on the screen, which asks you to insert a slide
Figure 7.2: The „Change Slide“ dialogue
Never put your hand between x-y-stage and z-axis while the z-axis is moving.
There is a danger of bruising.
2. Now insert the slides:
The optical components of the microscope should be clean (objective and glass
plate of the x-y-stage). This is important for achieving good optical performance.
It shall be cleaned with a fuzz-free cloth, lens tissue, or cotton swab moistened
with a commercially available glass cleaner.

7Changing Slides
15.01.2016 Operating Manual M8 Page 17 of 27
a. Move the slide mount to the right by using the handle (blue handle in Error! Reference
source not found.). Hold this position while changing slides
Figure 7.3: Opening the slide mount by moving the handle
b. By using the left hand, put the first slide gently onto the glass plate and move the slide
gently to the rear of the holder until the stop is reached. The slide mount shall be kept
open the whole time in order to prevent damage to the slide.
Figure 7.4: Insertion of the slides
a. Repeat step b in order to insert a second slide. When all slides are mounted, you can
release the handle. The slide mount closes automatically.
If you want to remove slides, proceed in the same way as described above.
3. When you are finished inserting the slides press Continue in the dialog window of the
software. Now an overview image of the inserted samples is generated.
Never apply undue force to scrub the surfaces. This can lead to scratches
influencing the optical performance.
Never plug in the microscope when using inflammable substances for cleaning.
This can cause electric sparks inflaming the substances and causing damage to
the microscope and injury to the body.

8Changing the Objective
15.01.2016 Operating Manual M8 Page 18 of 27
8 Changing the Objective
1. Start or restart the program TouchMicroscope and wait until all the hardware
components have initialized.
2. Press the button „Change Objective“ and wait until the z-axis stands still.
Figure 8.1: „Change Objective“ button in „Start-up“ dialogue
3. Now unscrew the mounted objective and place it into a designated storage box.
While unscrewing the objective, pay attention not to drop it.
Figure 8.2: Clockwise unscrewing of the objective.
4. Remove the new objective out the storage box and place it straight on the screw thread.

8Changing the Objective
15.01.2016 Operating Manual M8 Page 19 of 27
Figure 8.3: Placing the objective straight on the screw thread (essentially for allowing an easy insertion)
4. Rotate the objective counter clockwise until it reaches a stop.
Figure 8.4: Screwing of the objective counter clockwise into the screw thread.
5. Now select the mounted objective out of the list being presented by the software. Finish
the selection by pressing the button „Select Objective“.
Never use the microscope with inappropriate objective configuration. This can
cause damage to objective and slides.

8Changing the Objective
15.01.2016 Operating Manual M8 Page 20 of 27
Figure 8.5: Selection of objective configurations and the button „Select Objective“ in the „Start-up”
dialogue
If you need an additional objective or if you own an objective whose configuration is not existing
in the selection list of the software, please contact us. We are happy to help.
Other manuals for M8
1
Table of contents
Other Precipoint Microscope manuals
