Premier SX-2816DSD User manual

PREMIER CUSTOMER SERVICE
NOTE
This unit may be submitted to changes in specifications, characteristics and/or operation without prior
notice to the user, in order to continue improving and developing its technology.
CAUTION
RISK OF ELECTRIC
SHOCK, DO NOT
OPEN
Caution: To reduce the risk of electric shock do not open
this device, there are not serviceable parts for customers.
Please refer any maintenance or repair to qualified
personnel.
This sign means the existence of dangerous voltage at
the inside of the unit, which states a risk of electric shock.
This sign means that there are important instructions of
operation and handling in the manual that comes with this
device.
300-5185
Panama:
01-900-331-PEJC (7352)
:
USER MANUAL
DVD/VCD/SVCD/CD/MP3/MP4
AM/FM Stereo Radio/Cassette Recorder
Remote Control/USB+SD/MMC Port
SX-2816DSD
DEAR CUSTOMER
In order to achieve the best performance of your product, please read this
instruction manual carefully before using, and keep it for future reference.
If you need extra support, please write to info@premiermundo.com

Page 2
Page 3
SAFETY INSTRUCTIONS
1. READ INSTRUCTIONS- All the safety and operating instructions should be read before the
appliance is operated.
2. RETAIN INSTRUCTIONS- The safety and operating instruction should be retained for
future reference.
3. HEED WARNINGS-All warnings on the appliance and in the operating instructions should
be adhered to.
4. FOLLOW INSTRUCTIONS-All operating and use instructions should be followed.
5. WATER AND MOISTURE- The appliance should not be used near water, for example, near
a bathtub, washbowl, Kitchen sink, laundrytub, swimming pool or in a wet basement.
6. VENTILATION-The appliance should be situated so that its location or position does not
interfere with its proper ventilation. For example, the appliance should not be situated on a
bed, sofa, rug or similar surface that may block the ventilation openings.
7. HEAT-The appliance should be situated away from heat sources such as radiators, stoves,
or other appliances(including amplifiers) that produce heat.
8. POWER SOURCE-The appliance should be connected to a power supply only of the type
described in the operation instructions or as marked on the appliance.
9. GROUNDING-Precautions should be taken to ensure that the grounding means of an
appliance is not defeated.
10. POWER CORD PROTECTION-Power supply cords should be routed so that they are not
likely to be walked on or pinched by items placed upon or against them, paying particular
attention to cords at plugs, convenience receptacles and the point at which they exit from
the appliance.
11. POWER LINES-An out door antenna should be located away from power lines.
12. NON-USE PERIODS-The power cord of the appliance should be unplugged from the outlet
when the appliance is to be left un-used for a long period of time.
13. OBJECT and LIQUID ENTRY-Care should be taken so that objects do not fall and liquids
are not spilled into the enclosure through openings.
14. DAMAGE REQUIRING SERVICE-The appliance should be serviced by qualified service
personnel when:
A. The power-supply cord or plug has been damaged.
B. Objects have fallen into, or liquid has been spilled into the appliance enclosure.
C. The appliance has been exposed to rain
D. The appliance has dropped, or the enclosure damaged.
E. The appliance does not appear to operate normally or exhibits a marked change in
performance.
15. SERVICING-The user should not attempt to service the appliance beyond that described in
the user's operating instructions. All other servicing should be referred to qualified service
personnel.
16. ATTENTION-While this cassette deck offers a recording facility, the manufacturer wishes
to point out that recording copyright material required prior consent from the copyright
owners.
NOTES:
1) It is preferred to retain CD inside the unit even when it is not in use. This prevents dust
accumulation on optical lens.
COMPACT
DIGITAL AUDIO
2) Dirty or scratched CD may cause skipping problem. Clean or replace the CD.
3) If an erroneous display or malfunctions occurs, disconnect the AC Cord and remove all the
batteries(where applicable) to turn off the display. Then turn the power back on.
- No naked flame sources, such as lighted candles. Should be placed on the apparatus.
- The apparatus shall not be exposed to dripping or splashing and that no objects filled with
liquids, such as vases, shall be placed on the apparatus.
- Disconnect the power sources by pulling the mains plug, mains plug shall remain readily
operable.
BEFORE OPERATION NOTES-CONCERNING
COMPACT DISCS.
Since dirty, damaged or warped discs may damage the unit, care should be taken of the
following items:
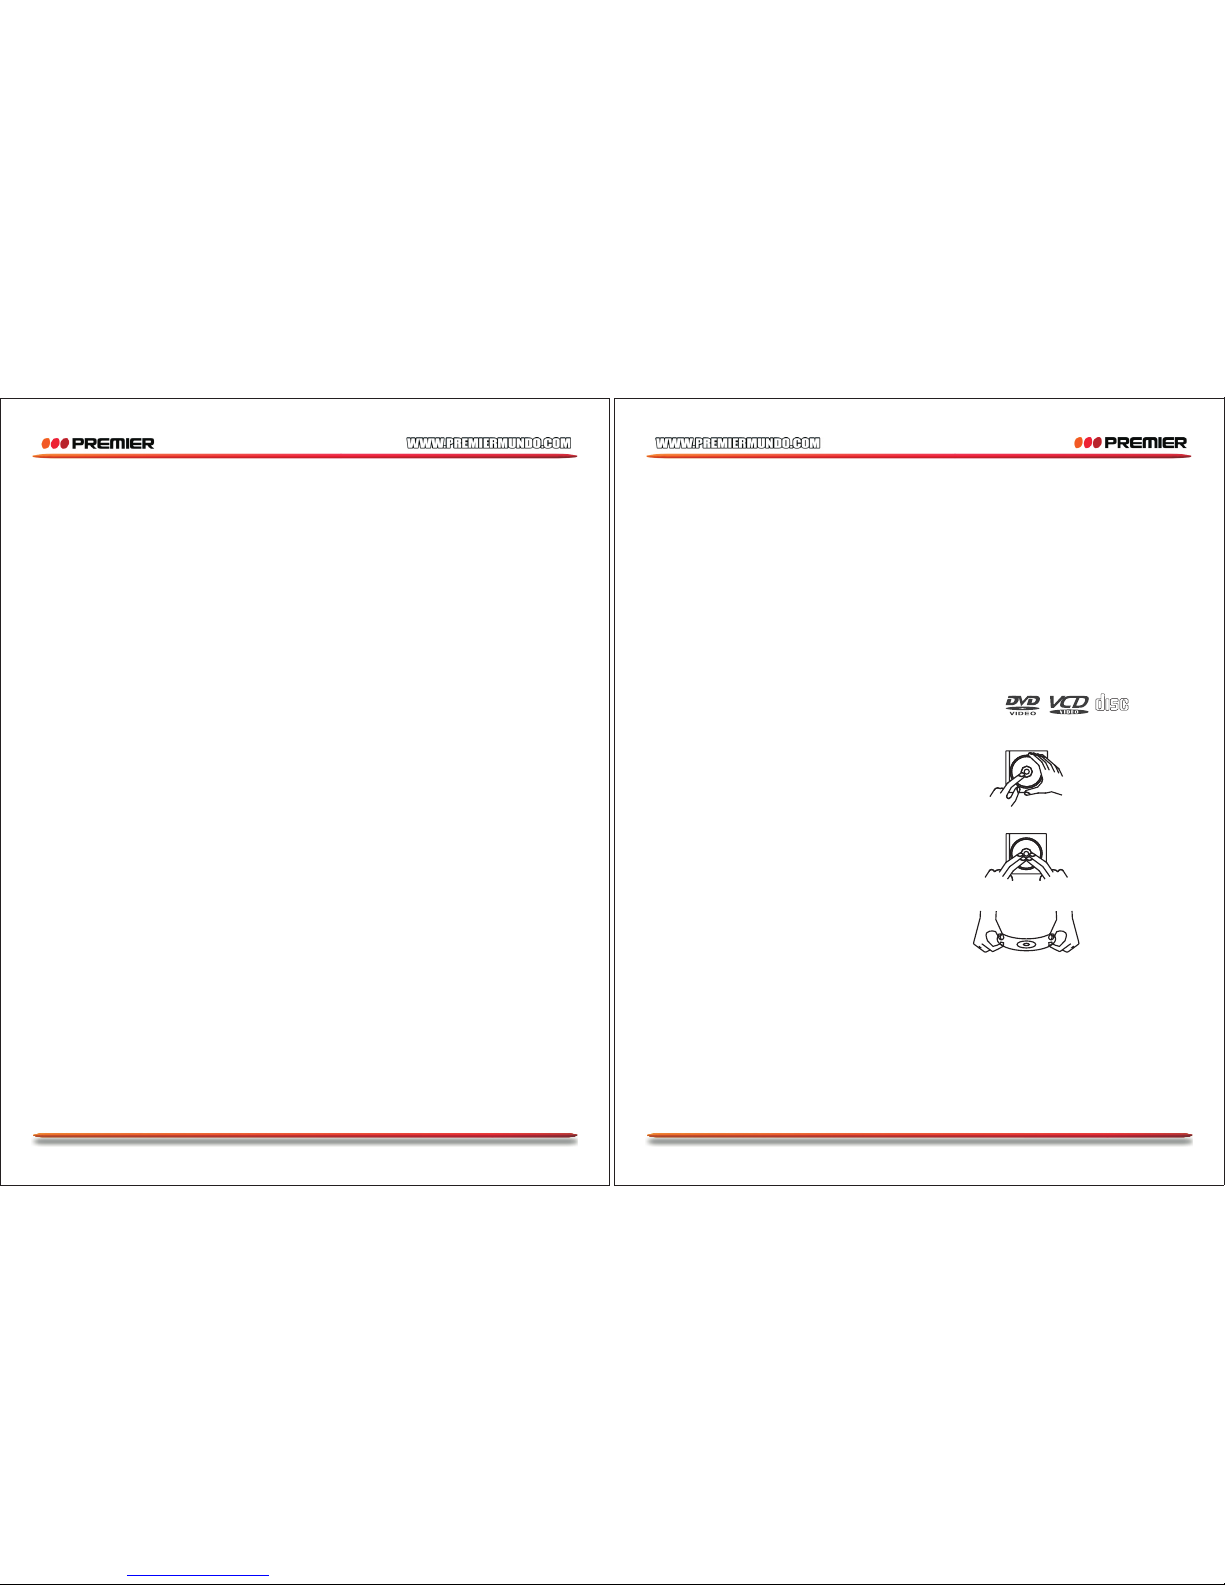
1. a. Usable compact discs
Use compact disc only with the mark shown on the disc.
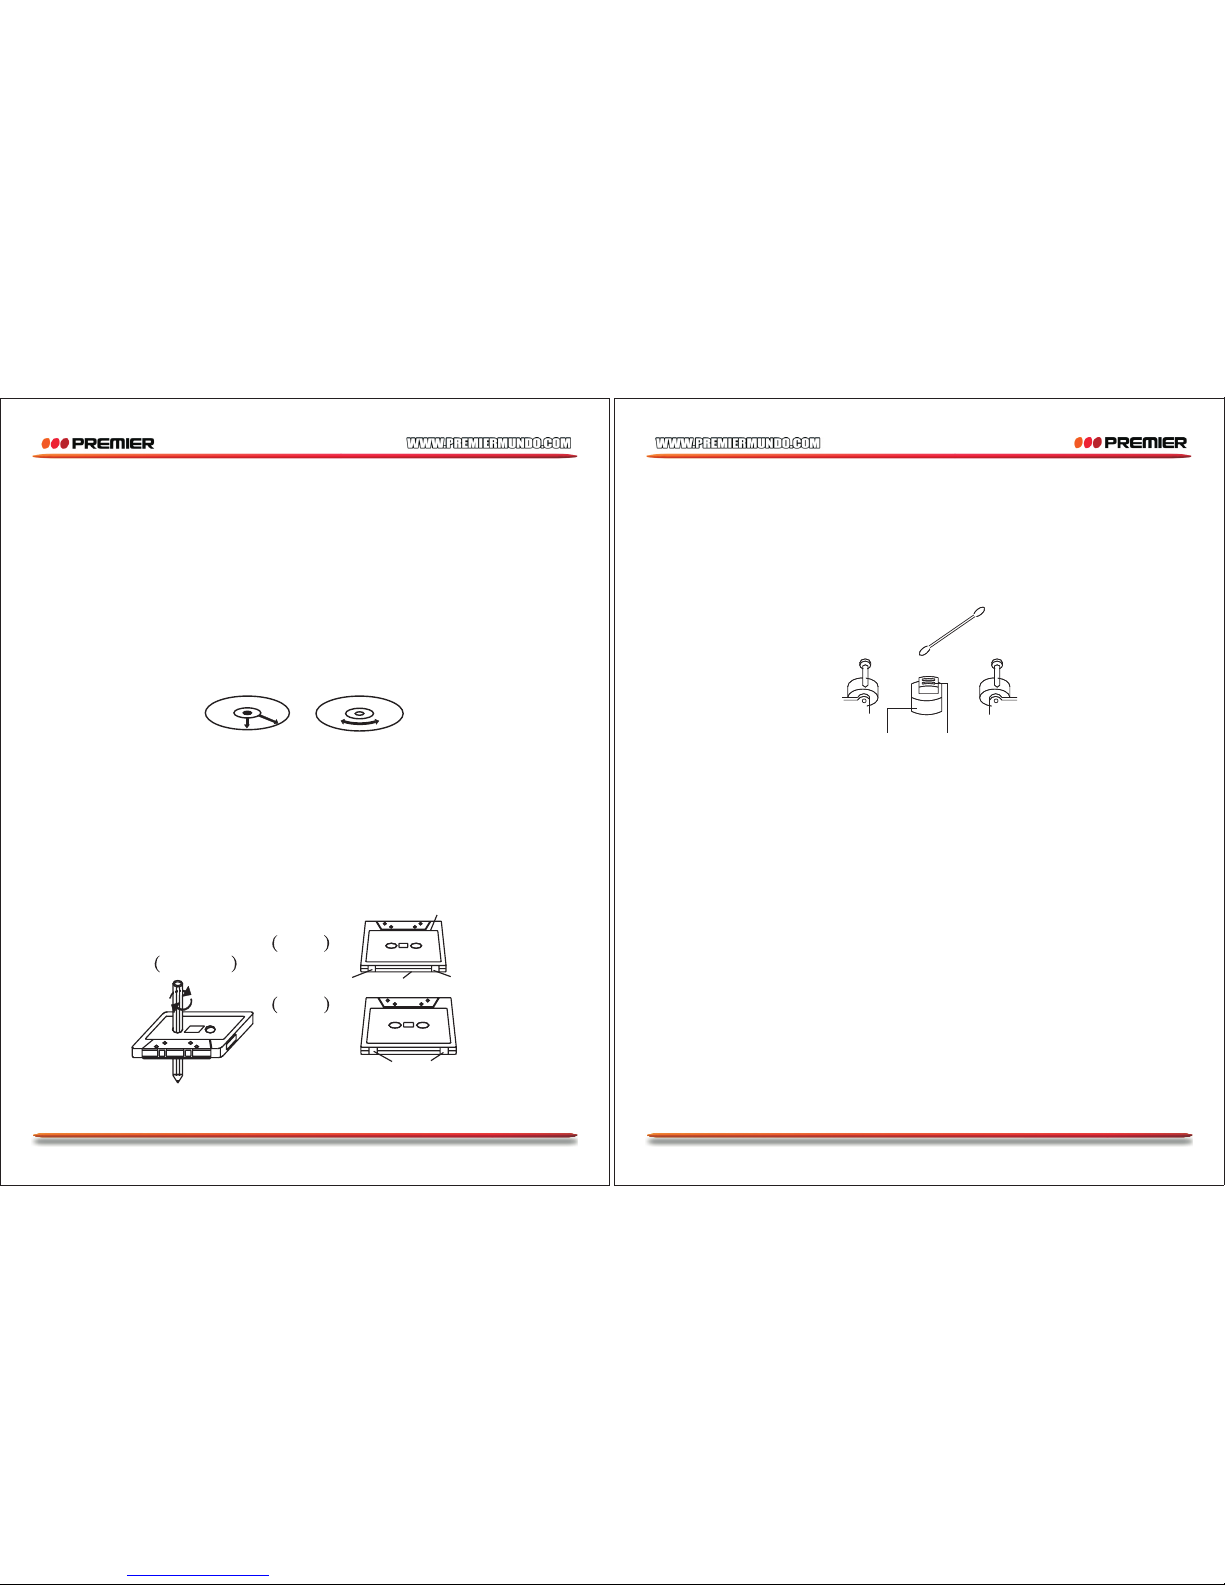
2. A.Notes on handling discs
Removing the disc from its storage case and loading it.
PRESS THE CLAWS AT THE CENTER OF THE DISC CASE.
INSERT WITH THE LABLE FACING UP.
LIFT UP WITHOUT TOUCHING THE RECORDED SURFACE
PRESS THE DISC GENTLY TO INSERT IT.
DO NOT PASTE OR WRITE ANYTHING ON THE SURFACE.
Do not bend compact discs.
Incorrect
B.NOTES ON VIDEO CDS
This player confirm version 2.0 of video CD standards. You can enjoy the playback according to
the disc i.e. Video playback(moving pictures) as well as music.
CAUTION Small impact while video disc is playing can cause abnormality on pictures.
- Because video disc reproduces data compressed in 1/100 of regular disc, even a minor
scratch on its surface can cause enormous influence on video and audio and even make
the disc unusable. Therefore, more care is required.
- A mosaic with faint checker pattern can appear on the pictures with many movements and
detailed motion, however this is not a defect.
- While Audio CD is playing, video logo is displayed on the TV screen. However this is not a
defect.

3. To store cassette tapes:
Do not store tapes in places which are subjected to direct sunlight, or near equipment
that generates heat, keep cassette tapes away from any magnetic field.
4. 120-minute cassette tape:
Since 120-minutes cassette tape are very thin, the tape could adhere to pinch roller
or be easily cut.
5. Endless tape:
Do not use an endless tape, as this could damage the mechanism of the unit.
6. Cleaning Tape Heads
Cleaning tape heads and peripheral components:
For maintaining the best condition of the deck and for longer service life, always keep
the head (recording/playback/erase) capstan and pinch roller clean.
To clean them, perform the following:
1. Open the cassettes holder.
2. Using a cotton swap dipped in alcohol. Clean the head (recording / playback /
erase), capstan and pinch roller carefully.
3. To store cassette tapes:
Do not store tapes in places which are subjected to direct sunlight, or near
equipment that generates heat, keep cassette tapes away from any magnetic
field.
7. Demagnetizing the head:
When the recording/ playback head is magnetized noise will increase in the playback
sound. In such a case, demagnetize the head using a commercially available
demagnetize( Head eraser)
Note: there are precisely aligned parts, around the heads, including the tape guides. When
cleaning pay special attention so as not to apply shock to them.
BEFORE OPEATION NOTES ON SET
- Beware of condensation
When water vapour comes into contact with the surface of cold material, water droplets are
produced. If condensation occurs, correct operation may not be possible or the unit may not
function correctly.
However, this is not a malfunction, and the unit should be dried(To do this, turn the POWER
switch ON and leave the unit as it is for several hours.)
- Be especially careful in the following conditions.
Page 4
Page 5
PLAYING THE VIDEO CD
BASIC OPERATION
You can play video CD's with PBC (Version 2.0) function. Before you begin, make sure you've
connected the system to a TV correctly and firmly.
Turn on the TV and select the video input so that you can view the pictures from the system.
TO ENJOY GOOD QUALITY VIDEO & AUDIO
Discs should be kept clean at all times. Stains, scratches and dust on disc's surface cause bad
quality video and audio. Never touch disc surface.
3.STORAGE
After removing a disc from the unit, be sure to put it back in its case.Do not expose discs to
direct sunlight, high temperatures from a heater, etc, high humidity, or dust.
Cleaning discs before loading a disc, wipe off any dust, dirt or fingerprints with a soft cloth.
Discs should be cleaned by wiping radially, from the center to the edge.
FROM THE CENTER TO THE EDGE
This unit has been designed to play 8cm or 12cm compact discs bearing the identification
logo shown on the disc. Never use thinner, benzene, record cleaner or antistatic spray on a
compact disc.
BEFORE OPERATION NOTES ON CASSETTE TAPE
1.Loose tapes may cause trouble. With a pencil etc. gently tighten the tape as
shown(Figure 1)
To prevent recordings from being erased accidently, remove the tabs with a screw driver, etc.
(Figure 2). If you want to record a tape whose tabs have been broken, stick some cellophane
tape over the holes. (Figure3).
Correct Incorrect
Figure 1
Fig.2
Fig.3
Side A
Tab ATab B Side B
Adhesive tape
COTTON SWAB
CAPSTAN
HEAD TAPE
GUIDE
PINCH
ROLLER

Page 6
Page 7
1. When the unit is brought from a cold place to a warm place, and there is a large
temperature difference.
2. When a heater starts operating.
3. When the unit is brought from an air-conditioned place to a place of high temperature with
high humidity.
4. When there is a large different between the internal temperature of the unit and ambient
temperature, or in conditions where condensation occurs easily.
- Protect your unit/ set from rain, fire, moisture, sand, dust, chemicals & excessive heat (e.g.
Near heating equipment or in vehicles parked under the sun)
LOCATION CONTROLS OF UNIT
FRONT VIEW
TOP VIEW
13
15
14
16
17
18
26
24
25
23
22
21
20
19
30
31
33
32
29
0/10 10+
VOL SKIP
39
41
44 45
46
11
59
12
52
56
35
34
36
37
40
43
47
48
49
50
9
51
10
3
53
54
57
58
63
21
42
55
64
65
66
67
68
69
70
38
71
+
-
60
61
9
10
8
11
12
3
7
62
BACK VIEW
LOCATION CONTROL OF REMOTE CONTROL

Page 8
Page 9
1.SEARCH FORWARD KEY
In CD/USB/SD mode: To search up during play. The disc will be scanned quickly in forward
direction. When playing VCD, each time you press this button the TV screen shows
orderly
:
2.SEARCH BACKWARD KEY
In CD/USB/SD mode: To search down during play the disc will be scanned quickly in backward
direction. When playing VCD, each time you press this button the TV screen shows orderly:
3.REPEAT KEY
In CD/USB/SD mode: a single track or all tracks are played repeatedly. The repeat mode is
changed in the following cyclical manner:
4.POWER ON INDICATOR
5.CASSETTE DOOR
6.FM STEREO INDICATOR
7.REMOTE SENSOR
In CD/USB/SD mode:To receive the signals from remote control
8.MODE KEY
In CD/USB/SD mode: To select the DISC, USB OR SD(CARD) mode
9.SKIP FORWARD KEY
In CD/USB/SD mode: To select next track
10.SKIP BACKWARD KEY
In CD/USB/SD mode: To select previous track
11.DISC PLAY/PAUSE KEY
In CD/USB/SD mode: To start or interrupt the play
12.DISC STOP KEY
In CD/USB/SD mode: To stop the play
13.FUNCTION SWITCH
To select the function of set: RADIO/TAPE/DVD(USB/SD)/AUX
14.VOLUME KNOB
15.BUILT-IN MICROPHONE
16.CASSETTE PAUSE KEY
In tape mode: To pause the cassette play.
17.CASSETTE STOP/EJECT KEY
In tape mode: To stop the cassette play or eject the cassette door.
18.CASSETTE F.FORWARD KEY
In tape mode: To start fast forward of the cassette
19.CASSETTE REWIND KEY
In tape mode: To start rewind of the cassette
20.CASSETTE PLAY KEY
In tape mode: To play the cassette
21.CASSETTE RECORD KEY
In tape mode: To start recording
22.CD DOOR PUSH OPEN
Press this to open the CD door
23.TUNING KNOB
24.DIAL SCALE
25.BAND SWITCH
In radio mode: To select the receiving band
26.CD DOOR
27.
29.BATTERY DOOR
30.AUDIO OUT
31.AC SOCKET
32.VIDEO OUT
33.MIC JACK
34.MUTE KEY:
In CD mode: To mute the sound
35.DIRECT(NUMBER) KEY:
In CD mode: To select the desired track directly
36.LANGUAGE KEY
37.SUBTITLE KEY
During DVD playback, press<SUBTITLE> repeatedly to select from 32 subtitle languages.
Note: This function is disc specific (language will vary).
38.3D SOUND KEY
39.ANGLE KEY
During DVD playback, press<ANGLE> to view scenes from different camera angles.
Press<ANGLE> repeatedly to change from one camera angle to another.
40.N/P KEY
In VCD/DVD mode: To select the color system(PAL/NTSC)
41.SET UP KEY
42. KEY
43. KEY
44.RETURN KEY
45.PROGRAM KEY
In CD mode, this key used for setting of program
46.PBC KEY
When press this key, a list of various tracks will be shown.
Remark: This feature is only applicable to VCD2.0 Disc
47.TIME KEY
In CD mode: To select four digits time& to start play from that instant.
48.VOL – KEY
In CD mode: To decrease volume level
49.VOL + KEY
In CD mode: To increase volume level
50.CLEAR
Press <CLEAR> to delete numbers you have selected.
Press once to delete one digit.
Press and hold to delete all digits.
AUX/MP3-IN JACK
28. 12V DC JACK
Table of contents
Other Premier Radio manuals