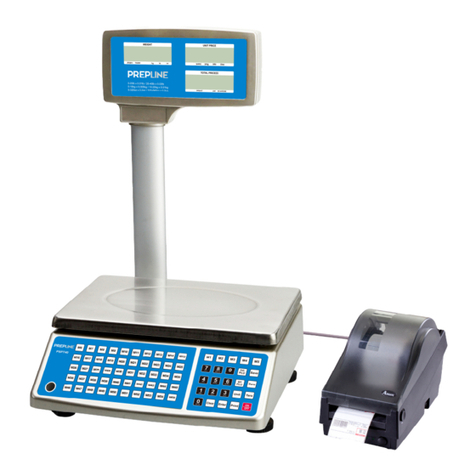
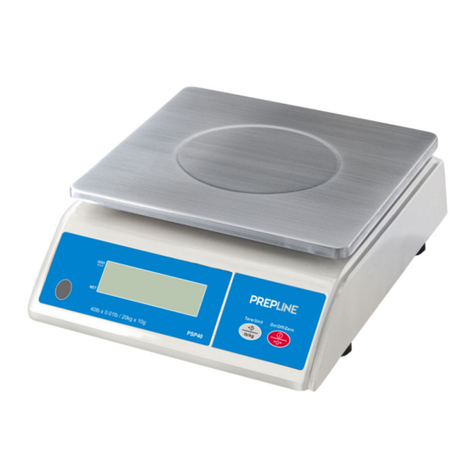
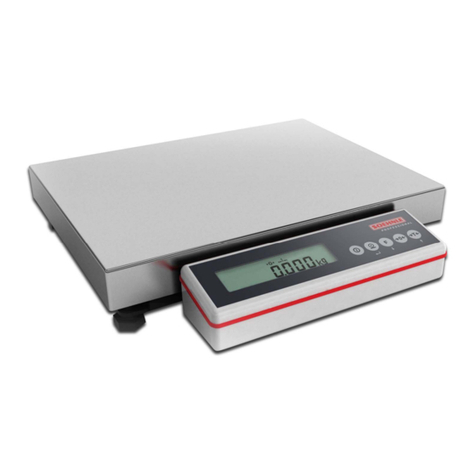
PREPLINE PSP20 User manual

PSP20
User Manual
Contents subject to change without notice
Version 1.0
05/2021

General Information
General InformationGeneral Information
General Information
Thank you for purchasing the scale. Please read all operating instructions carefully before using
and note the following points
1. Avoid lengthy exposure to extreme heat or cold, as your scale works best when operated at
normal room temperature.
2. Dust, dirt, moisture, vibration, air currents can cause an adverse effect on the reliability and
accuracy of your scale.
3. Handle with care. Gently apply all items to be weighed onto the tray top.
4. Do not operate near an in-use cell phone, radio, computer or other electronic devices as they
emit RF and may cause unstable scale readings.
5. Clean the scale with soft fabric and clean water or a little mild detergent. Avoid water or other
liquid infiltration in the scale as this could cause short circuit of the scale, danger of injury or
death to the user.
6. The scale requires no routine maintenance. However, it is advisable to check the accuracy at
periodic intervals. The frequency depends on the use and condition of the scale.
Setup instructions
Setup instructionsSetup instructions
Setup instructions
Protect the device from shocks, vibrations, strong heat or cold, drafts, chemicals and moisture
by choosing a location where it will be installed.
1. Place the scale on a firm, free and horizontal surface.
2. Make sure that no cables or other objects are trapped under the scale.
Specifications
SpecificationsSpecifications
Specifications
Model
ModelModel
Model
PSP04
PSP04PSP04
PSP04
PSP11
PSP11PSP11
PSP11
PSP20
PSP20PSP20
PSP20
Max Capacity
Max CapacityMax Capacity
Max Capacity
2
kg
/ 4lb 6oz
5kg
/ 11lb
10
kg
/ 20lb
/ 320oz
Readability
ReadabilityReadability
Readability
0.5
g
/ 1/8oz
1
g
/ 1/4oz
1
g
/ 0.1oz
/ 0.1oz
Resolution
ResolutionResolution
Resolution
4000
5000
10000
Weighing Modes
Weighing ModesWeighing Modes
Weighing Modes
Kg, g, oz, lb oz
Display
DisplayDisplay
Display
45 mm x 1
8.5
mm LCD
Operating Temp.
Operating Temp.Operating Temp.
Operating Temp.
41°
-
104°F (5°
-
40°C)
Power
PowerPower
Power
Batteries 1 x 9V battery (included)
AC Adapter
6
V adapter with central positive (incl
uded
.)
Low
LowLow
Low
Battery
Battery Battery
Battery
Indication
IndicationIndication
Indication
“LO”
Auto
AutoAuto
Auto
-
--
-
off Time
off Timeoff Time
off Time
Selectable 0
-
30 Minutes. Default setting is 3 minutes
Platform Diameter
Platform DiameterPlatform Diameter
Platform Diameter
170 x 178 mm (L X W)
6.7" x 7.0" (L X W)
Base Dimensions
Base DimensionsBase Dimensions
Base Dimensions
180 x 255 x 68 mm (L x W x H)
7.1” x 10 x2.68" (L x W x H)

Operation
Operation Operation
Operation
1.
1.1.
1. Power on
Power on Power on
Power on
With the scale unloaded, press the ON/TARE button. When 0 is displayed, the scale is ready
to weigh.
2.
2.2.
2. Switching units
Switching units Switching units
Switching units
Press the MODE button to change the unit of measurement from kg, g to lb/oz.
3.
3.3.
3. Taring Function
Taring Function Taring Function
Taring Function
Place an empty container on the platform and press the ON/TARE button, the display will
return to zero.
Place the material or object to be weighed in the container, the net weight is displayed.
To exit the tare mode, remove all weight from the scale. A negative weight will appear on
the display. Press the ON/TARE button to reset the display to zero and clear the weight of
the container.
4.
4.4.
4. Weighing
WeighingWeighing
Weighing
Place the weight on the scale as centrally as possible.
After switching on the scale with the “ON/TARE“ button, all segments are shown on the
display. Please wait until the zero appears, then place the weight on the scale and read off
the shown weight..
5.
5.5.
5. Auto
Auto Auto
Auto -
--
-
switch
switchswitch
switch-
--
-off
off off
off
To save the battery life, the scale provides auto-off function when there is no operation to
the scales in 90 seconds.
6.
6.6.
6. Counting
CountingCounting
Counting
6.1 Power on the scale and wait the display showing “0”, put (25, 50, 75, 100) objects as
sampling to weigh. When the reading is stable, press the button “PCS” to choose the
correspondingly sampling quantity (25P, 50P, 75P, 100P), then press “ON/TARE”, the
showing quantity should equal to the chosen sampling quantity and the “C” will be shown,
indicating sampling successful.
Note The weight of single object should≥2.5d(d=division), otherwise the sampling would
not be workable.
6.2 Now you can add many same objects for weighing and counting.
6.3 After set up the counting quantity, press “PCS” to switch counting and weighting function.

6.4 For setting a new reference weight, press and hold the „PCS” -key until the display starts
blinking, then continue as from step 1.
Calibration
CalibrationCalibration
Calibration
To perform the calibration, you need exactly standard weight.
1.1 When the scale is switched off press and hold the “MODE“ key.
1.2 Additionally press shortly the “ON/TARE“ key, the display shows a number.
1.3 Release the “MODE“ key.
1.4 Press again the “MODE“ key, the display shows „5000“
1.5 Place a 5 kg calibration weight on the scale, the display now shows “10000“
1.6 Place a 10 kg calibration weight on the scale, next “PASS“ appears on the display and
finally the scale shows the normal weighing display.
1.7 The scales is now recalibrated.
If in any case the procedure should have failed, the calibration should be repeated.
Note During recalibration, the scales should not experience any movement or draught!
Explanation of the special symbols
Explanation of the special symbolsExplanation of the special symbols
Explanation of the special symbols
1.1. Switch-On
After pressing the “ON/TARE“–key all symbols appear. One can check if all segments are
shown correctly. The “zero” which then appears shows that the scales is ready for
weighing.
1.2 Negative Weight Display
Press the “ON/TARE“–key again.
1.3 Overload
If the weight on the scales is heavier than the max. capacity of the scales, then
“O-ld“ appears in the display.
1.4 Power Supply
“Lo“ means that the battery is empty and needs to be replaced.
This manual suits for next models
2
Table of contents
Other PREPLINE Scale manuals
Popular Scale manuals by other brands
Transcell Technology
Transcell Technology ESW SERIES Operation manual
Fast Weigh Scales
Fast Weigh Scales MS-600 user manual

Withings
Withings Body Cardio Installation and operating instructions

Health O Meter
Health O Meter 3423 manual
Adam Equipment
Adam Equipment CBD Series Service manual
Charder
Charder R260 user manual
