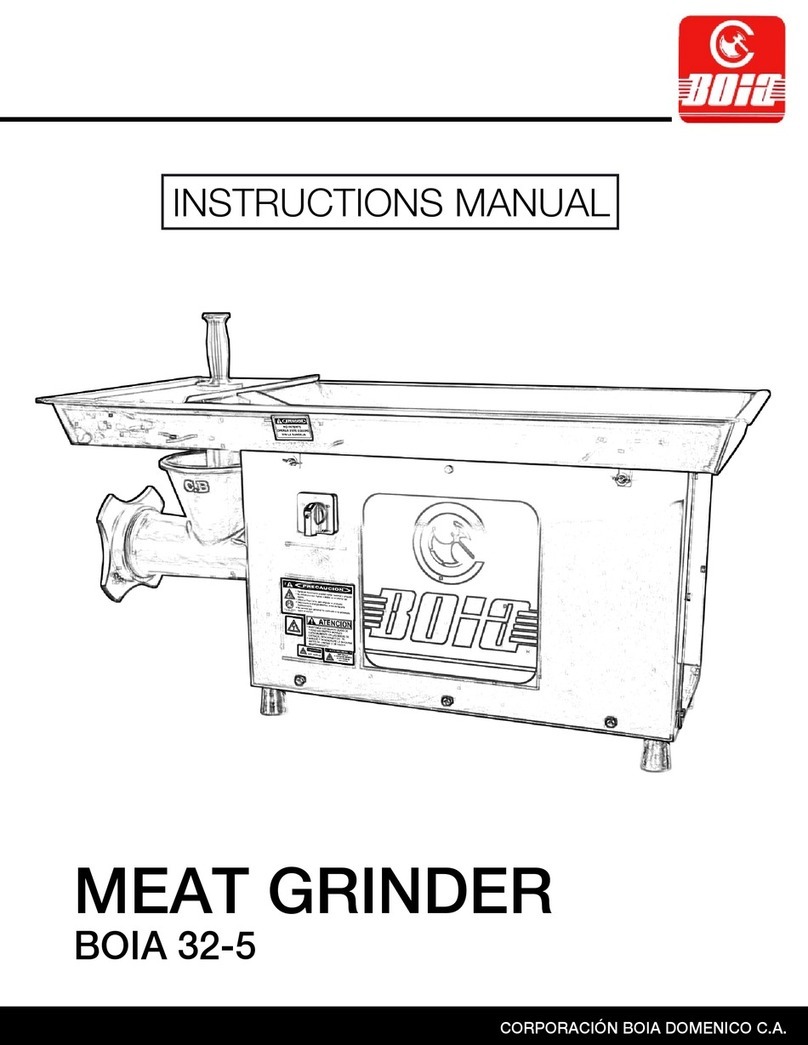
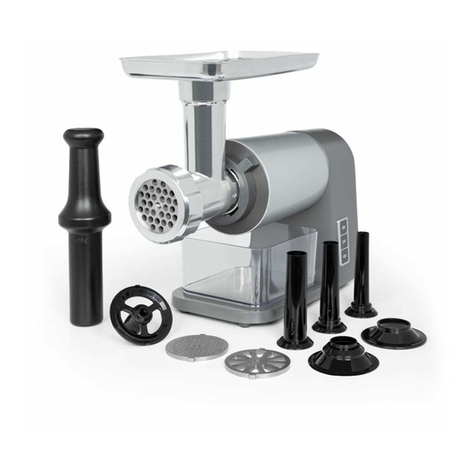
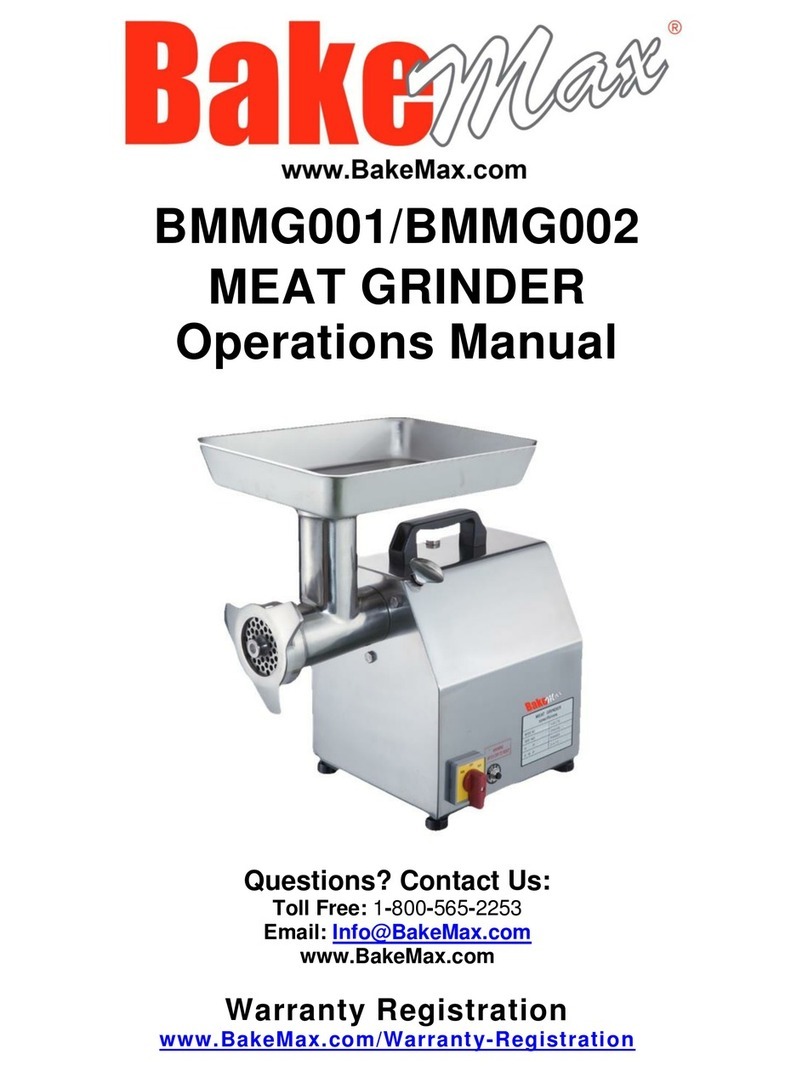
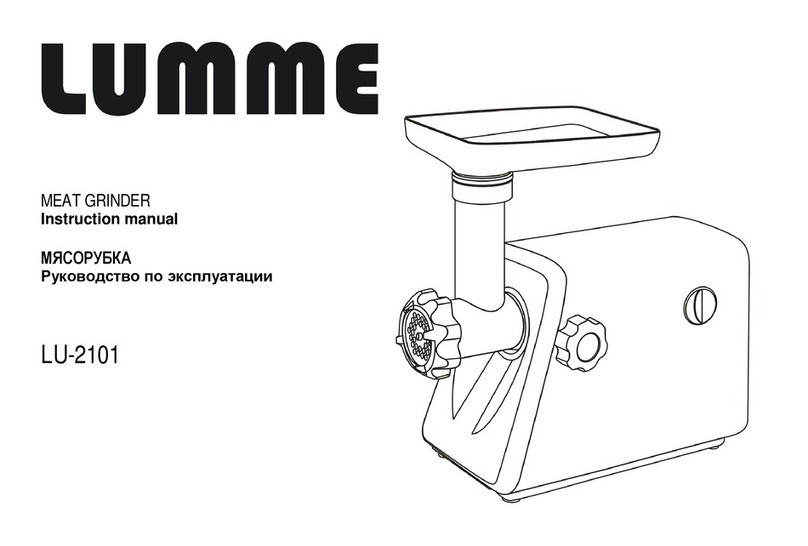
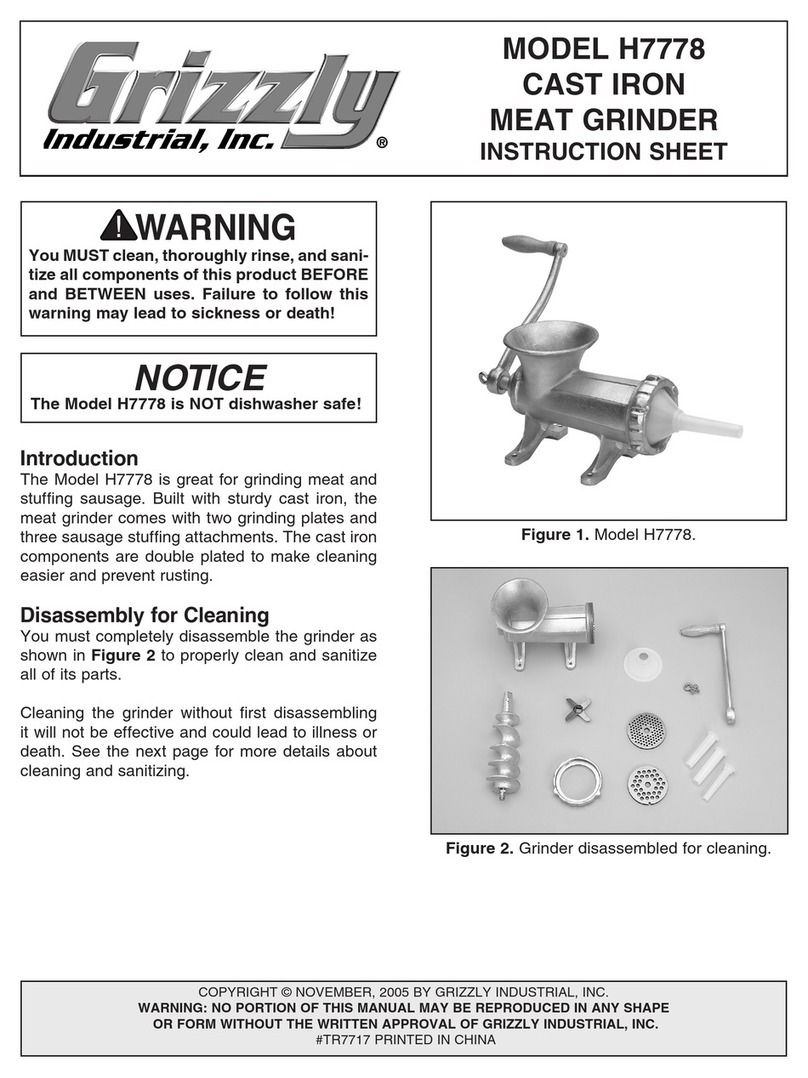
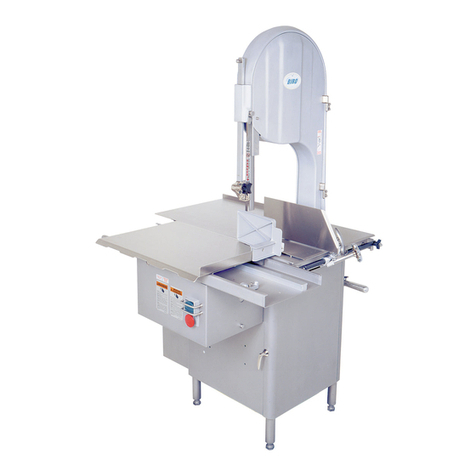
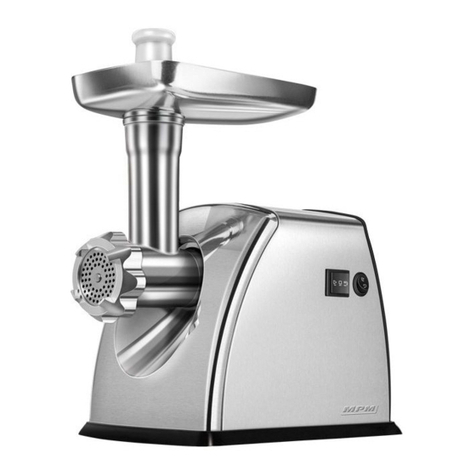
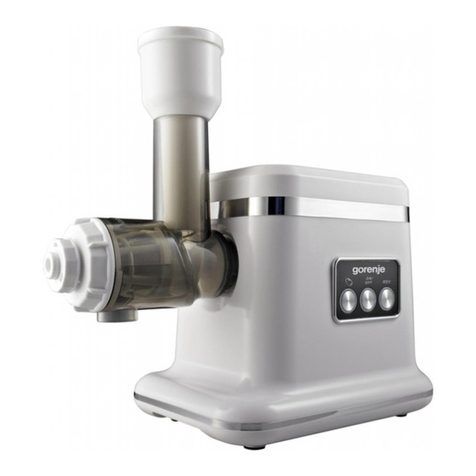
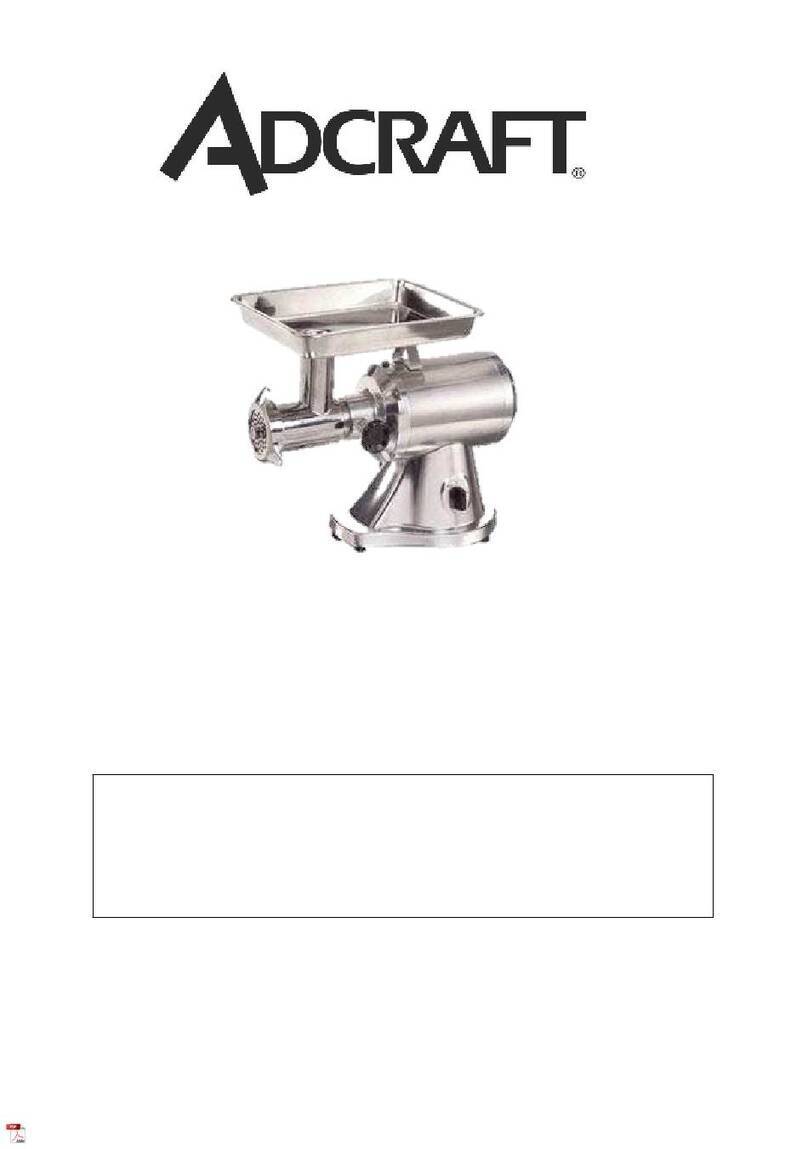
PrepPal PPG-22 Owner's manual

OWNER /OPERATOR
MANUAL
Models
PPG-12 1 HP, #12 Meat Grinder
PPG-22 1.5 HP, #22 Meat Grinder
IMPORTANT NOTICE
This manual contains Important Safety
Instructions which must be strictly
followed when using this equipment.

1
Safety Reminding
These precautions should be followed at all times. Failure to follow these precautions could
result in injury to yourself and others or damage the equipment.
Plug only into grounded electrical outlets matching the nameplate rated voltage.
Do not modify or tamper with safety switches.
Do not operate unattended.
Do not operate equipment in public areas and/or around children. Should not permit
anyone to touch this equipment unless they are over 18 years old, are adequately trained
and supervised, and have read understand this manual.
Do not use an extension cord with this equipment. Do not plug this equipment into a power
strip or multi-outlet power cord.
Non-PrepPal attachments are not recommended. They will not work properly and will void
the warranty.
Check equipment before each use to insure the equipment is clean. When cleaning your
chopper, pay particular attention to cracks, broken seams and any area that may collect
food debris. If your chopper or any of its parts, is damaged or broken, it may become
more difficult to properly clean and sanitize the unit, the user need to repair or replace
damage or broken parts for good sanitation status.
Do not use a hose to clean mixer. Use a damp cloth to wipe down the exterior of the mixer.
Unplug equipment, turn off and let it cool before cleaning or moving.
Keep equipment and power cord away from open flames, electric burners or excessive heat.
Do not operate if equipment has been damaged or is malfunctioning in any way.

2
Meat Grinder View and Key Components
Specification
Model
Productivity
(Lbs/Hr)
Blade Speed
(RPM)
Motor
(HP)
Voltage
Dimension
(mm/In)
Weight
(Kg/Lbs)
PPG
-
12
250
170
1
115v/60Hz/1p
470*340*480
(18.5*13.5*19)
NW:
28
(
6
1
)
GW:31(68)
PPG
-
22
450
170
1.5
115v/60Hz/1p
570*360*535
(22.5*14*21)
NW:35(77)
GW:38(84)
Feed Pan
Handle Cover
Fasten Screw
Reset Switch
Control Switch
Feed Stomper
Chopper header
Adjusting Ring
Rubber Feet

3
Unpack and Installation
1. Unpack the chopper immediately after receipt. If the machine is found to be damaged, save the
packaging material and contact the carrier. Immediately contact your source of the equipment.
2. You should receive the chopper, (4) rubber feet, a knife, (2) chopper plates, a feed chute, feed pan, feed
stomper, stuffing tube, handle, allen wrench and an instruction manual. Contact the factory or your
local supplier if you did not receive all of these materials or if you need additional chopper plates.
3. Plug only into grounded electrical outlets matching the nameplate rated voltage.
Operation Instruction
IMPORTANT
: Before
connecting
your unit to the power
supply
be
sure
your
machine's
electrical specifications printed
on the
unit's
name plate
match
those of your
local power.
1.
For
first-time
use, remove
the
grinder
head and wash
parts throughly.
Reassemble according
to the
diagram included
in these
instructions.
2. Before
grinding tighten
the
thumb
screw
clockwise until secure. Do not
use a tool or
over-tighten.
3.
Prepare meat
for
grinding
by
remove
all
skin
and
bones.
Then cut
the
meat
into
appropriately
sized
pieces
for
grinding.
4. Feed
meat
into the
grinding
chamber with
the
special meat pusher
that was
included
with
your
machine.
Never use
finger, hands or any
other
objects.
5.
Equipped with enough grease
for
several
years
usage. Do
NOT FILL.
If
needed
use
Lithium
general purpose grease.
6. After
use, disconnect
the unit
from
the power
supply
and
disassemble
the head. Wash
throughly
to
prevent contamination.
7. If
motor quit, u s e
Reset
button
to
reinstate
the power.
8. Turn the control switch knob to reverse then
forward
to
release Spiral Propeller blockage
Meat chopper is for beef, pork and venison only. Non
-
greasy products
such
as poultry, vegetables, cheese, etc. will damage the unit. DO NOT use for any
other types of products. DO NOT use frozen meat. Meat must be
completely thawed.

4
Disassembly, Cleaning and Sanitizing
1. Make sure the unit is turned OFF and unplugged.
2. Remove feed pan from feed chute. Clean and sanitize feed pan with a mild detergent and warm water
solution to remove fatty oils. Allow part to air dry.
3. Remove adjusting ring by rotating it counterclockwise (Figure 12-1). Clean and sanitize adjusting ring with a
mild detergent and warm water solution to remove fatty oils. Allow part to air dry.
4. Pull chopper plate off of propeller screw shaft. Then pull chopper knife off of propeller screw shaft. Clean
and sanitize chopper plate and chopper knife with a mild detergent and warm water solution to remove
fatty oils. Allow parts to air dry.
NOTE: Do not wash the chopper knife or chopper plate with steam or hot water after grinding chilled meat.
5. Clean the chopper plate holes with a wire brush to remove particles of meat. Do not hit chopper plate
against a hard surface to remove particles of meat. Doing so can damage chopper plate.
NOTE: Do not store chopper knives and chopper plates while they are wet.
6. Globe recommends wiping chopper plates and chopper knives with mineral oil if they are not going to be
used immediately.
7. Remove propeller screw shaft and nylon washer from feed chute. Clean and sanitize propeller screw shaft
and nylon washer with a mild detergent and warm water solution to remove fatty oils. Allow parts to air dry.
NOTE: Make sure to remove meat particles from the nylon washer in order to prevent the propeller screw
shaft from sticking during operation.
8. Loosen thumb screw by rotating it counterclockwise 2 to 3 times. Do not remove thumb screw.
9. Pull feed chute out of hub drive. Clean and sanitize feed chute with mild detergent and warm water solution
to remove fatty oils. Allow part to air dry.
10. Clean and sanitize the base of the chopper with a mild detergent and warm water solution. Allow part to air
dry.
11. Make sure that all surfaces are dry before reassembling the unit.

5
Electrical Schematic
Explore View

6
Spare Part List
No.in Explore
View Name Part No of Service
1 Meat funnel of 12#model PPGP1201
Meat funnel of 22#model PPGP2201
3
1/4"(6mm) plate of 12#model PPGP1202
5/16"(8mm) plate of 12#model PPGP1203
1/4"(6mm) plate of 22#model PPGP2202
5/16"(8mm) plate of 22#model PPGP2203
4 Blade of 12#model PPGP1204
Blade of 22#model PPGP2204
6 Spiral Propeller of 12#model PPGP1205
Spiral Propeller of 22#model PPGP2205
8 Meat Seal Ring PPGP0001
10 Feeder Pan of 12#model PPGP1206
Feeder Pan of 22#model PPGP2206
11 Meat Pusher of 12#model PPGP1207
Meat Pusher of 22#model PPGP2207
15 Thumb Screw PPGP0002
18 Motor of 12#model PPGP1208
Motor of 22#model PPGP2208
19 Oil Seal Ring PPGP0003
30 Handle Cover of 12#model PPGP1209
Handle Cover of 22#model PPGP2209
32 Handle PPGP0004
34 Power Cord & Plug PPGP0005
35 Cable Tie PPGP0006
36 Reset Switch of 12#model PPGP1210
Reset Switch of 22#model PPGP2210
37 On-Off Switch PPGP0007
40 Rubber Foot PPGP0008
42 Capacitor PPGP0009
43 Cooling fan PPGP0010
This manual suits for next models
1
Table of contents
