1. Interchange of motor current is made in motor outlet box. Leads are properly marked. Changing
instructions are on motor plate or inside junction box cover.
2. All saws are wired 220 volts unless otherwise specied. Be sure motor specications (voltage, cycle,
phase) match power supply line. Be sure line voltage is up to specication.
3. Connect leads to machine in a manner that will be approved by local electrical inspectors.
WIRING MOTOR
4. We recommend no less than No. 12 wire. If the leads are too light, machine may not have sufcient
cutting power and/or speed.
5. The drive belt is packed loose in machine to prevent deformation, and must be installed on pulleys at time
of wiring motor.
6. The BIRO Manufacturing Company is not responsible for permanent wiring, connection or installations.
NOTE TO OWNER AND ELECTRICIAN: IF THIS MACHINE IS NOT CORD
AND PLUG CONNECTED TO THE ELECTRICAL SUPPLY SOURCE, THEN
IT SHOULD BE EQUIPPED WITH, OR CONNECTED TO, A LOCKABLE,
MANUALLY OPERATED DISCONNECT SWITCH (1010.147 OSHA).
6. Place removable nger lift with saw guard assembly (Part No. A211) on the saw guide bar (Part No. 116-22)
and fasten in place with nger lift fastener knob (Part No. 211A-291Q).
8. The side platter bracket (Part No. S12214B) is packed loose in the machine and must be installed on the left
side of the base structure with the supplied hardware and checked for proper adjustment. Stationary platter
must be at.
9. The stationary platter (Part No. A16163-1) is placed on top of the base structure and held in place by two
push-pull hold down catches (Part No. 16212), located on the base structure.
4
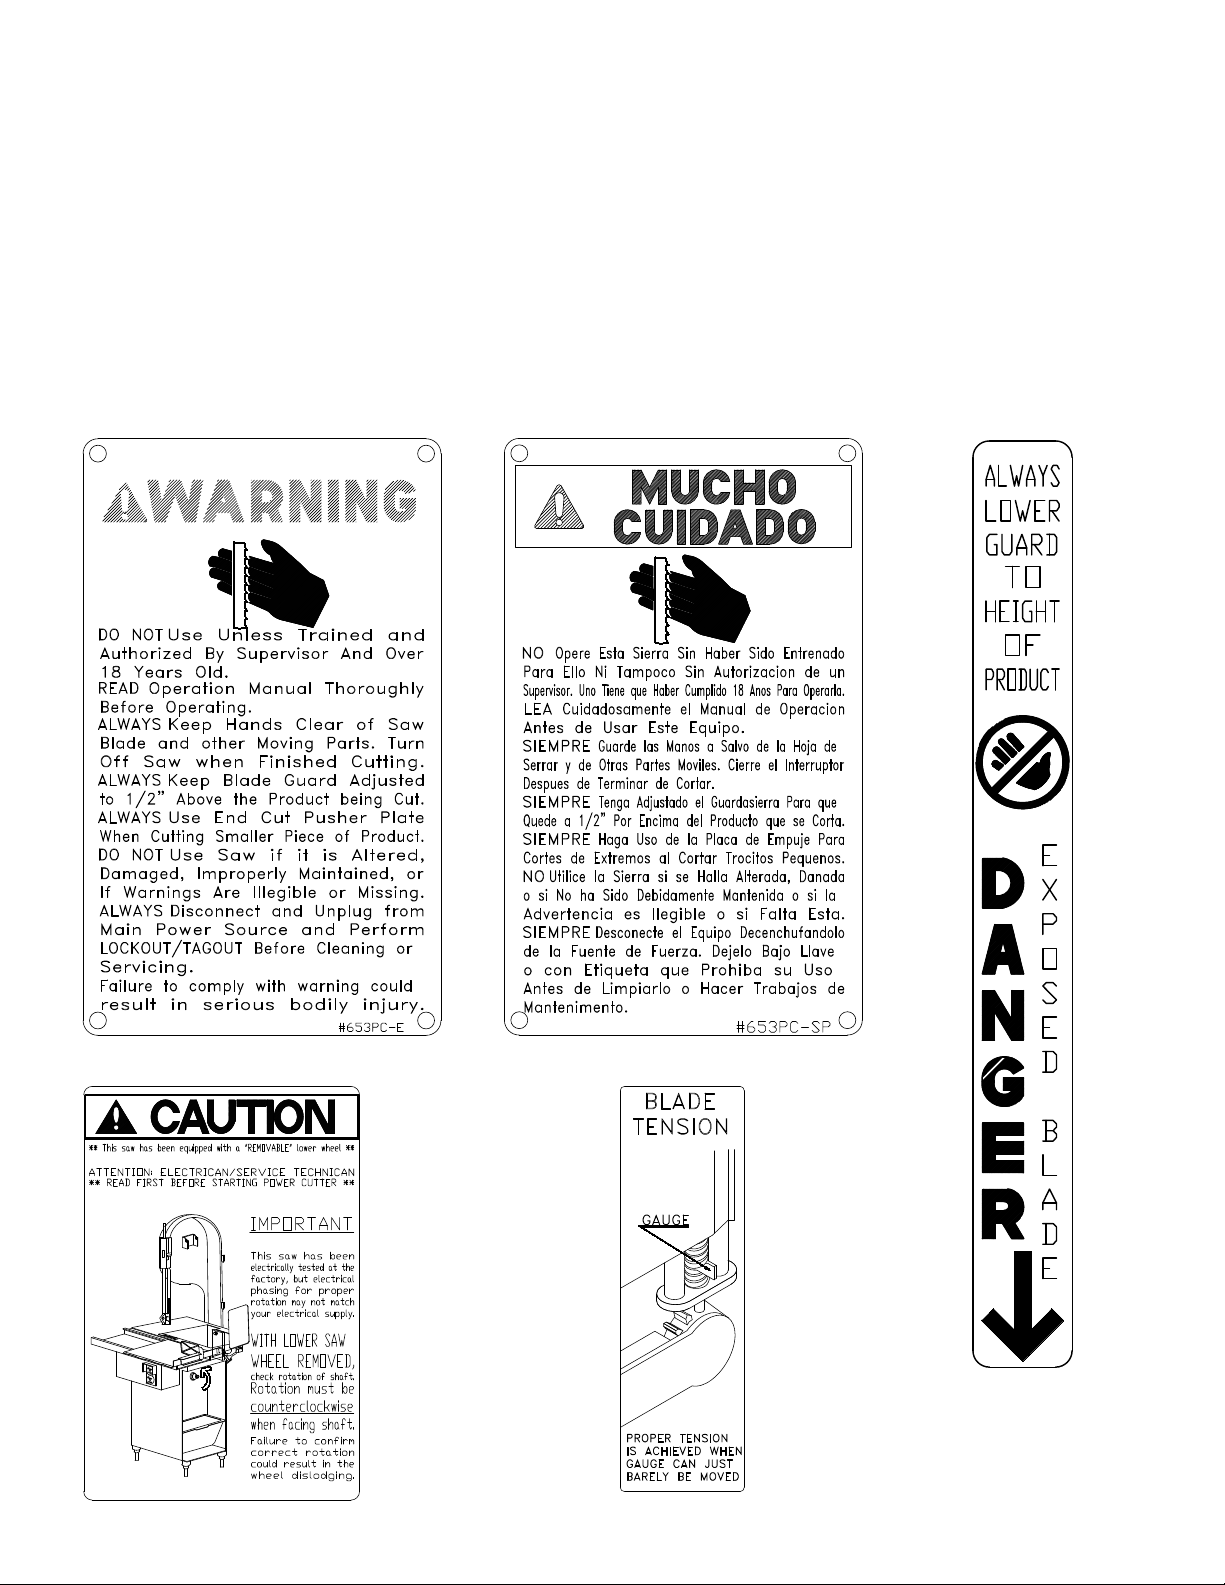
SHARP SAW BLADE. HANDLE WITH EXTREME CAUTION
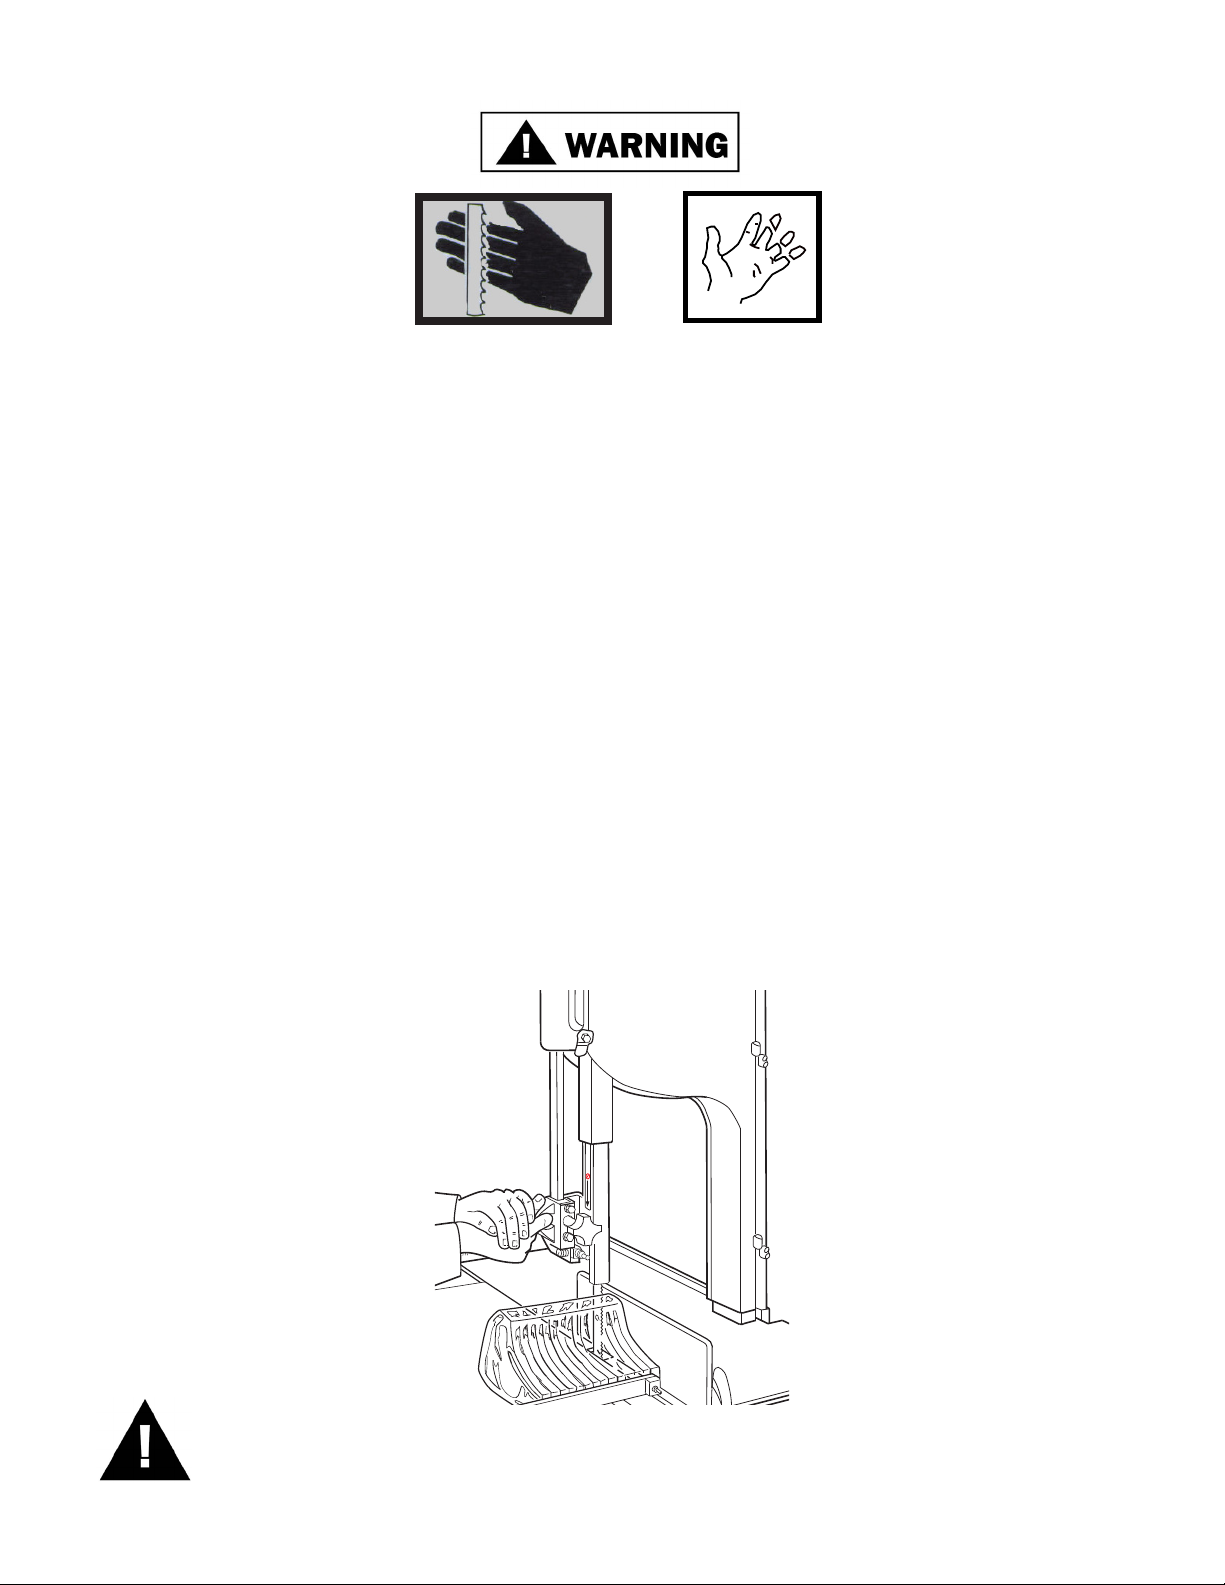
7. Placing blade on cutter: Hang upper wheel assembly (Part No. A16003U335-6) on the hinge bracket (Part
No. 71-1). Lift the nylon ller (Part No. 177). Hang blade on the upper wheel and hold with right hand. With
left hand force the back of the blade between the front blade cleaners (Part No. 131), located below the nylon
ller and insert the back of the blade in the upper saw guide (Part No. 602B). The blade has already dropped
over the lower wheel. With right hand force the back of the blade between the rear blade cleaners (Part No.
131). The blade is now ready to be tightened. Press down on the ratchet arm (Part No. 10-1) located at the
rear of the base structure. Turn the upper wheel slowly by hand to ensure proper tracking of the saw blade on
the wheels. Tighten to proper tension. When the tension gauge (Part No. 16197) located at the bottom rear of
the head becomes tight laterally, the blade is at proper tension.
10. The sliding meat carriage assembly (Part No. A16155) is installed by turning the movable stop assembly
(Part No. A16200) clockwise. After the carriage assembly is in the channel for operation, turn the movable
stop counterclockwise to lock.
11. Post SAFETY TIPS wall chart within easy view of operator. Keep Manual available to operator.
12. Machine MUST be properly grounded. Use qualied electrician to install according to building codes.
KEEP HANDS CLEAR OF SHARP MOVING BAND TYPE SAW BLADE