Prestan PP-AEDT-101 Quick reference guide

COPYRIGHT© 2016 PRESTAN PRODUCTS, LLC 11038-RevE
USE AND CARE INSTRUCTIONS
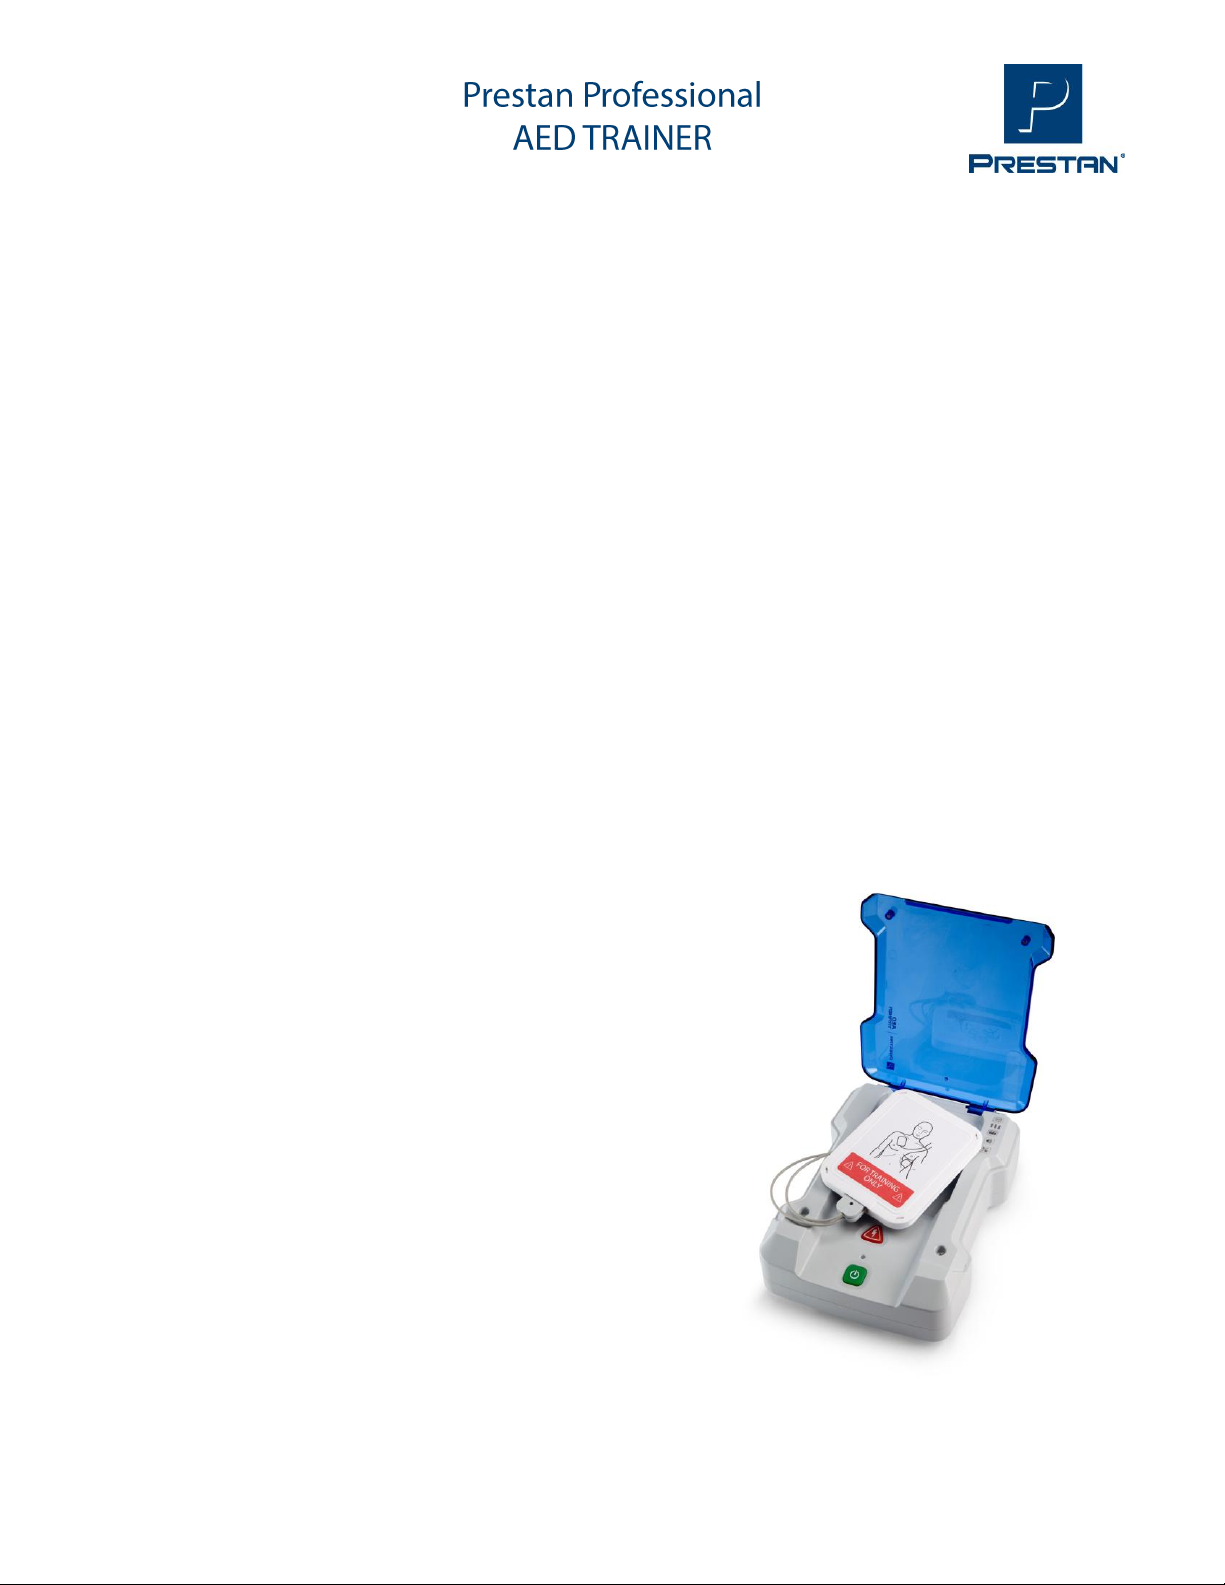
Models PP-AEDT-101 —> Prestan Professional AED Trainer with
English/Spanish Module, 4 'C' batteries (pre-installed), one set of adult
training pads, one set of extra connector pins, an Instruction Sheet, a demo
CD and a nylon carrying case (pictured at right).
Models PP-AEDT-401 —> Prestan Professional AED Trainer 4-Pack with
English/Spanish Modules, 16 'C' batteries (pre-installed), four sets of adult
training pads, four sets of extra connector pins, an Instruction Sheet, a
demo CD and a nylon carrying case.
START HERE
Use this instruction sheet as your first source for information about the Prestan Professional AED
Trainer and Accessories.
Warning: The Prestan Professional AED Trainer is intended for the expressed purpose and use of
CPR/AED Instructors. It is NOT an Automated External Defibrillator (AED) and will not deliver a
shock. To avoid confusion, it should NEVER be kept in the same area with AEDs.
If you have any problems with the care and use of the Prestan Professional AED Trainer, refer to
the troubleshooting section of this document or the help guides on www.prestanproducts.com.
THANK YOU for buying the Prestan Professional AED Trainer!
If you have any questions about the Prestan Professional AED Trainer, or if you would like to order
additional AED Trainers, manikins or accessories, please contact your Prestan Authorized Distributor.
For information on Prestan’s Authorized Distributors, help guides, resources and more, please visit the
Prestan website at www.prestanproducts.com.

COPYRIGHT© 2016 PRESTAN PRODUCTS, LLC 2 11038-RevE
FEATURES OF THE PRESTAN
PROFESSIONAL AED TRAINER
Clear & Calm Voice Prompts
Automatic Pads-On-Manikin Detection
Remote Control NOT Required
Plugging in connector NOT Required
Works on any Manikin
Five Training Scenarios
Chest Compression Rate Metronome
Recording of the clicker in a Prestan
Professional Adult Manikin!
Audio Clicker with Count Reminder at 10, 20
and 30 compressions
Automatic OR Semi-Automatic Shock-Delivery
Flip Up Lid
Sturdy, durable polycarbonate lid & hinge
DOES NOT TURN AED TRAINER ON!
Bright Illuminated Shock Button
Flashes when shock is advised
On/Off Button with Lighted Indicator
Protective & Reusable Pad Case
High Performance Training Pads
Clear Anatomical Placement Graphics
Long-Life Adhesive
Adheres well to all Manikins
Unique Pad Connector
With Locking Connector Pin
Simple Control Panel
Language Button
Selections Indicator Lights Button
Scenario Button
Volume Button
Pause / Play Button
Long Battery Life
Low Battery Voice Prompt Warning
Automatic Shut Off Extends Battery Life
Water & Splash Resistant
____________________________________________________
ADULT TRAINING PADS
Pads cord is pre-connected to the AED Trainer
Pads Sensing System automatically lets the unit know
when the pads have been connected to a manikin
Lasts at least 50-60 applications
Unique pad replacement (see assembly section)
Pads are kept in a unique white plastic Pad Case
LANGUAGE MODULE
Contains two languages (English & Spanish)
Programming is compatible with current AHA Guidelines (2015)

COPYRIGHT© 2016 PRESTAN PRODUCTS, LLC 3 11038-RevE
Language &
Program Module
Battery Compartment
Speaker
FEATURE GUIDE
[FRONT OF UNIT]
PROFESSIONAL AED TRAINER
[BACK OF UNIT]
Blue Flip Top
Lid
Shock Button
Training Pad Case
Control Panel
Language Button
Selection Indicator Lights
Scenario Selection Button
Volume Button
Pause Button
On/Off Button
On/Off Indicator Light

COPYRIGHT© 2016 PRESTAN PRODUCTS, LLC 4 11038-RevE
ASSEMBLY, SETUP AND USE
1. Remove the contents of the plastic package containing the instruction sheet, module, package of
two extra connector pins and set of adult pads from the shipping container
2. Remove the cardboard tray from the shipping container
3. Remove the PRESTAN PROFESSIONAL AED TRAINER from the box
4. Unzip the PRESTAN PROFESSIONAL AED TRAINER carrying case
5. Remove the PRESTAN PROFESSIONAL AED TRAINER from the carrying case
6. Insert the MODULE into the back of the unit on the lower left hand corner
7. Pad Assembly
Open the plastic package and remove the Prestan Professional Adult Training Pads
Find the ends of the AED Trainer cables that are not connected to the unit
Remove black pad connector pins by pushing on the small end of the pin with a ball point pen
Insert pad into cable connector (be sure the pad graphics are on same side as pad connector
pin head and the hole in the tab of the pad matches the hole in the connector ends)
Insure pad is not upside down
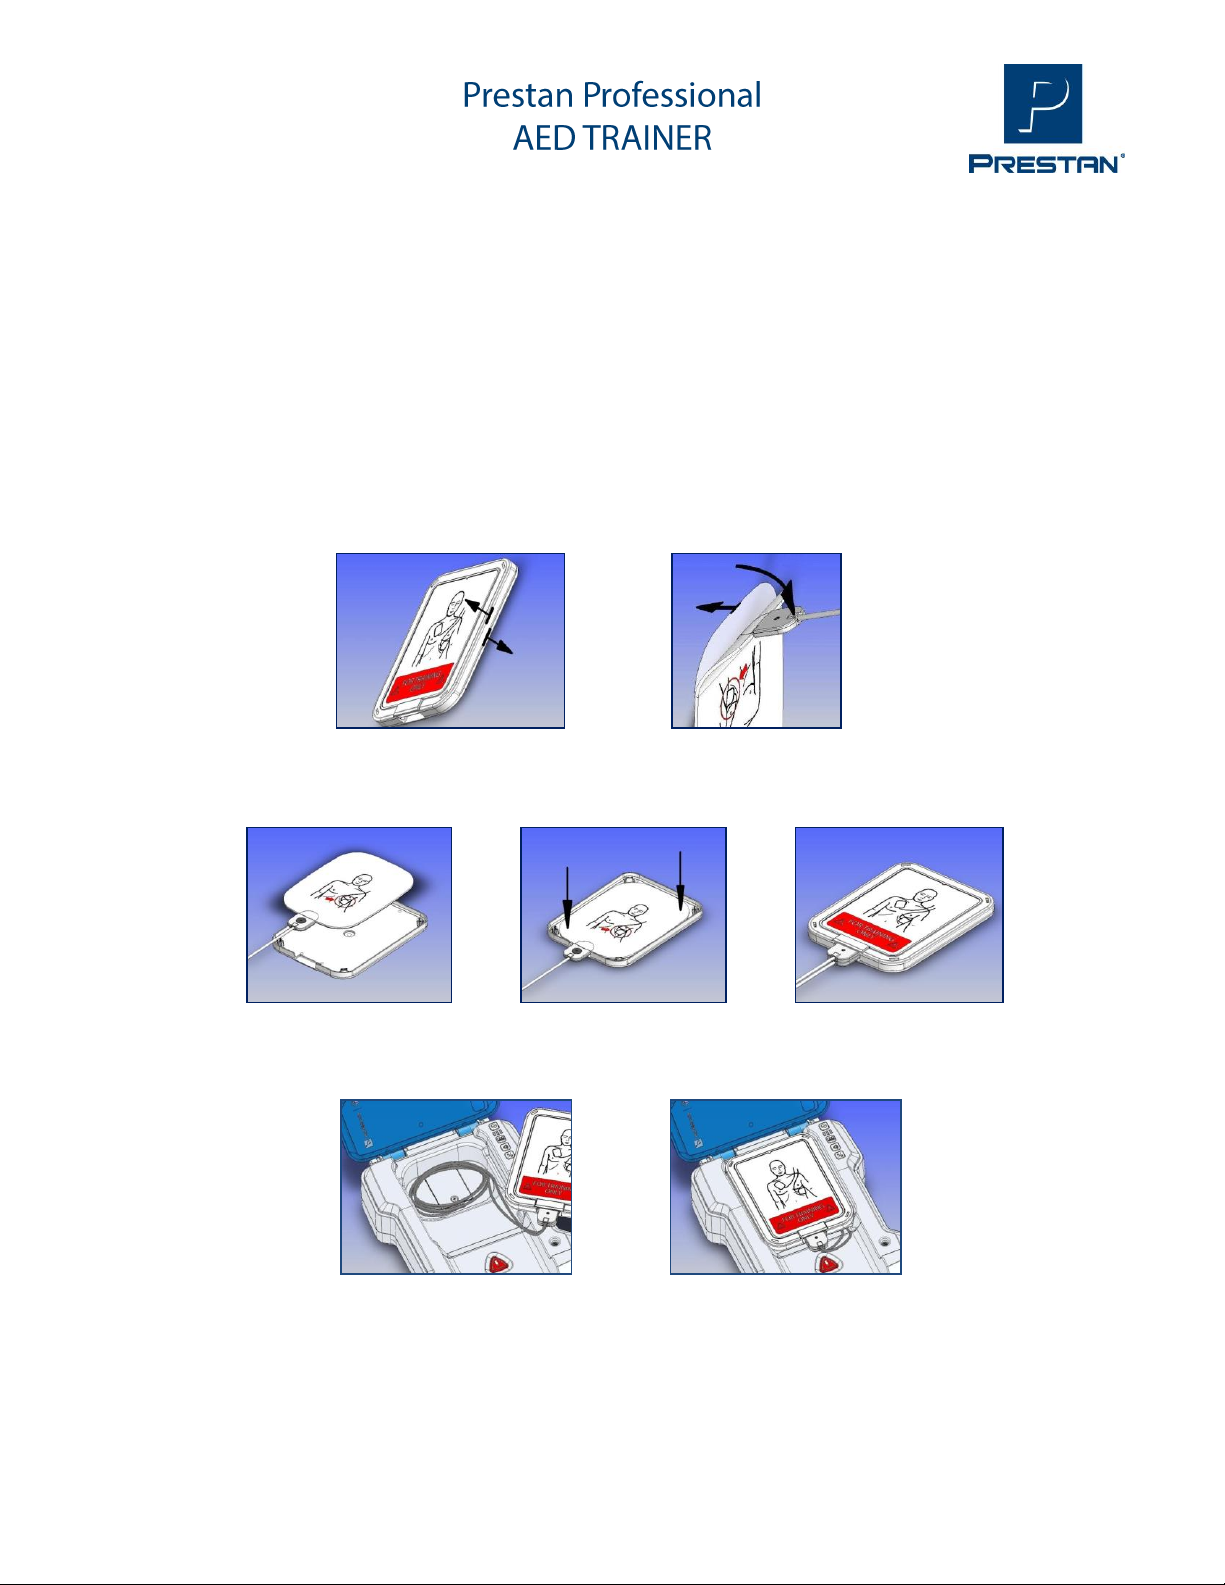
COPYRIGHT© 2016 PRESTAN PRODUCTS, LLC 5 11038-RevE
ASSEMBLY, SETUP AND USE
(Continued)
Push black pad connector pins back into hole on the end of the pad cable connectors
Open the white plastic pad carrying case found in the unit
Then, turn pad over and remove the clear plastic liner from the Adult AED Pad by gently
pushing down on the tab end of the pad, causing the liner to separate
THROW THE CLEAR PLASTIC LINER AWAY (re-using the liner does not extend the life of the
adhesive)
Adhere the pads to the INSIDE of the white plastic Pad Case, close the case
8. Coil the Cables, place them in the well and cover them with the Pad Case

COPYRIGHT© 2016 PRESTAN PRODUCTS, LLC 6 11038-RevE
CONTROL PANEL
LANGUAGE SELECTION BUTTON
The LANGUAGE BUTTON is located at the top of the line of buttons on the Prestan Professional
AED Unit.
The language button is there to select the language that the unit will use
Simply press the button to toggle between the two languages that come with the unit
(Either English or Spanish)
The LAST language used on the unit will be used for the FIRST scenarios when the unit
starts
You do not have to turn the unit on to change Control Panel selections
INDICATOR LIGHTS
The indicator lights are just below the Language Selection button on the Prestan Professional
AED Trainer, in line with the Control Panel buttons
The Indicator Lights are used with the Scenario Selection button, the Volume Button and
the Pause Button
The indicator lights are either red or yellow
For each function, the indicator lights are defined NEXT
They also Indicate semi-automatic or automatic shock delivery mode
Language Button
Selection Indicator Lights
Scenario Selection Button
Volume Button
Pause Button
COPYRIGHT© 2016 PRESTAN PRODUCTS, LLC 7 11038-RevE
CONTROL PANEL
(Continued)
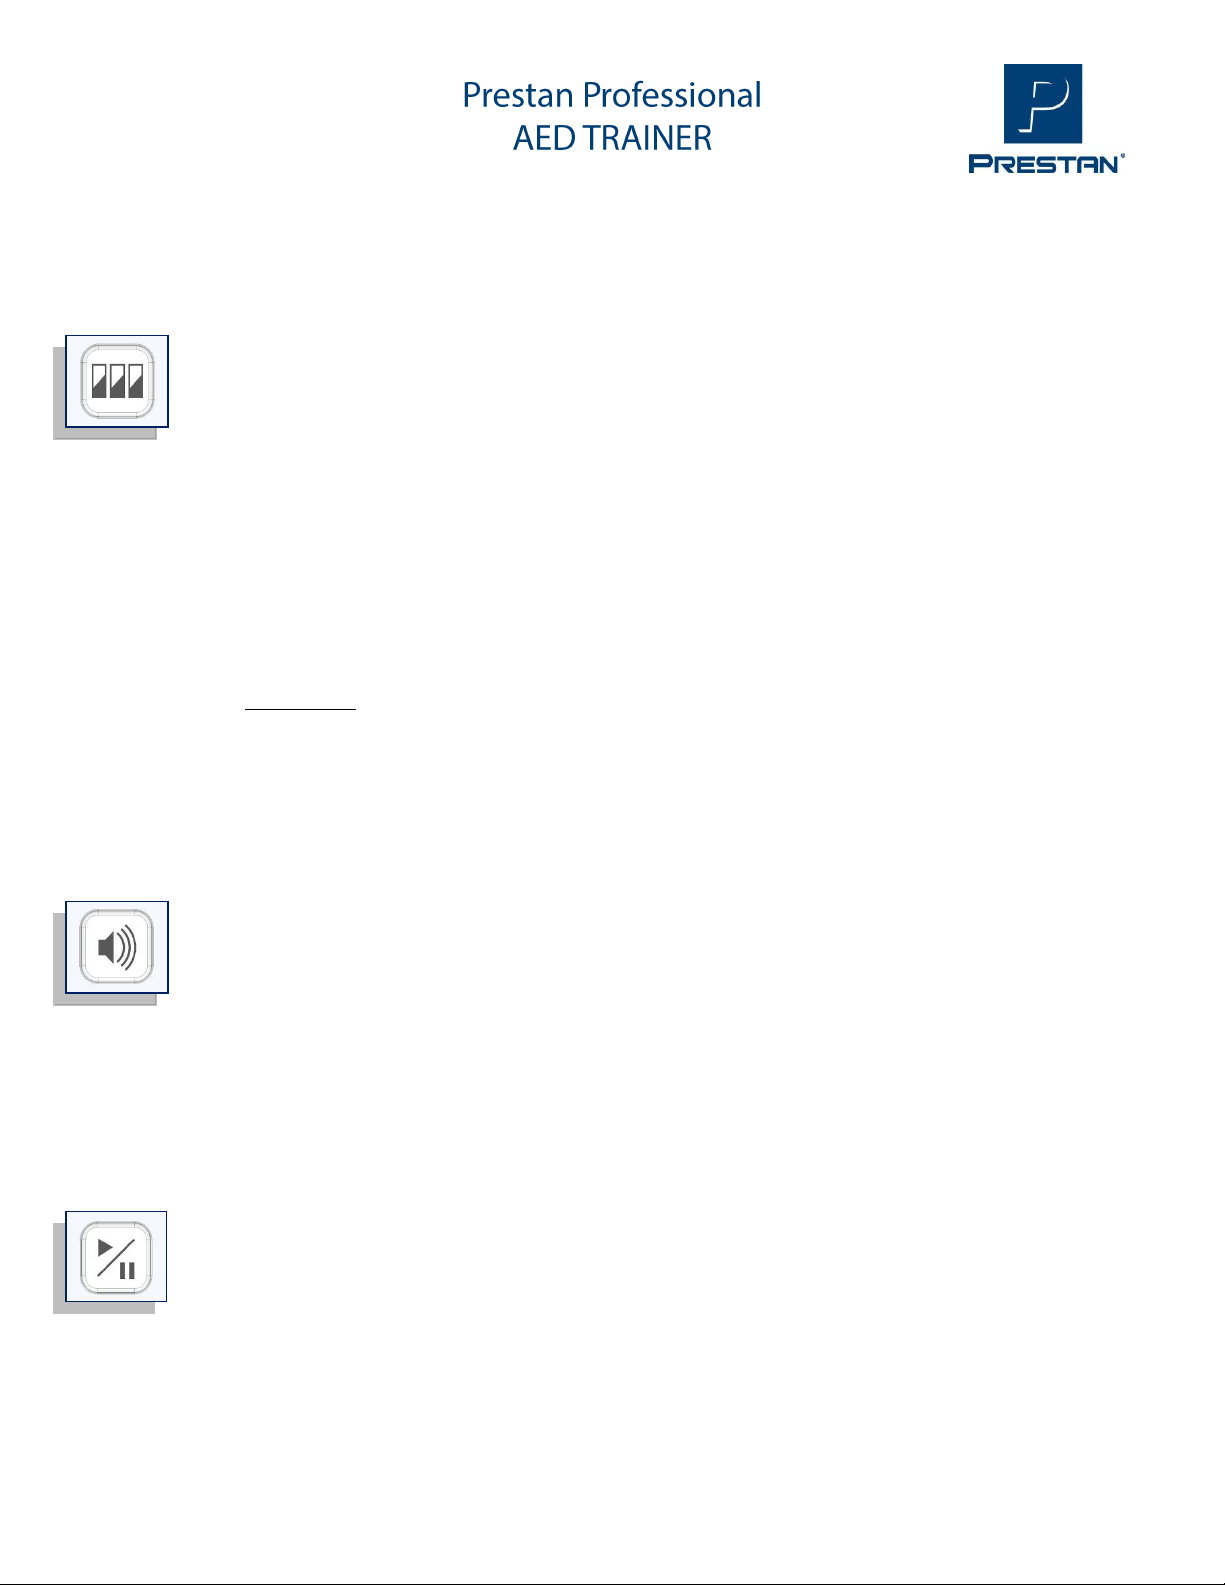
SCENARIO SELECTION BUTTON
The SCENARIO SELECTION button is located under the Indicator Lights.
The scenario selection button is used to select one of the five scenarios available
on the unit:
▌A red indicator means ‘shock’
▌A yellow indicator means ‘no shock’
The indicator is read left to right
▌▌▌The default is for three cycles, all of which are for ‘shock’
SCENARIOS
1. ▌▌▌This scenario is for shock; no shock; no shock
2. ▌▌▌This scenario is for shock; no shock; shock
3. ▌▌▌This scenario is for shock; shock; no shock
4. ▌▌▌This scenario is for no shock; no shock; no shock
5. ▌▌▌This scenario is for shock; shock; shock
VOLUME BUTTON
There are three volume levels on the unit
By pressing the volume button you can increase or decrease the volume of the unit
depending on need
The Indicator Lights will light up to indicate
▌Low Volume
▌▌Medium Volume
▌▌▌High Volume
PAUSE/PLAY BUTTON
When the pause Button is pushed, the unit will pause the scenario
When in pause mode, three (3) yellow lights ▌▌▌ in the Indicator Lights will blink
COPYRIGHT© 2016 PRESTAN PRODUCTS, LLC 8 11038-RevE
AUTOMATIC/SEMI-AUTOMATIC
The Prestan AED Trainer can be set to automatically deliver a simulated Shock without
depressing the Shock button.
The AED Trainer is preset from the factory in Semi-Automatic Mode –the shock is
delivered manually by pressing the red Shock Button
To Change this Mode:
•With the AED Trainer off, hold down the On/Off Button until you hear the second
beep, about 10 seconds.
•The first beep is for test mode so wait for the second double beep
•The Shock Button will flash on and off
•Look at the Selection Indicator Lights
•If there are three yellow lights –▌▌▌ –you are in Semi-Automatic Mode
•If there are three red lights –▌▌▌–you are in Automatic Mode
•To change the Mode, Push the Shock Button
•To Exit and Save, Press the On/Off Button
CARE AND CLEANING INSTRUCTIONS
Store the Prestan Professional AED Trainer in its case
and in a cool, dry area.
If the unit is being stored for long periods, remove
batteries to protect against corrosion.
Never pick up or carry the unit by the cables.
The Prestan Professional AED Trainer should be kept
clean. If it becomes soiled, simply wipe with a clean,
damp, soft cloth. If the Trainer is extremely dirty,
common cleaners can be used cautiously with a
minimum amount of abrasion to ensure the life of the
unit. Do not submerge in water.

COPYRIGHT© 2016 PRESTAN PRODUCTS, LLC 9 11038-RevE
OPTIONAL ACCESSORIES
Professional AED Trainer Remote
[OPTIONAL –NOT INCLUDED WITH AED TRAINER]
PP-AEDT-100-R Prestan Professional AED Trainer Remote with 2 'AA' batteries (installed) (for use with
the Prestan Professional AED Trainer)
PP-AEDT-400-R Four Prestan Professional AED Trainer Remotes with 8 'AA' batteries (installed) (for
use with the Prestan Professional AED Trainer)
Pediatric Training Pads / Yellow Pad Case
[OPTIONAL –NOT INCLUDED WITH AED TRAINER]
PP-PPAD-1 One set of Pediatric Pads
PP-PPAD-4 Four sets of Pediatric Pads
PP-PCASE-1 One Pediatric Pads Case
PP-PPDC-1 One set of Pediatric Pads with Case
Pediatric Pads illustrate the pad placement position for a small child or infant,
but work the same as the Adult Training Pads with the AED Trainer.
Volume
Language
Scenario
Pads On
Pads Off
Push Harder
Play
Pause
Stop

COPYRIGHT© 2016 PRESTAN PRODUCTS, LLC 10 11038-RevE
TROUBLESHOOTING GUIDE
SYMPTOM
POSSIBLE ISSUES OR COMMENTS
SOLUTIONS
Module will not fit into slot
The Module is designed to be inserted
one way only
Rotate the Module 180 degrees
and it will fit
Unit does not turn on
Unit must be manually turned on
Module is missing or not fully inserted
Batteries are not property installed
Batteries are dead or are missing
Push green power button
Insert or re-insert module properly
Re-orient batteries properly
Replace batteries
Difficult to peel off the
pads liner
Peel the liner from the Tab End
Gently bend the Connector to start
separation
Peel with thumb if necessary
Remove and throw away liner
Refer to the Assembly Section
Both pads attached to
manikin but device will not
advance to analysis
Operational solution
Pad is inserted upside down in the cable
connector
Adhesive worn out
Insure pads are pressed on firmly,
specifically so that the sensor in the
center of the adhesive is touching a
surface
Push out black connector pin, flip
pad around and re-secure with
black connector pin
Replace pad (lasts 50-60 uses)
Pad pulls out from pad
connector
Check for black connector pin missing
Install new black connector pin
Pad will not stick to the
manikin
Adhesive is worn out
Replace pads (lasts 50-60 uses)
Lid will not stay closed
Pads case is not placed in proper positon
Wires not properly stored in compartment
under case - wire may be caught under
edge of pads case
Pads case not properly closed
Re-seat pads case
Re-coil the wires
Snap case together on all 4 corners

COPYRIGHT© 2016 PRESTAN PRODUCTS, LLC 11 11038-RevE
SYMPTOM
POSSIBLE ISSUES OR COMMENTS
SOLUTIONS
Lid will not stay closed
Pads case is not placed in proper positon
Wires not properly stored in compartment
under case - wire may be caught under
edge of pads case
Pads case front & back not properly
closed
Re-seat pads case
Re-coil the wires
Snap case together on all 4 corners
Device proceeds to
analyzing before both pads
have been placed on the
manikin
Pads not properly positioned in case
Look for pad riding up pad case wall
Re-position pad in case to lay
completely flat so it is not touching
side walls
Device delivers shock
before shock button is
pressed
Device is In Automatic mode
Change back to Semi-Automatic
Mode
Device delivers shock
before shock button is
pressed
Device is In Automatic mode
Change back to Semi-Automatic
mode
Device prompts “Replace
Batteries”
Device will run 10 or more hours with low
batteries
Replace batteries within 10 hours
Device suddenly shuts
down or voice prompts are
distorted
Batteries are very low, almost dead
Install new batteries
Remote Control (optional / purchased separately)
Play button on remote will
not turn on device
Remote does not turn on device.
Use On/Off button to turn on then
use remote
Remote buttons do not
work
If AED Trainer is off, remote doesn't work
Remote not pointed at AED Trainer
Too much distance from AED Trainer
Improperly installed batteries
Dead batteries
Turn AED Trainer on then use
remote
Point remote at device
Operate remote within proper
distance (9 feet/3 meters)
Check orientation of batteries
Install new batteries

COPYRIGHT© 2016 PRESTAN PRODUCTS, LLC 12 11038-RevE
WARRANTY
Three Year Limited Warranty
1. WARRANTY COVERAGE. Prestan (The Manufacturer) offers a LIMITED WARRANTY against any defects in
workmanship or materials under normal use with respect to its PRESTAN PROFESSIONAL AED TRAINER.
2. WARRANTY PERIOD. Prestan warrants the PRESTAN PROFESSIONAL AED TRAINER for three (3) years from the
date of purchase. Any component of the PRESTAN PROFESSIONAL AED TRAINER which proves defective within
thirty-six (36) months from the date of purchase will be repaired or replaced (at Prestan’s option), free of charge
to the owner. The owner is responsible for shipping and handling fees to the place which Prestan designates.
3. WARRANTOR’S RESPONSIBILITIES. Prestan will repair or replace (at Prestan’s option) a defective warrantied
component subject to the provisions of Section 2 without charge except for transportation costs. OWNER’S
SOLE AND EXCLUSIVE REMEDY AGAINST PRESTAN SHALL BE FOR THE REPAIR OR REPLACEMENT OF DEFECTIVE
GOOS AS PROVIDED HEREIN. Repair or replacement of any component of any PRESTAN PROFESSIONAL AED
TRAINER does not extend this limited warranty or begin a new limited warranty period.
4. CIRCUMSTANCE NEGATING WARRANTY AND OTHER LIMITATIONS.
a. Prestan reserves the right to refuse warranty service or replacement when product failure is due to misuse,
mishandling, misapplication, accident, neglect, improper installation, modification, use of unauthorized
parts or attachments, adjustments or repair performed by anyone other than Prestan or its authorized
agent, or any causes other than defective workmanship or material.
b. This limited warranty does not cover abrasion, abnormal use, damage caused by mishandling, neglect or
unauthorized modification. This warranty is void if the PRESTAN PROFESSIONAL AED TRAINER is structurally
altered.
c. This warranty does not cover consumable items such as batteries that may be provided as a courtesy or
training pads used beyond their indicated limit.
d. Owner must provide proof of the date of purchase, place of purchase and the purchase price in order to
obtain service under this limited warranty.
e. Prestan makes no warranty other than as contained herein. No agent, representative, dealer or employee
of Prestan has the authority to alter the obligations or limitations of this limited warranty.
5. LIMITATIONS OF IMPLIED WARRANTIES AND DAMAGES
a. Any and all implied warranties on the PRESTAN PROFESSIONAL AED TRAINER, INCLUDING ANY IMPLIED
WARRANTY OF MERCHANTABILITY OR FITNESS FOR A PARTICULAR PURPOSE, SHALL NOT EXCEED IN
DURATION THE RESPECTIVE TERMS OF THIS LIMITED WARRANTY WHICH BEGIN WITH THE DATE OF
PURCHASE. Some states do not allow limitations on how long an implied warranty lasts, so the above
limitation may not apply to you.
b. PRESTAN SHALL NOT BE LIABLE FOR INCIDENTAL OR CONSEQUENTIONAL DAMAGES ARISING OUT OF THE
USE OF THE PRESTAN PROFESSIONAL AED TRAINER OR THE BREACH OF THIS OR ANY OTHER EXPRESSED OR
IMPLIED WARRANTY. Some states do not allow the exclusion or limitation of incidental or consequential
damages, so the above limitation or exclusion many not apply to you. Any and all damages awarded for any
breach of this limited warranty shall be limited to the amount of the purchase price.
6. WARRANTY SERVICE. To obtain warranty service or information about Prestan, visit our website at
www.prestanproducts.com.
7. RIGHTS UNDER STATE LAW. This warranty gives you specific legal rights and you may have other rights which
vary from State to State.
Other manuals for PP-AEDT-101
1
This manual suits for next models
1
Table of contents
Other Prestan Fitness Equipment manuals


