1
priceindustries.com |CRITICAL ENVIRONMENTS DIFFUSERS - Manual
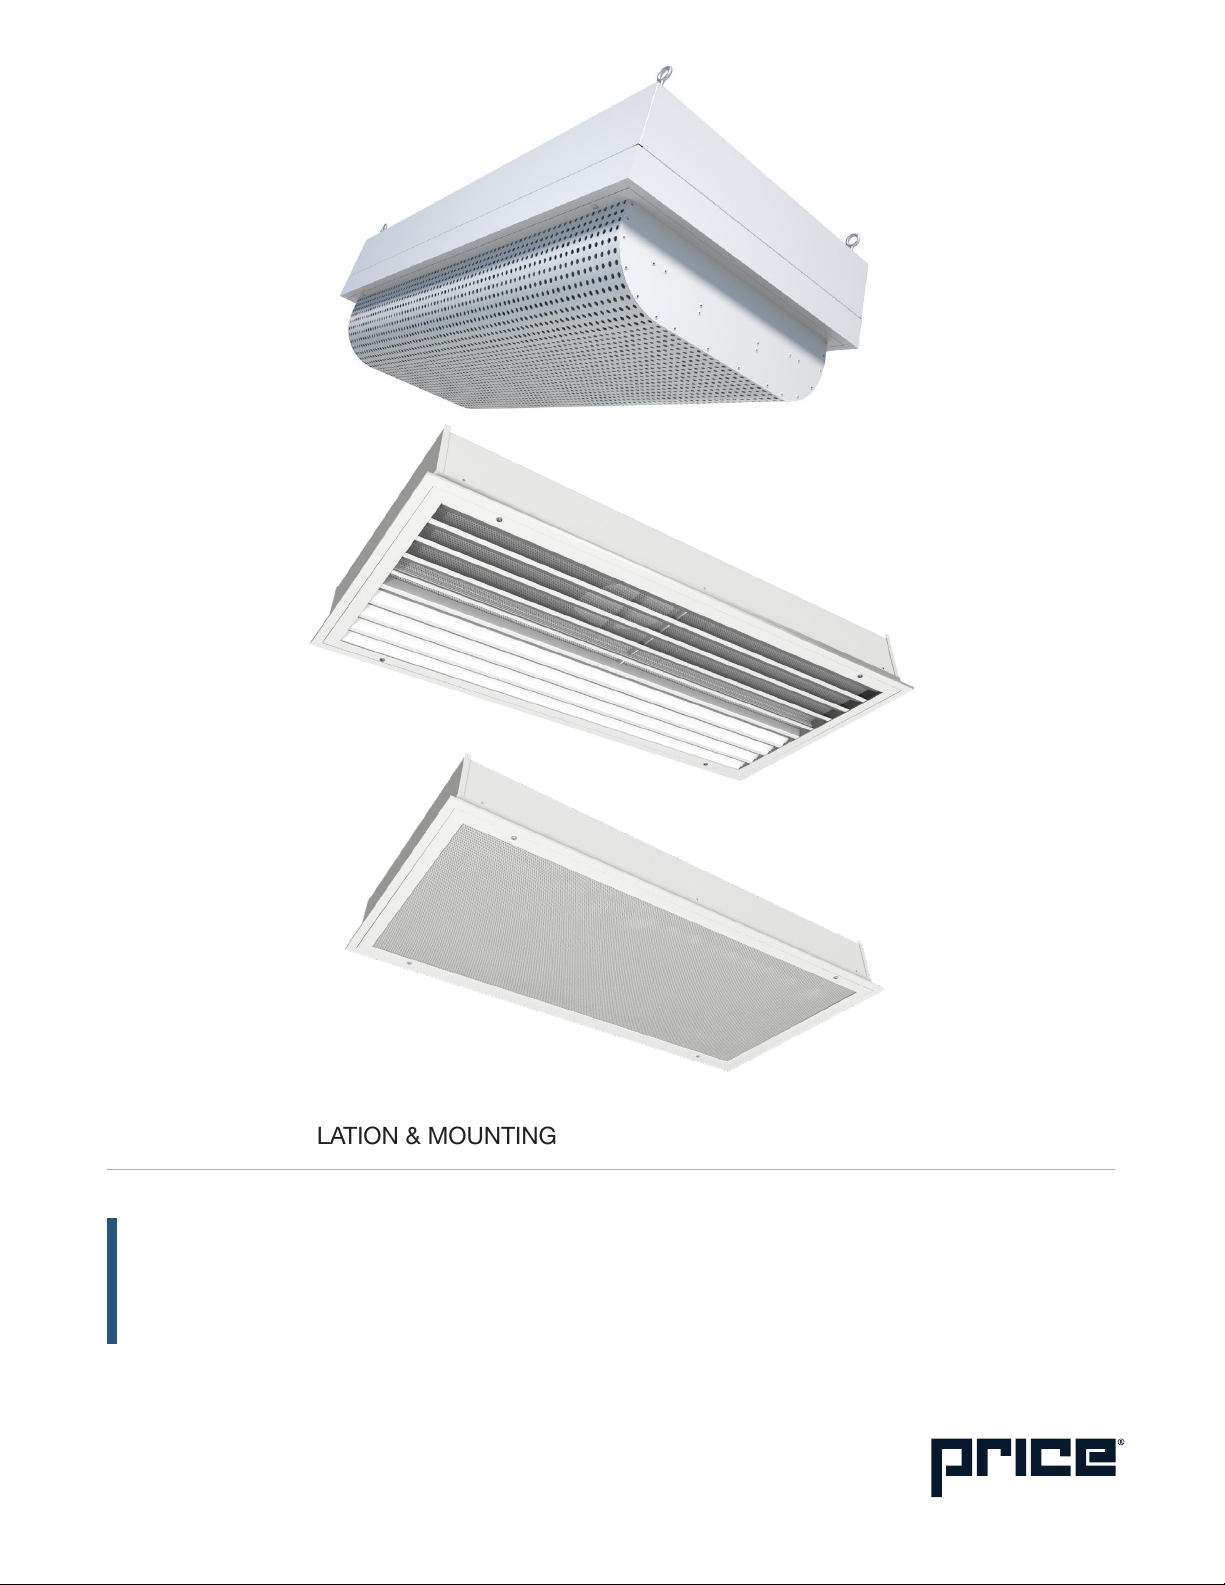
CRITICAL ENVIRONMENTS DIFFUSERS
PRODUCT OVERVIEW
Before You Start
• Inspect all cartons and boxes for flaws and shipping
damage.
· If anything is discovered to be damaged, contact the
shipping company and file a freight claim.
• Ensure all tools (see required tools/parts list) are on site and
ready for use.
• Install ductwork prior to diffuser installation.
• A minimum of two (2) people will be required to install this
product.
• Filter Information
· Ensure that all HEPA/ULPA filters are stored in a clean,
dry location in a vertical position, as labeled on the
carton. Do not open the HEPA/ULPA filters until they are
ready to be installed in the diffuser. All construction in
the space should be complete, the site and upstream air
should be clean so as not to unnecessarily load the filter.
· Ensure that both the space and ductwork is clean, free
of debris, and ready for operation prior to installation of
filter.
IMPORTANT NOTE: Extreme caution should be taken to avoid
contact with filter media. Touching filter media may result in
filter failure. Damage to filters can occur during installation or
during leak qualification testing. The filters supplied by Price
have been 100% tested and certified by the manufacturer to
be free of defects and leaks. Price cannot accept responsibility
for damage that occurs after shipment, whether through
transit, handling or installation, and will not replace filters under
Price standard warranty.
Required Tools/Parts
To be supplied by contractor
• Cordless drill/impact (as needed)
• #8 self-tapping screws (Direct Mount only)
• Screwdriver bit(s) to suit self-tapping screws
(Direct Mount only)
• Damp Cloth(s) (for cleaning)
• Utility Knife
• Pliers with wire cutter
• Tape Measure
• Pre-stressed 12 ga. Suspension wire (or approved
alternative) with necessary equipment to hang wire (T-Bar
Mounting and HGMF Mounting only)