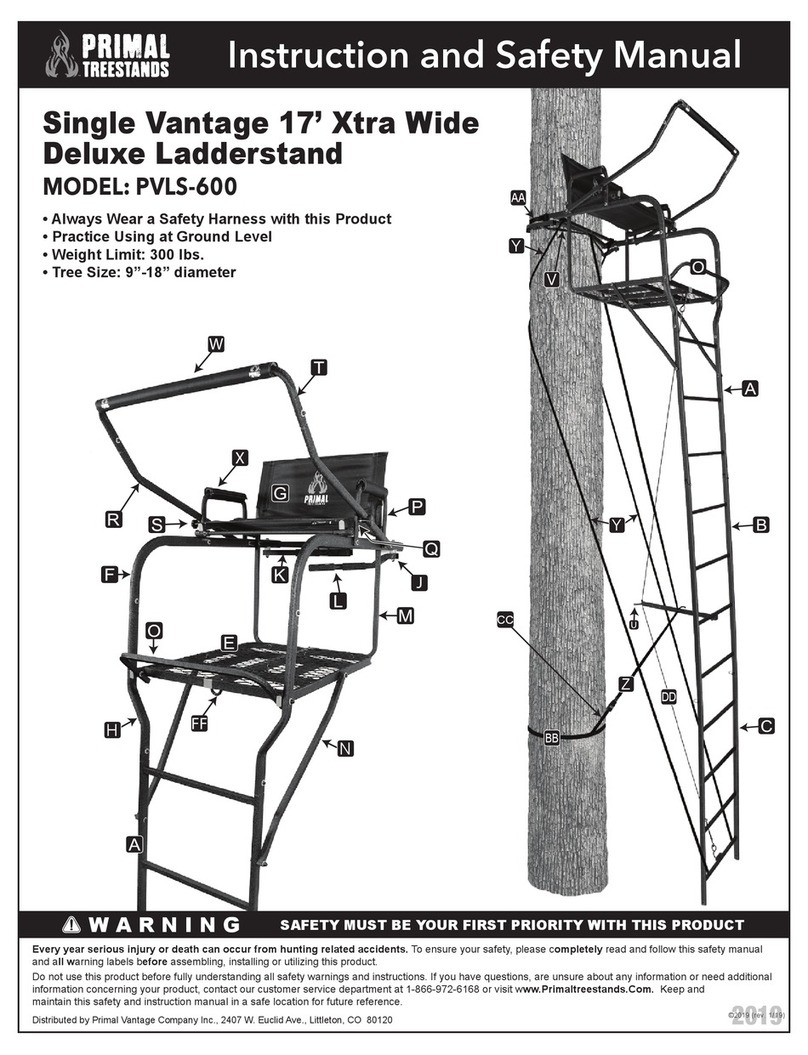
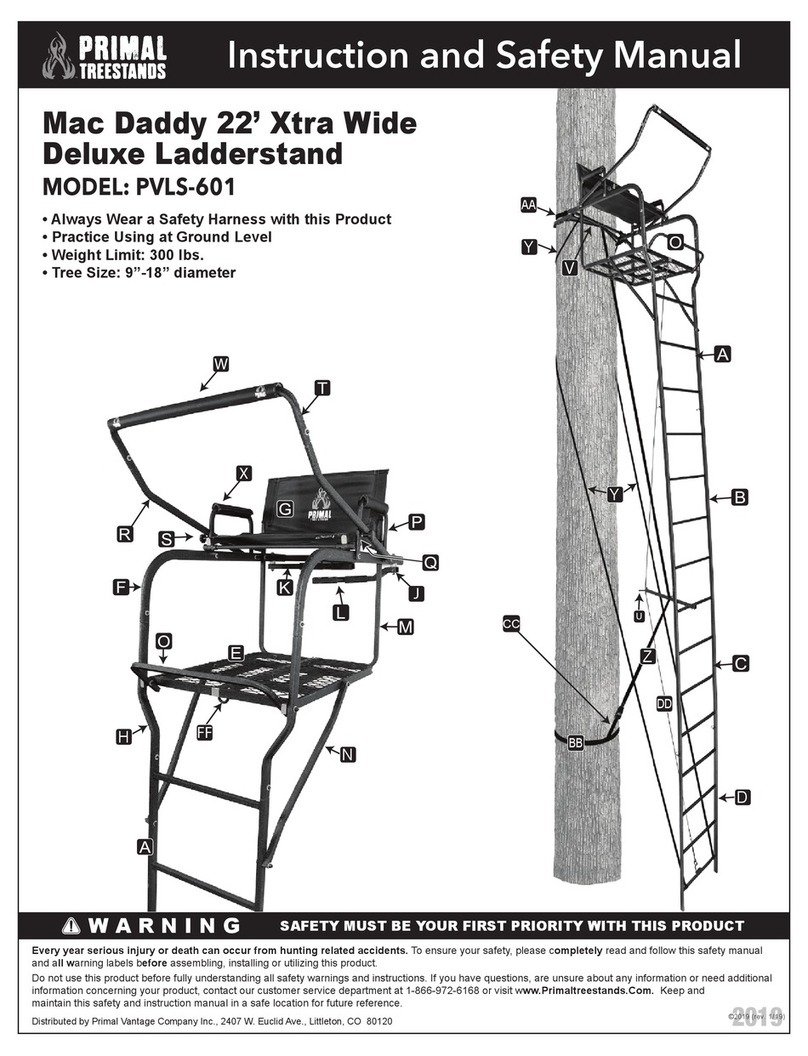
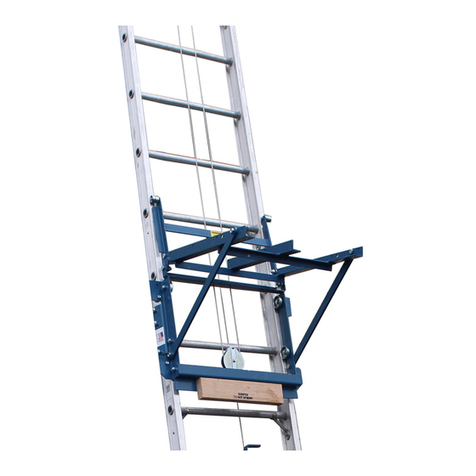
Primal PVHA-200 Instruction Manual

• Designed for single person use
(2 people recommended)
• Works with most ladder stands
Standz-Up Ladder Stand Hoist
MODEL: PVHA-200
Instruction and Safety Manual
Every year serious injury or death can occur from hunting related accidents. To ensure your safety, please completely read and follow this safety manual
and all warning labels before assembling, installing or utilizing this product.
Do not use this product before fully understanding all safety warnings and instructions. If you have questions, are unsure about any information or need additional
information concerning your product, contact our customer service department at 1-866-972-6168 or visit www.Primaloutdoors.Com. Keep and
maintain this safety and instruction manual in a safe location for future reference.
W A R N I N G SAFETY MUST BE YOUR FIRST PRIORITY WITH THIS PRODUCT
Thank you
very much
for choosing
We appreciate
your business!
Customer Service Department 1-866-972-6168
www.primaloutdoors.com
Distributed by Primal Brands, LLC, 1745 Shea Center Drive 4th Floor, Highlands Ranch, CO 80129 ©2023 (rev. 1/23)

YOU MUST READ AND FOLLOW ALL
INSTRUCTIONS PRIOR TO INSTALLATION
Choosing A Safe Tree
Proper Care and Maintenance:
• ALWAYS thoroughly inspect the tree before installing your product. DO NOT install your TREE/LADDER STAND onto any dead or unsafe tree, telephone or
utility pole, structural column, or man-made structure. Doing so may result in serious injury or death.
• ALWAYS select the proper tree for use with your TREE/LADDER STAND. Select a live straight tree that fits within size limits recommended (minimum tree
diameter must be no less than 9 inches and maximum of 18 inches.). DO NOT rely on a branch for support.
• DO NOT select a tree in the dark or choose a tree in close proximity to a fence. You must not have any stumps or rocks beneath your tree.
• NEVER use TREE/LADDER STAND on a tree that is dead, diseased , leaning or on wet and uneven ground as the tree may fall, break or uproot.
• Your tree must not be wet, icy or slippery or on wet, swampy, or loose ground that allows the tree to be unstable. Check the ground under TREE/LADDER
STAND to ensure it is firm and level.
• Be sure you have a level stand platform. Your tree must not lean or have any irregular shape.
• Tree must not have any loose or scaly bark or excessive vines, nails, screws, or any other sharp objects protruding that may sever webbing on product. Any
surrounding trees must not lean or have dead limbs that may fall onto you or your product.
• NEVER HURRY!! HURRYING CAUSES ACCIDENTS!! While climbing a TREE/LADDER STAND, make slow, even movements no more than ten to twelve
inches at a time. Make sure you have proper contact with tree and/or TREE/LADDER STAND every time you move. On ladder tree stand, ALWAYS maintain
three points of contact with each step up the ladder and ALWAYS lean forward as you climb.
Several treestands are equipped with a footrest, armrests and/or shooting rail. Neither the footrest, armrests nor the shooting rail have been designed
to support a user’s weight. Under NO circumstances should you place more than fifteen (15) pounds of weight on these structures. Doing so will put
the user in serious risk of injury or death.
• Inspection for defects (damage, rot, corrosion, cracks, freezing, excessive heat, etc.) before every use is required. Do not use if damage is detected
or suspected.
• DO NOT overtighten the hardware. DO NOT use a socket wrench. This can lead to structural damage and may negatively affect the performance of
your stand. Failure to follow these instructions may result in serious injury or death.
• All photos are taken from the front view unless otherwise noted.
• In most cases, bolts come with two nylon washers. One washer will be placed against the bolt head the other washer will be placed against the nut.
• We recommend replacing all hardware/cables/nuts/bolts/clips on your tree stand every two (2) years or sooner if inspection finds it necessary. Use
only Primal Brands, LLC approved replacement straps and parts. Use of any other straps or parts, will be viewed as a modification to the
product. Any modification will void the warranties and relieve Primal Brands, LLC from all liabilities. Failure to follow these instructions
may result in serious injury or death.
Customer Service Department 1-866-972-6168
www.primaloutdoors.com
Distributed by Primal Brands, LLC, 1745 Shea Center Drive 4th Floor, Highlands Ranch, CO 80129 ©2023 (rev. 1/23)

1 Ratchet Strap..............................Part # PRC-100
G
Left Ladder
Attachment Bracket (1)
E
1 Top Stabilizer Bar.......................Part # PISB-100R
1 Middle Stabilizer Bar..................Part # POSB-100R
1 Stabilizer Base...........................Part # PSB-100R
1 Center Ladder Bracket...............Part # PCAB-100R
1 L. Ladder Attachment Bracket....Part # PLAB-100R
1 R. Ladder Attachment Bracket...Part # PRAB-100R
2 L/R Bracket Knobs......................Part # PBN-100R
2 M6 Quickclip................................Part # 1615
1 Rope/Hoist Assembly..................Part # PRHA-200
1 Ladder Attachment Rope.............Part # PLAR-200
4 M8 Quickclips..............................Part # 1815
B
C
D
E
F
H
J
A
Tools Required
Adjustable Wrench
Right Ladder
Attachment Bracket (1)
F
Left/Right
Bracket Knobs (2)
H
Ratchet Strap (1)
G
Ladder Attachment
Rope (1)
M
M8 Quickclips (4)
J
Rope and Hoist Assembly (1)
L
M6 Quickclip (2)
K
• Designed for single person use
(2 people recommended)
• Works with most ladder stands
Standz-Up Ladder Stand Hoist
MODEL: PVHA-200
Center Ladder
Bracket (1)
D
Top Stabilizer Bar (1)
A
Stabilizer Base(1)
C
Middle Stabilizer Bar(1)
B
Customer Service Department 1-866-972-6168
www.primaloutdoors.com
Distributed by Primal Brands, LLC, 1745 Shea Center Drive 4th Floor, Highlands Ranch, CO 80129 ©2023 (rev. 1/23)

Assembly Instructions Page 1 Model: PVHA-200
Standz-Up Ladder Stand Hoist
B B B
C
D
Attach the Stablizer Base onto the bottom of the Middle
Stabilizer Bar using 1-M6 Quickclips .
2C
BK
Ladder
Support
Bracket
facing up
Ladder
Support
Bracket
facing up
J J
K
E
EF
EF
H H
FD
1
3
2
4Minimum Width
Maximum Width
Lay Middle Stabilizer Bar on the ground with the
brackets facing up. Slide the Center Ladder Bracket
into the brackets with holes aligned. Secure using 2-M8
Quickclips .
1B
J
With the Center Ladder Bracket facing you,
slide the Left & Right Ladder Support
Brackets on to the Center Ladder
Bracket . NOTE: The Ladder Support
brackets should face you & angled down.
3
Secure both Left and Right Ladder Support Brackets
to the Center Ladder Bracket using Left/Right Bracket
Knobs . NOTE: The left and Right Ladder Support
Bracket Knobs are adjustable to accommodate ladders
up to 20” wide.
4H
D
D
D
E F
E F
E F
D
Customer Service Department 1-866-972-6168
www.primaloutdoors.com
Distributed by Primal Brands, LLC, 1745 Shea Center Drive 4th Floor, Highlands Ranch, CO 80129 ©2023 (rev. 1/23)
12 3 4 5 6
Open ratchet handle
flat and insert end of
strap through opening
Pull Strap through
opening Insert end of strap
through slot in ratchet
wheel
Ratchet handle back
and forth to tighten
strap
To release tension, push
spring loaded retaining lock
and simultaneously pull
on strap
After strap is tight,
close handle to
the locked position
Assembly Instructions Page 1 Model: PVHA-200
Standz-Up Ladder Stand Hoist
MAKE SURE ALL BOLTS ARE TIGHT BEFORE
PROCEEDING TO INSTALLATION
WA R N I N G
5
Fit the 2-M8 Quickclips onto each Left and right
Ladder Support brockets .NOTE: These Quickclips
will be used to secure the base of the ladder stand into
place during hoisting procedures. ALWAYS store these
Quickclips here when not in use. NEVER use this
product without these clips.
5E
J
F
J
E F
J
6
Ratchet Strap
Bracket should
face away from
the tree.
Attach Top Stabilizer Bar to theMiddle Stabilizer Bar
using 1-M6 Quickclip . NOTE: The Ratchet Strap
bracket should be on the outside of the stabilizer bar
away from the tree.
K
6A
B
A
B
K
7
G G
Attach Ratchet Strap to the right and left side of the
ratchet strap bracket on the Top Stabilizer Bar. Thread
the Ratchet Strap webbing loops though the slots of the
ratchet strap bracket and feed the other ends of the
straps though the loop to secure.
See “Ratchet Strap Instructions” (below) for correct
usage.
7
G
Customer Service Department 1-866-972-6168
www.primaloutdoors.com
Distributed by Primal Brands, LLC, 1745 Shea Center Drive 4th Floor, Highlands Ranch, CO 80129 ©2023 (rev. 1/23)
3a
1
3
Follow your ladder stand
manufacturer instructions in
locating an appropriate tree.
Finding as level ground as
possible, lean the Ladder Aid
Stabilizer assembly against the
tree so that the Ladder
Attachment Brackets are facing
OUTWARD. Adjust the Inner
Stabilizer Bar to a correct
height and leaning angle to work
best with your ladder stand.
3a: Connect Rope and Hoist Assembly approx. 2’ to 3’ above top of Ladder
Aid Inner Stabilizer Bar . NOTE 1: A second Ratchet Strap comes with
the Rope and Hoist Assembly . Use this Ratchet Strap with the Hoist
Assembly ONLY. NOTE 2: It is important that the front pulley of Hoist
Assembly , is facing the same direction as, and lines up straight with the
vertical Ladder Aid Stabilizer Bars and (as shown Left).
3b: Close up view of Hoist Assembly Pulley. Fasten around tree by connecting
carabiner to both Ratchet Strap D-Ring loops and Rope Eyelet (shown Below).
3c: Tighten Ratchet Strap around rear of tree. See “Ratchet Strap Instructions”
for correct weaving and usage.
3b
3c
Rope Eyelet
Center Line
Ratchet Strap D-Ring
Carabiner
1
Installation Instructions Model: PVHA-200
Standz-Up Ladder Stand Hoist
A
B
C
2
Secure Top Ladder Aid to the the tree using the Ratchet
Strap . See “Ratchet Strap Instructions” for correct
usage.
2
G
G
A
Customer Service Department 1-866-972-6168
www.primaloutdoors.com
Distributed by Primal Brands, LLC, 1745 Shea Center Drive 4th Floor, Highlands Ranch, CO 80129 ©2023 (rev. 1/23)
Connect the opposite side of Rope Hoist Assembly pulley .
To Ladder Attachment Rope by unscrewing the carabiner,
hooking it through both the knotted and looped side of Ladder
Attachment Rope , then closing and re-tightening the
Carabiner. NOTE 1:Close-up detail shown above.
NOTE 2: Thoroughly check that the connections are tight.
If the rope looks damaged or the knot looks to be loose, DO
NOT use this product.
4
56
Lay Ladder Attachment Rope above the second
to top rung of your ladder stand. (as shown Left).
6
second rung
from top
second rung
from top
4
Weave Ladder Attachment Rope around each
right and left side over your ladder, Above the
second to top rung (as shown Above).
5
TOP
TOP
Installation Instructions
Use Instructions
1
E
K
B
C
F
Lay out your ladder stand so that the bottom rungs are parrallel to the
Standz Up Ladder Aid base. Adjust the Left and Right Ladder Support
Brackets to match the correct width of your ladder stand.
NOTE: To increase stability, ALWAYS extend the brackets as wide
as possible.
Remove each M8 Quickclip from each Ladder Support Bracket .
Then lift and place the bottom rung of your ladder stand into the Left and
Right Ladder Support Brackets . Secure the ladder rung by
re-attaching each M8 Quickclip into the Ladder Support Brackets .
1
E
K
K
F
E F
E F
E F
Customer Service Department 1-866-972-6168
www.primaloutdoors.com
Distributed by Primal Brands, LLC, 1745 Shea Center Drive 4th Floor, Highlands Ranch, CO 80129 ©2023 (rev. 1/23)
2
Standing well behind the top of the ladder stand, begin to
SLOWLY pull on the Hoist Rope , keeping it to the
Left or Right side of the ladder stand. If the ladder stand
begins to lean to one side, STOP, lower the ladder and
re-adjust the leveling on the Ladder Aid Stabilizer Base.
NOTE- If possible, it is recommended to have others
present to help guide the ladder up during hoisting.
Once the ladder stand has made a firm contact with the tree,
carefully walk towards the ladder stand maintaining a Constant
Pulling Tension on the Hoist Rope until reaching the ladder
stand. Once at the ladder stand, check that it is securely leaning
in place with both hands on the ladder rails.
BEFORE removing ladder stand from Ladder Aid
Stabilizer Base, it is recommended to first secure any
ground-level ladder securing aids (such as
installation straps). NEVER climb or use your ladder
stand while it is still connected to the Ladder Aid
Stabilizer. Once secured, remove the ladder stand
base from the Ladder Aid Stabilizer Base (Figure A),
then make sure your ladder stand is properly level and
angled on the ground. Continue installing your ladder
stand according to the manufacturer’s instructions.
If necessary, you may shorten the Ladder Aid Stabilizer
to allow correct positioning for your ladder stand.
NOTE: Follow these instructions in reverse to
remove your ladder stand from tree.
Continuing to pull on the Hoist Rope raising the ladder.
DO NOT move towards the ladder. If the ladder should
slip or any connection should break, you will want to
be clear of the falling path! As the top of the ladder stand
approaches the top of the tree, stop and make sure the
brackets will make correct contact. If not, carefully lower
the ladder and re-adjust the Ladder Aid Stabilizer Base.
3
5
2
4
3
45
Please hoist safely. It is STRONGLY recommended to use this product with at least two (2) people for extra precaution.
NOTE
NEVER climb or use your ladder stand while
it is still connected to the Ladder Aid Stabilizer.
ALWAYS follow the correct manufacturer's
ground-level safety securing instructions of for your
ladder stand.
WA R N I N G
manufacturer
ground level
installation
straps
Use Instructions
FIG. A
FIG. A
Customer Service Department 1-866-972-6168
www.primaloutdoors.com
Distributed by Primal Brands, LLC, 1745 Shea Center Drive 4th Floor, Highlands Ranch, CO 80129 ©2023 (rev. 1/23)
Table of contents
Other Primal Ladder manuals
Popular Ladder manuals by other brands

Batavia
Batavia Professional BT-TL035W operating instructions

Summit Treestands
Summit Treestands BuckSteps SU82077 manual

MetalTech
MetalTech I-IBBF4 Jobsite Series OPERATIONAL SAFETY AND ASSEMBLY INSTRUCTIONS

VINYL WORKS CANADA
VINYL WORKS CANADA SNAP - LOCK SLD quick start guide

VonHaus
VonHaus 15/007 instructions

WaterDog Adventure Gear
WaterDog Adventure Gear WAG Boarding Steps LM-6 owner's manual

Intex
Intex 42in owner's manual

Vestil
Vestil LAD-MM Series instruction manual

Confer Plastics
Confer Plastics EVOLUTION 7100 Assembly and installation manual

Branach
Branach FEU Series User instructions

Ridgeway
Ridgeway Snappy 300 Assembly guide

INNOVAPLAS
INNOVAPLAS Lumi-O ROYAL ENTRANCE II quick start guide