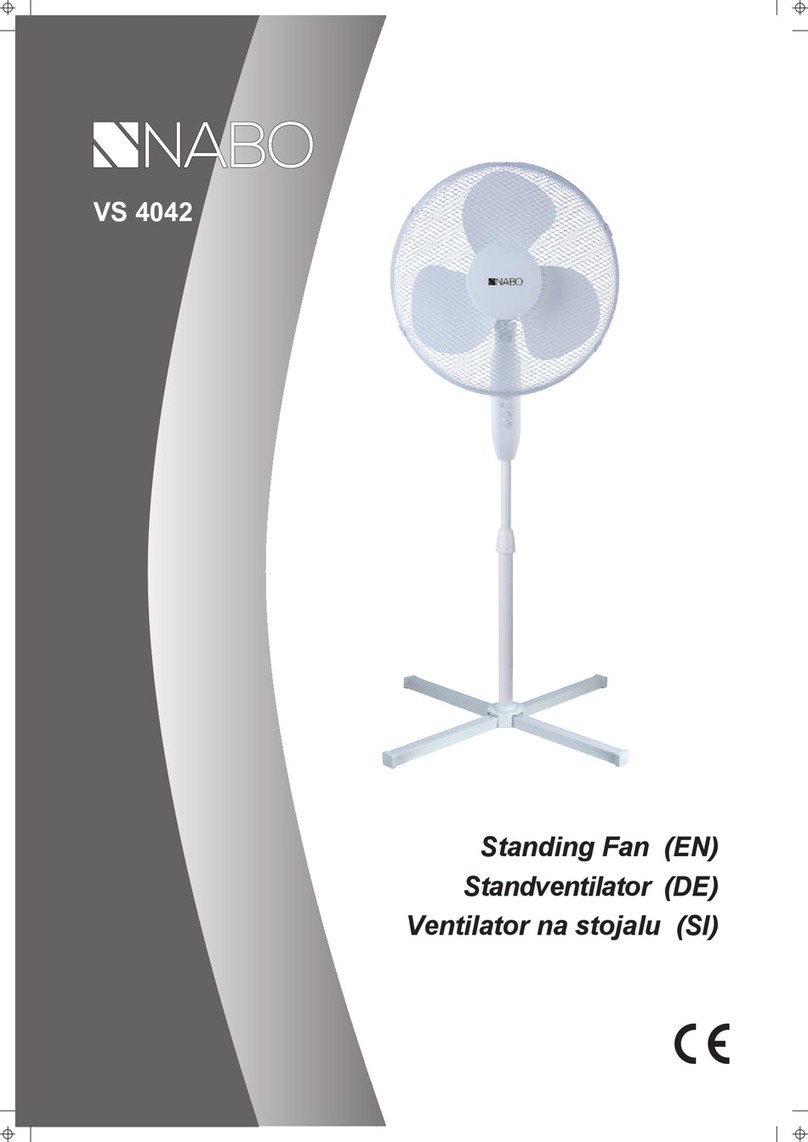
Prinetti IA2273A User manual

40cm
PEDESTAL FAN
IA2273A
INSTRUCTION MANUAL
Please read and save all instructions to ensure safe and effective use of this Appliance

02
Contents
Important Safety and General Instructions 03
Parts List Diagram 05
Before First Use 06
Assembly Instructions 07
Operating Instructions 09
Cleaning, Care and Maintenance 10
Warranty Information 11

03
Important Safety and General Instructions
Read this manual thoroughly before first use, even if you are familiar with this type
of product. The safety precautions enclosed herein reduce the risk of fire, electric
shock and injury when correctly adhered to. Please keep this user manual in a
safe place along with your purchase receipt and carton for future reference. If
applicable, pass these instructions and packaging on to the next owner of the
appliance. Always follow basic safety precautions and accident prevention
measures when using an electrical product.
1. Read all instructions before using the Prinetti®40cm Pedestal Fan.
2. Close supervision is necessary when any appliance is used by or near children.
3. Do not use the Fan for other than its intended use.
4. Before turning on, ensure the electrical voltage and frequency of the circuit
corresponds to those indicated on the rating label of the appliance.
5. To protect against the risk of electric shock, do not immerse the motor unit, cord
set or plug in water or any other liquid, or rinse under a tap.
6. The Fan is not intended to be operated by means of an external timer or any
type of separate remote control system.
7. The use of attachments not recommended or sold by the manufacturer may
cause fire, electric shock or injury.
8. This Fan is intended to be used indoors for household use only.
9. Do not use an extension cord unless completely necessary with this product.
If an extension cord is used please ensure that it has a rating equal to or
exceeding the rating of this appliance.
10. Do not pull or carry by the cord, use the cord as a handle, close a door on the
cord, or pull the cord around sharp edges or corners. Keep cord away from
heated surfaces.
11. Do not bend or damage the power cord.
12. Always unplug the appliance when not in use.To disconnect from the power
supply, grip the plug and pull from the power socket. Never pull by the cord.The
power plug must be removed from the power socket before cleaning, servicing,
maintenance or moving the Fan.
13. Do not move or lift the Fan while the power cord is still connected to the wall
outlet or still on.Always ensure it is switched off.

04
Important Safety and General Instructions (cont.)
14. Never force the plug into a power outlet.
15. To reduce the risk of electrocution, never operate this product with wet hands,
submerge underwater or spill liquids into the product.
16. Do not leave the Fan unattended when in use.
17. Do not place the appliance near a hot gas or electric burner.
18. Do not cover the appliance whilst in use. If it is covered there is a risk of fire.
19. Improper installation may result in the risk of fire, electric shock and/or injury to
persons.
20. If the supply cord or plug is damaged, do not use the appliance. Please return
to your place of purchase along with your receipt for a refund or exchange.
21. The manufacturer is not responsible for any eventual damages caused by
improper or faulty use.
22. The unit has no user-serviceable parts contained within. Do not attempt to
repair, disassemble or modify the appliance.This will void the warranty.
23. Do not use the appliance at room temperatures above 40°C.
24. Do not leave the appliance exposed to harsh weather conditions (direct
sunlight, rain, etc.).
25. Do not place the product in or near an open window as rain may enter the
appliance and cause electrical short-circuiting.
26. Do not insert fingers or any other object through the front or rear grille or into
any opening of the product.
27. This appliance is not intended for use by persons (including children) with
reduced physical, sensory or mental capabilities or lack of experience and
knowledge, unless they have been given supervision or instruction concerning
use of the appliance by a person responsible for their safety.
28. Children should be supervised to ensure they do not play with the appliance.
29. Ensure the Fan is switched off and unplugged before removing the front or rear
grille.

1. Front Grille
2. Grille Cover
3. Grille Screw
4. Grille Cover Screw
5. Blade Locking Nut
6. Fan Blade
7. Rear Grille Locking Nut
8. Rear Grille
9. Motor Shaft
10. Oscillation Knob
11. Motor Housing
12. Tilt Adjustment Screw
13. Control Panel
14. Power Cord
15. Extension Pole
16. Height Adjustment Ring
17. Base Tube
18. Base Cover
19. Base Screws (4pcs)
20. Cross Base
21. End Caps (4pcs)
1
2
3
4 5 6 7 8 9 10
11
12
13
14
15
16
17
18
19
20
21
05
Parts List Diagram

06
Before First Use
Prior to using your Fan, please read all safety and operating instructions thoroughly.
Please ensure you follow the steps below before using this Fan. We recommend you
keep the original packaging for storing your Fan when not in use.
1. Unpack the product but keep all packaging material until you have made
sure your new Fan is undamaged and in good working order. Ensure all parts
indicated in the above parts list have been included in the gift box. Plastic
wrapping can be a suffocation hazard for babies and young children, so
ensure all packaging materials are kept out of reach of children.
2. Uncoil the cord and straighten it to remove any kinks. Do not use the product
if any parts are damaged. In case of damage, phone the After Sales Support
Line.

07
Assembly Instructions
NOTE: The Fan can be used only when completely and correctly assembled, that
is complete with its base, support and protection grilles.
Assembling the Stand
1. Make a cross with the cross bases (20) by fitting them together at the center.
Then fit the 4 end caps (21) to the ends of the cross bases.
2. Attach the base tube (17) to the base.
3. Align the four holes in the bottom of the base tube with the four holes in the
cross base.
4. Insert the four base screws (19) into the aligned holes and tighten them
completely.
5. Turn the height adjustment ring (16) and remove it.
6. Slide the base cover (18) down so that it covers the screw tops in the cross
base.
7. Replace the height adjustment ring (16) but do not tighten.
8. Extend the extension pole (15) and secure it by tightening the height
adjustment ring (16).
NOTE: If the extension pole is not readily visible, look inside the base tube (where
it is located) and extend it completely.
9. Attach the control panel (13) with the motor housing (11) assembly to the top
of the extension pole (15).
10. Tighten the adjustment screw at the rear of the control panel to fix the control
panel and motor assembly onto the extension pole (15).

08
Assembly Instructions (cont.)
Assembling the Fan
1. Remove the rear grille locking nut (7) from the motor housing (11) by rotating it
anticlockwise.
2. Insert the rear grille (8) onto the motor housing (11) and position it so that the
locator posts on the motor housing align with the slotted holes on the rear grille.
3. Lock the rear grille into place with the rear grille locking nut (7) by tightening
the nut clockwise till the rear grille sits securely against the motor housing (11).
4. Slide the fan blade (6) onto the motor shaft (9) until the grooves of the fan
blade align with the pins of the motor shaft and the fan blade cannot be
pushed back any further.
5. Screw in the blade locking nut (5) onto the end of the motor shaft and tighten
by rotating it anticlockwise.
6. Attach the front grille (1) to the rear grille (8) by following the steps below:
I. Firstly, install the grille cover (2) onto the front grille (1) using the grille cover
screw (4).
II. Pull up the clamps on the front grille
(1).Align the front and the rear grilles
ensuring that the two small holes found
on the bottom of the grilles line up.
III. Press down on the clamps ensuring
the rim of both front and rear grilles
are secured within the inside slot of
the clamps and push down on the rim
hook until it locks into place.
7. Insert the grille screw (3) into the aligned hole and tighten
it using the supplied nut.
8. Place the Fan on a dry, flat stable surface.You are now ready for operation.

09
Operating Instructions
1. Once the Fan has been fully assembled plug the power cord into a power
outlet and switch the outlet on.
2. Select the desired speed with the control panel:
0 - Off
1 – Low speed
2 – Medium speed
3 – Maximum speed
3. To turn the Fan off, press the “0” button and then switch off and remove the plug
from the socket.
Horizontal Oscillation (right-left): Press the oscillating knob (9) down to activate.
To stop the motion and keep the Fan still, pull the oscillation knob up.
Tilt (high-low): Adjust the tilt angle and by tilting the head of the Fan.You will hear
the Fan click into one of the 3 available positions.
CAUTION: Only select one speed setting at a time.

10
Cleaning, Care and Maintenance
Always switch off and unplug the Fan from the power outlet before moving or
cleaning.
1. To clean the exterior of the Fan, wipe over the surface with a soft, damp cloth
and dry thoroughly. Do not use detergents or abrasive cleaners.
2. To clean the grille and the motor air vents, use a vacuum cleaner to remove
light dust.
3. If the Fan is not used for long periods (eg. over winter), it is recommended to
store the Fan in its original packaging in a cool, dry place.
4. This product is permanently lubricated at the factory before shipping and will
not require further lubrication for the life of the product.
NOTE: It is essential that the motor air vents be kept free from dust and lint.
CAUTION: Do not disassemble the motor housing of this product for cleaning
of internal parts, as doing so may result in product damage and will void the
warranty.
CAUTION: Do not immerse the Fan in water or any other liquids.
CAUTION: Do not apply any lubricants to the Fan. Additional lubrication could
increase the risk of a fire hazard.

11
Congratulations on your purchase
This Prinetti® 40cm Pedestal Fan is warranted to be free from defects in material
and workmanship under normal use and service conditions for a period of
1 year from the date of purchase of this article. Evidence of unfair usage or
incorrect adjustment by the owner will void this promise. Defects that occur within
this warranty period, under normal use and care, will be repaired, replaced or
refunded at our discretion.
The benefits conferred by this manufacturer’s warranty are in addition to all other
rights and remedies in respect of the appliance which the consumer has under
the Australian consumer law.
Our goods come with guarantees that cannot be excluded under the Australian
Consumer Law.You are entitled to a replacement or refund for a major failure
and for compensation for any other reasonably foreseeable loss or damage.You
are also entitled to have the goods repaired or replaced if the goods fail to be of
acceptable quality and the failure does not amount to a major failure.
Conditions of Warranty
All warranty coverage extends only to the original retail purchaser from the date of
purchase. Please keep your receipt, tax invoice or other proof of purchase.
This warranty does not extend to any damage to a appliance caused by abuse,
improper or abnormal usage, or repairs not provided by us or our Service Centre.
Nor does this warranty extend to appliances used for commercial or rental
purposes. This warranty does not cover ordinary wear, tear and weathering, failure
to follow directions, improper installation, improper maintenance or acts of God
(such as damage caused by storms, lightning, heavy winds and by snow or ice).
Making A Warranty Claim
In order to make a claim under this warranty please direct your enquiries to our
Service Centre.You can contact them on our 1300 777 137 phone number or send
mail to them at:
Uncle Bill’s Service Centre:
2/24 Anderson Road, Smeaton Grange, NSW 2567,Australia – if mailing please
include your contact details.
A service representative will then assist you in the appropriate action to be taken.
For efficient processing of your enquiry please have proof of purchase, the date of
purchase and the retailer name you purchased the item from, and the brand on
the appliance.
Warranty Information

12
Warranty Information (cont.)
Photos of the appliance, and scans of receipts, may be requested to assist with
your claim.
The service centre representative will assess the claim. If:
1. There is a minor fault, they can offer either a replacement spare part,
replacement unit, repair or other suitable remedy.
2. There is a major fault, they can offer a replacement, repair or suggest you return
to the store you purchased it from for a full refund.
PLEASE NOTE: A request for compensation will need documentary evidence of
the loss or damage suffered. It will also need to be evidenced that such a loss
was a reasonably foreseeable result of a failure by Uncle Bill’s to comply with a
consumer guarantee under the Australian Consumer Law.
3. The appliance was damaged through abnormal use, no refund or repair
can be offered. If the appliance needs to be returned and all the warranty
criteria has been met, the consumer is to return the appliance to the place of
purchase (along with their proof of purchase) and all costs involved with this
will be the responsibility of the consumer.
Our sales and service centre has been set up to provide assembly assistance,
technical support, replacement parts and accessories, and to efficiently handle
all warranty related matters. Please note upon receiving your warranty claim our
Service Centre will send, via post or email, a repair and refurbished goods or parts
notice.
If you require an alternative format of this instruction manual such as website, email
or DVD please contact service@unclebills.com.au.
SERVICE CENTRE
Contact details and hours of operation.
Phone: 1300 777 137
9:00am – 4:30pm Monday to Friday (Excluding Public Holidays)
9:00am – 3:00pm Saturday
This appliance is warranted and imported by:
Uncle Bill’s (Australia) Pty Ltd
48B Egerton Street
Silverwater NSW 2128, Australia
Phone: 02 8799 3500
Item: IA2273A
Table of contents
Other Prinetti Fan manuals
Popular Fan manuals by other brands
Ayce
Ayce HW-26MC05 Original instructions

Aereco
Aereco VAM installation instructions
Swegon
Swegon EXFa EXFT1 manual
ClimateMaster
ClimateMaster OB Series installation instructions

Siegenia
Siegenia AEROMAT 150 Installation and operating instructions

minkaAire
minkaAire CITY CONTEMPO Instruction manual warranty certificate
