manuals.online logo
Brands
  1. Home
  2. •
  3. Brands
  4. •
  5. CSR
  6. •
  7. Fan
  8. •
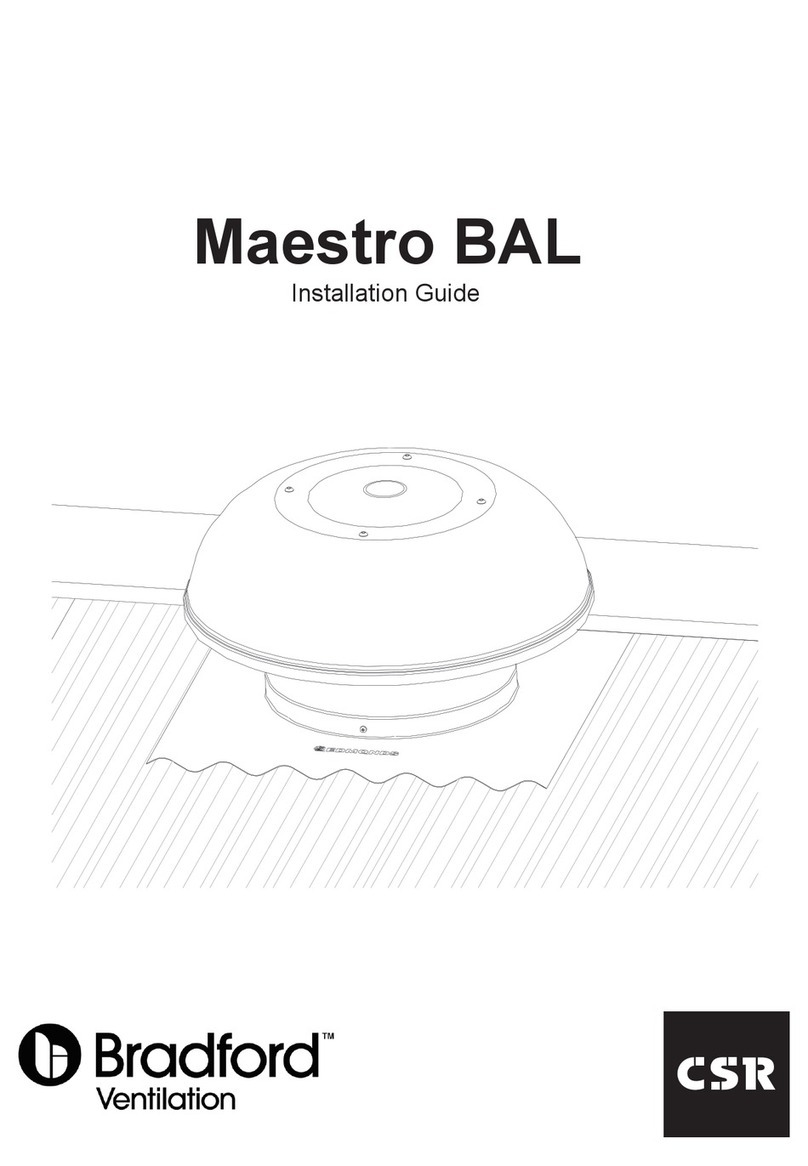
  9. CSR Edmonds Maestro User manual

CSR Edmonds Maestro User manual

INSTALLATION INSTRUCTION
Maestro
Maestro is an extremely energy efficient and reliable roof ventilator used to extract hot, humid or moist air from the roof space,
allowing it to be replaced by cooler, fresh air. This helps prevent roof space temperatures from reaching extreme levels in
summer, thereby improving the efficiency of insulation, and resulting in a more comfortable home. The unit’s extraction rate
is equivalent to up to three wind-powered ventilators. The Maestro is available in 2
models, a 12V DC (low voltage) or Solar unit.
To achieve adequate ventilation it is imperative to provide adequate opportunity
for replacement air to enter the roof space, as shown in Fig 1.
It is recommended that at least 2 Whirly Mate ceiling grilles or at
least 8 under eave vents be installed evenly around the home for
each Maestro.
Selection of the number of Maestro’s and their location on the roof will depend on the characteristics of each problem and the
size of the roof area to be ventilated. However, one Maestro power vent can provide adequate ventilation for a 20 square (180m2)
home. Locate the Maestro(s) evenly around the roof to give the best results.
IMPORTANT NOTICE
• The Maestro is designed for general household ventilation only. DO NOT use to exhaust hazardous or explosive
materials and vapours.
• The Maestro has an unguarded fan assembly. DO NOT use in locations readily accessible to people or animals. The
fan is intended for use facing an unoccupied space only.
• The 12V DC model is designed for LOW VOLTAGE USE ONLY and must NEVER be connected direct to mains power.
Always use the 12V power pack supplied.
• Instructions for wiring the thermostat should be followed precisely.
• It is recommended that the Maestro be installed on roof slopes no greater than 45 degrees, as water ingress can
occur on steeper gradient roofs.
• DO NOT use this Maestro with any solid state speed control.
1. Select the appropriate position for the vent.
Remove a tile from the third row down from
the ridge cap. The removal of a tile higher
than this may damage the integrity of the
ridge tiles and is NOT recommended.
2. If the roof is ‘sarked’, cut sarking in a cross
and fold back corners to give a 300mm
square opening.
3. Take the flashing and push it under the
tiles above the opening created in the roof,
centre the vent over the opening. Dress the
flashing into the shape of the tile.
Note: Silicone can be used to ensure
installation is weatherproof.
4. Turn bottom edge of flashing down to seal
against lower tile.
5. From inside the roof, hook the fixing strap
suppliedovertheedgeofthebaseashingandnailorscrewfixittothebottombatten.
4
5
3
2
1
TILE ROOF INSTALLATION
CONTENTS OF PACKAGE
PRIOR TO INSTALLATION
• Check all components are in the carton.
CONTENTS OF CARTON
Maestro D.C. Transformer with 6m cable 2 x Fixing Straps
Eberle RTR-E 6705
12V DC Thermostat
Also:
Warranty
Installation Instructions
INSTALLATION INSTRUCTION
Maestro
Global-Mark.com.au®
Q
u
a
l
i
t
y
M
a
n
a
g
e
m
e
n
t
.
I
S
O
9
0
0
1
10 Stanton Road, Seven Hills NSW 2147
Telephone 1300 858 674 www.edmonds.com.au
METAL ROOF INSTALLATION
1
2
Note
1. Select the appropriate position for the
vent. Place the flashing with top edge
slipped under the ridge capping. Ensure
the flashing covers the corrugations or ribs
equally and is located between the roof
joists.
2. Mark the centre of each side to determine
where the centre of the vent will be. Mark
a 300mm circle using the centre mark. Cut
hole. Turn up corrugations or pans of the
roof sheeting around the opening.
3. Place Maestro on metal roof over the
opening and carefully dress sides and
bottom edge of flashing into the
corrugations. If the Profile proves to be
difficult an INFILL that matches the roofing
profile can be purchased & used on the
bottom edge of the flashing to achieve a weatherproof seal.
4. Run a small bead of silicone along the under side of the flashing & secure the flashing with self-tapping screws or rivets.
These are NOT included in the kit (approximately 8 are required).
Note: When a ventilator is required to be installed further down the roof & the top edge of the flashing is exposed, a flat
flashing with turned down sides should be installed over the top edge of the vent flashing & extended back to the highest
point under the ridge capping. Failure to install the ventilator using the back flashing may result in water ingress.
OPERATION
The Maestro motor has a rating of 1 amp with power consumption of 11W at 12V DC. The Maestro is supplied with a
12V 1.5 Amp power pack. The Maestro can be operated manually (via a two-way switch) or wired through the thermostat
(supplied with the 12V model).
WIRING THE MAESTRO (12V MODEL)
Once the Maestro has been installed, it is ready to be wired.
•Takethepowerpack,1xconnectorblockandtheThermostat
and connect as per wiring diagram.
Note:
If mains electrical connections (eg. wiring a power point) are
to be carried out, only use a licensed electrician in accordance
with local wiring codes and regulations.
12V DC Power Supply
Negative
12v DC
Motor
L
Thermostat
Positive
Wiring Diagram
Y2
123
4
Connectors
Blue Wire
NOTE: The Motor is polarity sensitive.
Incorrect wiring can damage motor and
void warranty
Red Wire
Eberle RTR-E 6705
12V DC Thermostat
ELECTRICAL CONNECTION
Publish date: 08/11
Doc ref: I-002-B

Other CSR Fan manuals

CSR Edmonds Maestro User manual

CSR

CSR Edmonds Maestro User manual

CSR Edmonds User manual

CSR

CSR Edmonds User manual

CSR ODY400-D-H1800 User manual

CSR

CSR ODY400-D-H1800 User manual

CSR Bradford Maestro BAL User manual

CSR

CSR Bradford Maestro BAL User manual

CSR Bradford Maestro BAL User manual

CSR

CSR Bradford Maestro BAL User manual

CSR Bradford WindMaster User manual

CSR

CSR Bradford WindMaster User manual

CSR Bradford EcoPower 400 User manual

CSR

CSR Bradford EcoPower 400 User manual

Popular Fan manuals by other brands

PROGRESS LIGHTNING AirPro P2598 installation manual

PROGRESS LIGHTNING

PROGRESS LIGHTNING AirPro P2598 installation manual

Tecnosystemi TOTAL AIR 200P EVO PLUS user manual

Tecnosystemi

Tecnosystemi TOTAL AIR 200P EVO PLUS user manual

NuTone QTNLEDB instructions

NuTone

NuTone QTNLEDB instructions

Klarstein 10027944 manual

Klarstein

Klarstein 10027944 manual

Excelair ETF10R instruction manual

Excelair

Excelair ETF10R instruction manual

Broan MP280 instructions

Broan

Broan MP280 instructions

nedis FNST16CWT40 quick start guide

nedis

nedis FNST16CWT40 quick start guide

Hunter Castleton 55043 Manual de instrucciones

Hunter

Hunter Castleton 55043 Manual de instrucciones

Chillout GF602 operating instructions

Chillout

Chillout GF602 operating instructions

Fanimation Enigma FP2120 Series owner's manual

Fanimation

Fanimation Enigma FP2120 Series owner's manual

Westinghouse Contempra Trio owner's manual

Westinghouse

Westinghouse Contempra Trio owner's manual

NuAire ES-MEV Hints & Tips

NuAire

NuAire ES-MEV Hints & Tips

Johnson Controls tyco TAV-D manual

Johnson Controls

Johnson Controls tyco TAV-D manual

EUROLAMP FS-10-360A instructions

EUROLAMP

EUROLAMP FS-10-360A instructions

TJERNLUND DRYER DUCT BOOSTER LB2 quick start guide

TJERNLUND

TJERNLUND DRYER DUCT BOOSTER LB2 quick start guide

Optimus F-0610C instruction manual

Optimus

Optimus F-0610C instruction manual

Greenheck RV Installation, operation and maintenance manual

Greenheck

Greenheck RV Installation, operation and maintenance manual

KDK X48XG /  X48XGMN Operating and installation instructions

KDK

KDK X48XG / X48XGMN Operating and installation instructions

manuals.online logo
manuals.online logoBrands
  • About & Mission
  • Contact us
  • Privacy Policy
  • Terms and Conditions

Copyright 2025 Manuals.Online. All Rights Reserved.