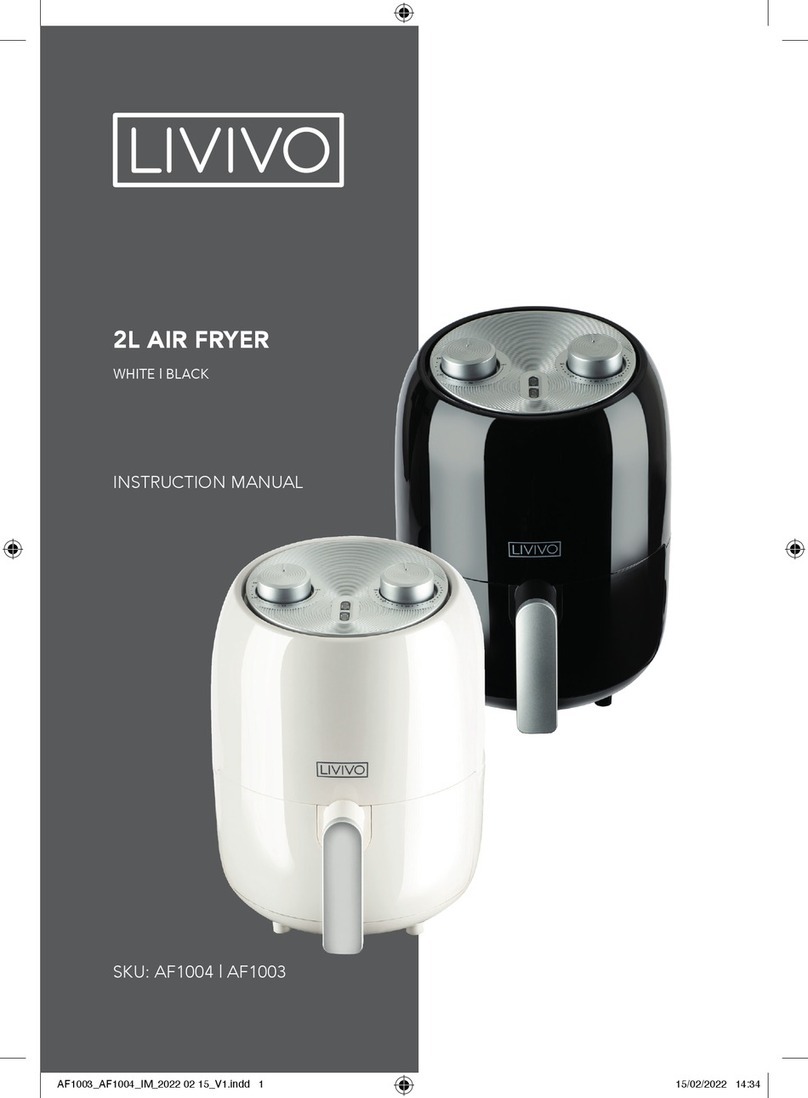
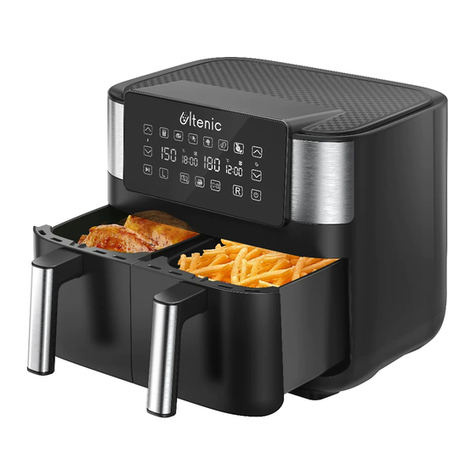
Pro-Idee Health Fryer XL User manual

952-071
Air Fryer Health Fryer XL
Item-no.: 225-251
Vielen Dank, dass Sie sich für
unser Produkt entschieden
haben! Lesen Sie das Hand-
buch und die Wartungsan-
weisungen sorgfältig bevor
Sie den Bräter verwenden
und bewahren Sie sie für
zukünftige Konsultation auf.
Wir wünschen Ihnen viel Spaß
mit Ihrem Health-Bräter!
¡Gracias por escoger nues-
tro producto! Lea el manual
y las instrucciones de man-
tenimiento cuidadosamente
y completamente antes de
usar la freidora y guárdelos
para referencia futura. ¡Le
deseamos que disfrute de su
freidora!
Seite 23-29 Página 30-36
Grazie per aver scelto il nostro
prodotto! Leggere attenta-
mente il manuale e le istru-
zioni di manutenzione prima
di utilizzare la friggitrice, e
conservarle per consultazioni
future. Vi auguriamo un sacco
di divertimento con il vostro
Healthfryer!
Pagina 37-43
Thank you for choosing our
product! Read this manual and
the maintenance instructions
carefully and thoroughly be-
fore using the fryer, and keep
them for future reference. We
wish you a lot of enjoyment
with your Healthfryer!
Merci d’avoir choisi notre
produit! Veuillez lire avec
attention le présent mode
d’emploi et les instructions
d’entretien avant la première
utilisation, et bien les garder
pour pouvoir les consulter
ultérieurement. Nous vous
souhaitons bien du plaisir
avec votre Healthfryer!
Page 2-8
Hartelijk dank dat u ons
product hebt gekozen! Lees
deze handleiding met onder-
houdsinstructies aandachtig
en zorgvuldig door vóór ge-
bruik, en bewaar deze voor
toekomstige raadpleging. Wij
wensen u veel gebruiksplezier
met uw Nutri Healthfryer!
Pagina 9-15 Page 16-22
Operating instructions Bedieningsinstructies Mode d’emploi
Bedienungsanleitung Instrucciones operativas Istruzioni per l’uso
THE NEW WAY
OF COOKING!
Vielen Dank, dass Sie sich für
unser Produkt entschieden
haben! Lesen Sie das Hand-
buch und die Wartungsan-
weisungen sorgfältig bevor
Sie den Bräter verwenden
und bewahren Sie sie für
zukünftige Konsultation auf.
Wir wünschen Ihnen viel Spaß
mit Ihrem Health-Bräter!
¡Gracias por escoger nues-
tro producto! Lea el manual
y las instrucciones de man-
tenimiento cuidadosamente
y completamente antes de
usar la freidora y guárdelos
para referencia futura. ¡Le
deseamos que disfrute de su
freidora!
Seite 23-29 Página 30-36
Grazie per aver scelto il nostro
prodotto! Leggere attenta-
mente il manuale e le istru-
zioni di manutenzione prima
di utilizzare la friggitrice, e
conservarle per consultazioni
future. Vi auguriamo un sacco
di divertimento con il vostro
Healthfryer!
Pagina 37-43
Thank you for choosin
g our
product! Read this manual and
the maintenance instructions
carefully and thoroughly be-
fore using the fryer, and keep
them for future reference. We
wish you a lot of enjoyment
with your Healthfryer!
Merci d’avoir choisi notre
produit! Veuillez lire avec
attention le présent mode
d’emploi et les instructions
d’entretien avant la première
utilisation, et bien les garder
pour pouvoir les consulter
ultérieurement. Nous vous
souhaitons bien du plaisir
avec votre Healthfryer!
Page 2-8
Hartelijk dank dat u ons
product hebt gekozen! Lees
deze handleiding met onder-
houdsinstructies aandachtig
en zorgvuldig door vóór ge-
bruik, en bewaar deze voor
toekomstige raadpleging. Wij
wensen u veel gebruiksplezier
met uw Nutri Healthfryer!
Pagina 9-15 Page 16-22
Operating instructions Bedieningsinstructies Mode d’emploi
Bedienungsanleitung Instrucciones operativas Istruzioni per l’uso
THE NEW WAY
OF COOKING!

2
2
Important safety instructions
When using electrical appliances, you should at all times observe basic safety measures,
including the following:
1. Before using the fryer, read the instructions carefully.
2. Do not touch any hot surfaces. Use the handles and wear oven gloves.
3. Before using the fryer, check whether the mains voltage corresponds with the specifications
on the model identification plate on the bottom of the fryer.
4. Do not switch on the fryer until all of the components have been properly installed.
Make sure the lid is closed before you plug the fryer into the mains and switch it on.
5. To avoid electric shock, do not immerse the mains lead, the mains plug or the fryer in water
or other liquids.
6. Be careful when using the fryer in the vicinity of children.
7. Remove the mains plug from the socket when the fryer is not in use, or before cleaning.
Allow the fryer to cool before assembling, disassembling or cleaning it.
8. The fryer should never been used if the mains lead or plug is damaged, or if it is
malfunctioning or damaged in any way. If the fryer is defective, it should be taken to an
authorised service centre for examination, repair or adjustment.
9. Incorrect use of the fryer or accessories not recommended by the manufacturer may lead to
injury.
10. The fryer should be used only as specified. The fryer is intended solely for non-commercial,
household use indoors.
11. When using the fryer, always start by connecting the mains lead, before plugging the lead
into the mains. After use, switch of the switches to ‘OFF’ before unplugging the fryer from
the mains.
12. The fryer must be connected to an electrical circuit that is not running any other electrical
devices. If the electrical circuit is overloaded by other appliances, the fryer may not work
properly.
13. When moving a fryer containing hot food, you should exercise extreme caution.
14. The fryer should not be placed on or near a hot gas or electrical heat source or in a heated
oven. It should also not be placed in the vicinity of combustible materials, such as curtains,
when the fryer is switched on.
15. When the fryer is switched on, be sure it is kept at a safe distance from other objects.
16. Do not allow the mains lead to hang over the edge of the table or the kitchen worktop, or
come into contact with hot surfaces.
17. The mains lead should not be allowed to hang loosely.
18. The mains lead should not be pulled when the fryer is being unplugged from the mains.
19. Do not overload the black Teflon bowl. It can hold a maximum of 4kg of food.
20. The fryer should not be covered while switched on.
21. Clean the lid, the windows, the odour/splash shield using a sponge and mild soapy water.
Note that any loose pieces of sponge could come into contact with electrical components,
which could, in turn, cause electric shock.

3
3
22. The fryer is not designed to be used by people with a physical, sensory or mental disability,
or by people who have no knowctions beforehand on how to use the fryer by an individual
who is responsible for their safety. Children must not be allowed to play with the fryer.
23. Be sure to keep these instructions.
The first use
When you use the Nutri Healthfryer for the first time, the fryer may emit a mild but harmless
odour that will disappear after a few minutes. The odour is created by the protective oil used to
protect the components against possible friction during transport. Carefully unpack the fryer
and remove all of the packaging materials. Place the fryer on a flat, heat-resistant and non-
combustible surface. Do not immerse the fryer in water or other liquids. Use a sponge and
soapy water to clean the product before the first use. Please note: do not extend the mains
lead. The fryer may to be used with an extension cable because a short mains lead reduces the
risk of entanglement or tripping.
Removing the transport protection
Please note: Remove the paper holder before using the fryer for the first time!
Construction
1. Operating panel
2. Handle
3. Ventilation grill
4. Transparent lid
5. Heating fan
6. Locking mechanism
7. Pivot hole
8. Body
9. Non-stick Teflon base
Removing
the frying
pan
Paper holder
Remove
the paper holder
Place the frying pan
back into the Nutri
1
2
3
4
5
6
7
8
9

4
4
Standard accessories
A. Dual wire rack, high/low
B. Tongs
C. Frying basket
D. Pivot
E. Chicken spit (2x)
Operating panel
I. ON/OFF: Switches the fryer on an off
II. Menu: Selects frying setting
III. Food/roller: switches the rotation mechanism on an off
IV.Preset: Sets the frying time and setting
V. Temp/timer: Sets the desired temperature and frying time
Opening and closing the Nutri healthfryer
Please note: Instructions for opening and closing the lid of the healthfryer with the
lock/release latch are provided below:
The use of the accessories
You can find the images of these accessories on page 4 of this instruction manual.
A. Dual wire rack-low wire rack: suitable for frying larger items of food, such as roasted
poultry (whole), rice, casserole dishes, vegetables etc. High wire rack: suitable for frying
medium-sized items of food, such as chicken wings, quiche, cake and pizza.
B. Tongs: for gripping items of food, the frying pan, the frying basket or the dual wire rack.
C. Frying basket: suitable for frying items of food such as French fries and items of food that
need to be able to roll and heat through consistently.
D. Pivot: serves as an axis for the frying basket and as a spit for grilling for example fish or chicken.
E. Chicken spit (2x): suitable to attach for example a whole chicken or legs of lamb on the pivot.
III IV
V
III
“CLICK” OK
Release
2
1
Close
A
B
E
C
E
D

5
5
Assembling the frying basket
Insert the pivot through the openings provided on both sides of the frying basket. Make sure
that the holes in the pivot are on the same side as the basket so the pivot and the basket are
connected with the screws. Fill the basket with food. Make sure that the lid of the basket is
properly closed. Use the tongs to assemble the basket in the bowl. First insert the square end
of the pivot in the opening on the rear back side of van the bowl; then let the other end rest in
the slot on the front of the bowl.
Preparing food with the Nutri Healthfryer
1. Depending on what kind of food you are going to prepare, you first place the grill or the dual
wire rack (low/high) and then you put the food into the fryer. Make sure the food is 15-20
mm below the brim of the basket for optimum circulation of the hot air. When using the frying
basket, put the food in the basket before placing the basket in the pan. If you want to use the
spit, first string the chicken/poultry/fish/roast on the spit and then attach it to the bowl
2. Close the lid and make sure that none of the food is touching it.
3. Firmly plug the mains lead into the socket.
4. Press the ‘ON/OFF’ button and set the desired frying time and temperature.
5. The timer will stop and beep three times when the frying time has elapsed. This way you
know the frying time has elapsed and the food is ready! After cooking, the fryer’s fan
continues running for a while in order to cool the fryer.
6. For safety reasons it will switch itself off if the fryer is left unused for too long, even if it is
plugged into the mains. Should this happen, you can switch it on again using the ‘ON/OFF’
switch.
Please note: The fryer must only be switched on when it contains food!
Safety advice: The tongs can be used for handling the accessories and the items of food. If
necessary, you can also use oven gloves. To avoid accidents, make sure you move the inner pan
using both hands, whether the frying pan is hot or cold.
Please note: switch off the fryer by pressing ‘OFF’ before opening the lid. Press the release
latch on the right side of the fryer to release the lid. Be careful not to hurt yourself with the hot
steam.
Operation
Plug the fryer into the mains and press ‘ON/OFF’. It will automatically be switched on in standby
mode and ready for operation. If left, the fryer will switch off automatically after 1 minute.
Setting the frying time and temperature
Press ‘Menu’ to set the time and the temperature with the ‘Temp/timer’ button. When you have
pressed the ‘Temp/Time’ button, the pictogram will start flickering. Press the + and - buttons
to select the desired temperature. Every click represents an increment of 10°C. Hold the button
to adjust the temperature quickly by increments of 10°C. The minimum and maximum frying
temperatures are 50°C and 230°C, respectively.

6
6
When the pictogram starts flickering, you can select the desired frying time using the + and -
buttons. Every click represents an increment of 1 minute. To increase or reduce the frying time in
increments of 10 minutes, hold the button. The minimum and maximum frying times are 1 and
60 minutes, respectively.
Pre-programming
With the PRESET button you can set the time that you want your Nutri Healthfryer to start.
After switching on the fryer, press the PRESET button and set the preferred frying time using
the timer button. The standard setting is 60 minutes. Every click represents an increment of 1
minute. The setting range is 1 hrs. to 9:59 hrs. Hold the + and - longer to set the time faster, in
increments of 10 minutes.
Standard setting
The standard setting is a temperature of 200°C with a frying time of 25 minutes. To adjust the
frying time and temperature, press the ‘Menu’ button to reset the time and the temperature.
Then press the ‘ON/OFF’ button to confirm the standard settings, and the frying time will start
counting down.
Rolling function
To heat the food more evenly, press the ‘Roller’ button. The ‘Roller’ icon is shown. Press the
button again to cancel the rolling function.
Important when preparing chicken: Use the chicken for frying/grilling medium-size to large
chickens. Tie the thighs and wings together to prevent them from touching the fan cover.
Pause function
If you open the lid, the preparation process will be interrupted but the settings will be saved.
When the lid is open, only the ‘ON/OFF’ and ‘Roller’ buttons can be used. All other buttons are
latched. Close the lid in the right way and the preparation process will resume automatically.
If the ‘Roller’ function is enabled when you open the lid, the heating element will be switched off,
but the ‘Roller’ setting will be saved, allowing you to pour sauce over the food and resume the
heating process after closing the lid.

7
7
Preparation chart
The frying times are an indication. The frying time depends on the quantity, the temperature and
the weight etc. of the food to be prepared.
FOODTEMPERATURE TIME RECOMMENDED ACCESSORY
Roasted chicken 200°C 25-30 minChicken spit orlow wire rack
Frozen French fries230°C 20-25 min Frying basket
Chicken wings200°C 10-15 minFrying basket / high wire rack
Cake 180°C 10-15 min Low wire rack
Pizza200°C 10-15 min High wire rack
Steak190°C 12-16 min High wire rack
Prawns200°C 5-8 min High wire rack
Bread180°C 15-20 min Low wire rack
*frying frozen food takes longer, depending on the weight.
*we recommend not exceeding the maximum food weight of 4 kg.
Cleaning and maintenance
Unplug the fryer from the mains and allow it to cool fully before cleaning it or performing any
maintenance. Always clean and dry all components thoroughly after use. Use a damp cloth to
clean the fryer. Do not use hard objects (such as a wire brush) to avoid scratches in the Teflon
layer, that may cause rust.
To clean the fan cover, first unplug the Nutri and let the fryer cool fully. Then clean the top of
the fan cover with a damp cloth or sponge and some soapy water to remove any grease.
The bowl and the accessories are dish-washer-proof. However, for optimum service life of the
T
eflon layer, we recommend to wash the bowl in warm soapy water. Avoid the use of aggressive
cleaning agents.

8
8
Self-cleaning function
1. Fill the pan with just over 1cm of mild soapy water. Close the lid.
2. Set the temperature to 60ºC. Set the timer to 15 minutes.
3. Allow the baked-on food residue to soften while the fryer is heating.
4. After 15 minutes unplug the Nutri from the mains and allow it to cool fully.
5. Remove any loose food residue with a damp cloth.
6. Dry the fryer with a soft cloth.
Warning
•Do not immerse the mains lead or plug in water or other liquids.
•If you need to scrub the fryer, use a soft nylon or polyester scourer sponge to avoid
damaging the surface.
•Do not use wire wool or other abrasive materials.
•Never use solvents or cleaning powders.
•Prevent any liquids from coming into contact with the fan/lid.
Storage
Allow the fryer to cool fully before putting it away. Keep the fryer in a dry place.
Do not place any heavy items on the fryer because this may damage the Nutri Healthfryer.
Technical specifications
Voltage: 220 - 240V/ac
Wattage: 1200 - 1400 watt
Frequency: 50 - 60 hz
Temperature range: 50ºC to 230ºC
Time setting: 1 up to 60 minutes
Capacity: 10 liters
Loading capacity: 4 kg
wastes throughout the EU. To prevent possible harm to the environment or hu-
man health from uncontrolled waste disposal, recycle it responsibly to promote
the sustainable reuse of material resources. To return your used device, please use
the return and collection systems or contact the retailer where the product was
purchased. They can take this product for environmental safe recycling.
Table of contents
