INSTALLATION
• Connect CAT5 cable to the output and input (if required) sockets and connect the
device(s) to the network.
• Connect the source device to the AUX audio input if required.
• Connect the IR Receiver.
• Connect the loudspeaker wires to the terminal block noting the phase polarity.
NOTE: If using 4-6ohm speakers max 1 per channel, 8ohm max 2 per channel.
• Plug in the PSU to the device and connect to the mains and turn on the power.
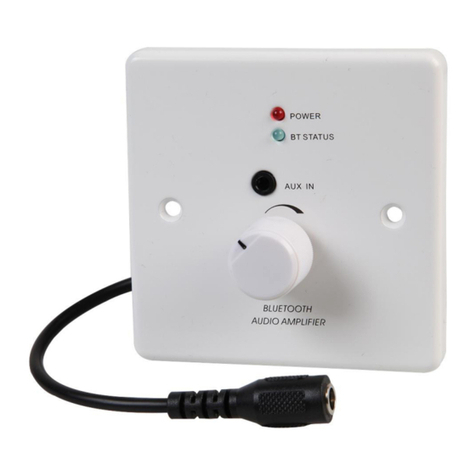
• The blue LED will ash rapidly when waiting to pair with a wireless external source
and ash slowly when pairing has succeed.
• Link 1: LED lights to show external input source connection.
• Link 2: LED lights to show an output connection to cascade to another device is
connected.
• IR Learn: LED ashes to indicate the IR learning status.
IR Remote Control learning sequence
NOTE: The Power, Mute, Vol+ and Vol- commands must be learned in sequence.
• Press the IR Learning Button (on the bottom face of the amplier) for 2 seconds
until the IR Learn LED blinks slowly.
• Place your remote control about 3-4 inches (7-10cm) away from the IR sensor,
aiming the remote control at the sensor.
• Press the POWER key until the IR Learn LED blinks for 1 second.
• Press the MUTE key until the IR Learn LED blinks for 1 second.
• Press the Vol+ key until the IR Learn LED blinks for 1 second.
• Press the Vol- key until the IR Learn LED blinks for 1 second.
• Conrm proper operation of all four commands. If any of the four commands fail all
four commands must be re-learned in order. Repeat all 6 steps again; then re-test
for proper operation.
• The blue Mode LED on the IR receiver ashes to display the wireless connection
status:-
• LED on 1 sec, then off 2 sec, repeat - all proles are standby but not connected with
any wireless device yet.
• LED ashes every 2 sec - A2DP or HFP is connected.
• LED two quick ashes every 2 sec - A2DP streaming is active.
• Rapid regular ashing - wireless pairing mode is active.
• Select wireless pairing mode on your source device to connect. If your device
demands a pass code, enter “0000”.
• Use a soft cloth to wipe off any dust. If the device is very dirty, use a damp cloth and
wipe dry. Do not allow moisture to enter the cooling grille on the casing.
• Do not use any chemicals, abrasives or solvents that could damage the casing.
MAINTENANCE
