manuals.online logo
Brands
  1. Home
  2. •
  3. Brands
  4. •
  5. Production Basics
  6. •
  7. Indoor Furnishing
  8. •
  9. Production Basics 3000 User manual

Production Basics 3000 User manual

Production Basics, Inc. Massachusetts, USA 800.318.2770 617.926.8100 Fax: 617.926.8010 www.pbasics.com
ASSEMBLY MANUAL
ASSEMBLY VIDEOS AVAILABLE ON-LINE http://video.pbasics.com
1. Open the cartons and identify the left and right Frame
Legs and RTW Support Rail. Position Frame Legs so
that mounting holes for Uprights are at the back of the
RTW Table. Frame Legs have a horizontal open channel
that faces inward.
2. Screw the levelling feet all the way into the leg adjusters.
3. Slide leg adjusters into bottom of Frame Legs. Determine
desired table height and secure position by inserting two
(2) Basic Bolts. Adjust leveling feet if necessary.
Assembly Tips
•Review entire instruction manual before proceeding.
•Production Basics nameplate indicates front of frame.
•Legs are adjustable in 2-inch increments between 30-36 or 30-42
inches high, depending on products ordered.
•Don’t be a slave to gravity-recruit a co-worker to help you install and
correctly position components and accessories.
•References to ‘Left’ and ‘Right’ are oriented as if you were facing the
front of the workstation.
•Need help? Call Assembly Support at 800.318.2770.
RTW TABLE
Item Numbers 3000-3115
Workstations
RTW Table with optional accessories
Basic Bolt
Wood Screw
Chrome Mounting Plate
Mounting holes for Uprights
must be at back of Frame Leg.
RTW Support Rail
(channel faces inward)
Right Frame Leg
(channel faces inward)
PARTS AND HARDWARE QUANTITY
Frame Legs (left and right specic) 2
Leg Adjusters 4
RTW Support Rail 2
Chrome Mounting Plate 4
Worksurface 1
Leveling Feet 4
Wood Screws 12
Basic Bolts 16
7/32 Allen Wrench 1
Other Items Needed (not included)
Phillips head drill or screwdriver
Rubber mallet
Level
Tape Measure
2a.For casters assembly - Insert caster stem into leg
adjuster, lock caster and secure with nut and washer.
Need Help? Call Assembly Support at 800.318.2770
1. Insert two (2) Basic Bolts into adjustable leg, determining
height. Screw in Leveling Foot
2. Insert four (4) wood screws through connection plate
and into the underside of the worksurface on the existing
RTW Table. Repeat for other connection plate on
opposite RTW Table.
3. Place the corner laminate worksurface in between the
workstations. Secure with wood screws though the
connection plate.
4. Use wood screws to attach adjustable leg to underside of
worksurface 1” from edge.
• Note: Add-on Corner requires two (2) RTW Tables
for proper assembly. Assemble RTW Tables
before assembling Add-on Corner.
PARTS AND HARDWARE QUANTITY
Height Adjustable Leg (2 pieces) 1
Leveling Foot 1
Connection Plates 2
Laminate Worksurface 1
Basic Bolts 2
Wood Screws 20
7/32 Allen Wrench 1
Other Items Needed (not included)
Phillips head drill or screwdriver
RTWADD-ON CORNER
Item Numbers 3418-3519
Chrome Mounting Plate
Left Back
Mounting holes for Uprights
must be at back of Frame Leg.
RTW Support Rail
Connection Plate
4. Locate Support Rail. Loosely attach the Chrome
Mounting Plate to the outside of the Support Rail with
two (2) Basic Bolts using Allen wrench provided.
5. Slip the Chrome Mounting Plate into the slot on the
frame leg as shown. The leg will be between the Chrome
Mounting Plate and the Support Rail. Repeat for all sides
and tighten bolts.
6. Invert the assembled RTW frame onto the underside of
the worksurface. Position the worksurface and frame so
that it is ush with the back of unit with eual overhang,
left and right.
7. For laminate and hardwood worksurfaces, attach the
worksurface to the frame by drilling wood screws through
the pre-drilled holes in the Support Rails and Frame
Legs, then into underside of worksurface. For other
surfaces, specic instructions are included with your
worksurface. Turn RTW Table right side up.

Other manuals for 3000

1

This manual suits for next models

4

Other Production Basics Indoor Furnishing manuals

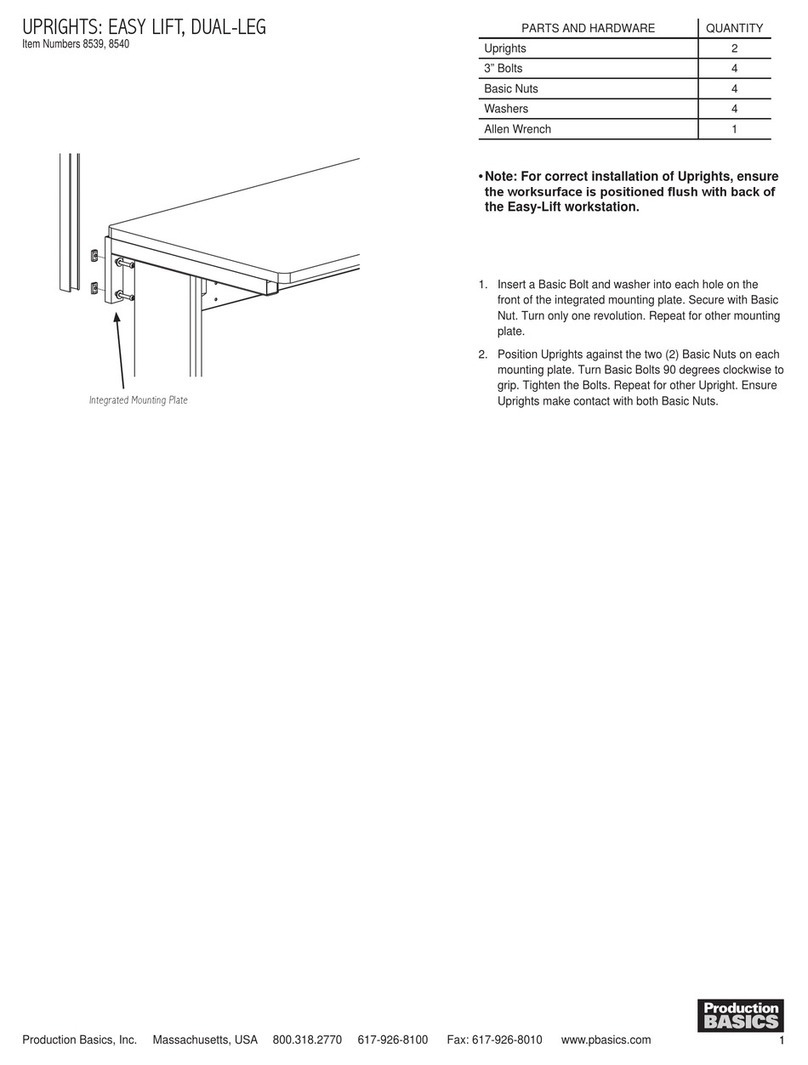
Production Basics 8539 User manual

Production Basics

Production Basics 8539 User manual

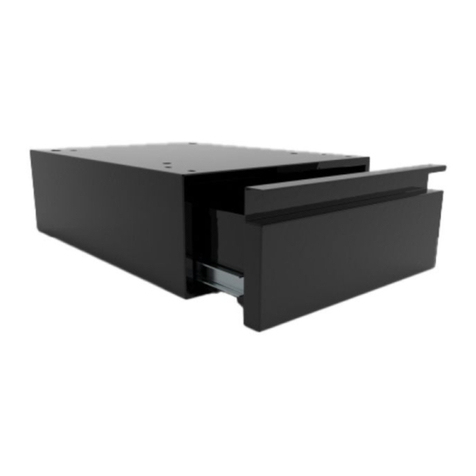
Production Basics 8601 User manual

Production Basics

Production Basics 8601 User manual

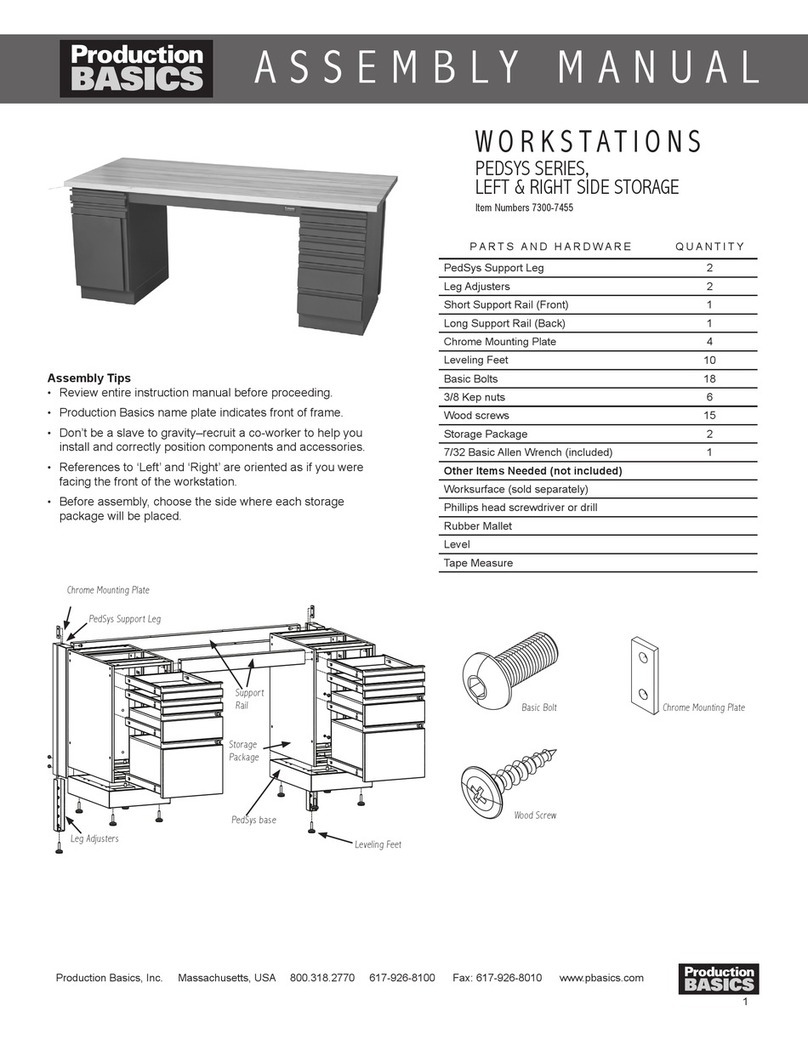
Production Basics 7301 User manual

Production Basics

Production Basics 7301 User manual

Popular Indoor Furnishing manuals by other brands

Regency LWMS3015 Assembly instructions

Regency

Regency LWMS3015 Assembly instructions

Furniture of America CM7751C Assembly instructions

Furniture of America

Furniture of America CM7751C Assembly instructions

Safavieh Furniture Estella CNS5731 manual

Safavieh Furniture

Safavieh Furniture Estella CNS5731 manual

PLACES OF STYLE Ovalfuss Assembly instruction

PLACES OF STYLE

PLACES OF STYLE Ovalfuss Assembly instruction

Trasman 1138 Bo1 Assembly manual

Trasman

Trasman 1138 Bo1 Assembly manual

Costway JV10856 manual

Costway

Costway JV10856 manual

moss DESIGN Caisson Credenza Assembly instructions

moss DESIGN

moss DESIGN Caisson Credenza Assembly instructions

Aquaglide FULL DECK 15.0 owner's manual

Aquaglide

Aquaglide FULL DECK 15.0 owner's manual

AREBOS AR-HE-SW30 user manual

AREBOS

AREBOS AR-HE-SW30 user manual

Till-Hilft Fulda 87005.330 Assembly instructions

Till-Hilft

Till-Hilft Fulda 87005.330 Assembly instructions

Twoey Outside 2010 quick start guide

Twoey Outside

Twoey Outside 2010 quick start guide

Hettich Easys 200 operating instructions

Hettich

Hettich Easys 200 operating instructions

The bedboss RELAX 404 Series owner's manual

The bedboss

The bedboss RELAX 404 Series owner's manual

Oeseder Möbelindustrie Bern 991 720 Assembly instructions

Oeseder Möbelindustrie

Oeseder Möbelindustrie Bern 991 720 Assembly instructions

Costway HW68469 user manual

Costway

Costway HW68469 user manual

Next ALIX A27743 Assembly instructions

Next

Next ALIX A27743 Assembly instructions

BROSA Hans Assembly guide

BROSA

BROSA Hans Assembly guide

Prodigg MINIKA PBA015T-FUR installation manual

Prodigg

Prodigg MINIKA PBA015T-FUR installation manual

manuals.online logo
manuals.online logoBrands
  • About & Mission
  • Contact us
  • Privacy Policy
  • Terms and Conditions

Copyright 2025 Manuals.Online. All Rights Reserved.