Need Help? Call Assembly Support at 800.318.2770
If installing cabinet, start with Step 2. Remove the drawer1. from the chassis by extending drawer and pushing
down/up on the black tabs on both sides of the drawer
and pull the drawer forward.
If not using locks, skip to Step 3. Using the allen wrench,2. punch out the lock knock-out on the front side of the
drawer or cabinet. Assemble lock mechanism as shown.
Ensure the unthreaded part of the lock and key teeth
face upward.
Insert a Basic Bolt from the inside of the drawer or3. cabinet chassis and secure with Basic Nut, turning one
revolution. Repeat for all four corners.
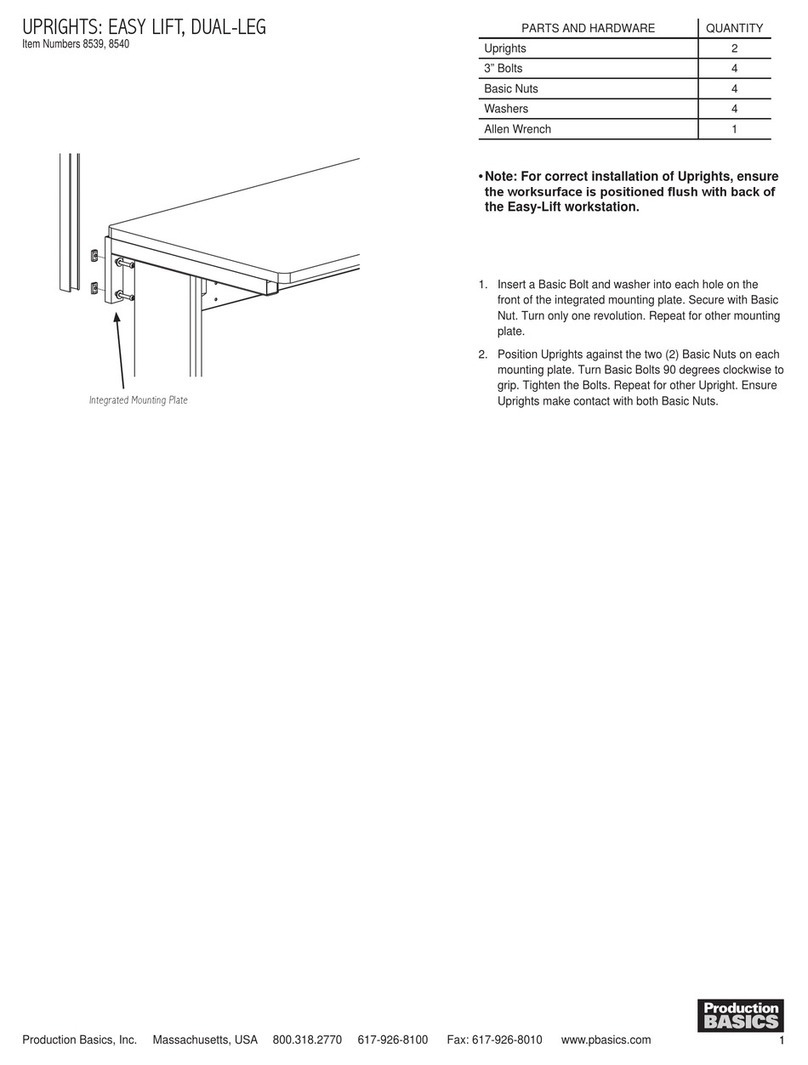
Insert attached Basic Nuts into Worksurface Support4. Rail channel and turn Basic Bolt 90 degrees clockwise to
grip. Position chassis under worksurface as desired and
tighten bolts.
If stacking items, insert small bolt from above intoa. the pre-drilled hole in bottom back of chassis and
lightly secure with nut and washer.
Align second chassis’ back keyhole slot with nutsb. and pull forward. This will help you support the
drawer while securing other nuts and bolts for
stacking drawers.
Givec. all nuts and bolts a final tightening.
Push in drawer slides on chassis and insert complete5. drawer into chassis.
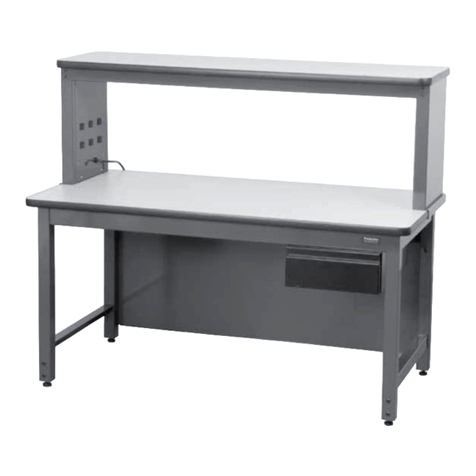
DRAWERS & SUSPENDED CABINET:
C-LEGAND EASY-LIFT, DUAL LEG UNITS
Item Numbers 8600, 8605, 8607, 8610, 8613, 8615, 8617 PARTS AND HARDWARE QUANTITY
Drawer 1
Drawer or Cabinet Chassis 1
Lock Mechanism (if ordered) 1
Keys 2
Basic Bolts 4
Basic Nuts 4
Bolts (used for stacking drawers) 4
Kep Nuts (used for stacking drawers) 4
Washers (used for stacking drawers) 4
Allen Wrench 1
Other Items Needed (not included)
Phillips head screwdriver
Open end wrench
Black tabs- push up/down to release drawer
Keyhole details for
stacking drawers
Use hole set for hanging
first drawer -step 3


