Profoto A10 User manual

Forotherlanguagesvisit:
www.profoto.com
User guide
ProfotoA10

A10 AirTTL
2
www.profoto.com

A10 AirTTL
3
www.profoto.com
Congratulations on your new
Profoto product!
Regardless ifyou chose a newflash or a new light shaping tool,know
that half a century’s worth ofexperience was put into its making.
If the years have taught us one thing, it is to never neglect a single
detail.We only put ourname on a product in whichwe have the fullest
confidence. Before shipping, every one of our products passes an
extensive and strict testing program. Unless it complies with the
specified performance,qualityand safety,it is a no-go.
As a result, we are confident that your new Profoto product will stay
withyouforyearsand helpyougrowasaphotographer. Butgettingthe
productisonlythe beginningofthatjourney. Usingitforlightshapingis
therealadventure.Thatiswhywetakeprideinprovidingyouwithsuch
awideassortmentoflightshapingtools,allowingyoutoshape thelight
in anywayyou can imagine.
The almost infinite possibilities might seem bewildering at first, but
we’re certain you will soon get the hang ofit.
I encourage you to sign up for our newsletter or visit Profoto stories,
www.profoto.com/profoto-stories, to learn more about shaping
light from photographers who are sharing their stories about how
Profoto Light ShapingTools help them to create outstanding images.
Enjoyyour Profoto product!
ConnyDufgran,founder

A10 AirTTL
4
www.profoto.com
General safety instructions
CLASS 1
LASER PRODUCT
µ
EN

A10 AirTTL
5
www.profoto.com
CLASS 1
LASER PRODUCT
CN

A10 AirTTL
6
www.profoto.com
Allgemeine Sicherheitsanweisungen
CLASS 1
LASER PRODUCT
µ
DE

A10 AirTTL
7
www.profoto.com
Instrucciones generales de seguridad
CLASS 1
LASER PRODUCT
µ
ES

A10 AirTTL
8
www.profoto.com
Instructions générales de sécurité
CLASS 1
LASER PRODUCT
µ
FR

A10 AirTTL
9
www.profoto.com
Istruzioni di sicurezza generali
CLASS 1
LASER PRODUCT
µ
IT

A10 AirTTL
10
www.profoto.com
CLASS 1
LASER PRODUCT
JP

A10 AirTTL
11
www.profoto.com
CLASS 1
LASER PRODUCT
µ
KO

A10 AirTTL
12
www.profoto.com
CLASS 1
LASER PRODUCT
RU

A10 AirTTL
13
www.profoto.com
Table of Contents
General safety instructions.............................................................................................4
Introduction ........................................................................................................................14
About the product...........................................................................................14
Getting started.................................................................................................................. 18
Battery charging............................................................................................. 18
Attach battery to flash.................................................................................. 19
Attach light shaping tools........................................................................... 19
On-camera use in TTL mode (AUTO)..................................................... 20
On-camera use in manual mode .............................................................20
O-camera use................................................................................................21
O-camera mobile mode............................................................................22
Operation........................................................................................................................... 23
Power on/o................................................................................................... 23
Mode selection (TTL or Manual) ...............................................................24
Flash power scale ..........................................................................................24
Operation in TTL mode (Automatic mode) ...........................................24
Operation in MAN mode (Manual mode).............................................. 26
Continuous light.............................................................................................27
Activate/deactivate flash head ................................................................27
Lock user interface........................................................................................27
Manual zoom.................................................................................................. 28
Test sync.......................................................................................................... 28
Using the flash o-camera ........................................................................ 29
Change settings............................................................................................ 29
General notes on Profoto Air operation................................................................... 34
Light shaping.................................................................................................................... 36
Clic Dome.........................................................................................................37
Bounce Card................................................................................................... 38
Additional functions.......................................................................................................40
Firmware upgrade.........................................................................................40
Factory reset...................................................................................................40
Profoto Air compatibility ................................................................................................41
Technical data...................................................................................................................42
Warranty............................................................................................................................. 45
Regulatory information ................................................................................................. 46

A10 AirTTL
14
www.profoto.com
Introduction
Abouttheproduct
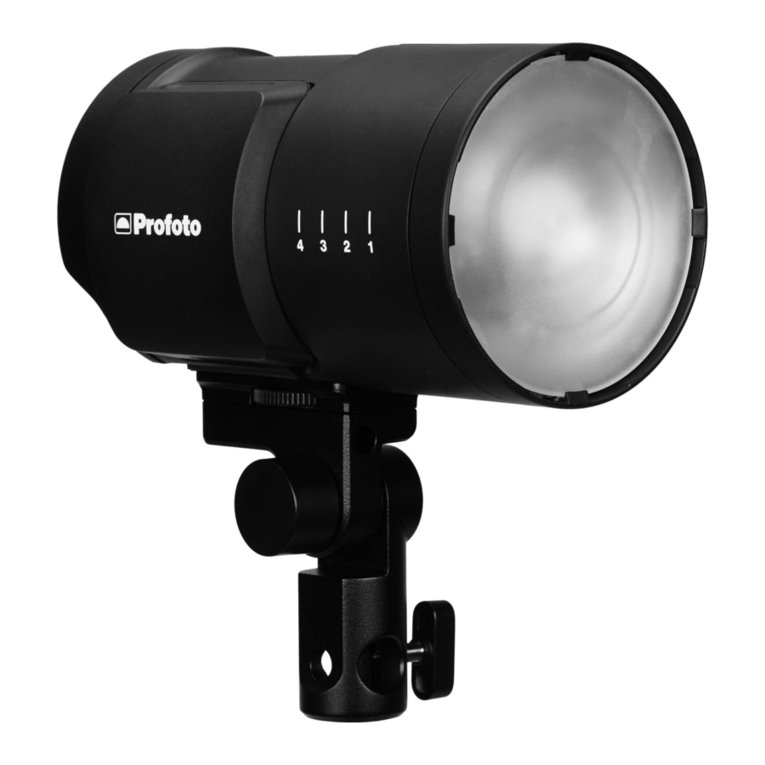
We have designed theA10 to be the world’s smallest studio light.
It is designed to provide a beautiful light with great light shaping
capabilities and also being incredible easy to use.
We have made the head round to create a circular and natural light
pattern. We have a soft and even light fall off that makes it easy to
control and set the light creatively.In addition to thatwe have a range
of dedicated Light Shaping Tools that are easily clicked on with a
magnetic mount.
The A10 has also AirTTL Remote and receiver built-in,which means it
willautomaticallycommunicatewithotherfreestandingProfotolights
wirelessly and it can also be used off-camera. This makes it easy to
growin a system and growwith light shaping.
A10 even has a Profoto BLE receiver built-in allowing full control
from the Profoto Camera app (available for iOS and selectedAndroid
phones).TheA10 can be used as an off-camera mobile phone light.

A10 AirTTL
15
www.profoto.com
1
2
3
4
5
6
7
8
1. Flash head
2. Zoom ring
3. LED continuous lights
4. Battery
5. Battery release button
6. AF(auto focus) assist
structured laserlight
7. Hot shoe connector
8. USB port

A10 AirTTL
16
www.profoto.com
9
11
12
13 14
15
10
16
9. Display
10. Mode switch (TTL orMAN).
Only active whenA10 is
on-camera.
11. Group buttons (A,B,C,D)
12. TESTbutton & ON/OFF
button
13. Dial
14. Settings button
15. Continuous light button
16. Lockring

A10 AirTTL
17
www.profoto.com
17
18
20 22
24
19
21
23
25
17. Batterycharger
18. Batterychargerindicator
19. Flash stand
20. Bag
21. Clic Dome
22. Bounce card
23. Bounce card holder
24. Bounce card pouch
25. Protective cap
(forSonyonly)

A10 AirTTL
18
www.profoto.com
Getting started
Batterycharging
For optimal performance,the battery should be fully charged prior to
usage.Thebatterycanbechargedfromanychargelevel.Forincreased
life-time,do not leave the batteryuncharged fora long time.
Charge the battery:
1. Push the batteryrelease button [5] and remove the battery
from theflash.This can be done while the A10 is mounted on the
camera.
2. Connect the batteryto batterycharger [17]
3. Connect the battery chargerto mains power.
4. Checkthat the charge indicator[18] is continuouslyorange,
indicating that charging is in progress.
5. When the charging is completed,the charge indicator [18] is green.
If the battery is deeply discharged,the charging time can be longer than specified in
section Technical data.
Battery blinking orange indicates battery error. Contact your local Profoto dealer for
support.
Thechargermainscableand plugserveasthedisconnectdevicefrom
mains power.When charging is done, always disconnect the charger
from the mains outlet by pulling the plug,not the cable.
The socket outlet should be in close proximity to the equipment and
should be easily accessible.

A10 AirTTL
19
www.profoto.com
Attachbatterytoflash
Connect the bottom part ofthe battery to the flash and then press it in
place until you hear a”click”.
Attachlightshapingtools
The dedicated light shaping tools are easy and quick to attach. Just
snap them in place in front of the flash lens until you hear a”click”. To
remove them,just pull them off.

A10 AirTTL
20
www.profoto.com
On-camerauseinTTLmode(AUTO)
1. Slide the hot shoe connector[7] on the A10 into the hot shoe of
the camera.Turn the locking mechanism to secure.
2. Switch on theA10.
3. Turn the dial [13] clockwise to unlock.
4. Use the mode switch [10] to selectTTL mode (AUTO).
5. Take an image with the camera and the flash will adjust its power
to get a correct exposure.
6. Use the dial [13] to adjust theflash exposure compensation.
This can also be done in camera bychanging the flash exposure
compensation.
TIP: You can at all time switch to manual mode and keep the setting from the last TTL
flash.This is extra helpful when you need to lock the flash power and keep it constant.
TTLisonlyavailableingroupA-CandgroupD-Farealwaysmanualmode,evenifswitch
[10] is set to TTLmode (AUTO).
For Profoto A10 Air TTL-S, always use the Protective cap [25] when
flashis notmountedonthecameraorFlash stand[19].Securewiththe
locking ring [16].
On-camerauseinmanual mode
1. Follow step 1-3 above
2. Use the mode switch [10] to select MAN (Manual) mode.
3. Take an image to checkthe exposure oruse the test button [12]
and light meterto measure the exposure.
4. Use the dial [13] to adjust the light output to your preferences.
TIP: To improve efficiency,use TTLfor first shot and then switch to manual to lock the
flash power. Bydoing this you get correct exposure quickly and thenyou can fine tune
flash powerin manual mode.
Table of contents
Other Profoto Camera Flash manuals
