ProWorld TransPro Slide MP999 User manual

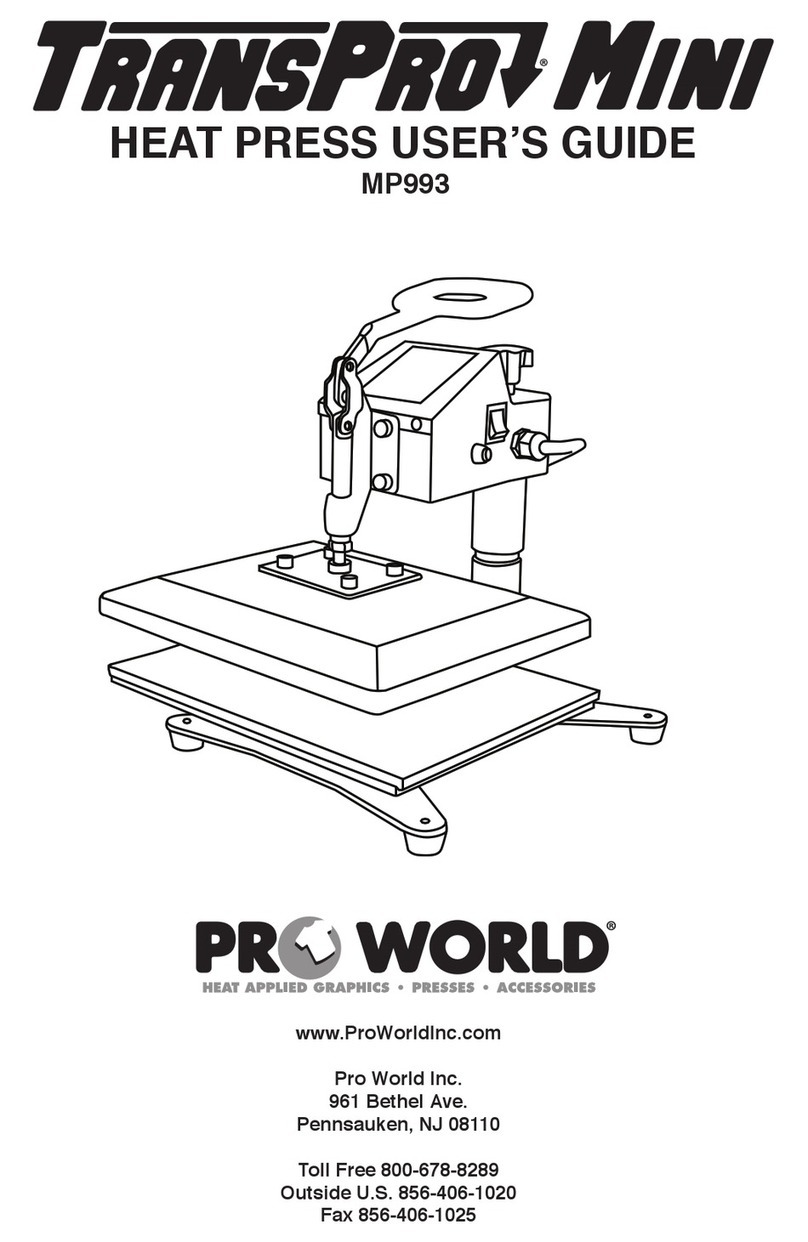
HEAT PRESS USER’S GUIDE
www.ProWorldInc.com
Pro World Inc.
961 Bethel Ave.
Pennsauken, NJ 08110
Toll Free 800-678-8289
Outside U.S. 856-406-1020
Fax 856-406-1025

Technical Parameters
Model: MP999
Voltage: 110v/220V
Wattage: 1800w/2200w/28000w
Temperature: 0°F--399°F
Timing: Adjustable
Working Size: 38*38cm 40*50cm 40*60cm 50*65cm
Package Size 62x44x34cm
This machine can heat transfer colorful
pictures and characters of sublimation
and dissolve printing ink onto textiles
which are made of cotton, ax, chemical
ber, nylon, ceramics and glasses and so
on. The machine also can conduct some
heat-treatments such as hair-planting
print, vesicant print and conglutination
of cloth lining and cloth under low
temperature and low pressure, such as
the conglutination of children clothes,
caps and shoes. Also the machines can
be used to smooth and sharp in small
amount of caps, handkerchiefs and other
commodities, In a word, this kind of
machine is economical and practical.
www.proworldinc.com

Operation Setup
A. Plug in and turn on the power switch. The power indicator will light up .
B. SET the time & temperature-controller:
Panel Indications:
1. During normal operation, Temperature, Time, Counter, °C (or F is selected), SEC
and counter are always displayed;
2. When modifying the temperature setting, the temperature setting ashes
together;
3. When modifying the time setting, the time setting ashes together;
4. During heating output, Heating is displayed, which is not displayed at ordinary
times;
5. When the alarm is output, Alm ashes and is not displayed at ordinary times;
6. SET key is a function key;
7. ^ and v keys are parameter addition and subtraction keys.
www.proworldinc.com

Maintenance
1. If the pressure is not enough or too large, please adjust pressure adjuster, (+) to increase
the pressure, (-) to reduce the pressure.
2. If the printed color not equality or the adhesion not good? First check the right set of
temperature and the time, and increase the pressure.
3. If it is cold-ripping transfer paper, please use blackboard wiper to rub against the whole
transfer paper, wait for 5-10 seconds, then rip o the transfer paper. If it is the hot-ripping
transfer paper, you can rip o immediately after printing.
4. Timer: When the time is over, the buzzer does not work or out of order, check the contact
of the sensitive switch at the tail of machine. If it is not proper, adjust it to proper position.
5. If any quality problem please contact our company.
PLEASE NOTE: Successful print requires right time and temperature and pressure, the
thickness and material of the cloth, even type of transfer paper and inks.
1. Temperature Setting: press SET key, temp ashes, press ^ key to increase the set
temperature, and press“v” key to reduce the set temperature;
2. Press the set key again, the time ashes, press the ^ key to increase the setting time, and
press the “v” key to reduce the setting time;
3. Counter function: Finished one transfer, counter display plus 1. Press and hold CLEAR for
more than 3 seconds to clear the counter count value.
4. Adjust the“Working pressure adjuster” to set the working pressure.
5. Place the cloth on the down board, cover the printing paper ,(please note the right
surface of the paper), when the temperature ready, press the handle down .
6. When the temperature is reached, press your transfer.
7. When nish, Turno the machine.
Note:
1. Setting of control parameters: Long press the SET key for more than 4 seconds to enter
the parameter setting. The parameter code is displayed in the PV window and the
parameter value is displayed in the temp window. Press thekey or key to adjust the
parameters to the required value. Press the set key once to switch each control parameter
and the parameter prompt (see the list of control parameters for details). Press thekey or
key to modify the parameters to the required value. Long press the set key for more than 4
seconds or 1 minute without any key action, it will automatically return to the working
indication state.
2. Click the clear key to select the temperature and time values of dierent PN segments.
The segment number is on the right of counter. The maximum 1-9 segments are available,
and the default is 5 segments. Dierent sections correspond to dierent temperature
settings and countdown time values.
www.proworldinc.com
Operation Proceedures

Saftey Information
1. The temperature is CELSIUS!
2. Be sure to operate with safe ground wire!
3. Check the voltage before using it. The providing voltage must be the same as the
machine's. (Normally 2480F~3920F / 1200C~2000C).
4. When you change parts, please turn o the machine and switch o the power supply!
5. Please put on heat insulation gloves when you touch the heating part.
6. When you use it, avoid heating the machine without operating it for long time, You
should switch o the power supply when you don't use it. You can also put one work piece
which is useless on it to avoid heating nothing.
7. Avoid touch the press spring when you operating in case be injured.
8. When you press the handle, if you fell the press is too much and it is hard to press it,
please adjust the press adjusting knob, decrease the shrink of the spring or the intensity of
the machine will be injured.
9. When you get the main body lift of descend, please loose the xation screw. If you fell
palpable resistance when you use the press adjusting knob, please don't go on doing it!
10. Don't over close it when xing the main body. It is OK when you feel resistance.
11. Keep children a way from the machine even when the machine is left unused!
NOTE:
1) Please switch off the machine and unplug the power cord when the machine is not in use.
2) The heat platen will cool down to room temperature if heat press stays unused for more than 30 minutes.
3) For better maintenance of the heat press, the maximum temperature used should be 410 degrees F.
4) When printing double sided T-Shirts, insert a teflon sheet in between the shirt to protect the ink.
5) Heat platen may pivot slightly back and forth. This is due to movement allowance within the
assembled clamp, and is normal.
Troubleshooting
3. The heat platen works well, but suddenly the display screen show 437ºF.
A). Check whether the thermocouple of the heat platen is connected firmly.
4. The machine is heating up, but the temperature jumps to above 437ºF or 572ºF
or the temperature jumps irregularly.
A). Check whether the thermocouple of the heat platen is connected firmly.
5. The temperature is out of control: Set 356ºF,but the actual temperature is above 392ºF.
A). Relay may need to be changed.
B). Or the digital controller may need to be changed.
If you need further assistance, please kindly contact Pro World for support: 800-678-8289
1. Machine will not power on.
A). Check the plug to make sure it is connected to a grounded wall socket.
B). Check the power switch or digital controller.
C). Check the fuse to make sure it is not burnt out.
D). Indicating light is on, but no display on screen, checkthe 5 cable of Railway transformer. If it is loose, the
problem may be a poor connection.
2. The display screen is working well, but the temperature does not increase on the heat platen.
A). Check if the indicating light of solid-state relay is on.
B). If you already changed the new solid-state relay but the heat platen will not heat up, check if the heat platen
power cable is loose.

WIRING SCHEMATIC
www.proworldinc.com
Ko: Power Switch
X1: Terminal
FU: Fuse (25A)
SJ: Thermostat
KM: AC Contactor
SA: Sensitive Switch
CH1 CH2: Electrical Heat Tube
KJ: Timer
HA: Buzzer

TRANSPRO WARRANTY
Warranty Coverage
TransPro products offered by Pro World are warranted against defects in material
and workmanship. Warranty is void if equipment has been damaged by accident,
unreasonable use, neglect, unauthorized and/or improper service, or other causes
not arising out of defects in material and workmanship. This warranty does not cover
damage caused by normal wear and tear, neglect or lack of proper maintenance.
This warranty is for the original purchaser/owner only, it is not transferable.
Warranty Duration
The heating element shall be warranted for the life of the heat press. There is a one
(1) year warranty on major components, circuit boards and all other components.
Warranty Performance
During the warranty period, and in the event that a situation cannot be resolved by
telephone/email and upon PRE-AUTHORIZATION from Pro World equipment must
be shipped, freight prepaid to Pro World for service in the original packaging. After
30 days, all shipping and insurance expenses to and from Pro World of in-warranty
equipment is solely the responsibility of the customer. Prior to 30 days the shipping
costs will be refunded if Pro World deems the equipment to be defective as stated.
Pro World cannot be held responsible for improper handling or any other damage
incurred in transit. No charge will be made for labor and components for repair of
in-warranty equipment. OUT-OF WARRANTY machines will be charged at the repair
rates in effect at the time the machine is received.
Warranty Disclaimers
Pro World shall not be liable for loss of use of TransPro equipment or other inciden-
tal or consequential costs, expenses, or damages incurred by the original purchaser
or any other user. The above warranty provisions constitute the entire agreement
between all parties, and supersede any and all prior written and/or oral representa-
tions and understandings.
This "Limited Warranty" applies to all TransPro equipment. However, the procedure
for obtaining service may vary outside the continental United States. Contact your
Pro World representative for warranty information. The purchaser is responsible for
compliance with all local laws, regulations and measure. Agreement shall be
governed by and construed in accordance with all applicable laws of said region.
www.proworldinc.com

www.ProWorldInc.com
Pro World Inc.
961 Bethel Ave.
Pennsauken, NJ 08110
Toll Free 800-678-8289
Outside U.S. 856-406-1020
Fax 856-406-1025
Table of contents
Other ProWorld Power Tools manuals
ProWorld
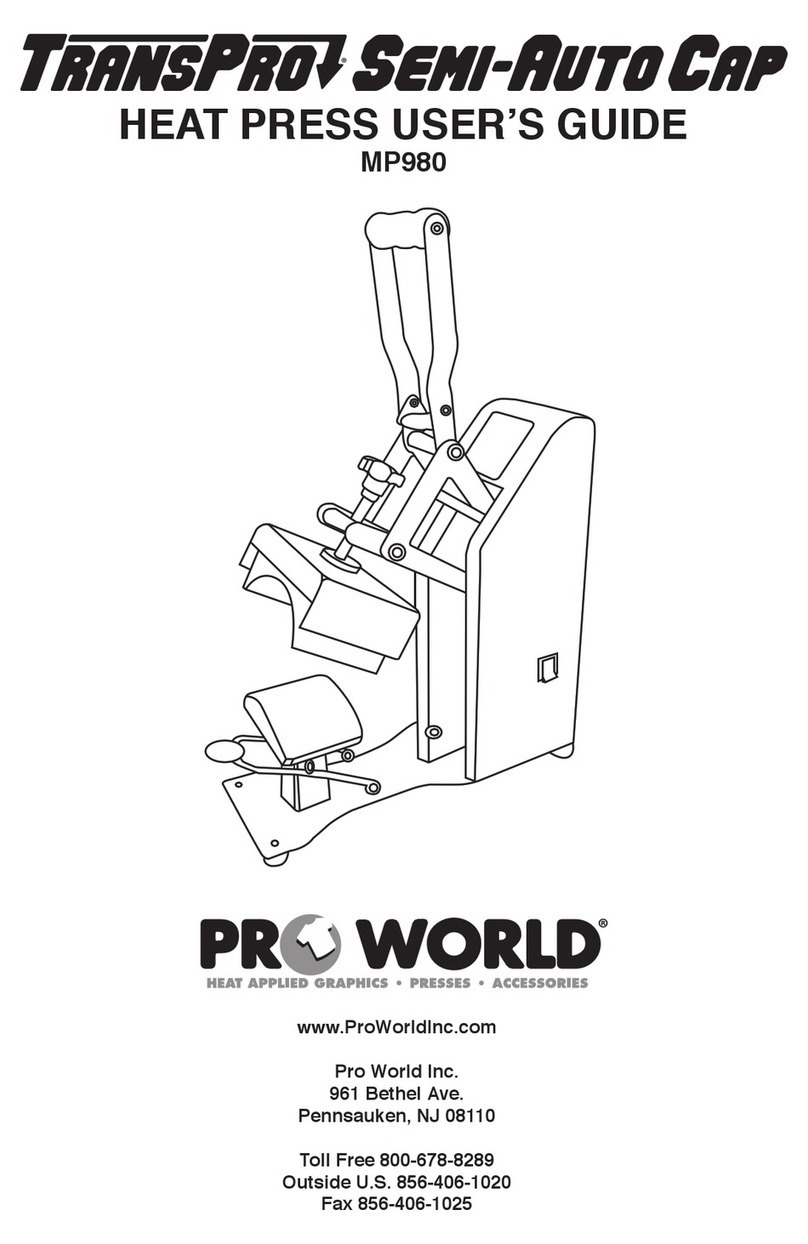
ProWorld TRANSPRO SEMI-AUTO CAP User manual
ProWorld
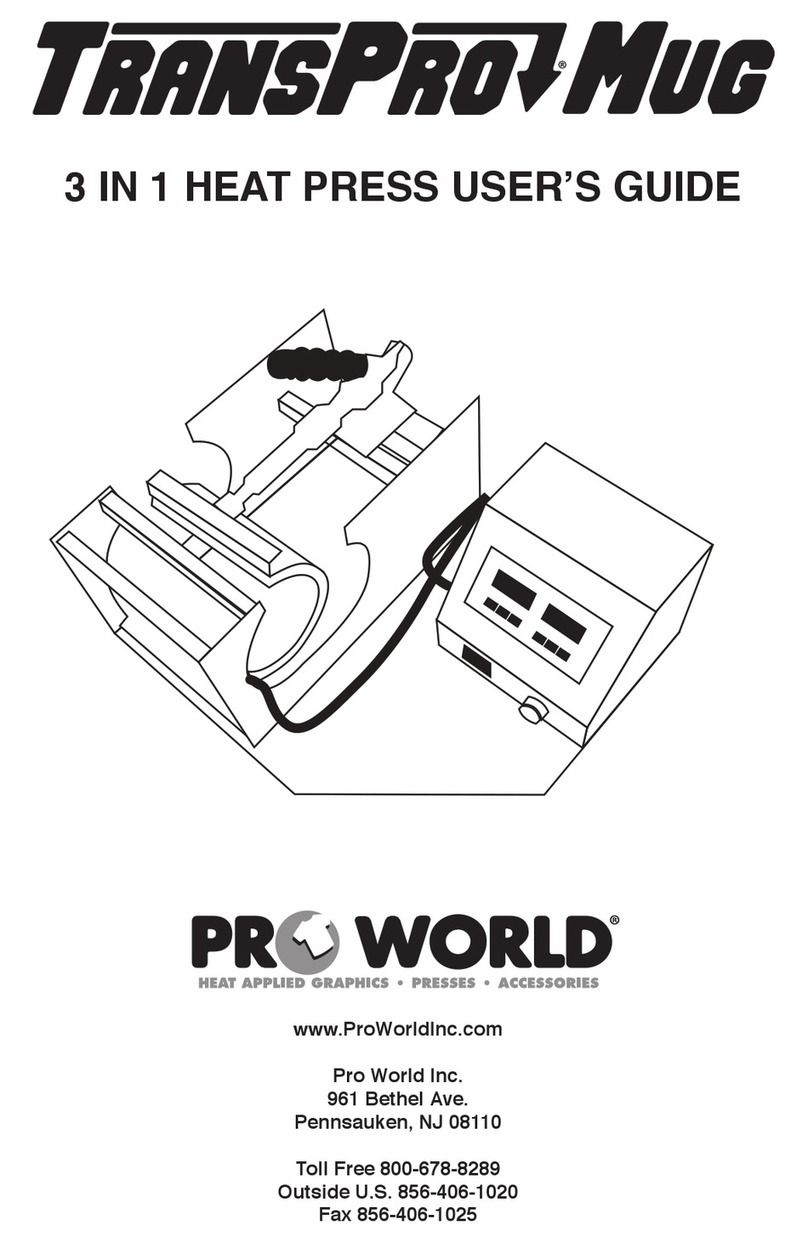
ProWorld TransPro Mug User manual
ProWorld
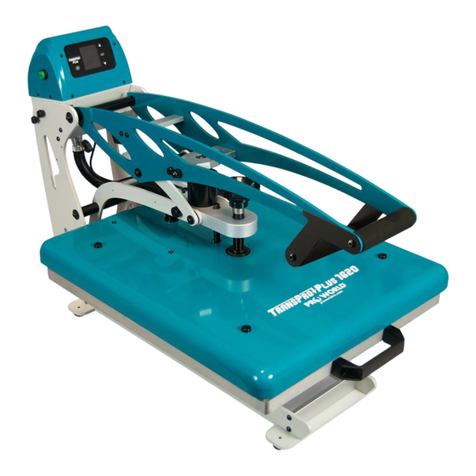
ProWorld TransPro Plus 1620 User manual
ProWorld
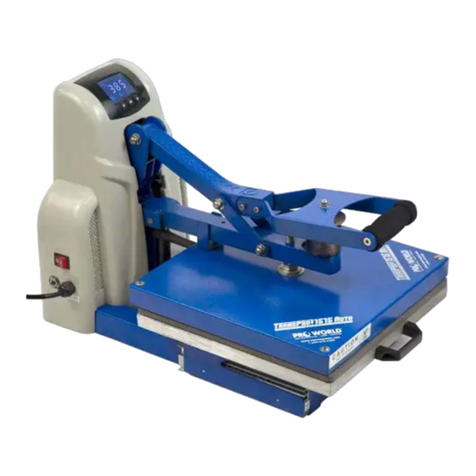
ProWorld TransPro MP884 User manual

ProWorld
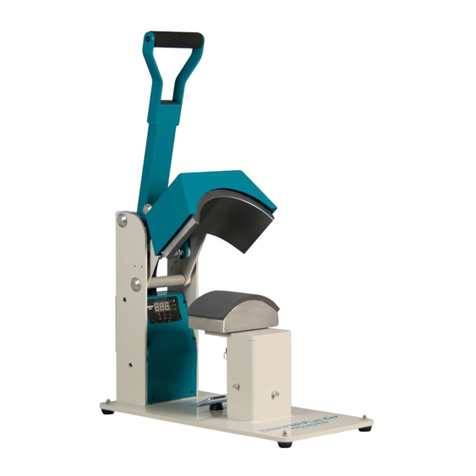
ProWorld TransPro Plus Mug User manual
ProWorld
ProWorld TransPro Plus Cap User manual
ProWorld
ProWorld TRANSPRO MINI User manual
