Brugg CALPEX Series User manual

CALPEX
Montageanleitung CALPEX - Verpresswerkzeug DN 125 - DN 150 (125 mm - 160 mm)
Instruction manual CALPEX - Press tool DN 125 - DN 150 (125 mm - 160 mm)
PIONEERS IN
INFRASTRUCTURE

DE Lesen Sie diese Montageanleitung aufmerksam, bevor Sie mit dem Arbeiten beginnen.
EN Read these installation instructions through carefully before starting work.
Sicherheitshinweise / Saftey notes / Instructions de sécurité / Istruzioni di sicurezza 2CALPEX
DE
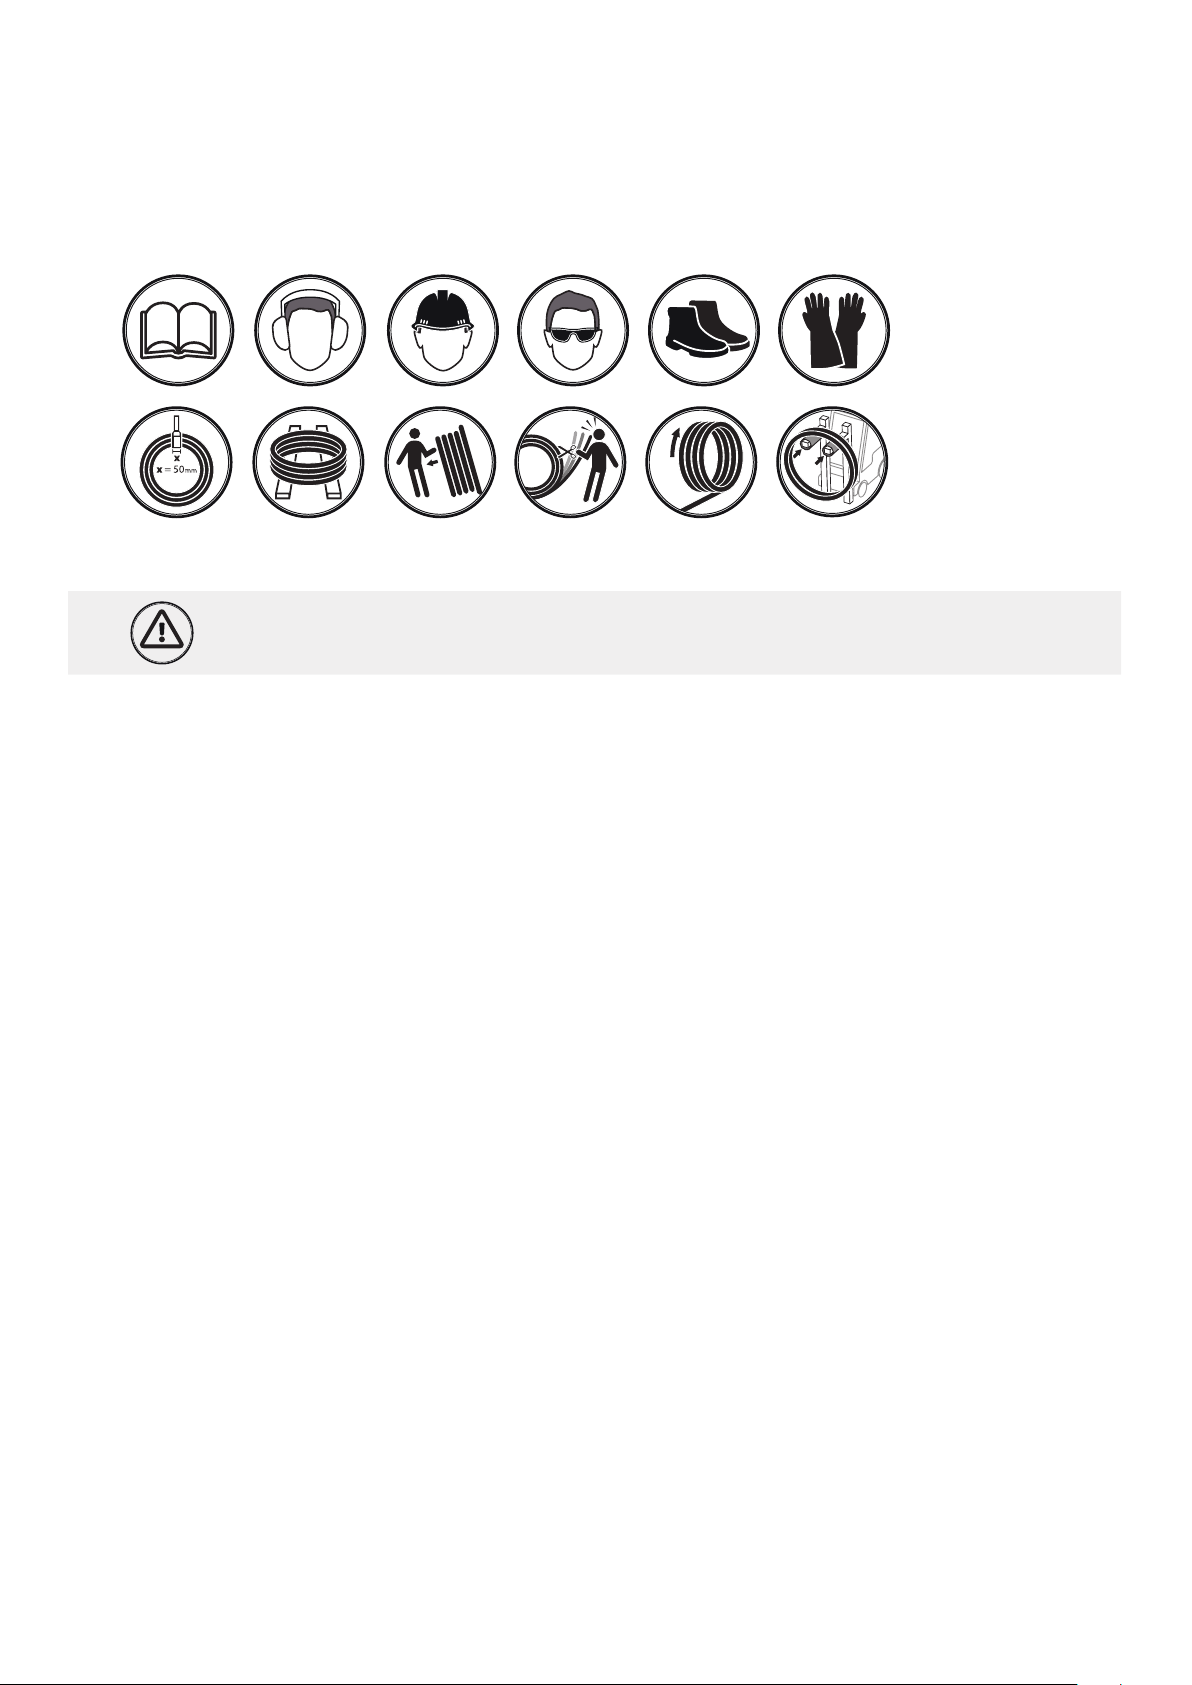
■ Schützen Sie das Werkzeug vor Nässe, extremer Hitze, Öl
und Lösungsmitteln.
■Tragen Sie Ihr Hydraulikaggregat nicht am Zuleitungskabel
oder Hydraulikschlauch. Ziehen Sie das Gerät nicht am Kabel
oder Hydraulikschlauch hinter sich her.
■ Berühren Sie eventuelle Leckstellen an Hydraulikschläuchen
nicht, solange das System unter Druck steht.
■ Verwenden Sie nur Einphasen- Wechselstrom der auf dem
Leisungsschild angegebenen Spannung.
■ Schließen Sie die Pumpe /Aggregat an keine anderen Zylinder
oder Werkzeuge an.
■ Sorgen Sie dafür, daß der Hydraulikschlauch und das Zulei-
tungstungskabel nicht beschädigt wird.
Prüfen Sie auch vor jeder Inbetriebnahme den Hydraulik-
schlauch sowie das Zuleitungskabel auf z.B. Scheuerstellen,
Schnitte, Risse, Quetschungen, Knickstellen etc. Arbeiten Sie
nie mit beschädigtem Hydraulikschlauch oder Zuleitungskabel.
Lassen Sie beschädigte Hydraulikschläuche oder Zuleitungska-
bel sofort beim BRUGG-Servicecenter auswechseln.
■ Setzten Sie das Gerät nicht dem Regen aus. Betreiben Sie
das Gerät nicht in feuchter, nasser und/oder brand- und
explosions-gefährlicher Umgebung.
■Wegen eventueller Überhitzung des Motors nicht zu lange
gegen Maximaldruck anlaufen lassen.
DE Wichtige Hinweise für die sichere und korrekte Handhabung dieses Produkts!
EN Important information on how to handle this product safely and correctly!
EN
■ Protect the tool against moisture, extreme heat, oil and sol-
vents.
■Do not carry your hydraulic unit by the supply cable or the
hydraulic hose. Do not drag the appliance behind you by its
cable or hydraulic hose.
■ Do not touch any leakage points on the hydraulic hoses while
the system is pressurised.
■ Only use monophase alternating current at the voltage shown
on the rating plate.
■ Do not connect the pump /unit to any other cylinders or tools.
■ Make sure that the hydraulic hose and the supply cable are not
damaged. Before starting operation, always check the hydraulic
hose and the supply cable for chafing, cuts, tears, crushing,
kinks, etc. Never work if the hydraulic hose or supply cable are
damaged. Have damaged hydraulic hoses or supply cables
replaced immediately at the BRUGG service centre.
■ Do not expose the appliance to rain. Do not operate it in
damp or wet surroundings, or where there are fire or
explosion hazards.
■As the motor could overheat, do not let it run for too long
against maximum pressure.

DE Montageablauf EN Installation
Montageanleitung / Instruction manual / Notice de montage / Istruzioni di montaggio 3CALPEX
DE Schiebehülse auf das Rohr schieben. Achtung! Innere An-
fassung muß zum Rohrende zeigen.
EN Push the sliding sleeve onto the pipe. Caution! The inner
bevel must point towards the end of the pipe.
3
DE Rohr zweimal um 30° versetzt aufweiten. Schiebhülse darf
sich nicht in der Aufweitzone befinden. Mindestabstand
2 Schiebehülsenlängen!
EN Expand the pipe twice with a 30° oset. The sliding sleeve
must not be in the expansion zone. Minimum interval: 2 x the
length of the sliding sleeve!
DE Rohr auf das gewünschte Maß rechtwinklig mittels Guilotine
Art.Nr. 249340 ablängen.
EN Cut the pipe to the desired length, at right angles, using the
guillotine (article number 249340).
1
2
Schiebehülsenverbindungsherstellung/Producing a sliding sleeve jointSchiebehülsenverbindungsherstellung/Producing a sliding sleeve joint
4
DE Die Einsteckzeit des Fitting in das Rohr kann durch das Hal-
ten des Aufweitdruckes bei voll geöneten Aufweitkopfes
(Endposition beim Aufweitvorgang) beeinflusst werden.
EN The time that the fitting is inserted in the pipe can be influ-
enced by maintaining the expansion pressure with the
expansion head fully opened (final position in the expansion
procedure).
5
DE Fitting in das Rohr stecken. Nach kurzer Zeit sitzt der Fitting
im Rohr fest (memory eect).
EN Insert the fitting into the pipe. After a short time, the fitting
stays in a fixed position in the pipe (memory eect).
6
DE Es muß ein gleichmäßiger Spalt zwischen Fittingkragen und
Rohrende sein. Wenn nötig muß die Position des Fittings
unmittelbar nach dem Einstecken mittels Gummihammer
ausgerichtet werden. Achtung! Alle Dichtrippen müssen vom
Rohr überdeckt werden!
EN There must be a uniform gap between the fitting collar and
the pipe end. If necessary, the position of the fitting must be
aligned by means of a rubber hammer immediately after
insertion. Caution! All the sealing ribs must be covered by
the pipe!

DE Montageablauf EN Installation
Montageanleitung / Instruction manual / Notice de montage / Istruzioni di montaggio 4CALPEX
DE Verpreßwerkzeug vollständig ansetzen.
ACHTUNG! Werkzeug nicht verkanten! Werkzeug muß voll-
flächig und im rechten Winkel angesetzt werden!
EN CAUTION!
Apply the press tool completely. Do not tilt the tool! The tool
must be applied over the whole area and at right angles!
9
DE Durch Betätigen des Druckschalters (Master – Zylinder),
Schiebehülse bis zum Fittingkragen aufschieben. Gege-
benenfalls Steckstiftposition verändern, um Schiebehülse
komplett aufzuschieben (siehe Kapitel Werkzeugumbau)
EN Operate the pressure switch (master cylinder) to push the
sliding sleeve up as far as the fitting collar. If necessary,
change the position of the guide pin(s) so that the sliding
sleeve can be pushed all the way up (see the section on Tool
conversion!)
DE Rohr im Verbindungsbereich am kompletten Umfang
gleichmäßig mit Gleitmittel bedecken.
EN Cover the entire circumference of the pipe uniformly with
lubricant in the area of the joint.
7
8
Schiebehülsenverbindungsherstellung/Producing a sliding sleeve jointSchiebehülsenverbindungsherstellung/Producing a sliding sleeve joint
DE ACHTUNG! Bei Nichtbeachtung dieser Anweisung kann dies zu Beschädigungen an der Ver-
bindungstechnik, zu Sachschäden am Werkzeug und zu Personenschäden führen!
EN CAUTION! Failure to comply with these instructions can cause damage to the connection
system, material damage to the tool and personal injuries!

DE Montageablauf EN Installation
Montageanleitung / Instruction manual / Notice de montage / Istruzioni di montaggio 5CALPEX
DE Achten Sie darauf, daß eine Reduktion exzentrisch ist. Diese
muß mit dem Exzenter zu der Verbindung (Schiebehülse bzw.
Fittingkragen) hineingesetzt werden.
EN Make sure that one reduction is eccentric. It must be inserted
with the eccentric towards the joint (sliding sleeve or fitting col-
lar).
DE Die Reduktionen für die Dimension 125 werden in die Ver-
preßjoche 160 eingeclipst.
Achtung! Immer vollständig einclipsen!
EN Prepare the enclosed foam kit according to the instructions
and pour the foam into the shell.
10
11
Werkzeugumbau/Tool change
Tips und Tricks/Notes on troubleshooting
Fehler Behebung
DE Motor läuft nicht
EN Motor not running
DE •Prüfen, ob benutzte Steckdose Strom führt
•Zuleitungskabel auf Defekte hin überprüfen, evtl. auswechseln lassen
•Falscher Startknopf gedrückt => Master-Zylinder mit angeschlossenem
Steuerkabel
EN •Check whether the plug you are using is conducting the current
•Check the supply cable for defects and have it changed if necessary
•You pressed the wrong start button => master cylinder with connected
control cable
DE Motor läuft, aber Werkzeug arbeitet
nicht oder nur teilweise
EN Motor is running but tool does not
work, or only works partially
DE •Ölstand überprüfen, gegebenenfalls Öl nachfüllen
•Gerät entlüften
EN •Check the oil level and top up the oil if necessary
•Vent the appliance
DE Gerät kommt nicht auf 550 bar Druck
EN Appliance does not reach 550 bar
pressure
DE •Ölstand überprüfen, gegebenenfalls Öl nachfüllen
EN •Check the oil level and top up the oil if necessary
Falls die Funktionsstörung nicht behebbar ist, Gerät an BRUGG-Kundendienst oder Ihren Händler senden.
If the functional fault cannot be remedied, send the appliance to BRUGG
customer service or your dealer.

BRUGG Rohrsystem AG · Industriestrasse 39 · 5314 Kleindöttingen · Switzerland · bruggpipes.com
BRUGG Rohrsysteme GmbH · Adolf-Oesterheld-Straße 31 · 31515 Wunstorf · Germany · brugg.de
CALPEX-Verpresswerkzeug DN 125 - DN 150 (125 mm - 160 mm)
Artikel-Nr. 1009722
Pour les dommages et pannes résultant de l’utilisation de composants de système non recommandés dans
la notice de montage, nous n’assumons aucune responsabilité. S’appliquent les conditions générales de
vente.
Copies interdites.
Si declina ogni responsabilità per danni e malfunzionamenti dovuti all’utilizzo di componenti non consig-
liati da CALPEX o al mancato rispetto delle istruzioni di montaggio. Si applicano le Condizioni generali di
vendita.
Riproduzione vietata
Für Schäden und Betriebsstörungen, die sich aus der Verwendung von nicht durch uns empfohlene System-
komponenten oder die Nichtbeachtung der Montageanleitung ergeben, wird keine Haftung übernommen.
Es gelten die allgemeinen Verkaufsbedingungen.
Kopieren verboten.
We do not assume any responsibility for damage and malfunctions due to the use of system components
which have not been recommended by us or if the instruction manual has not been observed. The general
conditions of sale are applicable.
Copying not allowed.
Table of contents