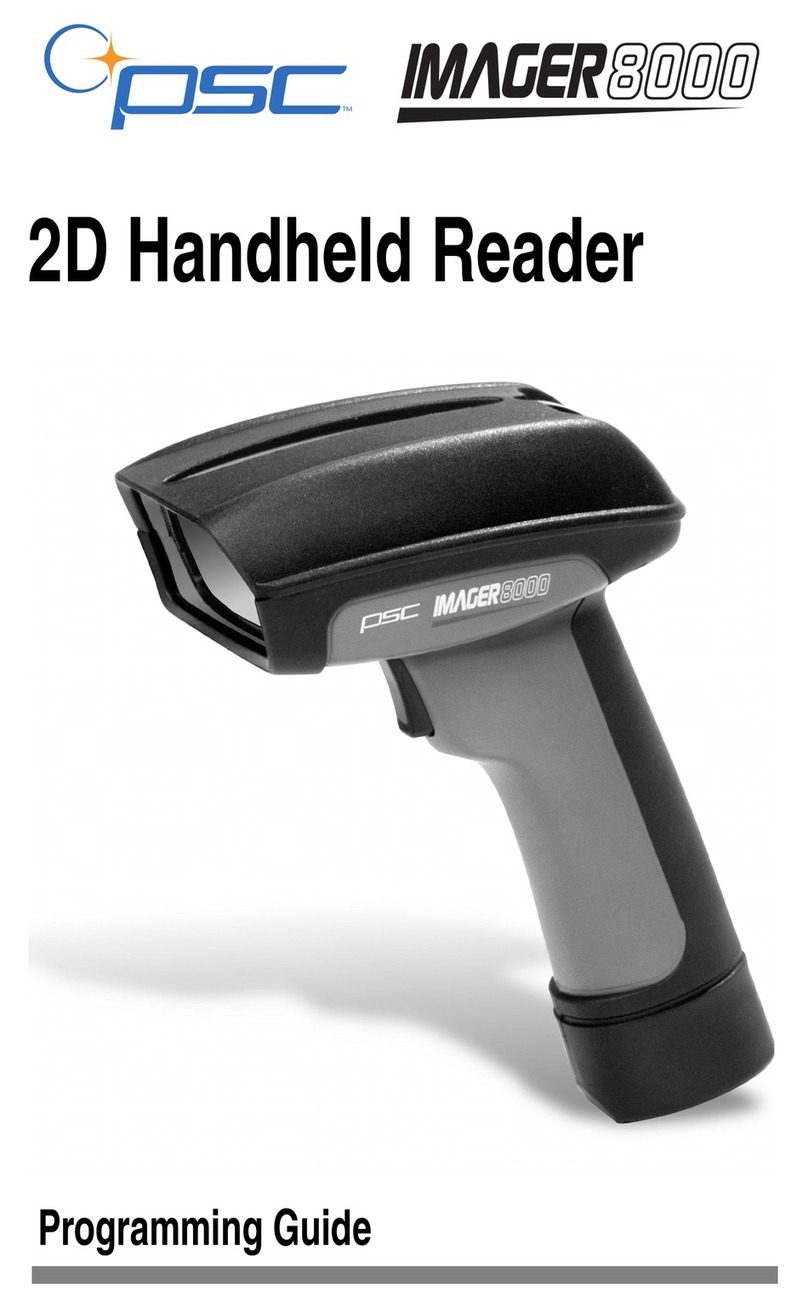
PSC Scanning Imager 8000 User manual

On-Screen Programming
and Viewing
Guide

PSC Scanning, Inc.
959 Terry Street
Eugene, Oregon 97402
Telephone: (541) 683-5700
Toll Free: (800) 547-2507
Telefax: (541) 345-7140
PSC and the PSC logoare registeredtrademarksof PSC Inc. All
other trademarks and trade names referred to herein are property of their
respective owners.
All rights reserved. No part of the contents of this documentation or the pro-
cedures described therein may be reproduced or transmitted in any form or
by any means without prior written permission of PSC Inc. Owners of PSC
Inc.'s products are hereby granted non-exclusive, revocable license to repro-
duce and transmit this documentation for the purchaser's own internal busi-
ness purposes. Purchaser shall not remove or alter any proprietary notices,
including copyright notices, contained on this documentation and shall ensure
that all notices appear on any reproductions of the documentation.
Should future revisions of this manual be published, you can acquire printed
versions by contacting PSC Customer Administration. Electronic versions will
either be downloadable from the PSC web site (www.pscnet.com) or pro-
vided on appropriate media. If you visit our web site and would like to make
comments or suggestions about this or other PSC publications, please let us
know via the “Contact PSC” page.
Disclaimer
Reasonable measures have been taken to ensure that the infor-
mation included in this manual is complete and accurate. How-
ever, PSC reserves the right to change any specification at any
time without prior notice.

On-Screen Programming and Viewing Guide i
Table of Contents
OSPV Software: Quick Start Instructions ........................................... 1
Manual Overview ................................................................................ 3
Using the OSPV Software .................................................................. 4
Installing the OSPV Program ....................................................... 4
OSPV Desktop .................................................................................... 5
Pull-down Menus.......................................................................... 7
File......................................................................................... 7
Edit ........................................................................................ 8
View ....................................................................................... 9
Communications.................................................................. 11
Advanced ............................................................................. 13
Window Menu ............................................................................ 16
Help Menu.................................................................................. 17
Speed Buttons............................................................................ 17
Shortcut Function Keys .............................................................. 18
Command Text........................................................................... 18
Status Bar .................................................................................. 18
Received Data Window .................................................................... 19
Image Window .................................................................................. 20
Reader Configuration ........................................................................ 21
Introduction ................................................................................ 21
If You Make a Mistake................................................................ 22
Reader Configuration Setup....................................................... 23
Communication .......................................................................... 25
Symbology Configuration .................................................................. 28
Edit Format................................................................................. 28
Data Editing with Specifiers .......................................... 30
1D Symbologies ......................................................................... 31
Codabar............................................................................... 31
Code 128 ............................................................................. 32
Code 39 ............................................................................... 33
Code 93 ............................................................................... 34
EAN-8 and EAN-13 ............................................................. 35
UPC-A and UPC-E .............................................................. 36

ii Imager 8000 2D Handheld Reader
Interleaved 2/5 .....................................................................37
RSS ......................................................................................38
2D Symbologies.......................................................................... 39
Matrix ................................................................................... 39
Data Matrix ....................................................................39
Maxicode .......................................................................40
Stacked ................................................................................41
PDF417 .........................................................................41
QR Code ..............................................................................42
QR Symbology ..............................................................42
Postal Codes ........................................................................43
US Postnet Symbology ..................................................43
US Planet Symbology ....................................................43
Japan Postal Symbology ...............................................43
Australian Postal Symbology .........................................43
Composite Field Setting.............................................................. 44
Composite Code Symbology................................................ 44
Output ......................................................................................... 45
Decoded Data Formatting .................................................... 45
Preamble .......................................................................45
Postamble ......................................................................46
Send Symbology ID (AIM) .............................................46
Image Transfer..................................................................... 47
Image Capture Mode .....................................................47
Image Data Format ........................................................48
Image Compression Mode ............................................50
JPEG Quality Factor (0 to 30) ........................................50
Feedback Signaling For Reads and Errors ..........................51
General Reading......................................................................... 53
Pointer/Illumination LEDs..................................................... 53
Image Capture Control......................................................... 54
Bar Code Capture Control.................................................... 55
AutoSense®......................................................................... 57
Advanced Settings...................................................................... 59
Saving the Configuration Settings .............................................. 60
Configuring Multiple Readers ..................................................... 61

On-Screen Programming and Viewing Guide iii
Appendix A: PSC (Factory) Defaults ........................................... A-1
Appendix B: Troubleshooting & Maintenance ........................... B-1
Cable Connections.................................................................... B-1
If OSPV cannot detect the Reader ..................................... B-3
Problems Reading Bar Codes................................................... B-5
Technical Support ..................................................................... B-6
Worksheet Form ................................................................. B-6
Contacting PSC .................................................................. B-6
Preventative Maintenance......................................................... B-7
ASCII/Hex Conversion Table ................................... Inside back cover

iv Imager 8000 2D Handheld Reader
NOTES

R44-2080 1
OSPV Software: Quick Start Instructions
Those familiar with the On-Screen Programming and Viewing
(OSPV) program can use these Quick Start Instructions to install and
configure the Imager 8000™2D Reader.
1. Connect your Imager 8000 2D Reader to a PC. See the Imager
8000 User’s Guide (R44-2115) for detailed setup instructions.
2. Insert the 3.5-inch install diskette and run setup.exe. The util-
ity will add the OSPV.exe icon to the chosen program folder.
3. Click on the OSPV icon. The OSPV desktop appears, the
Reader’s COM port is identified, and a baud check is run.
Your Reader should now be connected. From the Advanced
menu, choose Display Config/Software Version. The text for
the current Reader configuration will appear in the Received
Data Window.
4. From the OSPV desktop, open the Reader Configuration
menu. The Reader Configuration Setup dialog box appears
with the following tab menus:
•Communication
•1-D Symbologies
•2-D Symbologies
•Postal Symbologies
•Composite Code
•Output
•General Reading
•Advanced
NOTE
To run OSPV, the PC must be at least a 133-MHz Pentium
with 32 MB RAM, operating on Windows®95, Windows®
98, or Windows®NT4 operating system.
Display resolution should be 800 x 600 minimum (desk-
top monitor) or a laptop with a 10.5" monitor, 640 x 480
minimum resolution.

2Imager 8000 2D Handheld Reader
Start with the default settings or click on each tab menu and set the
parameters for your application-specific configuration.
5. Click the Write To Device button to download your new
configuration to your Reader.
To configure multiple Readers, plug them into the host PC individu-
ally and click the Write To Device button.
This completes the QuickStart procedures to install and use the OSPV
software.
CAUTION
Your Reader may have been ordered factory preconfig-
ured with a specific settings that differ from factory
default settings. If you accidently change the settings
and want to return to the Original setting, go to Reader
Defaults under the Advanced menu, and select the Reset
to Customer Defaults option.

R44-2080 3
Manual Overview
This guide describes how to install and use the On-Screen Program-
ming and Viewing (OSPV) software to configure the Imager 8000 2D
Reader.
The manual provides:
•Instructions to install OSPV software
•Descriptions of the menus and options on the OSPV desktop
•Instructions on how to configure the Reader
•Helpful information in the appendices
If you have questions or require additional information, contact your
distributor, or call PSC directly using the listings located on the back
cover of this guide.

4Imager 8000 2D Handheld Reader
Using the OSPV Software
The On-Screen Programming and Viewing (OSPV) software is a util-
ity application that can be used to configure the Imager 8000™2D
Reader. The default settings are loaded into the Reader during manu-
facture, but they can be adjusted for compatibility for your specific
needs or environment entirely on a PC with the OSPV software.
Installing the OSPV Program
If the Imager 8000™2D Reader is not already connected to the PC,
power down the host PC, then connect the interface cable from the
Reader to COM Port 1,2,3, or 4. Connect the AC/DC power adapter
to the DC connector.
For more information on connecting the Reader to the host PC, refer
to the section Connecting Your Reader in the Imager 8000™2D User’s
Guide (part number R44-2115).
System requirements for the OSPV Software are:
•133-MHz Pentium (or higher) PC-compatible computer
•Windows®95, Windows®98, or Windows®NT4 operating
system
•32-MB RAM (minimum)
•800 x 600 minimum display resolution (desktop monitor) or a
laptop with a 10.5" monitor, 640 x 480 minimum resolution.
To install the software on the host computer:
1. Insert the 3.5-inch installation diskette in the floppy disk
drive.
2. Choose Run from the Start menu, and run the setup. exe file.
3. Follow the on screen instructions; change the destination
directory if you wish. The installation utility will add the fol-
lowing icon to the program folder you choose.

R44-2080 5
OSPV Desktop
Figure 1 highlights the features the OSPV desktop. Each feature is
described starting on the page shown.
A. Pull-down menus (see page 7):
•File (see page 7)
•Edit (see page 8)
•View (see page 9)
•Communications (see page 11)
•Advanced (see page 13)
•Window (see page 13)
•Help (see page 17)
Figure 1. OSPV Desktop
A
BC
DE
F

6Imager 8000 2D Handheld Reader
B. Speed buttons (see page 17):
•File Save
•Get Image
•Read Bar Code
C. Shortcut Keys (see page 18):
•F1 –Reset to Defaults
•F2 –Display System Configuration
•F3 –Display Decoder Configuration
•F4 –Transfer Decoded Data to Host After Read
•F5 –Transfer Images to host After Read
•F6 –F11 –(unassigned)
D. Command Text Display (see page 19)
E. Status Bar (see page 18)
F. Reader Configuration (see page 21)

R44-2080 7
Pull-down Menus
Pull-down menus provide an easy and convenient way to access
OSPV’s many programming options. The menus are presented here
from left to right as they appear on the desktop. (Reference Figure 1
on page 5).
File
Use the File pull-down menu commands (see Figure 2) to close, save,
or print text and image data. The menu has the following choices:
•Close –Removes the active text or image window without
saving it to file.
•Save –Saves the active window using its default name.
•Save As –Saves the active window to a file name and location
that you must specify.
•Print –Prints the active window.
•Print Setup –Sets the printer configuration for the printer to
which you wish to send text or images.
•Exit –Exits the OSPV program.
Figure 2. File Menu

8Imager 8000 2D Handheld Reader
Edit
Use the Edit pull-down menu commands (see Figure 3 on page 8) to
operate on text in a Received Data Window:
•Undo –Reverses the last edit operation.
•Select All –Selects all the text in the Received Data Window
(to delete the text or copy/cut text from the Received Data
Window to the clipboard).
•Cut –Removes selected text from the Received Data Window
and copy it to the clipboard.
•Copy –Copies selected text from the Received Data Window
to the clipboard.
•Paste –Pastes text from the clipboard to the cursor location in
the Received Data Window.
•Delete –Deletes selected text in the Received Data Window.
•Clear All –Deletes (clears) all text in the Received Data Win-
dow.
•Find –Searches for text in the Received Data Window.
•Replace –Searches for and replaces text in the Received Data
Window.
•Clear Command Sent Display –Deletes (clears) all text in the
Command Text Display.
Figure 3. Edit Menu

R44-2080 9
View
Use the View pull-down menu, shown in Figure 4, to select the fol-
lowing options:
Figure 4. View Menu
ASCII To Hex Conversion [Default = No Conversion] —Use this
option to control the conversion of any data sent to Com-
mand Text Display and the Receive Data Window. When a
character is converted, it is converted to the form ‘<xx>,’
where xx is a hexadecimal code for the character.
Convert Unprintable ASCII Data (Except CR/LF) —all unprintable
characters, except carriage returns and line feeds, will be con-
verted to the hexadecimal format.
Convert Unprintable ASCII Data —All unprintable characters are
converted to the hexadecimal format.
Convert All ASCII Data —All characters are converted to hexa-
decimal.
Display AGC Bytes —Selecting this option causes the image expo-
sure data to display in the Received Data Window. When the
image is set, click again to turn off this option.
Configure Shortcut (Function) Key —Allows you to define custom
shortcut keys for your most used OSPV commands. There are
eleven function keys (F1 to F11) which may be configured to
directly execute commands. At program startup, only the
first five function keys are mapped as follows; the remaining
keys are unassigned:
F1 —Reset To Defaults
F2 —Display System Configuration
F3 —Display Decoder Configuration

10 Imager 8000 2D Handheld Reader
F4 —Transfer Decoded Data to Host after Read
F5 —Transfer Images to Host after Read
To change or create a function key mapping, choose Con-
figure Shortcut (Function) Key from the View pull-down
menu. Next, double click on the function key to map. The
Function Key Mapping dialog box, as shown in Figure 5,
appears and offers the following choices:
•Map Text –Requires you to enter the text command
sequence as you would for Send Command. (See the
description of Send Command under the Advanced
Menu on page 13 for more information).
•Map Command –Requires you to select an actual
Reader command from a scroll box.
•Clear Mapping –Disassociates a function key from
any command, so that selecting the function key will
not cause any action.
•Once the key is configured, the command to which the key is
mapped appears when the cursor is placed over the key on
the Desktop.
Figure 5. Functional Key Mapping Dialog Box
•Use Command Sent Display –Selecting this option enables the
display (lower left of Desktop) of all commands sent to the
Reader. If you click the option again, subsequent commands
sent to the Reader will no longer display.

R44-2080 11
Communications
Use the Communications pull-down menu (see Figure 6) to configure
serial communication with your Reader in the following ways:
Always Send Wakeup Character –When this option is
chosen, a wakeup character command is sent to the
Reader prior to sending any command. This action
brings the Reader out of a low-power state. To cancel this
setting, click on the menu choice again.
Figure 6. Communications Menu
COM Port Setup –Use for configuring baud rate, number of
start, stop, parity bits, and the RTS level for the selected
COM Port. You can also switch between COM Ports one
through four. Changing these settings affects only the
computer on which OSPV is running; the Imager 8000 2D
Reader configuration does not change. If you select Can-
cel, your changes will be canceled. If you select OK, your
changes will go into effect.

12 Imager 8000 2D Handheld Reader
Figure 7. Com Port Setup

R44-2080 13
Advanced
Use the Advanced pull-down menu to access individual commands
for diagnostic or testing purposes. The commands described here are
sent via the serial port.
Normally, these commands are not needed to configure your Reader.
System integrators who must program the Reader via a serial port
will find them useful when debugging their application.
Figure 8. Advanced Pull-down Menu
The options under the Advanced pull-down menu include:
Display Data Received –This window is open by default when
the OSPV program is activated. The choices are: All Data,
or Bar Code Data Only.
Display Command Sent Without Wrapper –When enabled
(checked) this option causes the list of commands sent to
Reader to display without a wrapper. That is, the wrap-
per characters, STX, ESC and ETX will be stripped from
each command displayed, yielding information that is
easier to read.
Download –The Download option allows the user to down-
load new applications.

14 Imager 8000 2D Handheld Reader
Send Command –This function exists for those who know the
format of a serial command and wish to enter the com-
mand characters sequence and execute it. The Send Com-
mand To Reader dialog box (Figure 9 on page 14) will
display, where the user can input the command sequence
and execute the command.
Figure 9. Send Command To Reader dialog box
Non-text characters, and unprintable ASCII characters
are recognized in the dialog box. For example, to display
the operational code firmware version, type the “ZC”
command code in the Send Command To Reader dialog
box and press OK.
CAUTION
Commands that you send may change your Reader’s
configuration fields, and likewise any corresponding
settings previously made in the Reader Configuration
Setup dialog box.
Other manuals for Imager 8000
2
Table of contents
Other PSC Scanning Barcode Reader manuals
Popular Barcode Reader manuals by other brands
Optoelectronics
Optoelectronics OPN-3002n user manual
Datalogic
Datalogic QuickScan Lite QW2400 Quick reference guide
Serialio
Serialio Scanfob 2006 quick start guide
Datalogic
Datalogic PowerScan BT8300 Family Product reference guide
Unitech
Unitech MS84XG user manual
Datalogic
Datalogic QuickScan QD24 series Product reference guide
