PST PST-QSG-3205-01 User manual


Loop Barrier Oxygen Analyzer Quick Start Guide
First span calibration and measurement
2 ProcessSensing.com
Welcome to the Quick Start Guide for first span calibration and first measurement using your loop barrier analyzer.
Here, you will find information covering gas connection in section A, and first span calibration in section B.
Please read the safety information below.
Start here
Safety information
•Avoid covering the vent when gas is flowing through the analyzer.
•To remove moisture and particulates, open the sensor housing and either
blow on the sensing surface or gently wipe the surface with a damp cloth.
Ensure ppm sensors have minimal exposure to air.
•You must connect the analog signal output to a recording device in
accordance with local safety directives.
The first calibration is of utmost importance as all subsequent
calibrations are based on the initial one.
NOTE: We recommend you use certified span gas for calibration to
ensure the best measurement readings.
The GPR-series of loop barrier oxygen analyzers is compliant with the follow-
ing safety approvals and directives:
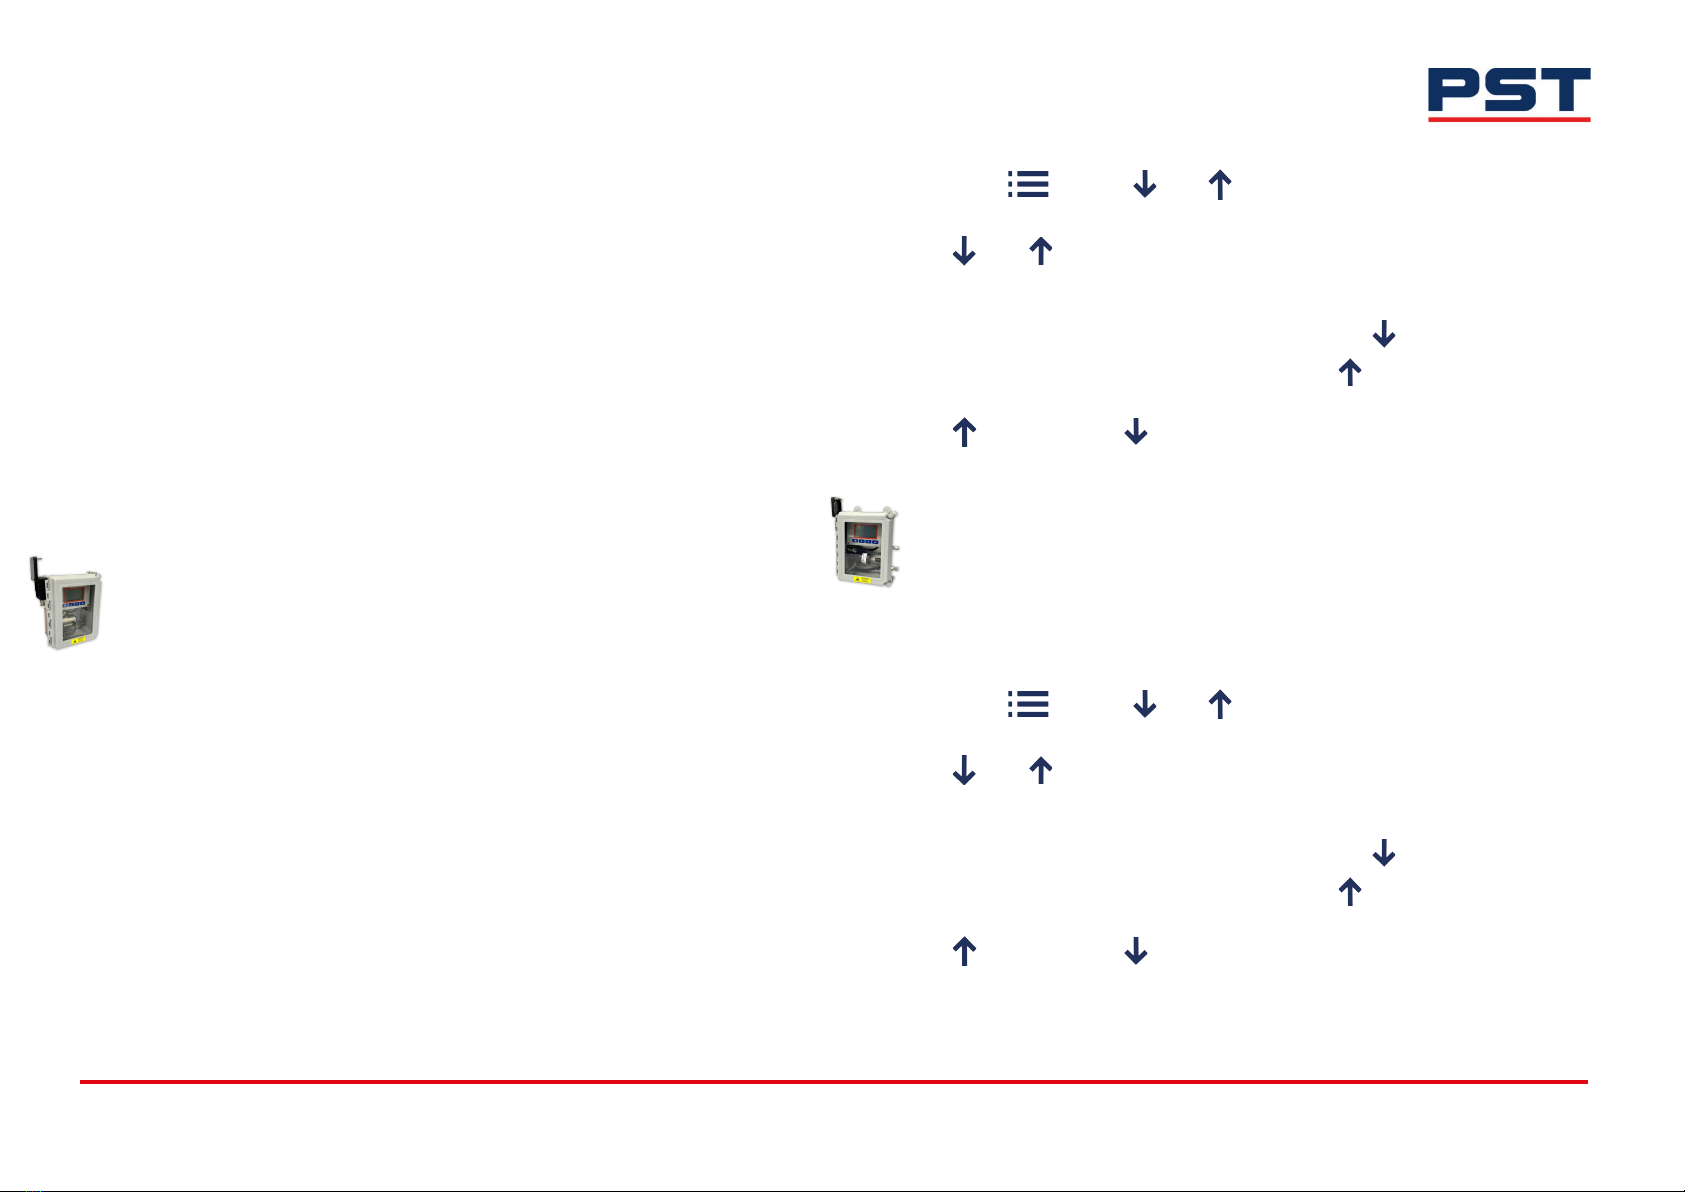
A unit with a blue display outline is for general purpose only, red is for
hazardous area, as shown above.
User Interface (UI)
Button Function
Menu
Enter
Previous (decrement)
Next (increment)
ProcessSensing.com 3
Loop Barrier Oxygen Analyzer Quick Start Guide
First span calibration and measurement
A. Gas connection
NOTE: The calibration span gas should be 50...80% of the required
measurement range or one range above. E.g. For a 1 ppm
measurement, span gas should be 5...8 ppm or 50...80 ppm.
1. Connect your span gas line to either of the ports on your analyzer.
2. Ensure the flow rate is at 1...2 SCFH and allow the span gas to flow for 2...3
minutes. This will purge the system.
3. Continue to section B and follow the procedure relevant to your analyzer
model.
B. First span calibration
GPR-1500
The GPR-1500 is delivered without the sensor installed to preserve its
operational life. To install the sensor:
1. Apply power to your analyzer (refer to Figure 4 on page 5).
2. Using the two latches, open the front window.
3. To open the sensor housing, loosen the star wheel then disengage the top
sensor housing by turning it 90° counter-clockwise. Refer to ‘b’ in Figure 2 on
page 4.
4. Remove the sensor from its packaging, remove the shorting flags and
immediately place in the bottom sensor housing (refer to Figure 1 on page 4
for guidance).
5. Now re-connect the top sensor housing and secure using the star wheel.
6. Use the two latches to close the front window on your analyzer.
7. Now press and use and to navigate to
Calibration > Span Calibrate.
8. Use and to enter the span gas value. Ensure the reading has stabilized
before continuing.
NOTE: When a Span or Zero Cal starts, only "Abort" with is shown
until the reading is stable, then "Accept" with appears.
9. Use to Accept, and to Abort. If you selected Accept, your analyzer is
now calibrated.
GPR-2500
The GPR-2500 is delivered with the sensor installed:
1. Apply power to your analyzer (refer to Figure 4 on page 5).
2. Now press and use and to navigate to
Calibration > Span Calibrate.
3. Use and to enter the span gas value. Ensure the reading has stabilized
before continuing.
NOTE: When a Span or Zero Cal starts, only "Abort" with is shown
until the reading is stable, then "Accept" with appears.
4. Use to Accept, and to Abort. If you selected Accept, your analyzer is
now calibrated.

Loop Barrier Oxygen Analyzer Quick Start Guide
First span calibration and measurement
4 ProcessSensing.com
C. Gas disconnection
1. Stop the flow of gas.
2. Disconnect your gas line from the port on the analyzer.
3. Immediately reconnect process gas.
NOTE: Exposing ppm sensor to ambient air for extended periods may
cause irreversible damage to sensor.
D. Making your first measurement
To make your first measurement, connect your process gas lines by following
the procedure in section A.
E. Figures
Figure 1 - GPR-1500: Aligning your sensor
Figure 2 - GPR-1500: Installing and uninstalling your sensor
Figure 3 - GPR 2500: Installing and uninstalling your sensor
Top sensor housing
Bottom sensor housing
90O
Loosen
Tighten
Star wheel a
b
Sensor
Sensor base
Sensor Sensor cable
Lock nut
Sensor appearance may vary depending on your configuration

ProcessSensing.com 5
Loop Barrier Oxygen Analyzer Quick Start Guide
First span calibration and measurement
Figure 4 - Wiring your analyzer
F. Useful links
Scan below for more information.

Table of contents
Other PST Analytical Instrument manuals


Popular Analytical Instrument manuals by other brands

General
General SeaScope 600 user manual

VOLTCRAFT
VOLTCRAFT 10 10 61 operating instructions

BanaLogic
BanaLogic BL-A100 user guide

Bühler technologies
Bühler technologies GAS 222.35 Ex2 Installation and operation instruction

Enotec
Enotec OXITEC 5000 Series Installation and operation manual

EXFO
EXFO FIP-400B user guide


