manuals.online logo
Brands
  1. Home
  2. •
  3. Brands
  4. •
  5. Pulsar
  6. •
  7. Enclosure
  8. •
  9. Pulsar RS4281 User manual

Pulsar RS4281 User manual

Other Pulsar Enclosure manuals

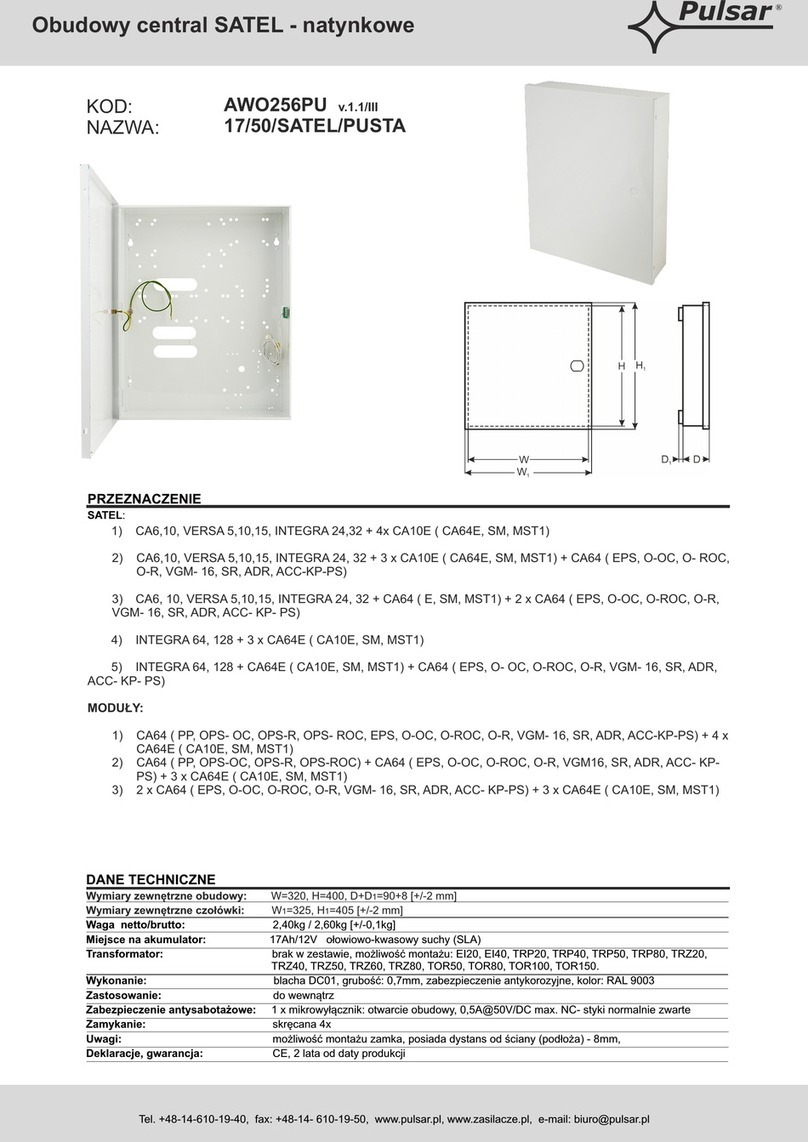
Pulsar AWO 317 User manual

Pulsar

Pulsar AWO 317 User manual

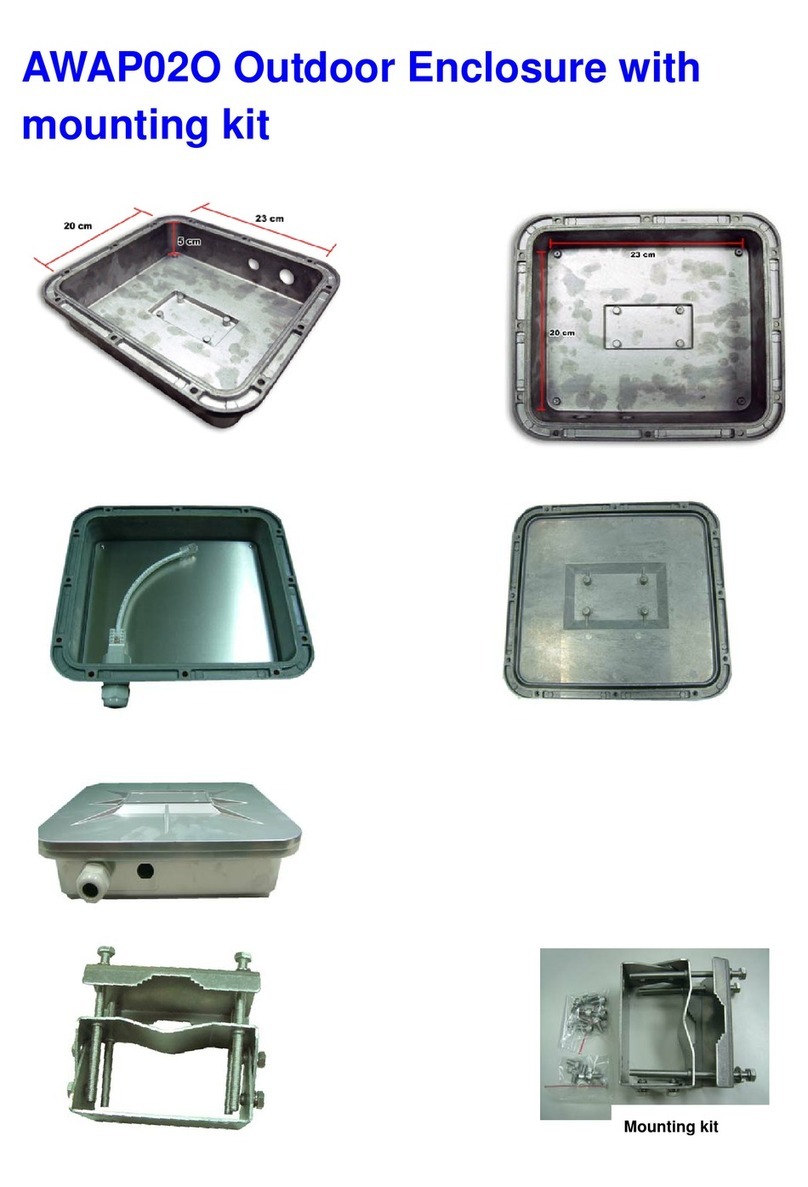
Pulsar AWO 359 User manual

Pulsar

Pulsar AWO 359 User manual

Pulsar AWO528 User manual

Pulsar

Pulsar AWO528 User manual

Pulsar AWO 232 User manual

Pulsar

Pulsar AWO 232 User manual

Pulsar ARAD-S2 User manual

Pulsar

Pulsar ARAD-S2 User manual

Pulsar 17/TRZ40/S-F User manual

Pulsar

Pulsar 17/TRZ40/S-F User manual

Pulsar AWO529 User manual

Pulsar

Pulsar AWO529 User manual

Pulsar AWO520PU User manual

Pulsar

Pulsar AWO520PU User manual

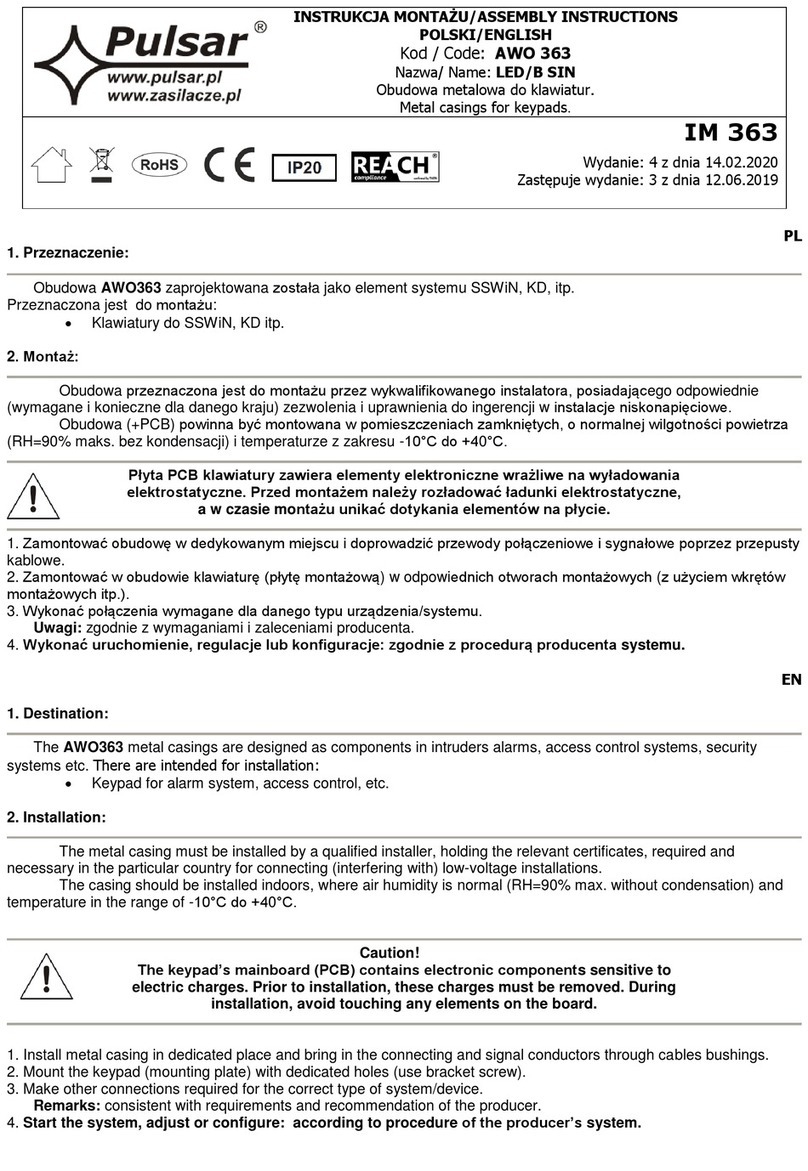
Pulsar AWO 363 User manual

Pulsar

Pulsar AWO 363 User manual

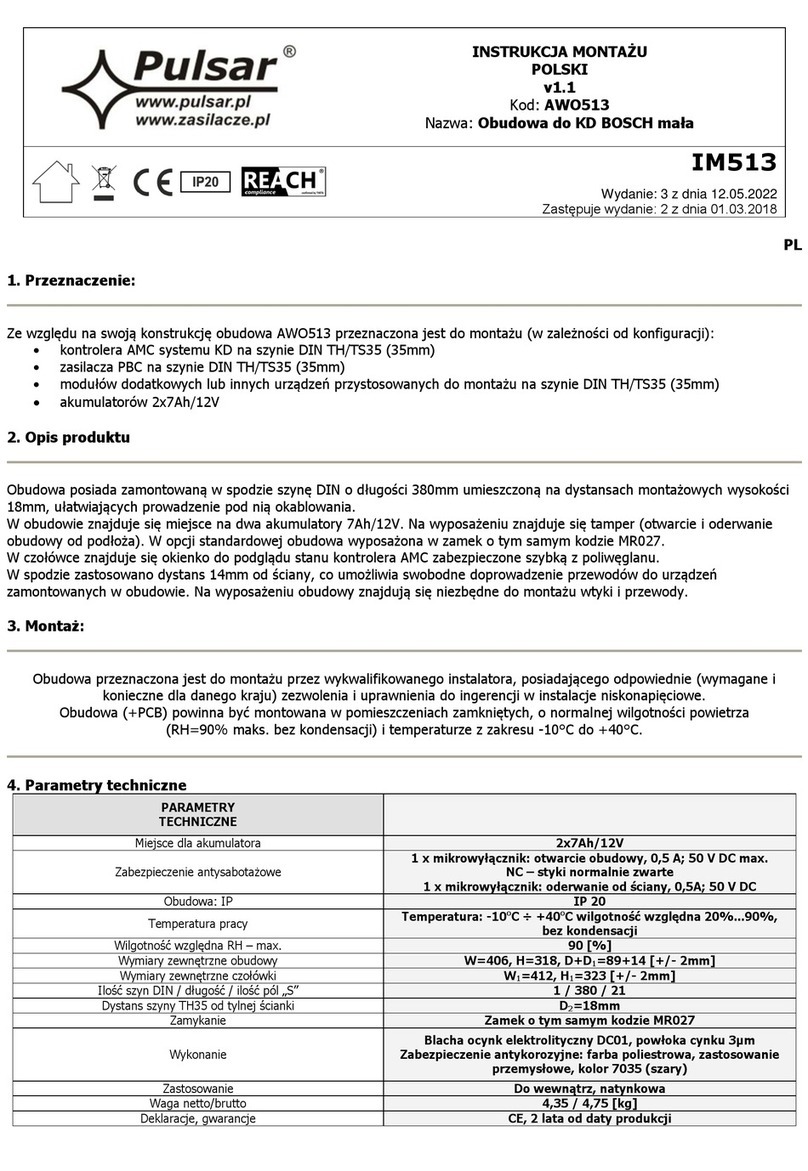
Pulsar AWO513 User manual

Pulsar

Pulsar AWO513 User manual

Pulsar 17/TRP80/DSPR User manual

Pulsar

Pulsar 17/TRP80/DSPR User manual

Pulsar 7/TRP20/PAR User manual

Pulsar

Pulsar 7/TRP20/PAR User manual

Pulsar Nedap Power 4M User manual

Pulsar

Pulsar Nedap Power 4M User manual

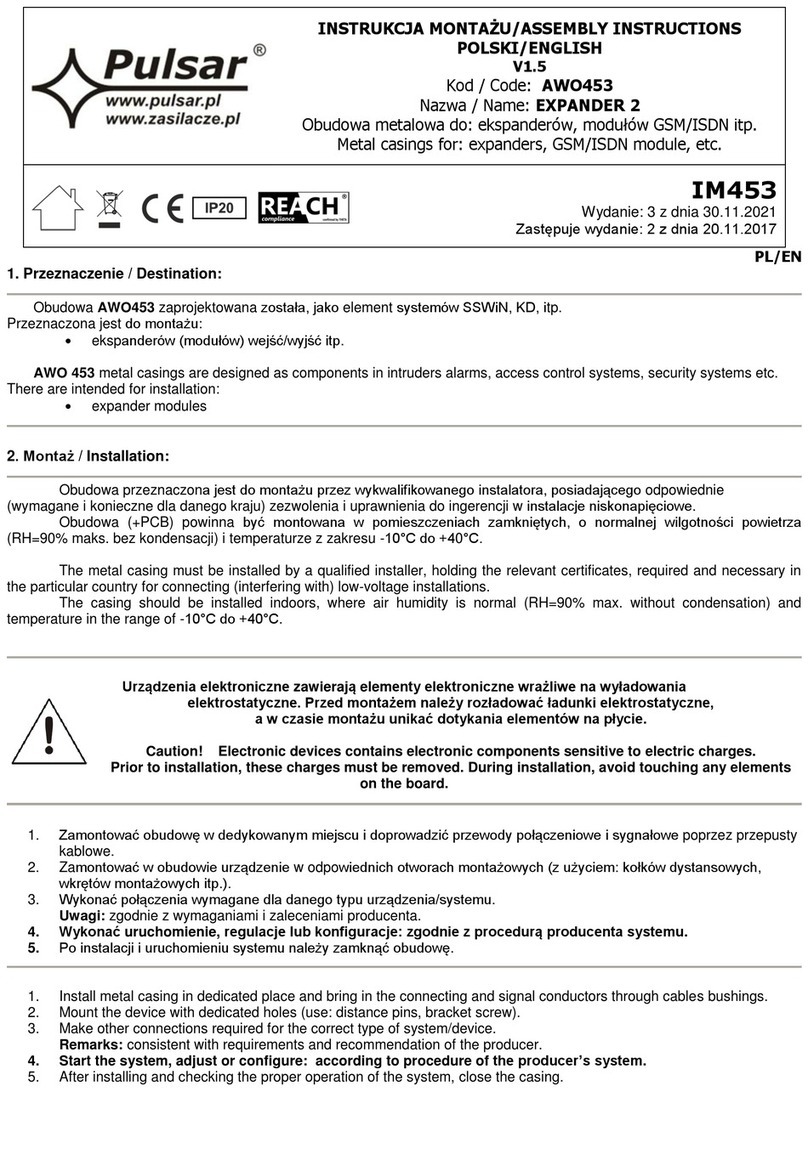
Pulsar EXPANDER 2 User manual

Pulsar

Pulsar EXPANDER 2 User manual

Pulsar AWO224 User manual

Pulsar

Pulsar AWO224 User manual

Pulsar LED/B SATEL User manual

Pulsar

Pulsar LED/B SATEL User manual

Pulsar ARAD2 User manual

Pulsar

Pulsar ARAD2 User manual

Pulsar AWO 452 User manual

Pulsar

Pulsar AWO 452 User manual

Pulsar ZRS2761GD User manual

Pulsar

Pulsar ZRS2761GD User manual

Pulsar AWO 620 User manual

Pulsar

Pulsar AWO 620 User manual

Pulsar AWO644 User manual

Pulsar

Pulsar AWO644 User manual

Pulsar ARAD-S4 User manual

Pulsar

Pulsar ARAD-S4 User manual

Pulsar 17/TRP80/PAR/SP/GRADE 3 User manual

Pulsar

Pulsar 17/TRP80/PAR/SP/GRADE 3 User manual

Pulsar RWA1264 User manual

Pulsar

Pulsar RWA1264 User manual

Popular Enclosure manuals by other brands

Antec Veris Fusion Remote Max Specification sheet

Antec

Antec Veris Fusion Remote Max Specification sheet

ENERMAX iVektor.Q ECA 3371 Series user manual

ENERMAX

ENERMAX iVektor.Q ECA 3371 Series user manual

Lindy 43095 user manual

Lindy

Lindy 43095 user manual

SICK C4000 Select operating instructions

SICK

SICK C4000 Select operating instructions

Geeek A60 PLUS installation guide

Geeek

Geeek A60 PLUS installation guide

OVE SYDNEY 48 installation manual

OVE

OVE SYDNEY 48 installation manual

SilentiumPC Armis AR5 Hardware installation

SilentiumPC

SilentiumPC Armis AR5 Hardware installation

MSI MPG SEKIRA 500X quick start guide

MSI

MSI MPG SEKIRA 500X quick start guide

Antec Dark fleet DF-10 user manual

Antec

Antec Dark fleet DF-10 user manual

Peavey DS 1502 Specifications

Peavey

Peavey DS 1502 Specifications

D-Link ShareCenter Pro DNS-1550-04 user manual

D-Link

D-Link ShareCenter Pro DNS-1550-04 user manual

Rosewill RX82-U(JBOD) user manual

Rosewill

Rosewill RX82-U(JBOD) user manual

QNAP SAS JBOD CLI 1.0 user guide

QNAP

QNAP SAS JBOD CLI 1.0 user guide

GAMDIAS Talos P1 Quick installation guide

GAMDIAS

GAMDIAS Talos P1 Quick installation guide

Auvs KR615 user manual

Auvs

Auvs KR615 user manual

Antec AR300 user manual

Antec

Antec AR300 user manual

CommScope FDH 3000 user manual

CommScope

CommScope FDH 3000 user manual

FS FHD-FWME4 quick start guide

FS

FS FHD-FWME4 quick start guide

manuals.online logo
manuals.online logoBrands
  • About & Mission
  • Contact us
  • Privacy Policy
  • Terms and Conditions

Copyright 2025 Manuals.Online. All Rights Reserved.

INSTALLATION GUIDE
ENGLISH v1.0
code: RS4281
Name: 42U RACK server cabinet, floor standing, ready-to-assemble 800x1000
IM RS4281
Edition: 1 from 20.02.2020
Supersedes: -------------
EN
1. Intended use:
The RACK 19” cabinet enables integrating CCTV, AC, I&HAS, RTV, LAN, or other systems in medium and big companies. It is
intended for devices manufactured in enclosures of the 19'' standard. Due to the RACK cabinets, the devices are aesthetically mounted
and protected against mechanical damage.
2. Specifications:
SPECIFICATIONS
Mounting dimensions:
W=19", H=42U, D=782mm
External dimensions:
W=800, H=2055, D=1000 [mm, +/-2]
Net/gross weight:
136 / 142 [kg]
Materials:
- RACK mounting rails: cold-rolled steel SPCC 2mm RAL 9004 - bolted
- horizontal mounting rails: cold-rolled steel SPCC 1,5mm - bolted
- frame: cold-rolled steel SPCC 1,2mm RAL 9004 - welded
- front door: 5mm toughened glass / SPCC 1,2mm RAL 9004 - hinged
- side panel: cold-rolled steel SPCC 1,2mm RAL 9004 - removable
- rear door: cold-rolled steel SPCC 1,2mm RAL 9004 - hinged
Static load:
1000 kg (with leveling feet)
Use:
inside, IP20
Notes:
- adjustable distance between front and rear RACK rails
- ventilation holes in the top and bottom panel
- possible mounting of a fan unit in the top panels - RAWP (max. 3 pcs.)
- cable ducts in the top and bottom panel
- two cable management panels, vertical, mounted in front of cabinet
- 4 casters without locks and 4 leveling feet included
- possible assembly of a 100mm high plinth - RAC188M
- lockable front door (2 keys in set)
- lockable rear door (2 keys in set)
- side panel - lock assembly possible - RAZB16
- ready-to-assemble
Declarations, warranty:
RoHS, 12 months from the date of purchase
3. Structure of the RACK cabinet.
4. Components
Num
ber
Component
Amou
nt
Foto
1
Top panel
1 pcs.
2
Bottom panel
1 pcs.
3
Front doors
1 pcs.
4
Rear door
1 pcs.
5
Side panel
2 pcs.
6
Cabinet
frame
2 pcs.
7
Horizontal
rail
6 pcs.
8
Distance
12
pcs.
9
RACK 19”
42U rail
4 pcs.
10
Cable
management
panel,
vertical
2 pcs.
11
Cable gland
end cup
(upper)
2 pcs.
12
Cable gland
end cup
(lower)
2 pcs.
Num
ber
Component
Amou
nt
Foto
13
Lock- rear
door RAZ25
1 pcs.
14
Side door
distance
4 pcs.
15
"2” wheel
without lock"
4 pcs.
16
Leveling foot
4 pcs.
17
M8x12 Head
Cap Screw
16
pcs.
18
M8 nut
16
pcs.
19
10mm
Phillips
screw
92
pcs.
20
M5 nut,
spring
washer
2 pcs.
21
Spacer for
front/rear
doors
2 pcs.
22
M6x12
Phillips
screw
40
pcs.
23
M6 nut
(„cage nut”)
40
pcs.
24
Cross /
hexagon
wrench
1 pcs.
5. Assembling instructions of RACK:
The free standing, ready-to-assemble RACK cabinet is delivered in 5 separate packages.
5.1) Place horizontally two RACK cabinet frames with both top and bottom plates.
Pay attention to the grounding in the frame - as shown in the drawing
5.2) Mount the top plate and bottom plate to the left and right frames of the RACK cabinet, respectively.
Use M8x12 Head Cap Screws with M8 nuts (16pcs). Screw the cabinet wheels and legs to the bottom plate of the cabinet.
5.3) Place the RACK cabinet vertically and mount:
- Cable gland end cups (up and down) –screw 10mm (black) - 12pcs
- side door distance –screw 10mm –4pcs
5.4) Mount to frames (in front and back) cross profiles, distances and RACK profiles as shown below.
5.5) Screw vertical cable management panels to mounted distances
5.6) Installation of front, rear, and side doors
MANUFACTURER
Pulsar sp. j.
Siedlec 150,
32-744 Łapczyca
Tel. 14-610-19-40, Fax. 14-610-19-50
e-mail: biur[email protected], sales@pulsar.pl
http:// www.pulsar.pl, www.zasilacze.pl