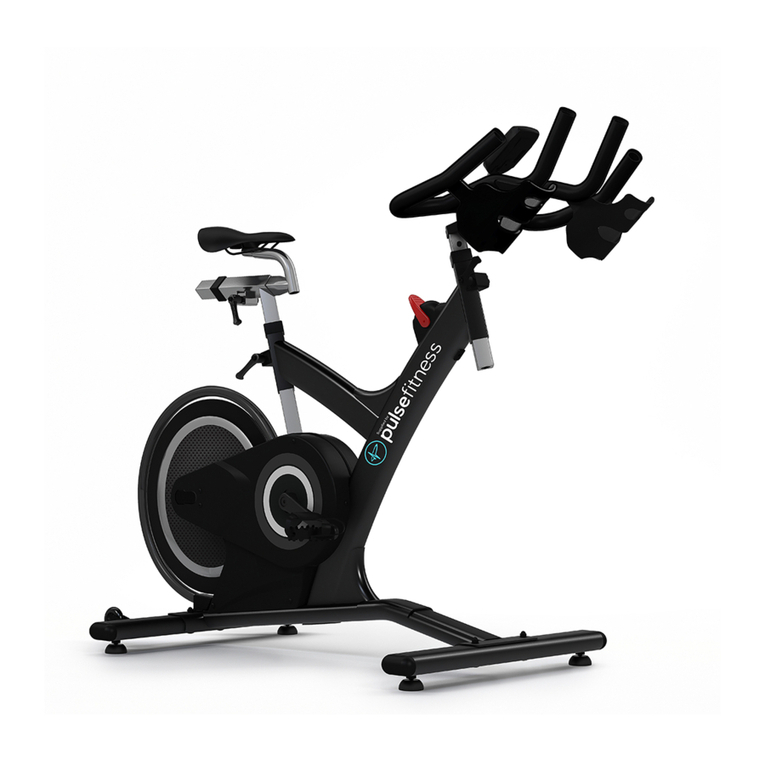
Pulse fitness EVOLVE Guide

TM
EVOLVE
MAINTENANCE

Contents
1 Warranty
2 Information
3 General Maintenance
4 Belt
5 Handgrips
6 Plungers
7 Upholstery
8 Checklists
1.1 Warranty P02
2.1 General safety and information P03
3.1 Daily maintenance and inspection P05-06
3.2 Monthly maintenance and inspection P07-08
3.3 Six monthly maintenance P09-10
4.1 Tensioning belt from weight stack clamp P11-12
2.2 Declaration of conformity P04
4.2 Removing and fitting a new belt P13-16
5.1 Replacing worn handgrips P17-18
6.1 Replacing a plunger P19
7.1 Replacing upholstery P20-21
8.1 Daily checklist P22
8.2 Monthly checklist P23
8.3 Six monthly checklist P24
01

1.1 Warranty
WARRANTY
•
•
•
•
•
Pulse Fitness warrants to the original purchaser only of new equipment purchased directly from Pulse Fitness or from authorised
distributors or resellers, for its own use not for resale, that all resistance machines shall be free from defects in materials and
workmanship in accordance with the following schedule effective from the original date of delivery.
5 years: Frames and welds.
2 years: Mechanical components.
Drive transmission belts.
1 year: Rubberised materials, e.g. grip materials, safety walks.
6 months: Upholstery.
This warranty does not cover any part of the equipment which has been:
(1) Modified, altered or subjected to abuse, misuse, negligence or accident, or improperly operated, maintained or stored.
(2) Improperly installed or installed in conjunction with any equipment for which it was not designed.
(3) Repaired or replaced by any party other than Pulse Fitness or its authorised service agents.
(4) Damaged or destroyed by disasters such as fire, flood, lightning or earthquake.
(5) Subject to usage or wear above that expected as being normal in the warranty period and classed as wear and tear items.
In no event shall Pulse Fitness be liable for any special, incidental, consequential or other damages, costs or expenses.
If a defect involves a component, part or accessory that is already in service and can reasonably be replaced or serviced by the
purchaser, Pulse Fitness will be responsible only for providing, at no charge, a suitable replacement and instructions for the
purchaser.
Warranty will be void if non-genuine Pulse Fitness parts are used in replacement work.
02

2.1 General safety and information 03
WARNING
Failure to carry out the maintenance activities described in this manual could result in serious injury
and void your warranty.
Please ensure all publications supplied with Pulse Fitness equipment are read and understood.
Replacement of defective components should be carried out immediately and/or defective machines
should be put out of use until repair.
Ensure all equipment is installed on a stable base and properly leveled.
INFORMATION
Included in your Pulse Fitness machine package is a tool box with all the required tools. These tools
are displayed at the top of each page and are highlighted when required. (Images may vary from
tools provided.)
The belt will stretch in the first 4 to 6 weeks of operation depending on use. Therefore tensioning is
recommended, thereafter the belt stretch will be minimal. (Refer to section 4.1)
The wooden blocks used in section 3.3 are not part of the Pulse Fitness tool kit and will not be
supplied.
Pulse Fitness equipment is designed for Class S studio use only.

2.2 Declaration of conformity 04
305G Shoulder Press 382G Seated Lat. Pulldown 600G Abdominal
310G Chest Press 385G Long Pull 605G Lower Back Extension
314G Pec Deck 447G Seated Row 615G Rotary Torso
325G Assisted Chin and Dip 500G Adductor 904G 4-Station
335G Lateral Deltoid 505G Abductor
342G Multi-Pulley 515G Multi-Hip
345G Crossover 530G Seated Calf
346G Dual Multi-Pulley 560G Leg Extension
365G Arm Curl 562G Seated Leg Curl
370G Tricep Press 570G Glute
380G Lat. Pulldown 576G Seated Leg Press
Conforms to BS-EN 957, Part 1 1997, Part 2 Conforms to BS-EN 957, Part 1 1997, Part 2 Conforms to BS-EN 957, Part 1 1997, Part 2
2003 2003 2003
Conforms to BS-EN 957, Part 1 1997, Part 2 Conforms to BS-EN 957, Part 1 1997, Part 2 Conforms to BS-EN 957, Part 1 1997, Part 2
2003 2003 2003
Conforms to BS-EN 957, Part 1 1997, Part 2 Conforms to BS-EN 957, Part 1 1997, Part 2 Conforms to BS-EN 957, Part 1 1997, Part 2
2003 2003 2003
Conforms to BS-EN 957, Part 1 1997, Part 2 Conforms to BS-EN 957, Part 1 1997, Part 2 Conforms to BS-EN 957, Part 1 1997, Part 2
2003 2003 2003
Conforms to BS-EN 957, Part 1 1997, Part 2 Conforms to BS-EN 957, Part 1 1997, Part 2
2003 2003
Conforms to BS-EN 957, Part 1 1997, Part 2 Conforms to BS-EN 957, Part 1 1997, Part 2
2003 2003
Conforms to BS-EN 957, Part 1 1997, Part 2 Conforms to BS-EN 957, Part 1 1997, Part 2
2003 2003
Conforms to BS-EN 957, Part 1 1997, Part 2 Conforms to BS-EN 957, Part 1 1997, Part 2
2003 2003
Conforms to BS-EN 957, Part 1 1997, Part 2 Conforms to BS-EN 957, Part 1 1997, Part 2
2003 2003
Conforms to BS-EN 957, Part 1 1997, Part 2 Conforms to BS-EN 957, Part 1 1997, Part 2
2003 2003
Conforms to BS-EN 957, Part 1 1997, Part 2 Conforms to BS-EN 957, Part 1 1997, Part 2
2003 2003
for class S tested by TUV product services. for class S tested by TUV product services. for class S tested by TUV product services.
for class S tested by TUV product services. for class S tested by TUV product services.

Clean frame with silicon based polish
and a lint free cloth.
Do not use water based
solutions.
Clean upholstery and grips with soapy
water.
Failure to remove sweat a minimum
of once a day will permanently dry
out and crack upholstery.
3.1 Daily maintenance and inspection 05
Visually inspect belt for any cuts or
frays.
Damaged belts are dangerous.

Ensure belt clamp pivots freely.
(Machine specific).
Check that all nuts and bolts are
securely fastened.
3.1 Daily maintenance and inspection 06

Check spring loaded plungers
function correctly.
Clean acrylic panels with anti-static
cleaner.
Check all upholstery for tears and
grazes.
3.2 Monthly maintenance and inspection 07

Check cable tension.
(310G - Chest press only).
Check belt tension by moving belt
back and forth.
Clean and lubricate all hardened
shafts with a silicon oil impregnated
cloth to leave a thin film of lubricant.
3.2 Monthly maintenance and inspection 08

Wipe guide bars with a silicon oil
impregnated cloth.
Lift half of weight stack and secure
with wooden blocks. Wipe guide bars
with silicon oil impregnated cloth.
This is a two person job.
Lift the remaining amount of the
weight stack and repeat lubrication on
lower parts of guide bars.
This is a two person job.
3.3 Six monthly maintenance 09

Operate machine with only the top
weight selected for 10 reps.
Clean away any excess oil.
3.3 Six monthly maintenance 10

Undo the 4 allen key nuts & bolts and
remove right acrylic panel only.
Pull out weight stack pin. Slacken the cap screws on the belt
clamp with a long arm 6mm allen key.
Do not remove cap screws.
4.1 Tensioning belt from weight stack clamp 11
1x6mm
1x4mm 1x10mm

Pull the short end of the belt to
remove slack.
Slide acrylic panel into place behind
the brackets and secure into place
with nuts and bolts ensuring that it is
aligned with rear panel and replace
weight stack pin.
12
Too much tension
on belt will lift top
weight resulting in
weight stack
misalignment.
1x10mm
1x6mm
1x4mm
4.1 Tensioning belt from weight stack clamp
Tighten both cap screws as tight as
possible using a long arm allen key
while still pulling on loose end of belt.
SAFETY NOTE: Torque tighten to
17 N.m (145 lbf.in)

Undo the 4 allen key nuts & bolts and
slide acrylic panel out towards the
centre of the weight stack.
Pull out weight stack pin. Slacken the cap screw on the belt
clamp with a long arm 6mm allen key.
Do not remove cap screws.
4.2 Removing and fitting a new belt 13
1x10mm
1x6mm
1x4mm

Remove belt from machine through
pulleys.
4.2 Removing and fitting a new belt
Undo belt at cam or swivel end and
remove.
Cam
Swivel
14
1x6mm
1x4mm 1x10mm
Cam
Swivel
Tighten both cap screws as tight as
possible using a long arm allen key
while still pulling on loose end of belt.
SAFETY NOTE: Torque tighten to
17 N.m (145 lbf.in)

Direct belt through pulleys ensuring
that the smooth side of the belt runs
on the pulleys. If not possible ensure
that smooth side is on weight stack
pulleys.
Feed belt through slots of clamp at
weight stack end and pull taut to
remove any slack.
Tighten both cap screws as tight as
possible using a long arm allen key
while still pulling on loose end of belt.
SAFETY NOTE: Torque tighten to
17 N.m (145 lbf.in)
4.2 Removing and fitting a new belt 15
1x6mm
1x4mm 1x10mm
Too much tension
on belt will lift top
weight resulting in
weight stack
misalignment.

Slide acrylic panel into place behind
the brackets and secure into place
with nuts and bolts ensuring that it is
aligned with rear panel.
Replace weight stack pin.
4.2 Removing and fitting a new belt 16
1x10mm
1x6mm
1x4mm

Undo grub screw on end cap. Slice grip in half from end to end and
remove.
Remove any old glue or grip from
handle with a sharp knife.
5.1 Replacing worn handgrips 17
1x2.5mm

Generously smear glue on the inside
of new grip.
Slide new grip onto handle ensuring
that it fully reaches the stopper.
Wipe away any excess glue.
Replace end cap and secure with the
grub screw.
Leave to set for at least 4 hours.
NOTE: Trim any excess grip off flush
with the end of the handle.
5.1 Replacing worn handgrips 18
1x2.5mm

Unscrew the threaded boss at the
bottom of the plunger.
Remove plunger assembly.
NOTE: Plunger shown is an example
only. Refer to exploded diagrams for
correct part numbers.
Insert new plunger ensuring that the
pin passes through both holes.
Securely fasten as tight as possible.
6.1 Replacing a plunger 19
1x22mm
Table of contents
Other Pulse fitness Fitness Equipment manuals

Pulse fitness
Pulse fitness 240G Guide

Pulse fitness
Pulse fitness 206D-AAA User manual

Pulse fitness
Pulse fitness Strength User manual

Pulse fitness
Pulse fitness 870C-AAA User manual

Pulse fitness
Pulse fitness 224B-AAB User manual

Pulse fitness
Pulse fitness 3 6.0 CV Series User manual

Pulse fitness
Pulse fitness CLASSIC STRENGTH User manual