Record mode, recording resolution, remaining recording time
V. System Settings
1. Startup & shutdown / system settings
• After inserting the battery, turn the mode switch to the "SETUP" for
setting. In test mode, check the camera, manually take and view
photos and videos, etc.
1.1 Turn the switch from "OFF" to "SETUP" mode to turn on the
camera.
1.2 Press the UP/DOWN buttons to switch between photo and video
modes.
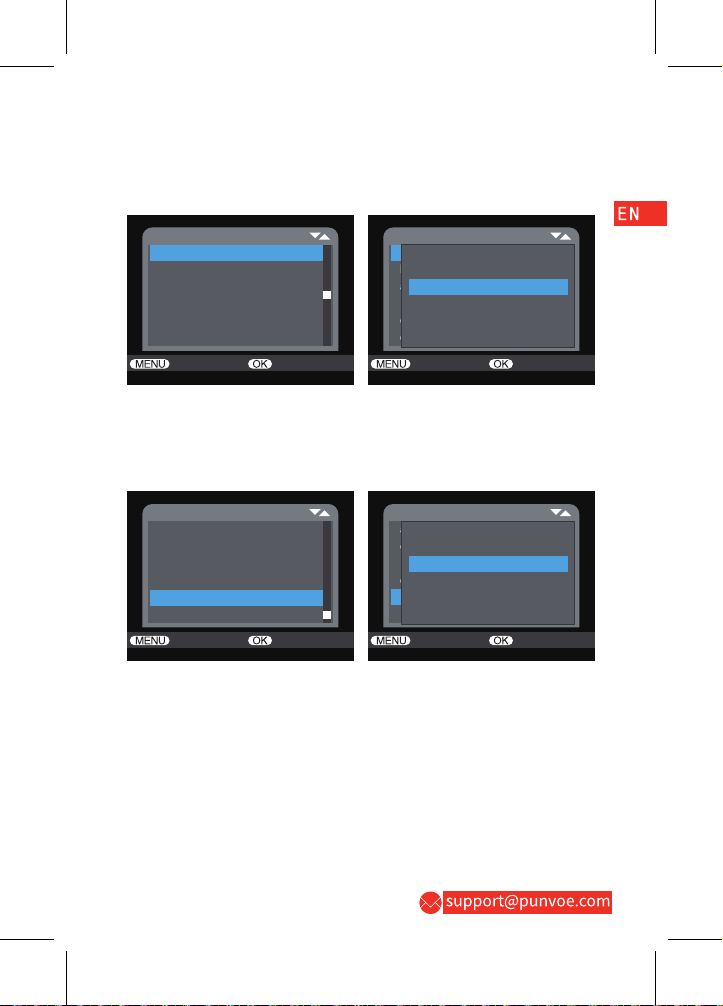
1.3 Press the MENU button to open the Setup Menu. Press the OK
button to save the settings.
1.4 Press the MENU button again to return to the previous level or
exit.
1.5 Turn the switch to "OFF" to turn off the camera power.
2. Setting function
• This camera has three modes: Photo,Video,Photo&Video mode.
2.1 Photo mode
• Take photos (default): only take photos, not record videos.
• Pixel resolutions of photos are: 1M, 3M, 5M, 8M, 12M, 20M, 24M.
Note: the larger the size chosen is, the higher the image clarity will
be, and the fewer the stored photos will be, and vice versa.
2.2 Video mode
• Select recording: only record videos, not take photos.
• Pixel resolutions of video are:
1920*1080.1280*720.720*480.640*480.
Note: the higher the resolution is, the higher the video clarity will
be, and the shorter the stored video time will be, and vice versa.
2.3 Photo&Video mode
• After selecting the Photo&Video mode, when the camera is working,
it takes photos before recording.
Note: During the recording, in order to save power, the screen will
automatically turn off. Users can keep a short press of any button
to turn on the screen and restore the display.
3. Video length
• Set the video length (1-60S or 1-10MIN). The longer the recording
time selected is, the shorter the operation time will be. The system
preset video length is 5S.
Note: the longer video recording time may increase power
consumption and affect endurance.
4. Shot lag
• After setting the motion sensing delay (5-59S or 1-60MIN), the
camera will not record any images or videos within the selected time
interval, which can prevent the memory card from saving too many
files and occupying memory capacity. For example, if the shooting
delay is set to 1MIN, the time interval between the previous and next
shots will be 1MIN, during which even if the animal continues to
move within the detection area, the camera will not record anything.
However, after the end of 1MIN, the camera will restart detecting
motion and record the next shot.
5. Sensitivity motion sensors
• During the setting of the sensitivity of the primary sensor, "high
sensitivity" should be selected indoors due to the small environment
it is subjected to. Outdoors, "Middle sensitivity" should be selected
under normal environments, and "low sensitivity" should be selected
when the external environment has a significant impact on shooting
or in cold environments.
6. Target recording time
• The camera can be set to only work within the set time. The
operating steps are as follows: open the menu, select the Target
recording time, press the OK button, and turn the switch to "ON" to
set the start and end time of the operation. After settings, the camera
will only work within the set time every day, and will be in standby
mode at other times.
Note: This can reduce excessive files and fast battery loss
7. Time lapse
• The camera can be set to take timed photos. For example, to
observe the flowering process of a plant, you apply this function and
set the interval time between each shot to record the entire flowering
process. Press the MENU button to set the time, minutes, and
seconds. For example, after setting the interval time to 1H, and the
camera will take a photo or record a video every hour (confirm
whether to take a photo or record video based on your work mode).
If you want to observe the flowering process of a plant, the camera
will take 24 photos within 24H to record the entire process of
flowering.
Note: When this mode is turned on, the monitoring function of the
trail camera will fail, which will work normally after this mode is
turned off.
8. Time & date
• Press the MENU button to select the time & date, then press the OK
button to set it.
• Set time and date format: Adjust the corresponding time & date
according to local time. Press the LEFT/RIGHT buttons to select the
location to modify, press the UP/DOWN buttons to modify the size of
the value, and press the OK button to confirm.
• Set time format: 12 or 24-hour format. If the 12-hour format is set,
the watermarks of the captured images and videos will display AM
and PM.
• For example: the 24-hour format is March 8, 2023, 15:46:29, and the
12-hour format is March 8, 2023, 3:46:29 PM.
• Set date format: DD/MM/YY, YY/MM/DD, MM/DD/YY.
9. Password protection
• The setting steps of the camera's power-on password are as follows:
open the menu, select Password Protection, and then press the OK
button. Turn the switch to "ON" and set a combination of 4 digits
between 0 and 9 and letters. If you forget the power-on password,
when the camera is turned off, you can press and hold the
MENU+REPLAY buttons while adjusting the MODE button to SETUP
mode. At this time, the camera will be unlocked.
10. Serial NO
• The setting steps of the camera's unique serial No. are as follows:
open the menu, select the serial No., press the OK button, turn the
switch to "ON", and set a combination of 4 digits between 0 and 9
and letters.
11. Replay mode
• Remove the camera from its installation position, turn the switch to
"SETUP", and press the REPLAY button to enter replay mode. Press
the UP/DOWN buttons to view the captured images or videos. To
replay an image, press the UP/DOWN buttons to view the image. To
replay a video file, press the OK button to start playing, and then
press the OK button to stop playing. Press the REPLAY button to
return to standby mode.
11.1 Delete current file
• You can delete the selected images or videos from the camera's
memory card using this function. In replay mode, press the MENU
button, select "Delete Current File", and press the OK button to
confirm.
11.2 Delete all files
• You can delete all images or videos from the camera's memory card
using this function. In replay mode, press the MENU button, select
"Delete all files", and press the OK button to confirm.
11.3 Activate slide show
• You can play the images in the memory card as slides using this
function, with each image displayed for 2S. Press the OK button to
stop the slide play.
11.4 Write protect
• This function can prevent accidental deletion of files.
• Select "Write-protect current file" to prevent the currently set file
from being accidentally deleted.
• Select "Write-protect all files" to prevent all files in the memory card
from being accidentally deleted.
• Select"Unlock current file"to unprotect the current file.
• Select"Unlock all files" to unprotect all files.
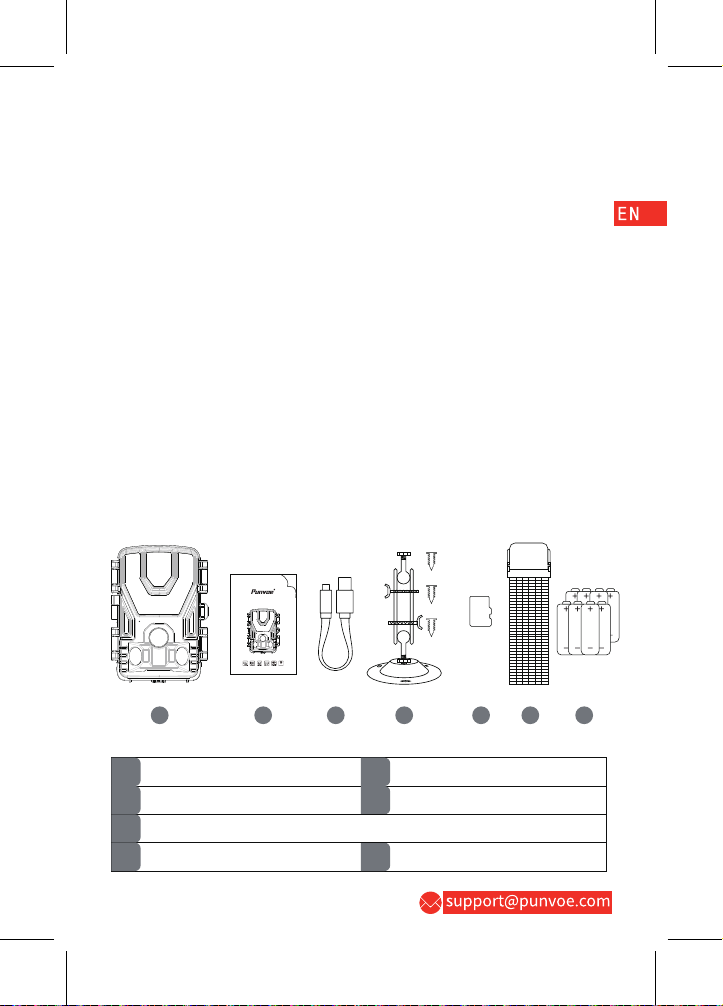
VI. Battery and Card Installation
6.1 Install the batteries
• Open the buckle on the right side of the camera, then unfold the
camera. Insert 8 AA batteries according to the positive and negative
markings on the battery compartment.
• This camera accepts 1.5V AA Alkaline batteries which must be
installed for operating it. Do not use rechargeable batteries, as the
voltage of 1.2V can affect the standby or battery life of the trail
camera during use.
Note: Do not use rechargeable batteries, as a low voltage (1.2V) of
the rechargeable battery can affect the camera's battery life.
Under low voltage, the camera can capture normally during the
day, but it is not possible to turn on the fill illumination for
shooting due to high power consumption. It can take photos, but
the message "LOW POWER NO IR" will appear in the bottom left
corner of the image. When the camera is not in use for a long time,
please remove the battery to prevent liquid leakage from
damaging the camera or battery power loss.
6.2 Install Card
Before starting to operate the camera, please install a high-speed
memory card with Class10 or above (when the camera is not
powered on). Do not install or uninstall the memory card when the
camera is turned on or in SETUP mode.
Note: If the memory card is not installed correctly or is not
functioning properly, an X icon will appear in the upper right
corner of the screen. It is necessary to "format the memory card"
for the camera before first use.
• If the card you are using has been used on other products, please
format it on your computer before installing it into the card slot and
select FAT32.
VII. Installation and Positioning
7.1 To put the camera on the wall.
• Mark the installation position with the help of a metal plate and
punch holes in the wall.
• Place the green components into the holes.
• Fix the fixing kit according to the method shown in the figure.
• Place and fix the camera in the position you have chosen. Referring
to Figures 1, 2 and 3
7.2 To put the camera on a tree.
• Thread the Installation Belt through the holder on the back of the
camera. Tie it into a tree, and adjust the position of the camera.
• To avoid the camera falling off, you can also use the fixing kit and
Installation Belt together to ensure that the camera is firmly fixed in
the correct position.
7.3 Calibrate camera
• To verify whether the camera effectively monitors the selected area,
turn the switch to the SETUP status and secure the camera.
• Try walking repeatedly in front of the camera at different distances
and angles within the desired monitoring area. If the LED indicator
light of the camera flashes when you are moving, it indicates that you
are within the monitoring range. If the LED light of the camera does
not light up, it indicates that you are outside the monitoring range.
• The results will help you find the best installation position for the
camera.
• The height of the camera from the ground should vary depending
on the size of the captured animal. In general, a height of 1-2m is
preferred.
• To ensure that the camera is not subjected to unnecessary
interference during operation, direct sunlight or areas close to
branches should be avoided. During the fixation of the trail camera, it
is important to choose a good angle and position to ensure that you
can obtain the best image during the day. If the camera is pointing
towards the sun, it may cause some glare.
7.4 ON operation mode
• When the camera switch is turned to the "ON" status, after the
countdown, the screen will be turned off and the camera will enter
monitoring mode. Once an animal enters the secondary sensor
detection area, the camera will be activated. If the animal continues
to move towards the primary sensor area, the camera will
automatically take photos. If the animal exits the sensor detection
area, the camera will be turned off and in monitoring mode.
7.5 Night mode
When the camera is working at night, the infrared light will
automatically turn on, which can illuminate objects with a range of
approximately 3-20 m. If the animal is too close to the camera, it may
cause overexposure.
VIII. USB Connection
1. Connect the camera to the computer using a USB cable. Then, the
camera will automatically turn on.
2. The camera will be automatically installed on the computer and
named "Removable Storage Device".
3. Double click on the device to detect the folder "DCIM".
4. Both photos and videos are located in the subfolders of the folder
"DCIM".
5. You can copy or move photos and video files on your computer.
Alternatively, you can insert the storage card into the card reader on
your computer.