For further information
and contact details,
please visit our website
pyroteknc.com
Caveats: Specifications are subject to change without notice. The data in this document is typical of average values based on tests by independent laboratories
or by the manufacturer and are indicative only. Materials must be tested under intended service conditions to determine their suitability for purpose. The
conclusions drawn from acoustic test results are as interpreted by qualified independent testing authorities. Nothing here releases the purchaser/user from
responsibility to determine the suitability of the product for their project needs. Always seek the opinion of your acoustic, mechanical and fire engineer on data
presented by the manufacturer. Due to the wide variety of individual projects, Pyrotek is not responsible for differing outcomes from using their products. Pyrotek
disclaims any liability for damages or consequential loss as a result of reliance solely on the information presented. No warranty is made that the use of this
information or of the products, processes or equipment to which this Information Page refers will not infringe any third party’s patents or rights.
DISCLAIMER: This document is covered by Pyrotek standard Disclaimer, Warranty and © Copyright clauses. See pyroteknc.com/disclaimer.
INSTALLATION GUIDE 000IG
INSTALLATION GUIDE 125IG
Page 2 of 2
NOV20EN125IG
35 36
Please contact Pyrotek® for further information or detailed advice on your specic application.
WORKING HEALTH AND SAFETY
• Suitable personal protection equipment (PPE) should be used during all methods of installation and maintenance. Refer to the materials safety
datasheet to determine the appropriate PPE to be used.
• Suitable care must be taken to avoid damage to adjacent materials and nished surfaces.
DAMPER INSTALLATION
• When specied, apply contact paste mixed in quantity
supplied, to curved surface of Decidamp RTD. Use a 2 mm
V- notch trowel to spread evenly, resulting in a nominal 0.5 mm
applied thickness.
• Contact paste should be applied at temperatures above
0 °C, as below this it may not harden. Application at 20
°C to 30 °C will provide a 10 minute pot life. Applications
at elevated temperatures (above 30°C), working time
is shortened, and installation is not recommended or
warranted.
• Place damper in location where installation required, a damper
should be installed on each side of the rail, on both rails.
• At mid-point between sleepers. For example, at 700 mm
centered spacing.
• Perform visual inspection to ensure blocks are correctly
tted to the curvature of the rail prole.
• Rail shall remain xed by fasteners during installation.
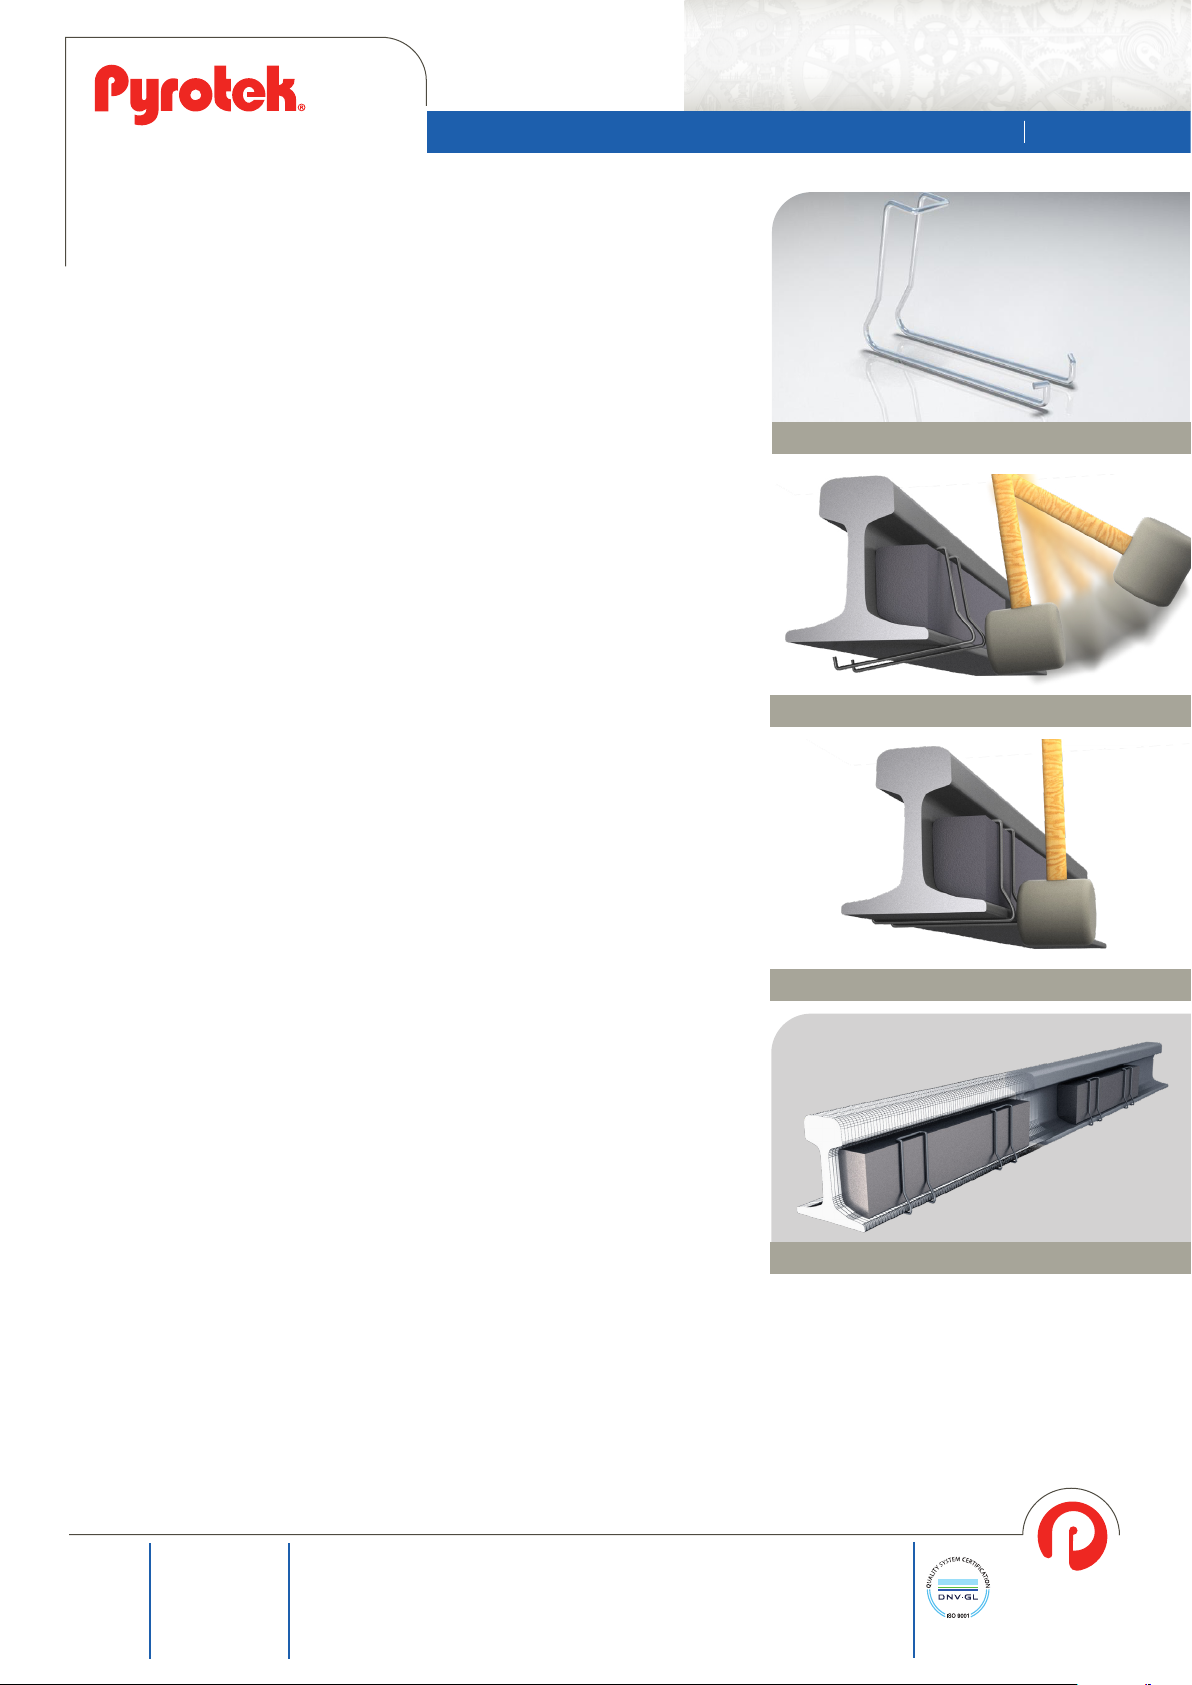
• Place clips in conguration shown
• Clip should be at least 20 mm from edge of the Decidamp
RTD damper.
• Use installation tool or dead blow hammer to impact lower end
of clip, so that clips fasteners hook to the foot on the other side
of the rail track. See picture 2
• Visually inspect that clip is correctly installed and that damper
is rmly in place. Proceed with next damper.
REMOVAL OF DAMPER
• Removing the damper without the use of contact paste can be
easily done by using a lever such as a pinch bar.
• Clips must be replaced once removed. Dampers can be reused
if removed in good condition.
• If contact paste and clips were used during installation, clips
can be removed as above, and damper should be removed
using a mallet and chisel. Dampers and clips cannot be reused
if installed with contact paste.
1. Decidamp RTD Clip
2a. Installing Decidamp RTD Clips
3. Render of complete Decidamp RTD system
2b. Installing Decidamp RTD Clips


