Thermy K TK300 & TK300/12 - Installation & use manual 09/05/2013
INTRODUZIONE
Thermy K è un’ indicatore di temperatura universale dei gas di scarico completamente gestito a microprocessore con la funzione di
memorizzazione della massima temperatura raggiunta.
N.B: Tutti i prodotti PZRacing sono resistenti all'acqua ma non impermea ili, non lavare il prodotto con lancia ad acqua in pressione, il
prodotto potre e danneggiarsi irrepara ilmente.
INSTALLAZIONE
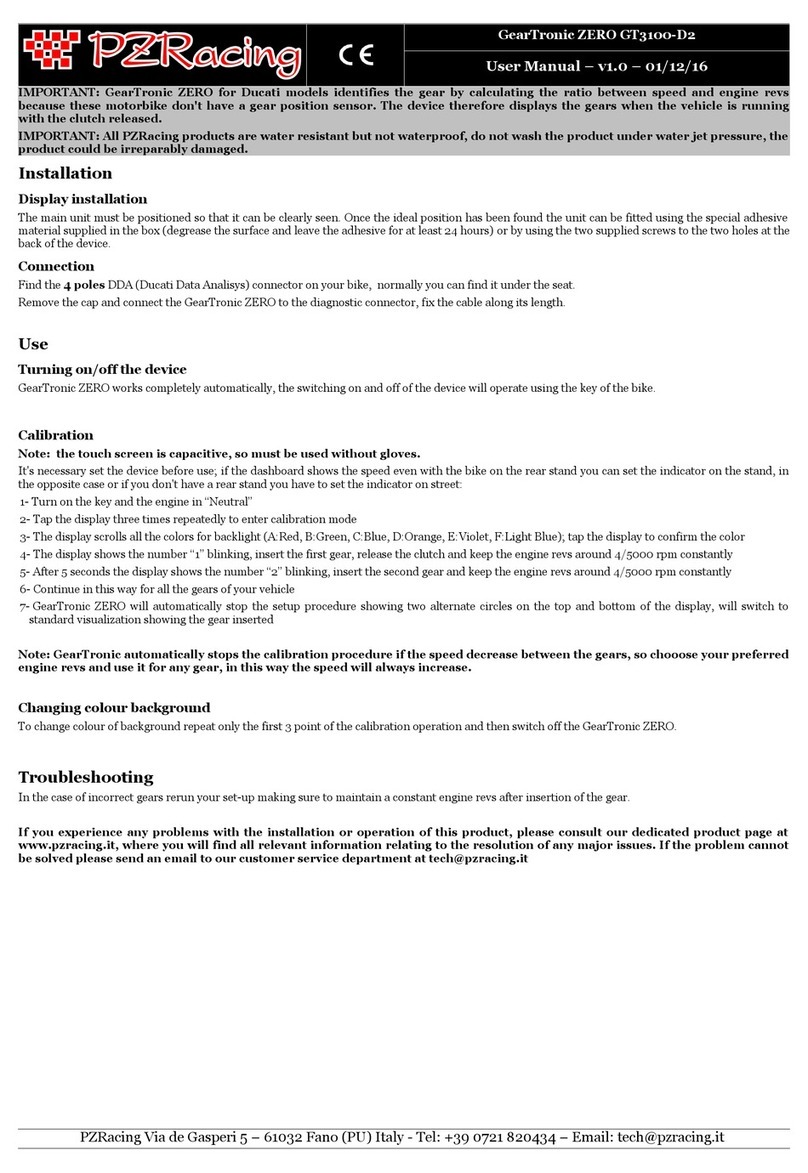
Il modulo principale dovrà essere posizionato in modo da godere di un’ottima visuale.
Una volta trovato il posto ideale per l’istallazione del modulo si potrà fissare tramite l’apposito materiale adesivo che troverete nella confezione.
Installazione termocoppia gas scarico: la termocoppia dovrà essere posizionata sul collettore del cilindro (distanza 0- 5cm dal cilindro), nel caso
di motori provvisti di più scarichi installare la termocoppia ad uno di essi.
Per l’installazione effettuare un foro da 6 mm nel punto desiderato del collettore, saldare il dado M5 in dotazione, controllare che la saldatura sia
stata eseguita in modo corretto assicurandosi che non vi siano sfiati lungo di essa, avvitare la termocoppia fino a stringere.
Controllare che la testa della termocoppia non superi il centro del collettore se cosi fosse inserire una rondella o un controdado sul filetto della
termocoppia in modo tale da non permetterle di arrivare fino alla fine della sua corsa (Fig ).
Collegare lo spinotto della termocoppia utilizzata al connetttore dello strumento, fino a quando lo spinotto della termocoppia non verrà collegato il
display visualizzerà dei trattini orizzantali.
- (Solo per modelli 2V) Collegare i due fili dell’alimentazione, il filo nero dovrà essere collegato a “massa”, ovvero al telaio oppure direttamente
sul morsetto negativo della batteria, mentre il filo rosso dovrà essere collegato direttamente al positivo sottochiave 2V.
- Sostituzione della batteria (solo per modello autoalimentatato): svitare le due viti nella parte inferiore dello Thermy K, estrarre il coperchio e
sfilare la batteria scarica dalla sede, inserire la nuova batteria facendo attenzione a rispettare la corretta polarità, richiudere il coperchio e avvitare le
viti. Thermy K utilizza una batteria CR2032.
FUNZIONAMENTO
Accensione/spegnimento per il modello autoalimentato:
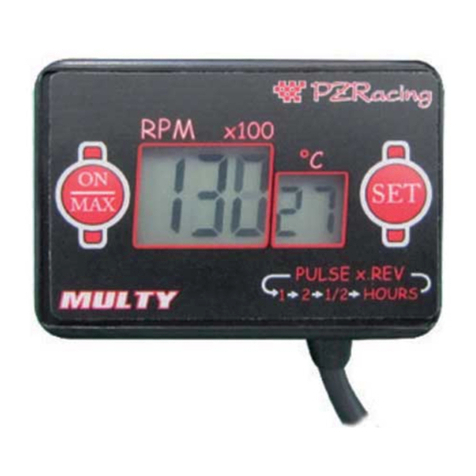
Per accendere il dispositivo basterà premere il pulsante “ON” per circa 2 secondi, al rilascio del pulsante il dispositivo inizierà a visualizzare la
temperatura rilevata. Tenere premuto il pulsante “ON” per lo spegnimento del dispositivo.
Lo spegnimento del Thermy K avverrà anche in modo automatico dal rilevamento di una temperatura inferiore ai 45°C per 5 minuti consecutivi.
Accensione/spegnimento per il modello 2volt:
Alimentando il dispositivo il display visualizzerà la temperatura, togliendo l'alimentazione il dispositivo si spegnerà.
Visualizzazione della temperatura massima raggiunta: tenere premuto il pulsante destro “MAX”, sul display comparirà la scritta “MAX”
lampeggiante e visualizzerà la temperatura massima raggiunta per circa 4 secondi.
Azzeramento “temperatura massima raggiunta”: durante la visualizzazione della temperatura massima raggiunta (sigla “MAX” lampeggiante)
tenere premuto il pulsante “MAX” per qualche secondo, il display comincerà a visualizzare dei segmenti che comporranno un cerchio, tenere il
pulsante premuto fino alla realizzazione del cerchio.
Unità di misura: Thermy K può visualizzare la temperatura in gradi Centigradi (°C) oppure in gradi Fahrenheit (°F), per cambiare unità di misura
premere entrambi i pulsanti durante la normale visualizzazione della temperatura, il dispositivo visualizzerà l'unità di misura selezionata (°C o °F)
per poi visualizzare nuovamente la temperatura nell'unità di misura scelta.
PZRacing – Via A. De Gasperi, 5 61032 Fano (PU) Italy – Tel: +39 0721 820434 Fax: +39 0721 837322
[email protected] – www.pzracing.it
1