Qdis FIAT-LI User manual

Installation Manual
Multimedia Interface for Fiat / Jeep
U-Connect 7inch / 8.4inch 2015~
FIAT-LI
NON COLLEGARE IL CANBUS
NO LINEE GUIDA STERZANTI

Compatibility: Fiat/Jeep 2015~2020
U-CONNECT 7inch / 8.4inch
Fiat 500 (L & L Pro) / 500X / 500 Cross /
Tipo / Jeep RENEGADE
Cap. T/S monitor
* Currently, Not Support OEM Cap. T/S Function
Interface Input / Output specification :
Input: LVDS IN x1
CVBS(Front Camera) x1
CVBS(Rear Camera) x1
Output: RCAM/FCAM 12V
Power Spec:
Input Power: 8VDC ~ 18VDC
Consumption: 5WATT
2
Specification

Components
MAIN BOARD
QCPASS1672
LVDS CABLE
HLVDSC0069
REMOTE CTRL.
REMOTE0001
IR CABLE
HIRCAB0002
SUB BOARD
QCPASS1680
3
POWER/CAN CABLE
HPOWER0282
Ext. BOARD
QCPASS1692
FFC Cable 40P
FFCBAL0073
FFC Cable 30P
FFCBAL0064

1. PWR/CAN: Connect provided power/CAN cable
2. MODE: Connect toggle button cable
3. IR: Connect IR cable
4. R-CAM: Rear camera input
5. F-CAM: Front camera input
6. T/S OUT: Connect UART 3P cable, Pin #2 (middle)
used for touch data transmission [UART-TX]
7. LVDS-IN: LVDS input (QROIX / QDISPLAY)
8. SUB: Connect one end of the supplied LVDS cable
and the other end to the supplied Ext. sub board
9. DIP S/W: DIP SWITCH setting
4
Cable Connection
LVDS
OUT
QDISPLAY
FIAT-LI
* Currently, Not Support OEM Cap. T/S Function

PIN FUNCTION Dip S/W SELECT
1LVDS
OFF : LVDS IN Mode
ON : LVDS IN Mode Skip
2 F-CAM
OFF : After Market Front Camera
ON : OEM Front Camera
3 R-CAM
OFF : OEM Rear Camera
ON : After Market Rear Camera
4 Monitor Type
OFF : 7inch
ON : 8.4inch
DIP Switch Setting
5
* ON : DOWN / OFF : UP
Please make sure to disconnect the power cable
of the interface and reconnect the power cable
again to apply the dip switch changes.
ON

6
FUNCTION
POWER & PIP N/C
MENU Activating OSD menu
OK Selection or Mode change
▲Moving upward
▼Moving downward
◀
Moving leftward
(Press this button 2 seconds long to access the factory
mode)
▶
Moving rightward
(Press this button 2 seconds long to reset all the data
about user environment)
Remote Control
* Connect the IR wire with the interface box input “KEY/IR”
(always install IR wire so you can always service/reset the interface)

7
Factory Settings
IMAGE
Setting for image display
PARK
PAS TYPE: Select parking line type.
PAS SETUP: Move the position of parking line.
REAR TYPE: Choose rear camera recognition.
CAN: Detecting the rear view camera by CAN signal. (Installer must
connect “CAN” cable of the power cable to the “CAN” cable of
the car)
LAMP: Detecting the rear view camera via “Grey Rear” wire.
(Installer must connect “Rear-C” cable of the power cable to the
rear lamp of the car)
RCAM TIME: After leaving Rear gear, it shows Rear camera screen as the
time set up (1, 2, 3 or 5Sec / OFF)
IMAGE
PARK
FUNC
UTIL
INFO
BRIGHTNESS
CONTRAST
SHARPNESS
IMAGE
PARK
FUNC
UTIL
INFO
PAS TYPE : PAS ON
PAS SETUP
REAR TYPE : LAMP
RCAM TIME : OFF

8
Factory Settings
FUNCTION
CAR MODEL: Car Model Settings
LVDS MODEL: CARPLAY/Navigation Model Settings
SUNE10: QROIX 800x480 setting
SE-NAV2
SECP: QDISPLAY 8000x480 update file
SECP-D: QDISPLAY 8000x480 update file & support QDISPLAY Jog Control
SECP-HD: QDISPLAY 960x540 update file
SECP-H&D: QDISPLAY 960x540 update file & support QDISPLAY Jog Control
QROIX: QROIX 800x480 setting
QROIX-HD: QROIX 1280x720 setting
AUTO FCAM: Front Camera Display Setting (OFF, 3s, 5s, 10s, 15s)
UTIL
FACTORY RESET: Factory mode reset (YES/NO)
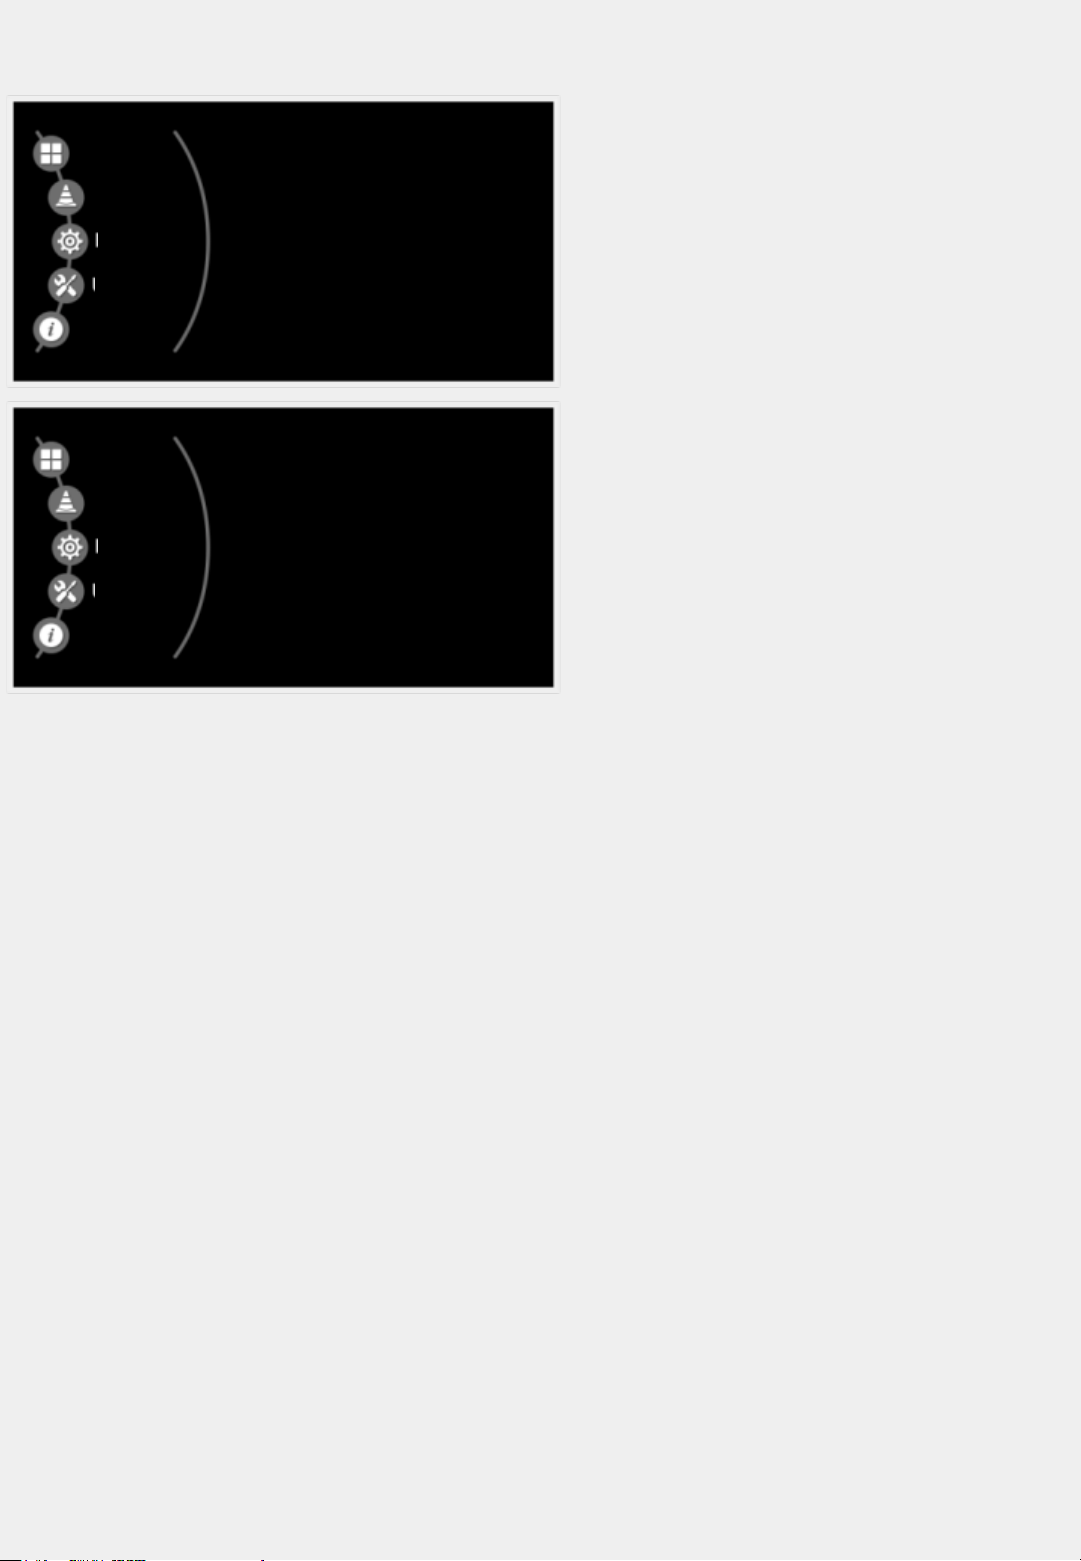
IMAGE
PARK
FUNC
UTIL
INFO
CAR MODEL : RENAULT
LVDS MODE : SECP-HD
AUTO FCAM : OFF
IMAGE
PARK
FUNC
UTIL
INFO
RESET ALL : NO

LVDS Cable / Sub Board Connection
9
Provided
LVDS Cable
* Please refer to the next page for the sub board and FFC cable
installation inside the monitor.
Supplied Ext.
Board
Supplied FFC 30P
Supplied Sub
Board
Inside
Monitor
FIAT-LI

Sub Board/FFC Cable Installation
10
Please disassemble the
monitor and head unit, and
find OEM FFC cable in the
yellow circle.
Connect OEM FFC cable to
supplied sub board like
picture.
Disconnect OEM FFC cable
and insert provided 40P FFC
cable like picture.
1
2
3
Smontare il monitor fino
alla scheda madre sulla quale è
presente il flat cable video originale
come indicato in figura.
Disconnettere il flat cable video
originale e collegare al suo posto il
flat cable video 40pin fornito a
corredo come indicato in figura.
Connettere il flat cable video
originale alla prima scheda
SUB BOARD nell'inserto
TO LCD PANEL.

Sub Board/FFC Cable Installation
11
Connect the other side of 40P
FFC cable to supplied sub
board like picture.
Reassemble the monitor like picture.
Connect provided 30P FFC
cable to supplied sub board
like picture.
4
5
6
Collegare il flat cable a corredo
nell'inserto FROM COMMAND.
Connettere il flat cable video 30pin
fornito a corredo nell'inserto
dedicato rimasto libero 5CH LVDS
MUX
Rimontare il monitor e far uscire l'estremità del flat cable 30pin.

Sub Board/FFC Cable Installation
12
Connect the other side of 30P
FFC cable to supplied Ext.
board and connect supplied
LVDS cable like picture.
The other side of LVDS cable
connect to interface “SUB”
port.
7
8
Collegare l'estremità del flat calbe
30pin nell'inserto dedicato sulla
seconda SUB BOARD.
Collegare poi il cablaggio LVDS nel
suo inserto dedicato.
L'estremità del cablaggio LVDS
andrà collegata nell'ingresso SUB
dell'interfaccia principale.
E' possibile inserire quest'ultima
scheda all'interno del monitor,
quando possibile.

13
Control QDISPLAY by Remote Control
1. Power button short press: menu confirm
2. Left arrow short press: moving left
3. Right arrow short press: moving right
* Please go to the Factory setting menu and select -> FUNC -> LVDS
MODEL: SECP/SECP-HD to use this function.

Power / CAN Cable Drawing
14

RM #404 4TH FLOOR, B-DONG,
WOORIMLIONSVALLY, 371-28, GASAN-DONG,
GEUMCHEON-GU, SEOUL, KOREA.
TEL : 82-2-868-3627~9 | FAX : 82-2-2026-5987
15
Table of contents
Popular Recording Equipment manuals by other brands

Northern Airborne Technology
Northern Airborne Technology AA224 series Installation and operation manual

Freshnelly
Freshnelly ReFleX Live Loop manual

TLS
TLS VoiceMaker Blue instruction manual

ASTEL
ASTEL MXU01 operating instructions

Harman
Harman DBX 162SL user manual

Korg
Korg Trinity series Parameter guide