QEES MyKey User manual

Quick Guide
QEES MyKey
Download complete manual on
www.qees.eu/en/support/mykey
QEES product referenceres covered by this Quick Guide:
321-IQW-A1
321-IQB-A1
321-IQW-A2
321-IQB-A2
EN
MyKey_EN__HOL.indd 1
05-07-2012 09:00:19

Wireless Z-Wave®
Congratulations on your new wireless QEES MyKey.
With this small compact remote in your hand, you can
manage all QEES products and other Z-Wave devices.
All QEES products are certied according to the Z-Wave®
standard. This ensures wireless interoperability with other
Z-Wave certied products from other manufactures.
There are a myriad of conguration options for QEES
products. Read more on how your QEES product can help
you go green at www.qees.eu.
QEES Green Living Solution™
The MyKey provides an elegant, efcient and energy-saving
way of controlling your existing lighting or utility items.
The MyKey can control all electrical products connected to
a QEES Switch or QEES Dimmer and thus help you increase
the focus on your power consumption* in the desired places
in the house.
The MyKey can also be connected to your PC via an inter-
face which gives you a complete overview of your wireless
products, as well as your current power consumption*.
*Power metering is only available in QEES Plus products
QEES MyKey
MyKey_EN__HOL.indd 2
05-07-2012 09:00:21
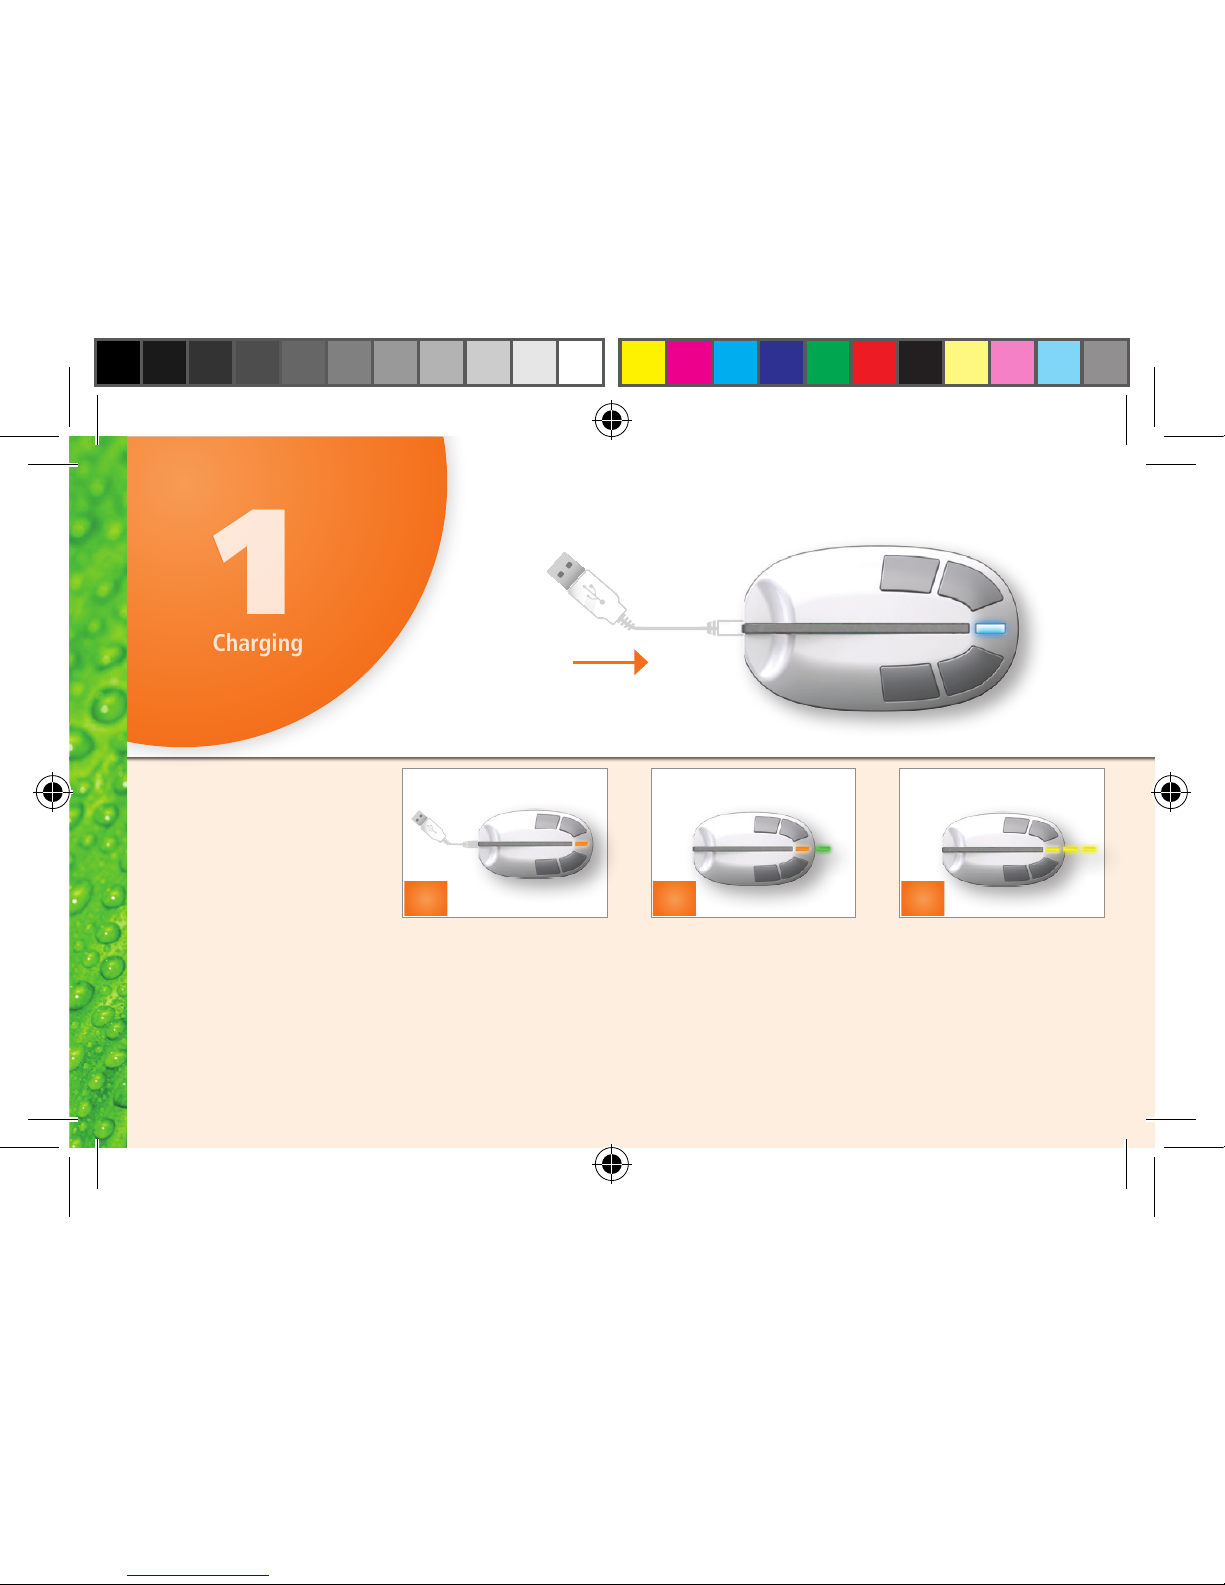
This guide describes the
installation of the MyKey.
The MyKey is rechargeable
and must be charged for at
least three hours before use.
The battery can be charged
by connecting the device to
a PC or a USB charger (not
included).
The MyKey will light orange
while charging and solid
green light once the battery is
fully charged.
When the internal battery
is running low on power,
MyKey will ash yellow three
times every time you operate
the device. It is now time to
recharge your MyKey.
1 2 3
1
Charging
MyKey_EN__HOL.indd 3
05-07-2012 09:00:23
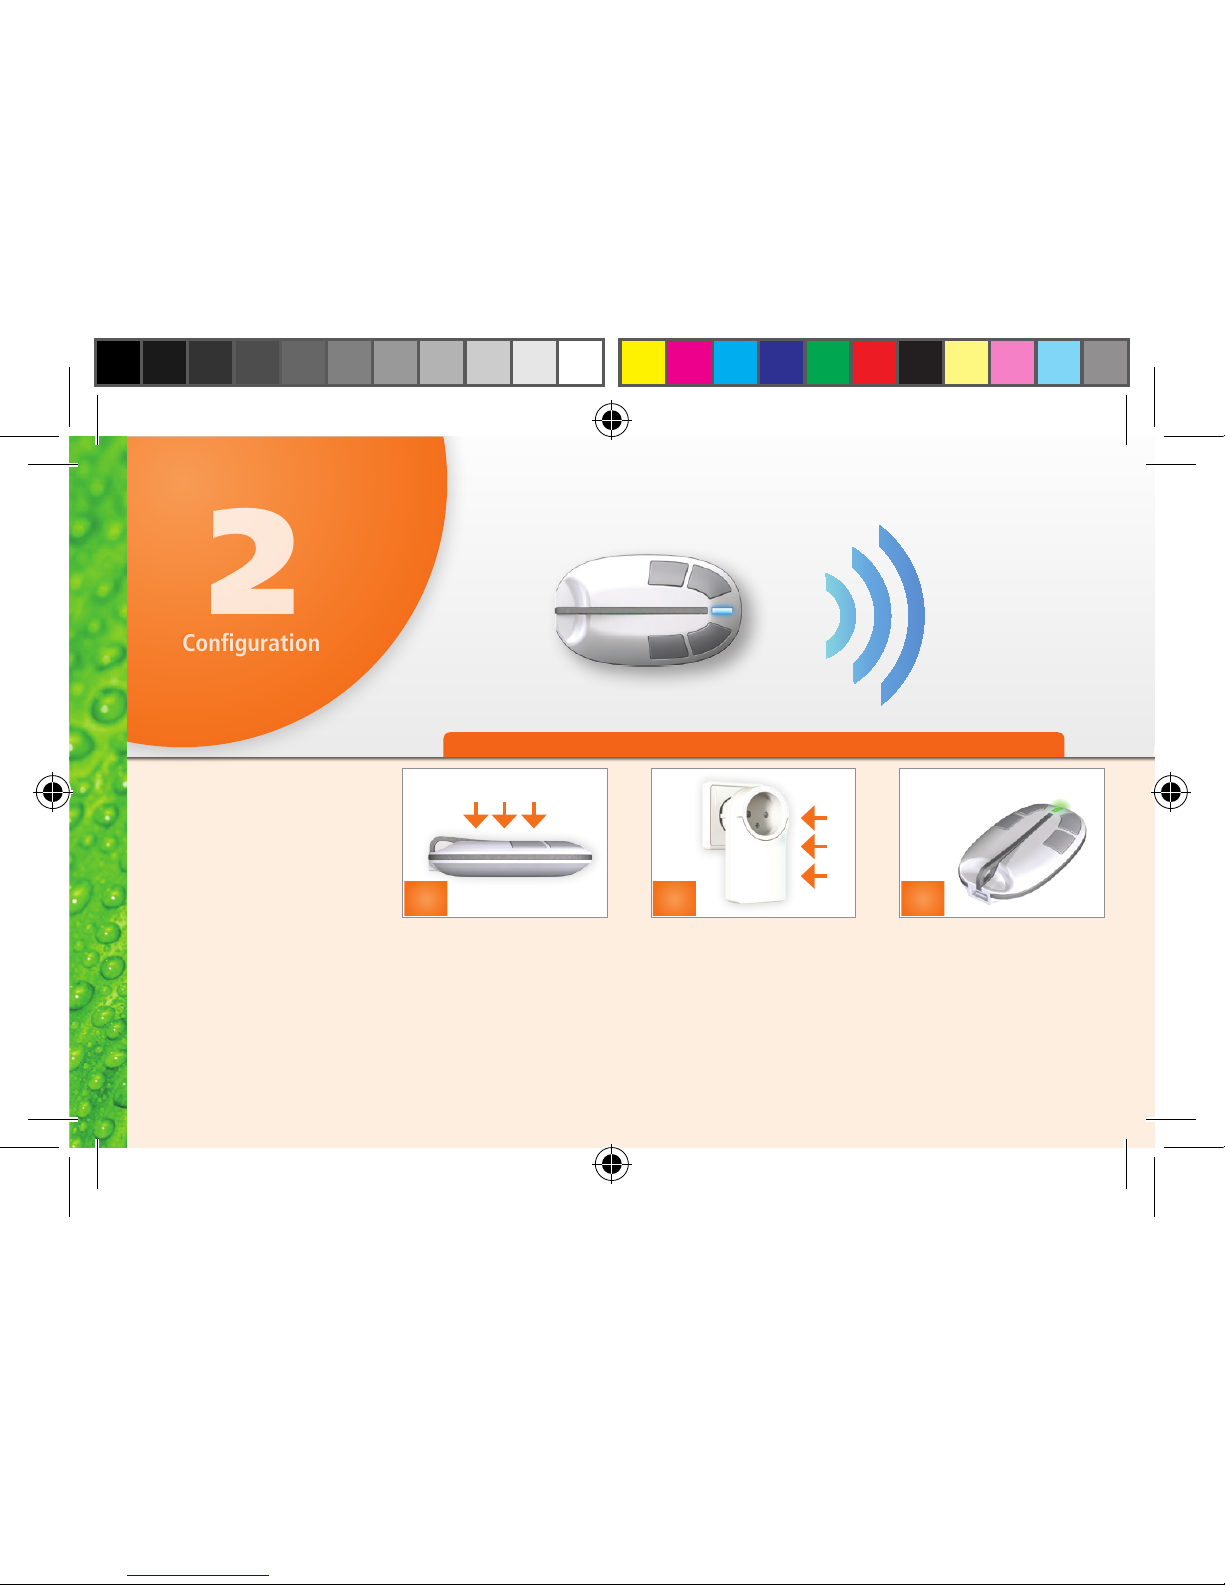
The following describes
how to add a device to
your wireless network
using your MyKey.
Press three times quickly on
the button that you want to
use for controlling your
device - the LED ashes
blue.
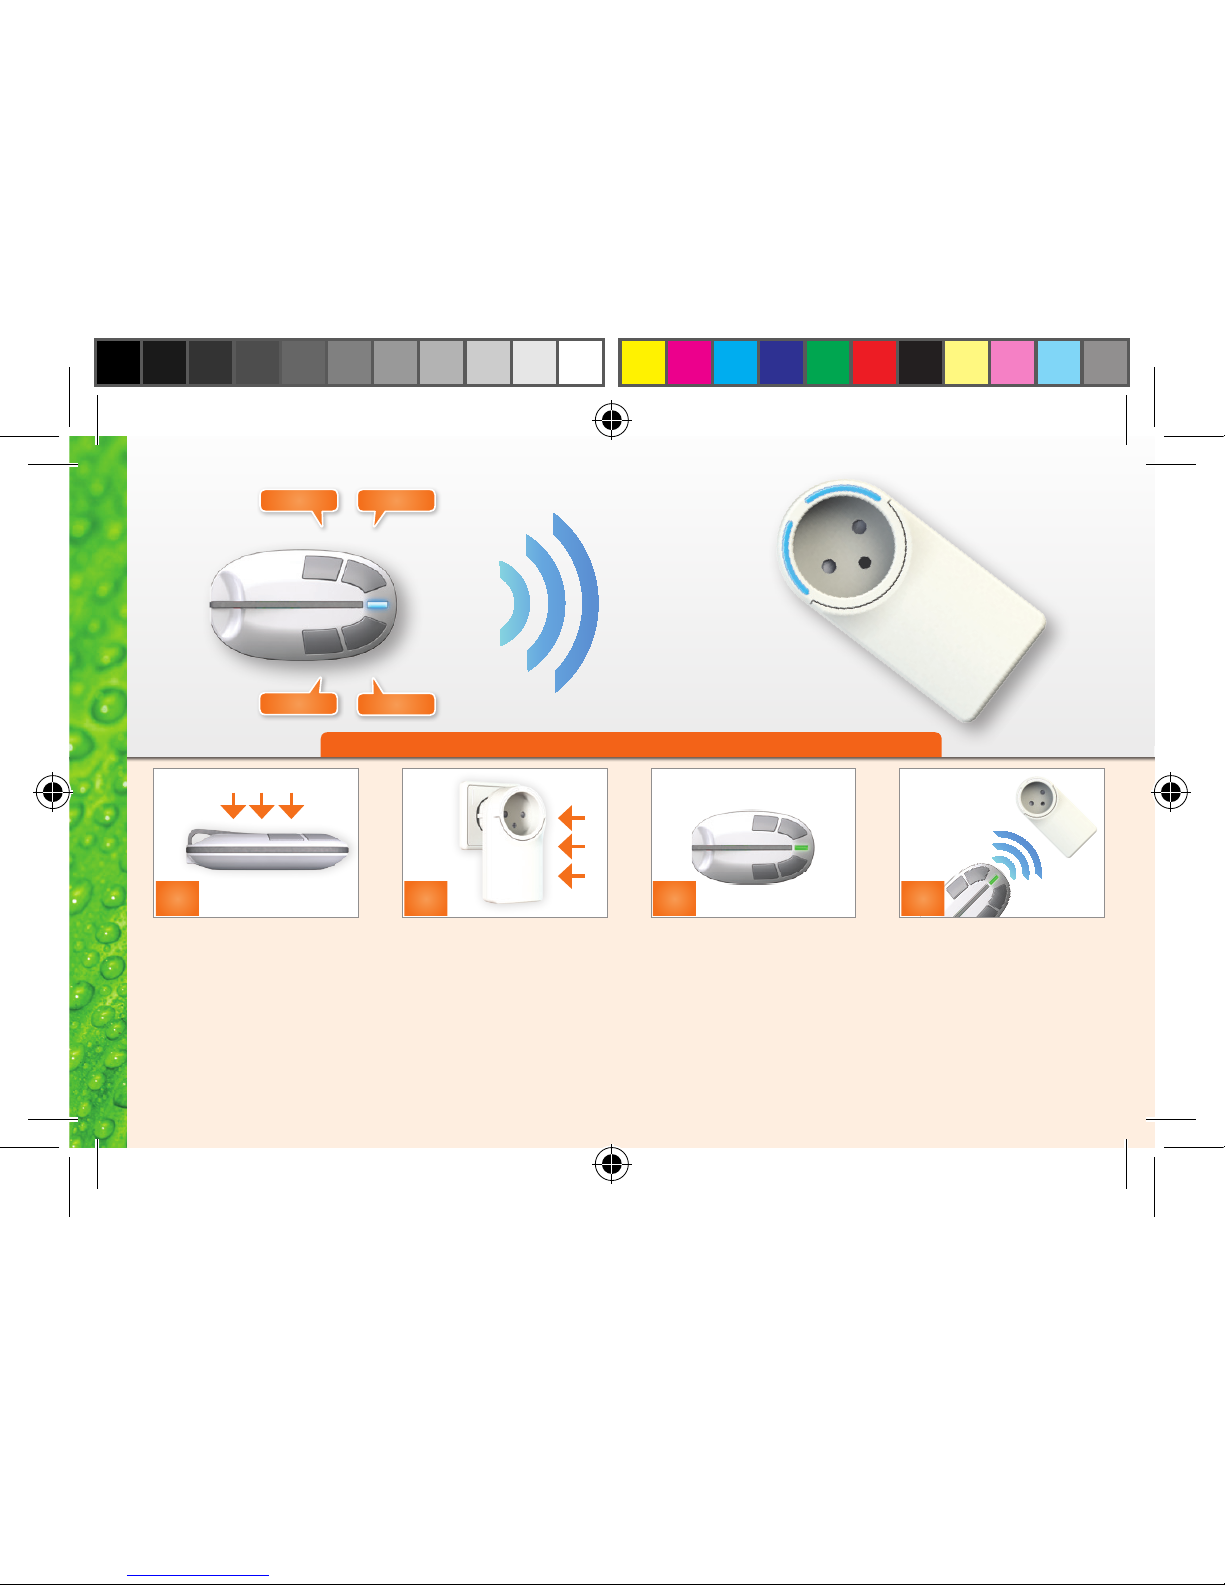
Then press three times
quickly on the QEES device
you want to control – the
QEES device now ashes blue
and initiates the linking.
After successful linking
between the MyKey and the
device, both LEDs will light
green for two seconds.
Adding new products
2
Conguration
1 2 3
MyKey_EN__HOL.indd 4
05-07-2012 09:00:30

Adding new products
You can control several
products from the same
button on the MyKey. In order
to do so, repeat conguration
steps 1-3.
The device can now be
controlled from your MyKey.
A single press will turn your
product on or off. Keep the
button pressed down to
adjust the light intensity (only
for QEES dimmers).
By repeating conguration
steps 1-3, you can add
multiple devices to the other
buttons on your MyKey.
456
MyKey_EN__HOL.indd 5
05-07-2012 09:00:33
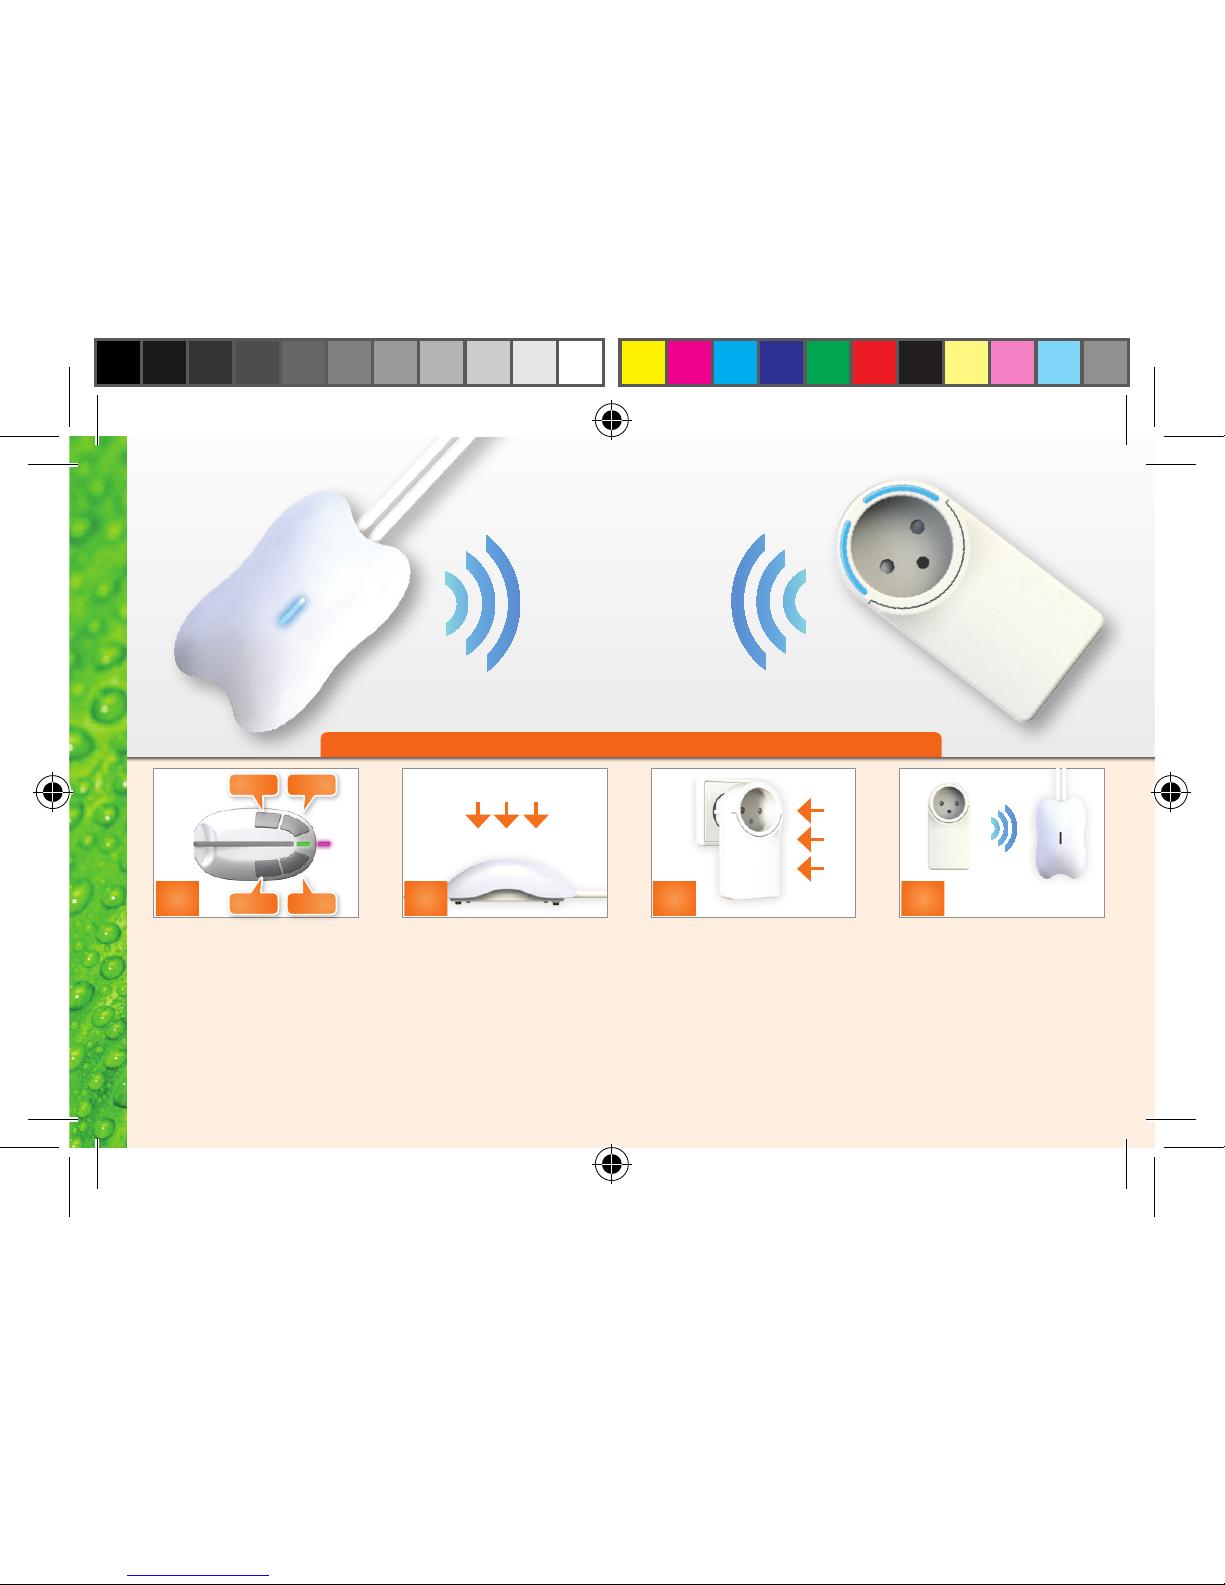
Press three times quickly on
the MyKey button you want
to use to control the device -
the LED lights blue.
Then press three times
quickly on the QEES device
which is already added to the
network – the device ashes
purple and begins linking.
For non QEES devices, please
consult manual on how to
send a NIF
After successful linking
between MyKey and the
device, MyKey’s LED will light
green for two seconds
The device can now be
controlled wirelessly from
your MyKey.
Linking existing products to your MyKey
1 2 3 4
Button 4
Button 1
Button 3
Button 2
MyKey_EN__HOL.indd 6
05-07-2012 09:00:53

Hold down any two buttons
on the MyKey which is the
primary controller, LED will
light white. Choose the green
menu and the cyan option
by using button three or four.
Conrm with button two.
For other products read the
manual for inclusion mode.
On the MyKey to be added
hold down any two buttons
until the LED lights white
then choose the blue menu
and the yellow option using
button three or four. Conrm
with button two and it will
begin linking.
After successful linking, both
devices’ LEDs will light green
for two seconds. (For QEES
devices only)
Your MyKey has been added
to the network and can now
be used to wirelessly control
other devices in your Z-Wave
network.
Adding MyKey to existing networks
1 2 3 4
4
1
3
2
MyKey_EN__HOL.indd 7
05-07-2012 09:01:09

Hold down any two buttons
on the MyKey, which is the
primary controller until the
LED lights white; select
the green menu and the
yellow option. Conrm with
button two.
On the QEES device to be
removed press four times
quickly on the button, LED
lights white, choose the blue
menu and the yellow option
with single clicks and select
by holding button down. For
non QEES products consult
the manual.
The QEES device and the
MyKey will now both light
green for two seconds.
The device is now removed
from the network and can
be added to another Z-Wave
network.
Removing a device from the network
1 2 3 4
4
1
3
2
MyKey_EN__HOL.indd 8
05-07-2012 09:01:33
Hold down any two buttons
on the MyKey
which is the
primary controller,
until the LED
lights white; select the green
menu and the purple option
using button three or four.
Conrm with button two.
Then press three times
quickly on the QEES device to
be linked as a slave unit – the
MyKey LED will light green.
Then press three times
quickly on the QEES device
to be linked as the control
device - the MyKey LED
ashes green.
Your one-way link has been
created. Now press the
congured QEES control
device and make sure that
your other QEES device is
turned on.
Creating one-way link between products
1 2 3 4
4
1
3
2
MyKey_EN__HOL.indd 9
05-07-2012 09:01:52
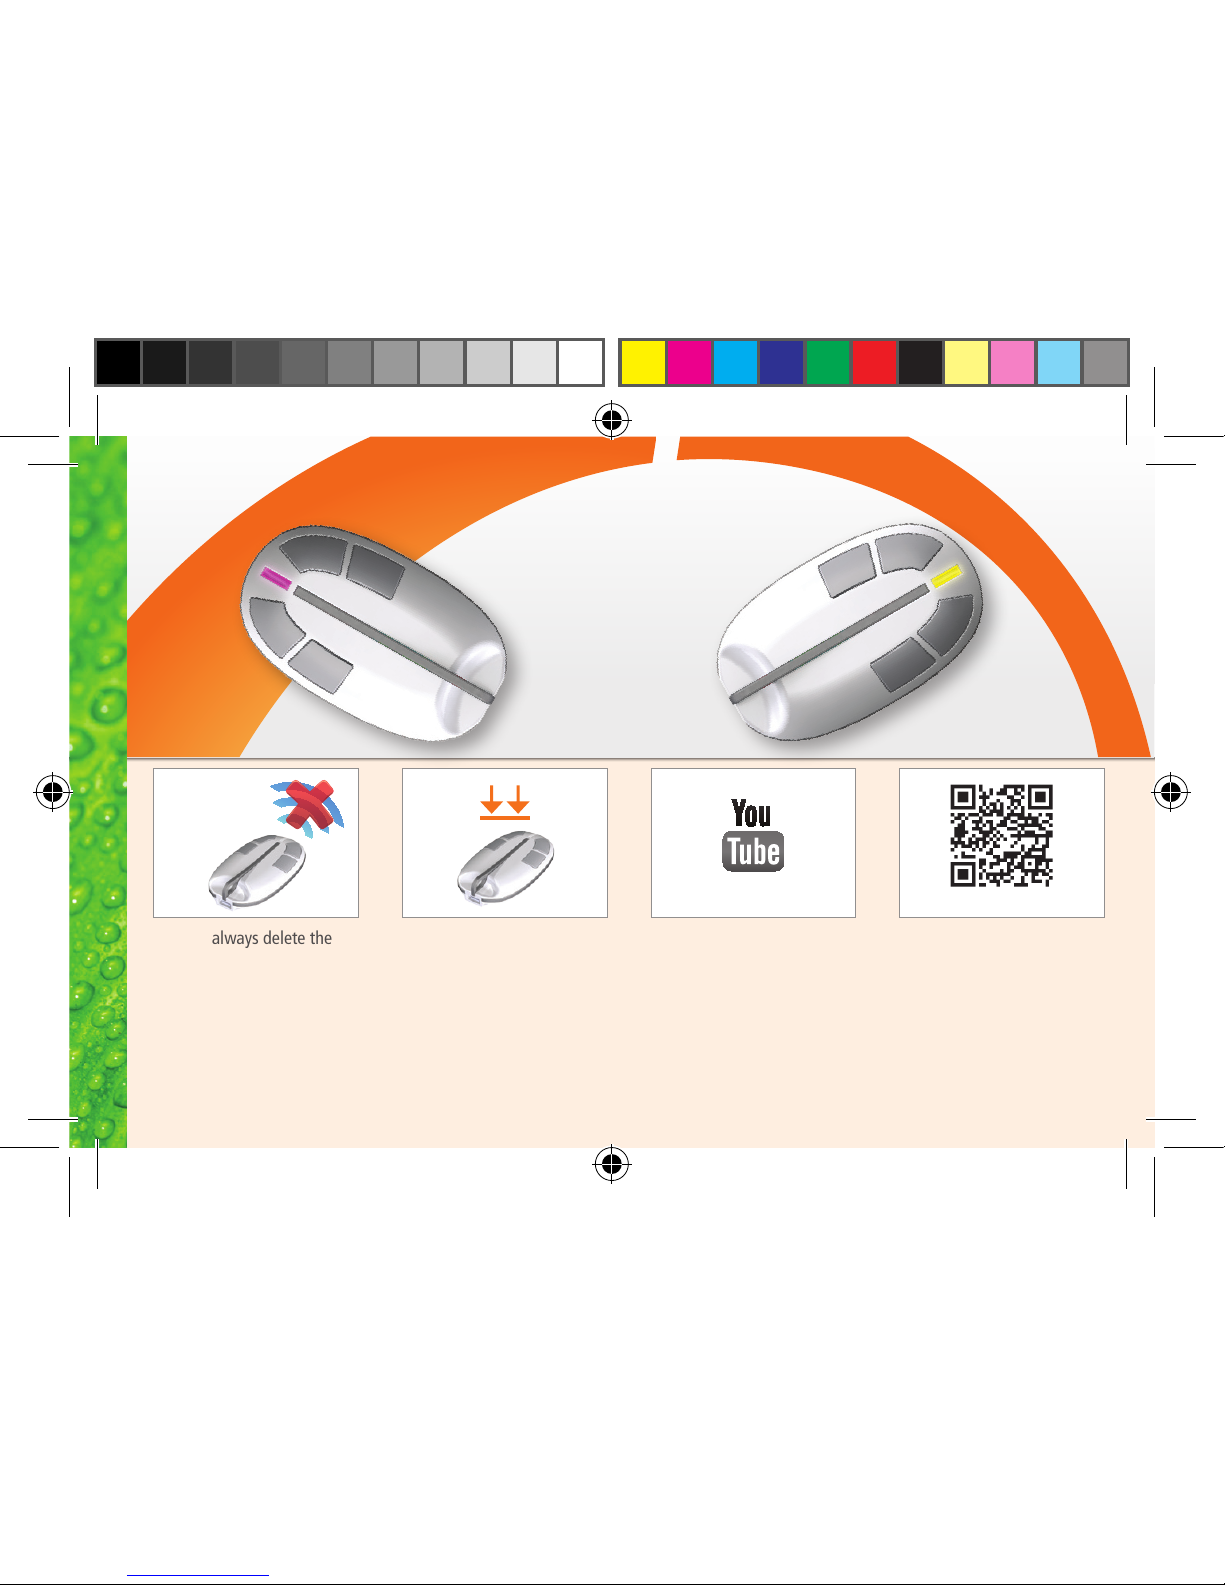
You can always delete the
link between MyKey and a
device from a specic button
on your MyKey by repeating
steps 1-3 under ”Linking
existing products.”
You can restore the default
settings by holding down any
two buttons until the LED
lights white, then selecting
the blue menu and the
purple option using button
three or four. Conrm with
button two.
You can learn more about
advanced features and other
ways to use the product.
Watch instructional videos at
www.qees.eu/en/video
Scan the QR code to
learn much more about
the possibilities that your
new QEES product has to
offer. Download the product
manual at www.qees.eu/en/
support/mykey.
MyKey_EN__HOL.indd 10
05-07-2012 09:01:53
Other manuals for MyKey
1
This manual suits for next models
4
Table of contents
Other QEES Remote Control manuals


