8
DOCUMENT INFORMATION
Disclaimer
Decawave reserves the right to change product specifications without notice. As far as possible changes to
functionality and specifications will be issued in product specific errata sheets or in new versions of this
document. Customers are advised to check with Decawave for the most recent updates on this product.
Copyright © 2017 Decawave Ltd
LIFE SUPPORT POLICY
Decawave products are not authorized for use in safety-critical applications (such as life support) where a
failure of the Decawave product would reasonably be expected to cause severe personal injury or death.
Decawave customers using or selling Decawave products in such a manner do so entirely at their own risk
and agree to fully indemnify Decawave and its representatives against any damages arising out of the use
of Decawave products in such safety-critical applications.
Caution! ESD sensitive device. Precaution should be used when handling the device in order
to prevent permanent damage.
REGULATORY APPROVALS
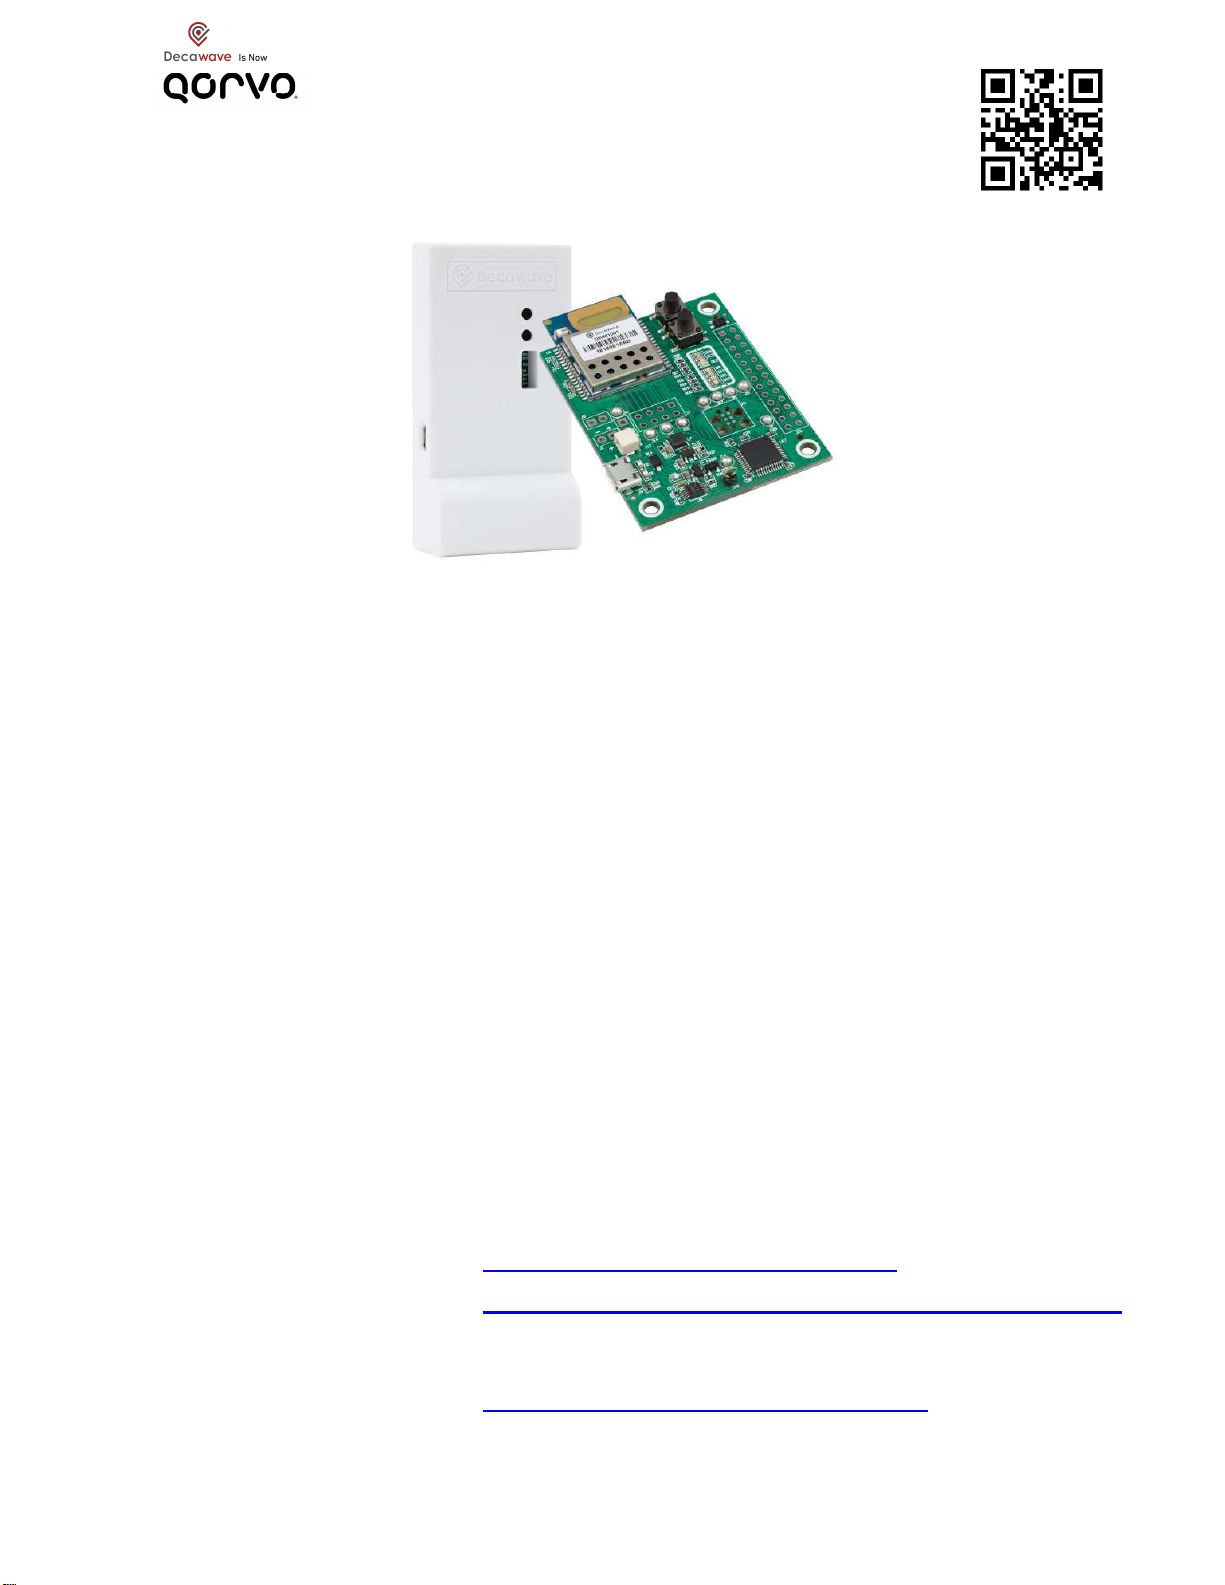
This MDEK1001 evaluation kit based on Decawave’s DW1000 IC & DWM1001Cmodule is intended solely
for use by competent engineering personnel for the purposes of evaluating the use of Decawave’s
DW1000 IC & DWM1001Cmodule in wireless location and communications systems.
The MDEK1001, as supplied from Decawave, has not been certified for use in any particular geographic
region by any regulatory body governing radio emissions in such regions.
The MDEK1001 is supplied under the following conditions: -
The distribution and sale of the MDEK1001 is intended solely for use in future development of
devices which may be subject to regulations or other authority governing radio emission.
This MDEK1001 may not be resold by users for any purpose.
The MDEK1001 as supplied by Decawave may not be incorporated directly into user devices or
products unless such products undergo the appropriate certification.
Operation of the MDEK1001 in the development of future devices is at the discretion of the user
and the user bears all responsibility for any compliance with regulations laid down by the authority
governing radio emissions in the user’s jurisdiction.
All products developed by the user incorporating the DW1000 or DWM1001Cmust be approved by the
relevant authority governing radio emissions in a jurisdiction prior to the marketing or sale of such products
in that jurisdiction. User bears all responsibility for obtaining such approval.
If the user has obtained the MDEK1001 for any purpose other than those listed above the user should
return the MDEK1001 to the supplier immediately.
FCC NOTICE: This kit is designed to allow (i) product developers to evaluate electronic components,
circuitry, or software associated with the kit to determine whether to incorporate such items in a finished
product and (ii) software developers to write software applications for use with the end product. This kit is
not a finished product and when assembled may not be resold or otherwise marketed unless all required
FCC equipment authorizations are first obtained. Operation is subject to the conditions that this device not
cause harmful interference to licensed radio stations and that this device accept harmful interference.
Unless the assembled kit is designed to operate under Part 15, Part 18 or Part 95 of the FCC Rules, the
operator of the kit must operate under the authority of an FCC license holder or must secure an
experimental authorization under Part 5 of the FCC Rules.