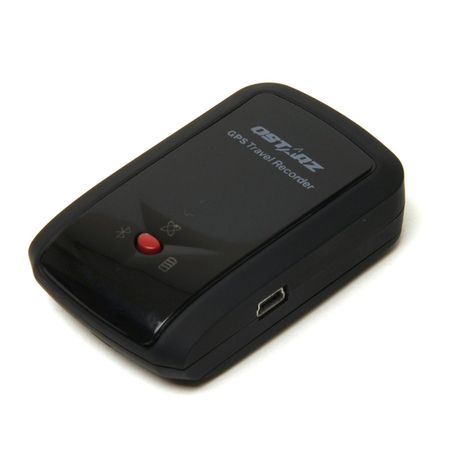
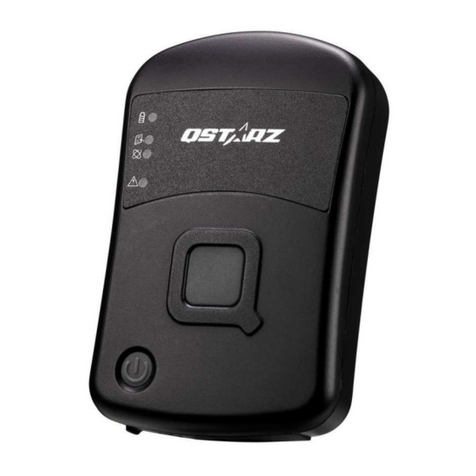
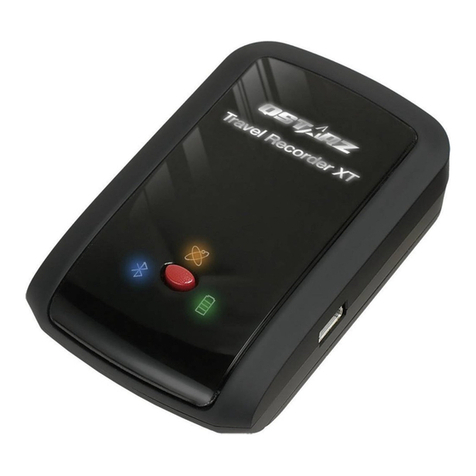
4. Short click on POI button if you want to record a point of intere t. The buzzer will make 3 beep each time POI button i
pre ed.
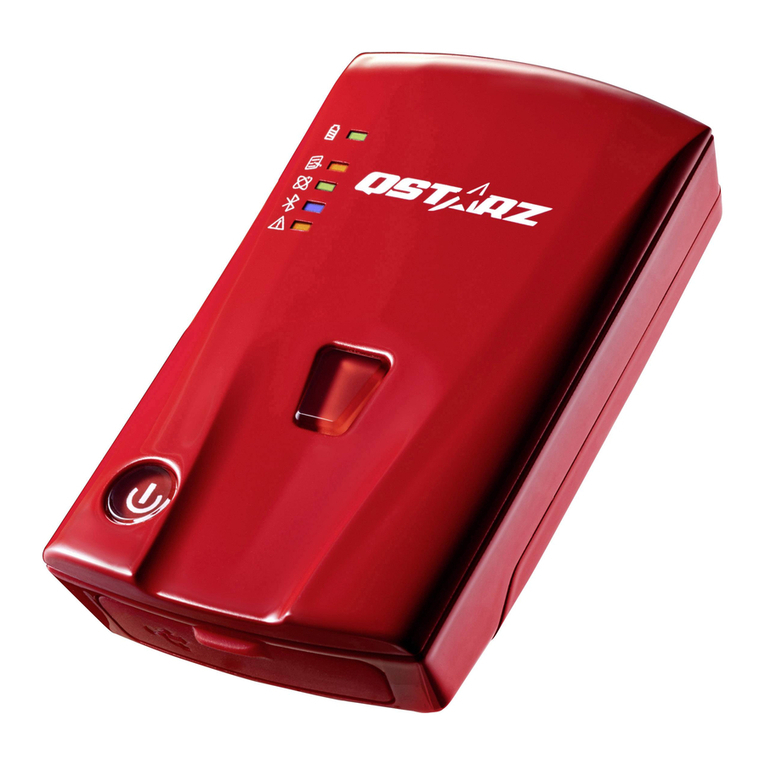
5. Plea e note the device will only tart recording when the Working LED i ON(Green). Whenever the Non-working LED i
ON or fla hing(Red), it mean the device i not operating or logging. Plea e check the device’ tatu :
Device i not fixed with atellite
Device memory i full
Device enter into leeping mode (Once Vibration en or i On tatu )
CR-Q1100P Power Off
Under Power on tatu , pre power button for three econd to turn off device. CR-Q1100P LED will be all off after device i
power off.
CR-Q1100P software utility operation
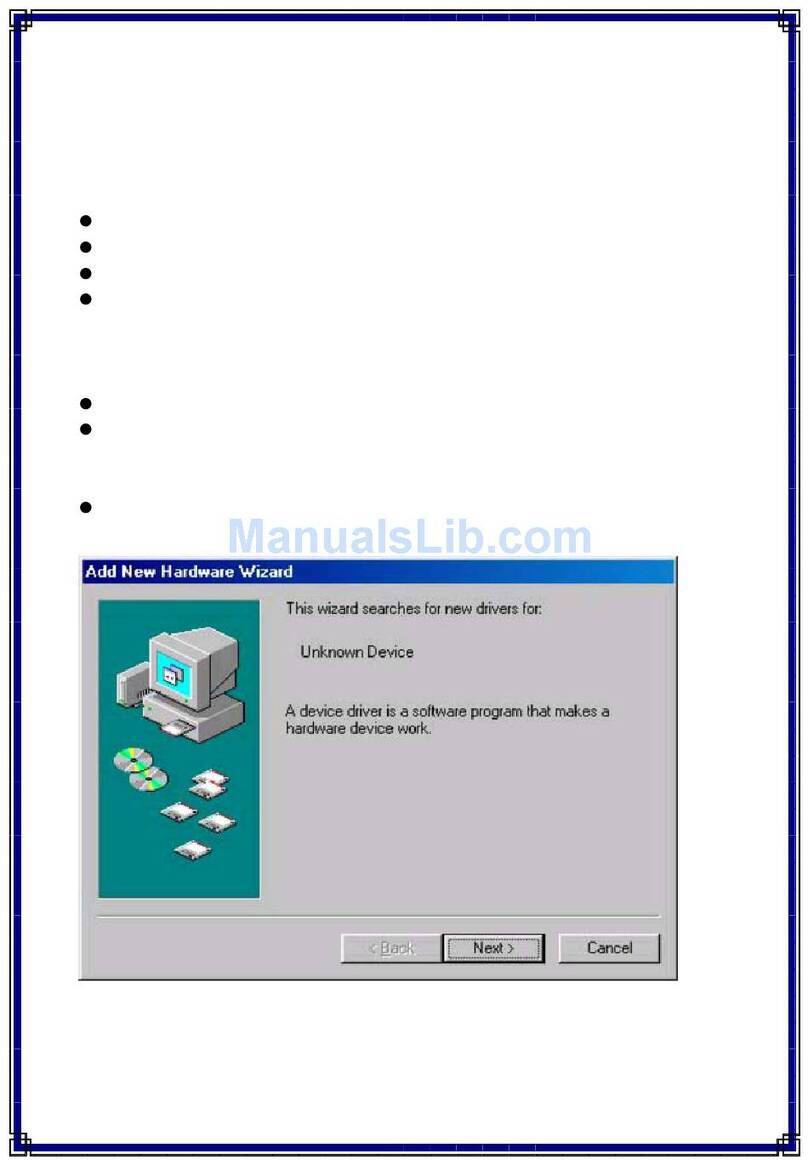
1. Plea e in tall the oftware ( QTravel™, DataViewer™) and USB driver to your computer
( nly support Microsoft Windows XP / Vista/ Win7)
.
2. CR-Q1100P upport to how your travel path directly on Google Earth. Plea e go to
http://earth.google.com for getting
the free download of Google Earth, and then in tall it to your computer.
3. Connect CR-Q1100P with your PC or Notebook by USB cable and power on CR-Q1100P.
4. Start the oftware utility (QTravel, DataViewer).
QTravel™
QTravel™ i the be t Geotagging oftware to integrating your travel track and photo together ea ily. Support track editing,
playback, import/export Wizard and Smart log management.
1. Click from <Start> / <All Program > / <Q tarz QTravel> / QTravel
U er have to input product key at the fir t time of u e.
The product key is located on the cover of the software CD.
Important: Do not lose your Product Key. Please write the number down and keep it in a safe place.
2. <File> \ < Import Wizard >
Import Wizard can guide you to import the recorded track and precede the Geotag proce ea ily.
3. <File> \ <Export Wizard>
Export Wizard can guide you to precede export proce ea ily.
4. <File> \ <Config GPS>
Connection Setting
I. Auto Scan GPS Module (Recommended)
The program will automatically detect the com port. It i recommended to et to auto can.
II. Manual Setting
U er can al o manually et the port. Plea e refer to u er ’ manual for more detail information.
4.1 GPS Device Name (Unique ID)
Name your Travel Recorder here and your downloaded log data will come with thi unique ID
4.2 GPS Log Setting
There are 4 log mode : General mode, vehicle mode, cycling mode, and hiking mode. U er can al o change the default
etting of the e 4 mode .
4.3 Data Log Memory
verwrite:
When the memory i full, Recorder will keep logging by overwriting the memory from the earlie t point.
Stop Log:
When the memory i full, Recorder will top logging.
4.4 Turn on/off POI button
The P I function is set n as default, u er can uncheck the checkbox to turn it off for preventing accidental POI
button pre ing.
4.5 Turn on/off buzzer
The buzzer function is set n as default, u er can turn it off by un-checking the Turn on buzzer checkbox.
4.6 Turn on/off Vibration Detector
Vibration Detector i functioned for power aving and waypoint aving. Vibration Detector is set Off as default, and
user can turn it on by check the Vibration detector checkbox. Once it is activated, it will detect the phy ical movement
of the device. When it detect the device not moving more than 10 minute , CR-Q1100P will enter leep mode o that
the Non-working LED will turn to fla h every 5 econd . Under leep mode the log will be di abled.
Note : Once the device enters sleep mode, it will auto wake up when detecting physical movement again.
4.7 Activate Vibration Sen or under charging mode (Vibration detector i On)
Under charging mode the vibration sensor will Not be activated as default. Once Vibration detector function i
elected, u er can al o activate the vibration detection under charging mode by electing the checkbox.
5. <File> \ < Download AGPS>
Update the AGPS data from internet a i tance erver to boo t warm tart peed to 15 ec.
GPS i a y tem where out ide ource , uch a an a i tance erver and reference network, help a GPS receiver boo t
performance beyond that of the ame receiver in a tand-alone mode by downloading the almanac data from an a i tance
erver.
*For detail QTravel™ functionality, please refer to QTravel™ Users Manual attaching with Software.
