QuadQuestions QQ190 FALCON User manual

Manual
Thank you for purchasing the QQ190 Falcon racing quadcopter and welcome to the QQ190
team.
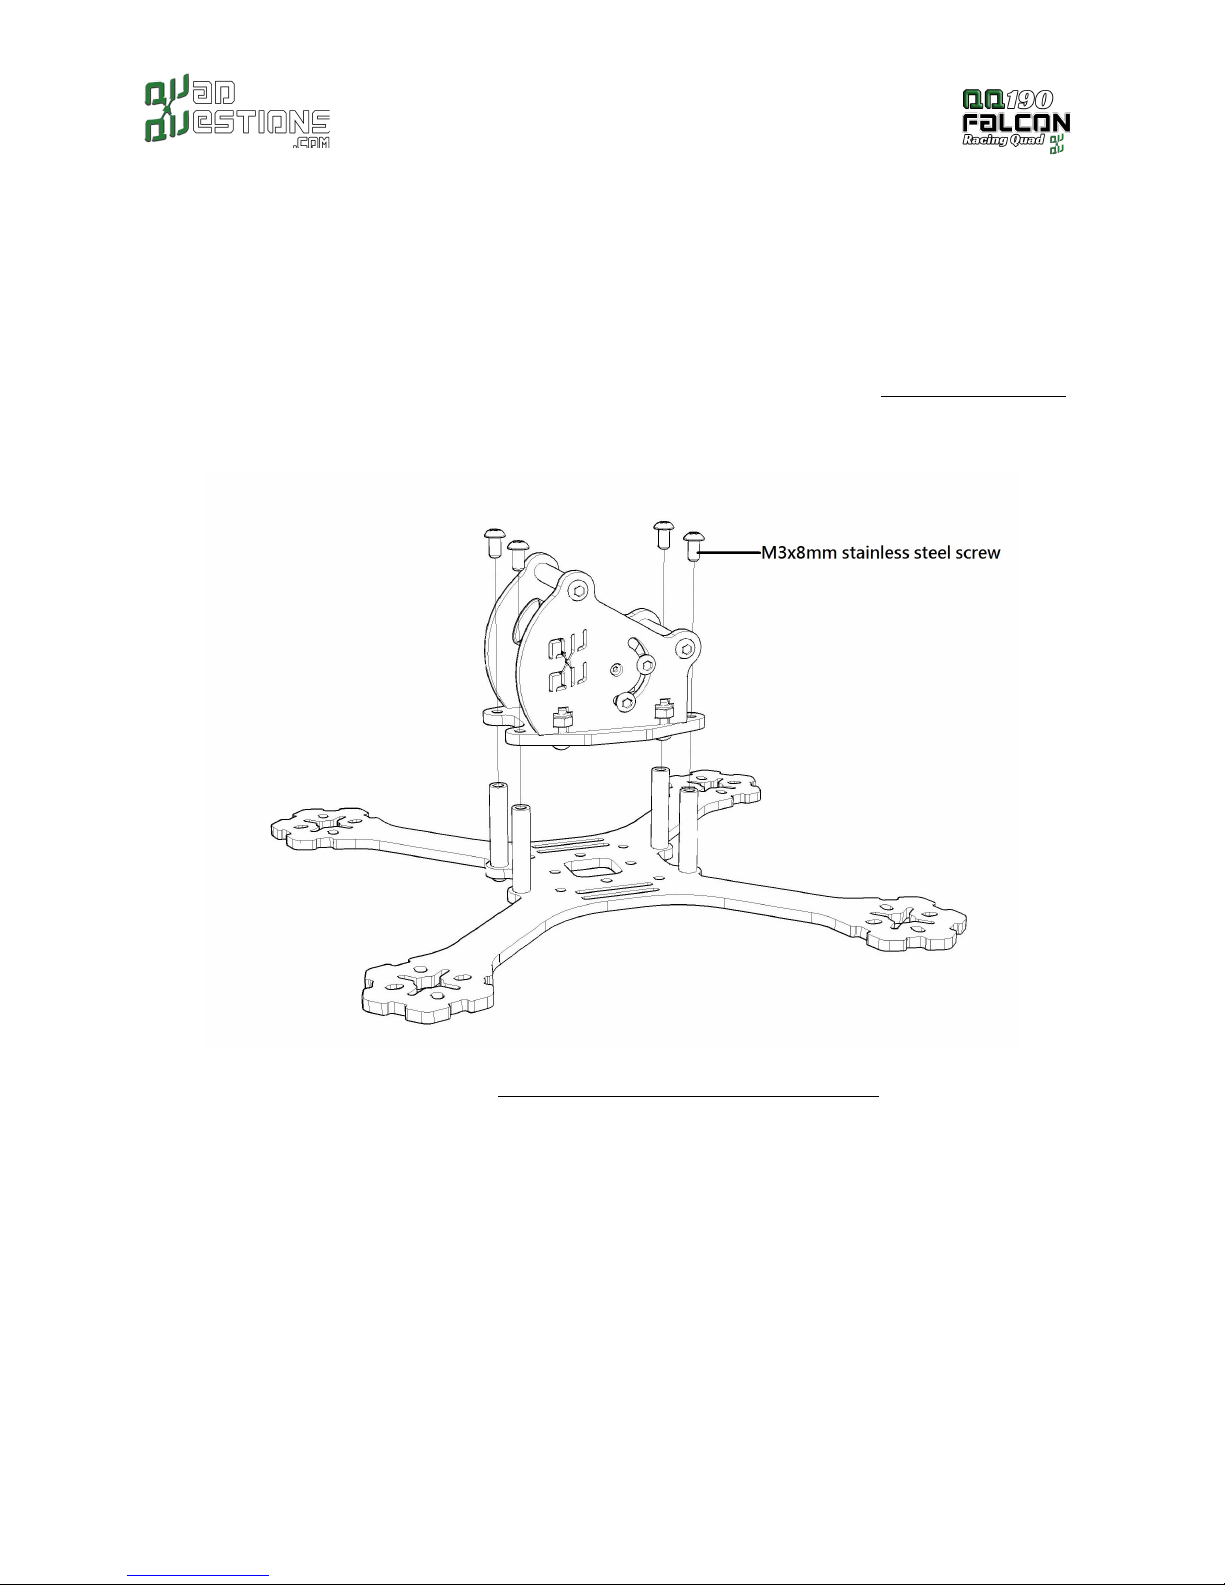
This manual details how to physically assemble the frame. There is a diverse array of electrical
components that can be used with quadcopter frames, an example set is included in this
document and further examples are available on the quadquestions.com website.
There is also a growing array of upgrades and customizations, both functional and cosmetic
available from quadquestions.com
If you have any questions, please feel free to contact us.
A great amount of thought and care has been put into this quadcopter frame and we want you to
be successful in your FPV adventure.
We have also designed and continue to design many gadgets for the frame such as video
transmitter mounts, 1 axis camera gimbal, landing gear, angled HD camera mounts, armor
(titanium screw sets) and more. Please visit QuadQuestions.com for more information.
Warning- Carbon fiber is a conductive material and care
should be taken when using electronics with carbon fiber.
Carbon can cause shorts and catch fire if directly
shorted between power and ground.
We would like for you to take caution when building our kit. One of the main problems that we
see people have when building quadcopters is using motor mounting screws that are too long.
Warning- If your motor screws are too long you will short the motor to
ground through the frame and this will cause many problems for you.
Please make sure that you're using motor screws that are the correct length for your motor.
©2016 QuadQuestions LLC.
Page 1
Patent Pending

Hardware Sizing Scale
Please print this page on 8.5”x11” paper and use the scale to identify the kit parts.
©2016 QuadQuestions LLC.
Page 2
Patent Pending

In addition to the hardware scale part quantities, you should also have included with
your kit:
A. Main QQ190 Plate
B. Left Side FPV Hanger
C. Right Side FPV Hanger
D. Mid- Frame Plate
E. Battery Strap
F. Battery Protector and Landing Gear (color might vary from that pictured)
G. 5-in-1 Power Distribution Board
H. M 3x29mm Standoffs x4
I . M 3x25mm Standoffs x4
J. HS1177 or equivalent Mounting Screws x2 and Washers x6
K. M3x10mm Stainless Steel Screws x4 for completion of FPV hangar
L. M3x8mm Stainless Steel Screws x16
M. M3 Stainless Steel Locknut x4 for completion of FPV hangar.
©2016 QuadQuestions LLC.
Page 3
Patent Pending

Tools Required
Soldering Iron
6-in-one screwdriver
Solder
Heat Shrink
Additional Parts recommended to complete build
BASIC COMPONENTS
4X motors such as Cobra 2300KV for 5” configurations
4X Escs Such as DYS BLheli Sn20s or Kiss 18a ESCs (or Lumenier 20A with BEC included)
1X flight controller, Such as a Naze32,Openpilot CC3D, SP3Racing, or other
5” Propellers CW/CCW -We recommend high quality propellers such as HQ Prop or ATG for
racing and Dal Prop 5040 for bashing
Radio and receiver such as An FrSky Taranis and a D4R-II
Appropriate to battery supply AWG wire for XT-60 connector, along with other wire for
providing power to additional components.
FPV GEAR:
LC Power Filter (already included if using an OSDoge)
Video transmitter Such as a TS58500 (please be aware of national laws)
HS1177 or equivalent camera (must match this form factor)
OSD such as an OSDoge or Minim OSD
Cloverleaf antenna such as a pair of VAS Bluebeams, Spironets, or TBS triumph
All parts can be obtained at QuadQuestions.com and if you have questions about what parts to
use, please contact us, we are happy to help!
YOU SHOULD PLAN A FEW HOURS FOR YOUR BUILD, A QUAD BUILD CAN TAKE QUITE A BIT OF
TIME TO GET RIGHT, SO TRY NOT TO RUSH THROUGH IT!
©2016 QuadQuestions LLC.
Page 4
Patent Pending

Step 1- Assemble Camera Hinge
A. Remove camera bracket if installed.
B. Install the screws and washers provided into your video camera. Make sure to use 3
washers on each side of the camera. This is to ensure that the screw does not penetrate too far
into the camera, and doesn't damage the internal circuit board.
©2016 QuadQuestions LLC.
Page 5
Patent Pending

Step 2. Assemble FPV Camera
Hanger
Install the camera in between the 2 FPV hangar plates with the camera hinge screws inserted
into the hole in the FPV hangar plates. Connect the plates with 2 M3x29mm standoffs.
©2016 QuadQuestions LLC.
Page 6
Patent Pending

Complete your assembly by installing 2 M3x29mm standoff in the adjustable half-precent slot.
This is how you will adjust your camera angle.
With this configuration, you can adjust the camera angle up to 30 degrees positive or 20
degrees negative.
©2016 QuadQuestions LLC.
Page 7
Patent Pending

Step 3- Attach the FPV Camera
assembly to the Mid-frame plate.
Use the Locknuts provided to hold the gimbal plate to the top plate.
©2016 QuadQuestions LLC.
Page 8
Patent Pending

Step 4- Install Main Standoffs
Battery Strap & Electronics
It is at this time that we recommend installing your Flight controller, battery strap, PDB,
ESCs and motors.
We have a multitude of resources for you to get started at quadquestions.com including a
questions and answers section of the site at quadquestions.com/qa and an informative blog at
quadquestions.com/blog.
We are happy to help you if you need some guidance on how to build the electronics required to
fly."
©2016 QuadQuestions LLC.
Page 9
Patent Pending

Step 5- install main FPV hanger
and finalize.
After electronics have been installed, Install the FPV Camera assembly and finish wiring setup.
Finalize your QQ190 Falcon by installing the Battery protector/landing gear F. on to the battery
strap. Have fun flying and please brand your videos (logos can be found at QQ190Falcon.com
You can submit your build photos to QuadQuestions.com/build_submission/ for the chance to
win future discounts and QQ190 Falcon Swag.
Have fun flying!
©2016 QuadQuestions LLC.
Page 10
Patent Pending

©2016 QuadQuestions LLC.
Page 11
Patent Pending

©2016 QuadQuestions LLC.
Page 12
Patent Pending
Other manuals for QQ190 FALCON
1
Other QuadQuestions Quadcopter manuals