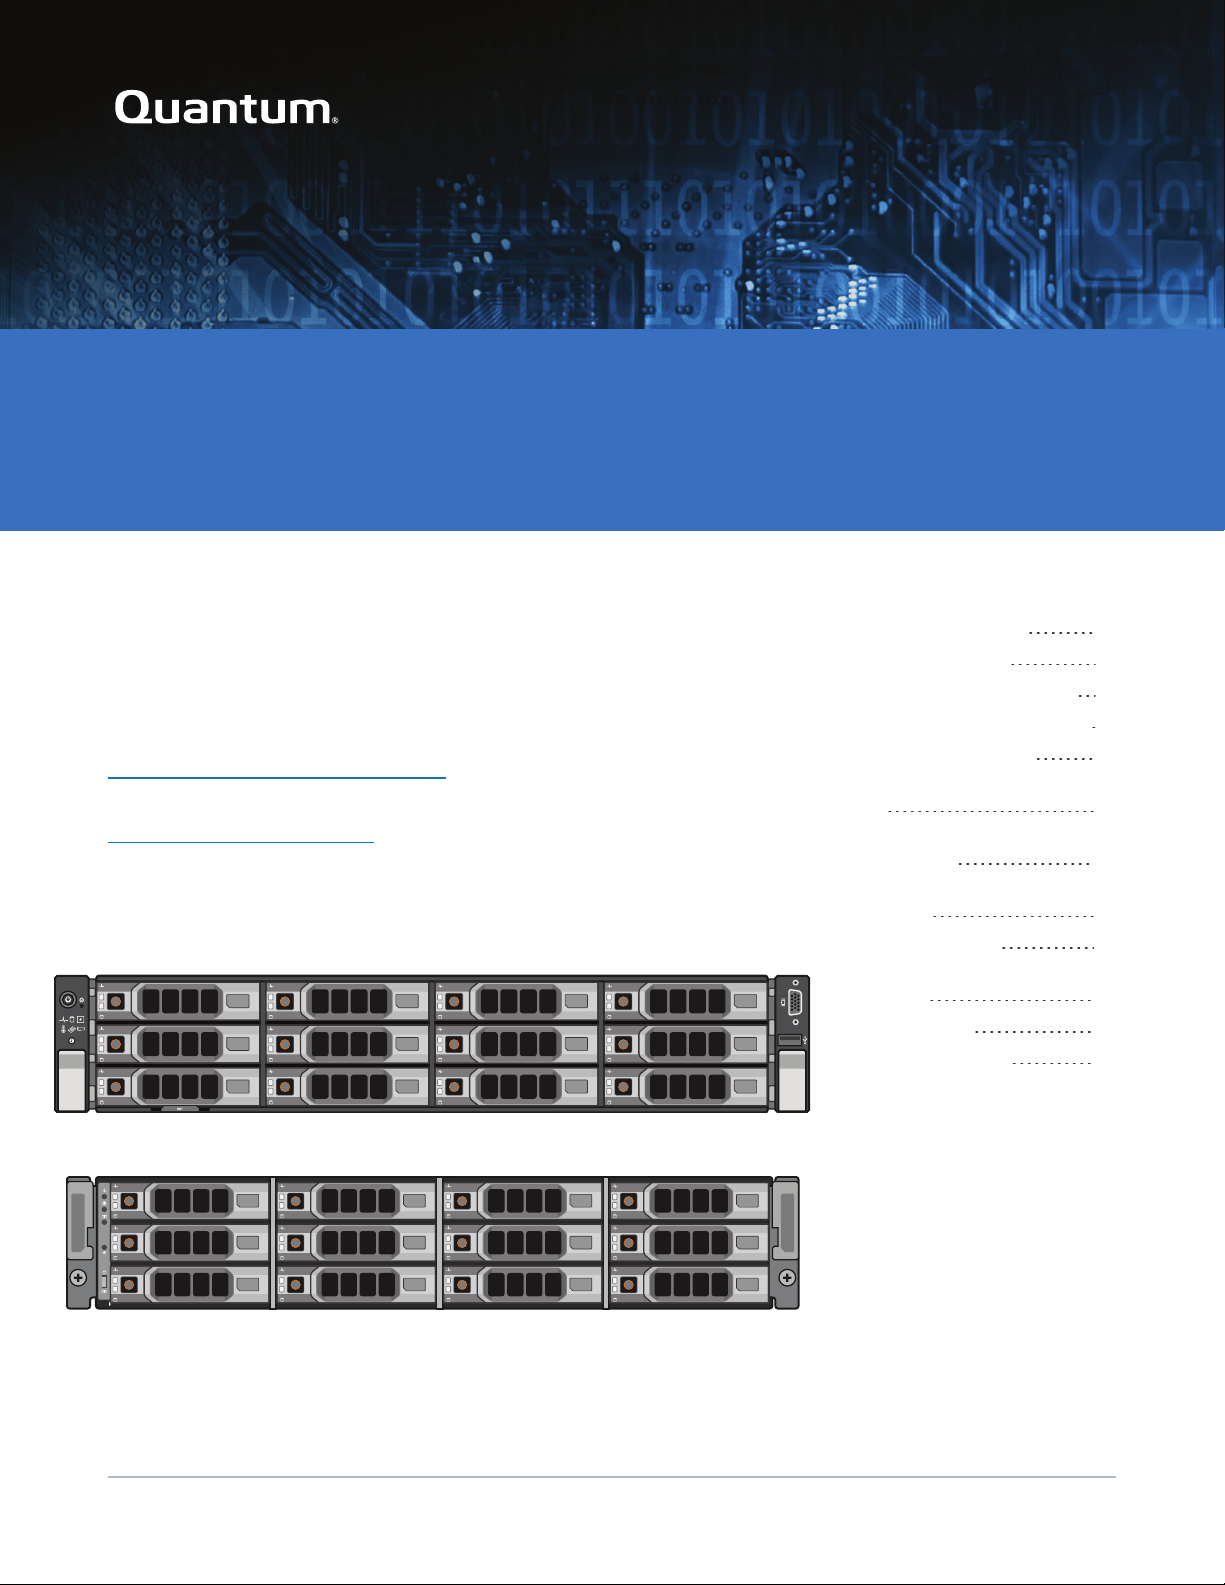
Preparing for the Installation
Quantum DXi4700 Installation Guide 7
Preparing for the Installation
WARNING: To prevent the risk of electrical shock, bodily injury, or damage to the equipment, read all
instructions and warnings in the Quantum Products System, Safety, and Regulatory Information Guide
that shipped with your system.
Before you begin the installation procedure, make the preparations described in the following sections:
lNecessary Tools below
lDXi Software Requirements below
lTaking ESD Precautions below
Necessary Tools
The following tools are required for unpacking and installing the DXi4700 system:
l#2 Phillips screwdriver
lSmall flat head screwdriver
lNotebook computer and Ethernet cable (for initial system configuration)
DXi Software Requirements
To successfully complete the DXi4700 system installation, the latest version of DXi software is mandatory. If
the DXi will not have Internet connectivity, manually download a copy of the latest DXi software upgrade file
to your Notebook computer before you begin the installation process. The latest version of DXi4700
software is available at http://www.quantum.com/DXi4700docs.
Taking ESD Precautions
Some components within the DXi4700 system contain static-sensitive parts. To avoid damaging these parts
while performing installation procedures, always observe the following precautions:
lKeep the DXi4700 system turned off during all installation procedures.
lKeep static-sensitive parts in their original shipping containers until ready for installation.
lDo not place static-sensitive parts on a metal surface. Place them inside their protective shipping bag or
on an antistatic mat.
lWear anti-static wrist bands when unpacking and handling the units, and avoid touching connectors and
other components.