Ra Lights Ra Clicky User manual

Ra Clicky™ Flashlight Customization Guide
Copyright 2008 by Ra Lights
All rights reserved
November 17, 2008
Introduction
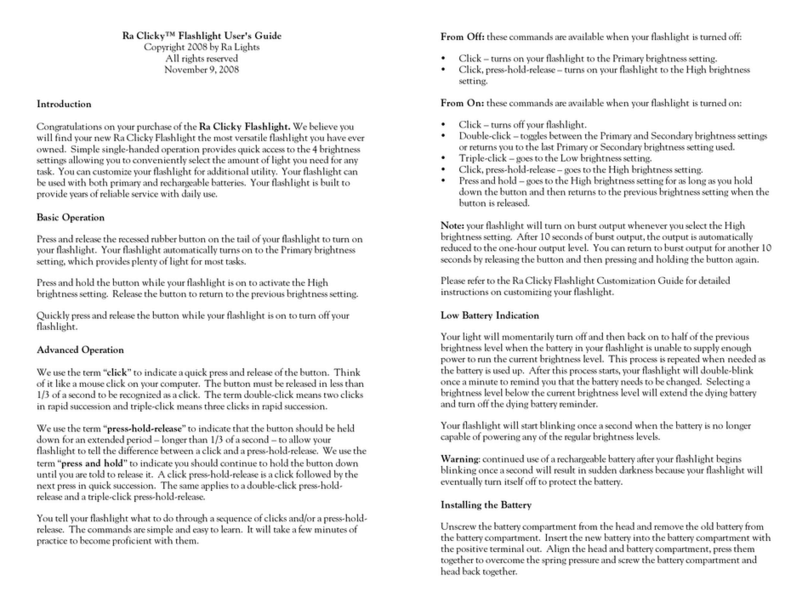
This document assumes you are familiar with the Ra Clicky Flashlight User’s
Guide. This document provides detailed information about the internal operation
of your flashlight and how to customize your flashlight to best suit your needs.
Factory Reset
Please feel free to experiment. You can always return to the original factory settings
by following these steps:
•Reset your flashlight - i.e.,remove the battery for 60 seconds and reinstall. Your
flashlight will light dimly for 5 seconds to indicate the reset.
•Press and hold the button before the dim reset indication turns off. The light
will become brighter for 10 seconds and then turn off. Release the button
when your flashlight turns off.
Enabling Customization
Customization is disabled by default. Follow these steps to enable Customization:
•Reset your flashlight - i.e., remove the battery for 60 seconds and reinstall. Your
flashlight will light dimly for 5 seconds and turn off to indicate the reset has
completed. You have 10 seconds following the reset to begin the following
step. After 10 seconds, your flashlight will ignore attempts to enable
Customization.
•Click the button 20 or more times in rapid succession. After the 20th time your
flashlight stops turning off with every other click.
•Immediately press and hold the button until your flashlight turns off. Your
flashlight will display a dim-to-bright sequence to indicate it is enabling
Customization and then turn off. Release the button after your flashlight
turns off. Customization mode is now enabled.
We recommend you disable Customization after you finish customizing your
flashlight. This allows you to hand your flashlight to anyone without fear that
someone will accidentally modify your settings. See the Option Menu item #6.
Internal Brightness levels
Your flashlight includes 23 regular brightness levels. These brightness levels are
visually spaced so that the difference between any two brightness levels will appear
to be a small even change. This visual spacing takes advantage of the logarithmic
nature of your eyes to see a huge dynamic range – from very bright summer scenes to
dim moonlit scenes. Your flashlight can produce a range of brightness levels that
spans over 2000:1. Each brightness level is separated by a ratio of 1.4:1 – enough to
provide a small but noticeable difference between brightness levels.
The amount of power your flashlight consumes is related to the amount of light it
is generating. The more light generated, the more power consumed. By reducing
the light output by a single level at the higher output settings you can dramatically
reduce the power consumption and dramatically increase the runtimes. And
because of how your eyes perceive light levels, you will barely notice the difference
between the two brightness levels.
The maximum brightness level – also referred to as the burst level – trades
efficiency and runtime for maximum light output. The burst level is automatically
limited to 10 seconds per invocation. The burst level automatically drops to the
next lower brightness level after 10 seconds of use. You may return to the burst
level as often as you like for another burst of maximum light.
In addition to the regular brightness levels, there are three light shows: tactical
strobe, emergency strobe and SOS. These three light shows are treated as if they
were additional regular brightness levels.
The following table shows the brightness levels and the corresponding lumen
output. The maximum output of your flashlight will determine which row to use.
The values in the table are calculated and rounded while values used in the
specifications are often truncated. This may result in the numbers in the table
being one digit higher than found in the specifications.
Level
23
22
21
20
19
18
17
16
15
14
13
Lumens
141
100
71
50
35
25
18
13
8.8
6.3
4.4
Lumens
170
120
85
60
42
30
21
15
11
7.5
5.3
Level
12
11
10
9
8
7
6
5
4
3
Lumens
3.1
2.2
1.6
1.1
0.78
0.55
0.39
0.28
0.20
0.14
Lumens
3.8
2.7
1.9
1.3
0.94
0.66
0.47
0.33
0.23
0.17
Level
2
1
SOS
Emergency Strobe
Tactical Strobe
Lumens
0.10
0.07
71
100
140
Lumens
0.12
0.08
85
120
170

The brightness levels are arranged in a circular menu to make scrolling through all
of the brightness levels easier. The maximum brightness level is followed by
tactical strobe, emergency strobe, SOS and then the minimum brightness level.
Customizing the Brightness Settings
Your flashlight comes with 4 preset brightness settings: High, Primary, Secondary
and Low. Each setting may be customized to any brightness level. Don’t be fooled
by the names we gave each brightness setting – we chose the names based on the
factory settings. For instance, you might want to assign the tactical strobe to the
High setting, a very dim brightness level to the Primary setting, a medium
brightness level to the Secondary setting and the burst level to the Low setting.
Follow these steps to customize the brightness level for one of the brightness
settings:
•Select the brightness setting you want to customize.
•Double-click, press and hold. Your flashlight will pause at the current
brightness level for 1 second and then begin to scroll up through the
brightness levels pausing two seconds at every level. When your flashlight
reaches the maximum brightness level, it will double blink and pause for 3
seconds. Each light show level is then displayed for 4 seconds. Upon reaching
the minimum brightness level, your flashlight will again double-blink and
pause for 3 seconds before continuing through the regular brightness levels.
•Note: the scrolling direction reverses each time you invoke the double-click,
press and hold command. If the scrolling direction is not the desired
direction, release the button and repeat the double-click, press and hold
command to scroll in the opposite direction.
•Release the button when you reach the brightness level you want.
•Turn off your flashlight to save the customized setting.
•Note: switch to a different setting prior to turning off your flashlight to undo
the customization. For example, press-hold-release will momentarily switch to
the High setting and then back to your selected setting and undo your
customization.
•Note: your flashlight will turn off with 10 very rapid flashes if there is
insufficient power to remember the setting.
Customizing Features Using the Option Menu
Your flashlight offers the following features through the Option Menu:
1. Force Setting: indicated by a long flash
2. Button Lock: indicated by three rapid flashes
3. Automatic Turn Off: indicated by a bright-to-dim sequence
4. Locator Flash: indicated by a dim flash
5. Momentary: indicated by a long-short flash sequence
6. Customization: indicated by a dim-to-bright sequence
Follow these steps to customize your flashlight using a feature from the Option
Menu:
•Triple-click, press-hold-release. Your flashlight will display the indication for
the first menu item (Force Setting).
•Click to move to the next menu item. Double-click to reverse direction and
move to the previous menu item. The menu is circular – the last item is
followed by the first and the first is preceded by the last.
•Press and hold the button to select the current menu item. Your flashlight
will display a dim-to-bright sequence to indicate you are enabling the feature.
Your flashlight will display a bright-to-dim sequence to indicate you are
disabling the feature. Release the button after your flashlight turns off.
•Note: your flashlight will exit the Option Menu with 5 rapid flashes if an
error is detected. No settings will be changed. Possible errors include failure to
hold the button down until your flashlight turns off, not pressing the button
for 10 seconds or entering an unknown command.
•Note: your flashlight will exit the Option Menu with 10 very rapid flashes if
there is insufficient power to remember the setting.
Option Menu Item #1: Force Setting - <long flash>
The Force Setting feature allows you to select the brightness setting used when you
turn on your flashlight. Force Setting is enabled and set to Primary by default.
Disable Force Setting to allow your flashlight to remember the last setting used and
to use that setting when your flashlight is turned on the next time.
Follow these steps to select one of the four brightness settings to use when your
flashlight is turned on:
•Disable Force Setting.
•Select the desired brightness setting.
•Enable Force Setting.

Option Menu Item #2: Button Lock - <three rapid flashes>
The Button Lock feature allows you to lock the button on your flashlight to
prevent it from accidentally turning on. When the Button Lock feature is enabled
and your flashlight is turned off, a triple-click will toggle the button lock – i.e.,
unlocking the button if it is locked or locking the button if it is unlocked. Button
Lock is disabled by default.
Your flashlight will turn off when you lock the button and will turn on when you
unlock the button. When the button is locked and you press on the button, your
flashlight will blink 3 times to indicate the button is locked and then turn off.
Option Menu Item #3: Automatic Turn Off - <bright-to-dim>
The Automatic Turn Off feature allows your flashlight to turn itself off after 10
minutes of inactivity. This can be handy if you carry your flashlight in your pocket
and it gets accidentally turned on or if you fall asleep with your flashlight turned
on. Automatic Turn Off is disabled by default.
Your flashlight will turn off gradually, dimming one brightness level each second.
When the minimum brightness level has been reached, your flashlight will blink
slowly 10 times and then turn off. You can click the button at any time during the
sequence to return your flashlight to the original brightness level and to reset the
Automatic Turn Off timer for another 10 minutes.
Option Menu Item #4: Locator Flash - <dim flash>
The Locator Flash feature allows your flashlight to emit a brief flash of dim light
every three seconds when turned off. The periodic brief flash makes it easier to find
your flashlight in the dark. The Locator Flash is disabled by default.
Option Menu Item #5: Momentary - <long-short flash>
The Momentary feature allows your flashlight to differentiate between a click and a
press-hold-release when your flashlight is turned off. A press-hold-release will act
in a momentary fashion when Momentary is enabled – i.e., turning off your
flashlight when the button is released. A press-hold-release acts like a click when
Momentary is disabled. Momentary is disabled by default.
Option Menu Item #6: Customization - <dim-to-bright>
The Customization feature allows you to control access to the brightness menu and
Option Menu controls. This menu item can only be used to disable
Customization. See Enabling Customization, above, to enable Customization.
Customization is disabled by default.
Other manuals for Ra Clicky
1
Other Ra Lights Flashlight manuals
Popular Flashlight manuals by other brands

Mellert SLT
Mellert SLT TL 600 operating instructions

Burners
Burners FV-11-S instruction manual

Harbor Freight Tools
Harbor Freight Tools Dynamo LED Flashlight 65207 operating instructions

Hypertherm
Hypertherm Duramax Hyamp Series Service manual

Tokin
Tokin TokinArc YMENS-300R instruction manual

Bayco Products
Bayco Products NightStick XPP-5422GX instruction manual

Walter
Walter xl1000 Operation manual

Makita
Makita DML801X instruction manual

Bergstrom
Bergstrom H812 Instructions for use

Foxfury Lighting Solutions
Foxfury Lighting Solutions HAMMERHEAD SERIES product manual

Black & Decker
Black & Decker 9506 instruction manual

Milwaukee
Milwaukee M18 IL Original instructions