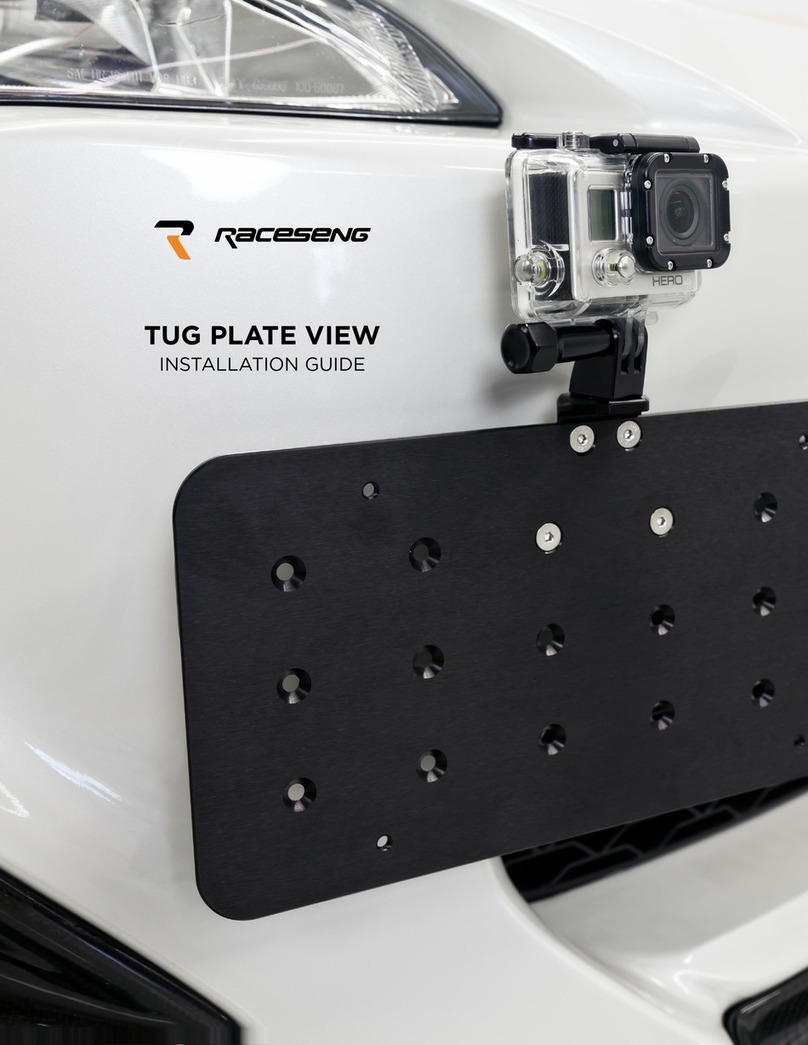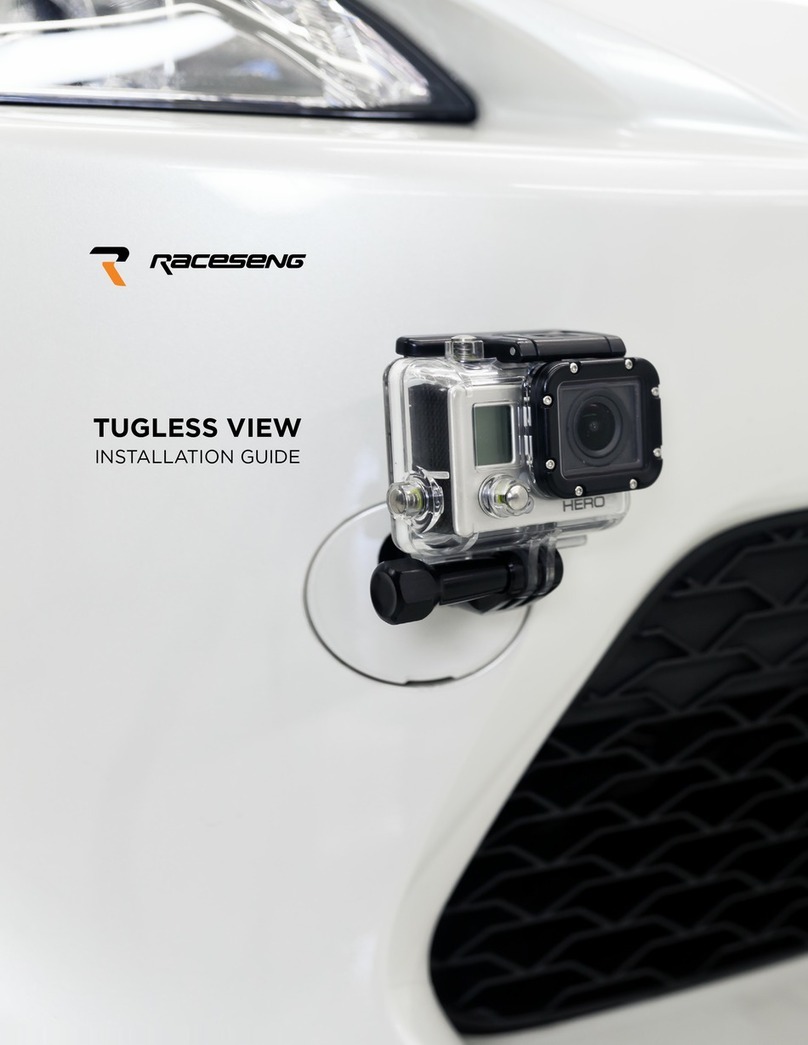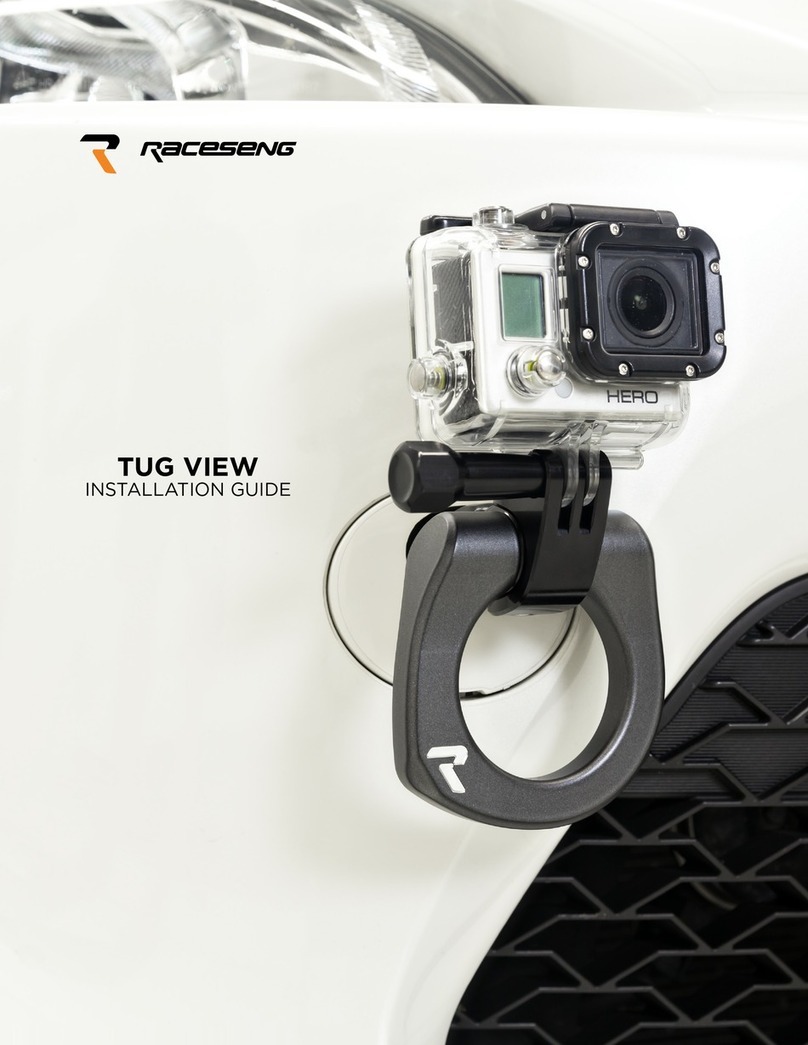
INSTALLATION GUIDE
** IF YOU HAVE A RACESENG TOW HOOK INSTALLED, PROCEED TO STEP 5 **
1 Use a small screw driver to remove the tow hook bumper cover. To avoid damaging your bumper paint, put a strip
of masking tape on the bumper underneath the pry slot of the cover.
2 Clean the tow hook shaft threads in the bumper beam. A blast of air or wire brush will suce. The key is to
remove any debris from the threads.
3 Apply grease to the threads of the Shaft that screws into the bumper beam. Insert and thread the shaft into the
bumper beam.
4 There is a hex machined on the front of the Shaft. Use 20mm socket and ratchet wrench on the hex to tighten
the shaft into the bumper beam.
5 Use a 4mm allen wrench to unscrew the Ball Mount Screws. Do not completely remove the screws, unscrew them
just enough so the Ball Stud can be removed.
6 Put grease on the threads and ball portion of the Ball Stud, thread the Nut onto the Ball Stud up to where the
threads stop just before the ball. Make sure the counterbore side of the Nut is facing the opposite direction of the
ball.
7 There is a 4mm hex machined into the front of the Ball Stud. Use a 4mm allen wrench to thread the Ball Stud and
Nut into the Shaft until it is snug. Tighten the Nut with a 25mm wrench or Tug Tool.
** IF YOU WANT TO TRIM YOUR BUMPER COVER - FOLLOW STEPS 8 THROUGH 12 **
8 Place masking tape over the front and back of the bumper cover.
9 Place the bumper cover over the Ball Stud and mark approximately where the center line of the Ball Stud
intersects the bumper cover.
10 Using a drill and 1/2” drill bit, drill a hole through your marked location in the bumper cover.
11 Use a dremel or file to slowly open the hole to the point where the cover passes over the Nut.
12 Remove the masking tape and reinstall the bumper cover.
13 Install the Plate Mount by slipping the Top and Bottom Ball Mounts over the Ball Stud. Position the angle of the
plate to your desired location and tighten the Ball Mount Screws. Make sure you equally tighten the Ball Mount
Screws and maintain a common gap between the Top and Bottom Ball Mounts on either side.
14 Refer to the Adjustments section below if you want to make any changes to the orientation of the Plate Mount.
PLATE MOUNT ANGLE
The angle of the Plate Mount can be adjusted by unscrewing the Ball Mount Screws just enough until the Plate
Mount can be moved. With your desired angle set, tighten the Ball Mount Screws and follow the tightening
instructions in Step 13.
PLATE MOUNT POSITION
The position of the Plate Mount can be moved by removing the Plate Mount Screws and repositioning the Plate
Mount to a dierent set of mounting holes.
PLATE MOUNT DISTANCE FROM BUMPER
The Plate Mount can be moved in or away from the bumper by adjusting the Ball Stud. Unscrew the Ball Mount
Screws just enough to remove the Plate Mount. Use a 25mm wrench or Tug Tool to loosen the Nut. Use a 4mm
allen wrench to adjust the Ball Stud. Screw the Ball Stud in to move the Plate Mount closer to the bumper. Unscrew
the Ball Stud to move the Plate Mount away from the bumper.


