manuals.online logo
Brands
  1. Home
  2. •
  3. Brands
  4. •
  5. Radial Engineering
  6. •
  7. Music Equipment
  8. •
  9. Radial Engineering EDU-DI Manual

Radial Engineering EDU-DI Manual

EDU-DI True to the Music
www.radialeng.com
© Radial Engineering Ltd. 1845 Kingsway Ave., Port Coquitlam, BC V3C 1S9, Canada
(604) 942-1001 • [email protected] • Manual Part #: R870 1095 99 / 07-2022 r1
1. RESISTORS: Start by placing the rst resistor (R1) in the
designated position. There is no polarity so you may install
the resistor in any direction. Bend the wire leads at 90 degree
angles to feed the leads through the board. Spread the wire
leads slightly to ensure the resistor stays in place. Solder the
leads from the bottom of the board, then clip the excess wire
leads. Repeat this for the remaining resistors R2-R5.
2. CAPACITORS: Place the rst capacitor (C1) in the assigned
designation. There is no polarity so you may install these in
any direction. You do not need to bend the leads to t, however
after it’s been inserted you can bend the wire slightly to secure
in place. Solder the leads from the bottom of the board and then
clip the excess wire leads. Repeat for C2.
3. PUSH SWITCHES: Place the rst push switch (S1) in the
assigned designation. Make sure it is facing outwards from the
board, ip the board over and ensure the switch is ush to the
board, then solder the 8 pins. You do not need to clip the wire
leads. Repeat for the other switch (S2).
REF QTY Description Color Code
PCB 1 BARE PCB
J1 1 XLR MALE JACK
J2-J3 2 TS ¼” JACK
T1 1 12:1 JT-DB-EPC TRANSFORMER
S1-S2 2 PUSH SWITCH
C1 1 0.01uf 100v 10%
C2 1 22uf 25v 20%
R1 1 51R 1/4w 1% Gn, Br, Br, Gd, Br
R2 1 1K8 1/4w 5% Br, Gy, Rd, Gd
R3 1 8K2 1/4w 5% Gy, Rd, Rd, Gd
R4 1 15K 1/4w 5% Br, Gn, Or, Gd
R5 1 6K8 1/4w 5% Bl, Gy, Rd, Gd
Screw Lg 4 6-32 3/16"
Screw Sm 5 4-40 1/4"
Gn=Green, Br=Brown, Gd=Gold, Gy=Grey, Rd=Red, Bk=Black, Bl=Blue, Or=Orange
Tools Required
Hex Driver for 3/16" screws (Included)
Hex Driver for 1/4" screws (Included)
Side cutters
Nutdriver 7/16"
Soldering iron 25-40 watt and solder
Basic Instructions:
Inside you will nd all the parts required to build your own EDU-DI.
Use this document to assist you as you build your own direct box.
Build Instructions
PCB Layout
Soldering Hints:
1. Mount the component against the PCB
surface and bend the wire leads slightly.
2. Solder the wire leads from the bottom, make sure
the solder joints are cone-shaped and shiny.
3. Trim excess wire leads as close
as possible to the solder joint.
T1
S1
R1
C1
J1
J3
S2
R5
C2
R2
R3
R4
J2
© Radial Engineering Ltd. 1845 Kingsway Ave., Port Coquitlam, BC V3C 1S9, Canada
(604) 942-1001 • [email protected] • Manual Part #: R870 1095 99 / 07-2022
www.radialeng.com
© Radial Engineering Ltd. 1845 Kingsway Ave., Port Coquitlam, BC V3C 1S9, Canada
(604) 942-1001 • [email protected] • Manual Part #: R870 1095 99 / 07-2022 r1
4. ¼" TS JACKS: Place J3 in the assigned designation. Make
sure the hole is facing outwards from the board, ip the board
over and solder two leads on opposite sides of the input jacks
to hold it in place. Then apply pressure while reheating the
leads so the jack becomes ush with the circuit board. Solder
the rest of the pins. You do not need to clip the wire leads for
the jacks. Repeat this process for J2.
5. TRANSFORMER: Place the Jensen transformer into the T1
designation. Line up the dot on the transformer to the dot on
the circuit board, then ip it over and solder it in the same way
as the jacks. Solder two leads on opposite sides, then apply
pressure to the transformer while reheating the soldered leads
so it becomes ush with the board, then solder the rest of the
leads. Use the side cutters to clip the excess wire leads.
6. INSERTING THE XLR JACK: Position the male XLR connector
into the J1 designation so the pins are in the slots.
7. MOUNTING THE PCB: Before placing the PC board into the
metal insert, push the switches to the “IN” position to allow
more clearance and place the two orange washers on each
of the ¼" jacks. Now you can position the PC board in place.
Using the appropriate hex driver, drive in three of the 3/16"
screws to attach the PC board to the metal.
8. ATTACHING THE XLR JACK: Slide the XLR jack up so it
hangs slightly over the edge of the circuit board. Attach the
connector using the remaining two 3/16" screws. Be careful not
to overtighten them as you can damage the threading on the
XLR. To solder the pins into the slots, ip the EDU-DI upside
down and access the PC board by the hole in the bottom of the
metal. Heat up the pin rst and then apply a fair amount of solder. Repeat this for each pin.
9. SECURING THE TS HEX-NUTS: Insert the two metal hex-nuts into the two plastic black washers so the rounded
sides are facing outwards, then using your hands gently screw these into the jacks. Once they are positioned, you
can use the 7/16th nutdriver to tighten these (just past the tightness you can do with your ngers).
10. SWITCH BUTTONS: Attach the beige button caps to the two switches. Align the cap so that the square lines up, then
push it in rmly with either your ngers or a blunt object such as the end of screwdriver.
11. ASSEMBLY: Slide the metal insert into the metal wrapper. Ensure that the side of the
wrapper that says “LOW-Z OUT” is on the same side as the XLR, and that the side
that says “INPUT and “THRU” corresponds with the two jacks. Drive in two of the
¼" screws with the appropriate hex driver. Flip the EDU-DI over, and drive in the
remaining two screws.
12. NEOPRENE PAD: Remove the white backing from the Neoprene non-slip
pad then apply it to the bottom of the EDU-DI, to prevent it from sliding
around on a stage or studio oor.
13. TEST: Test the EDU-DI by plugging in an instrument into the ¼" input
and the XLR output to a PA system or microphone preamp and begin
playing. Activate the PAD switch to hear the attenuation work correctly.
Basic Instructions (Continued):
T1
S1
R1
C1
J1
J3
S2
R5
C2
R2
R3
R4
J2
Line up the dot on
the transformer
to the dot on the
circuit board.
Other Radial Engineering Music Equipment manuals

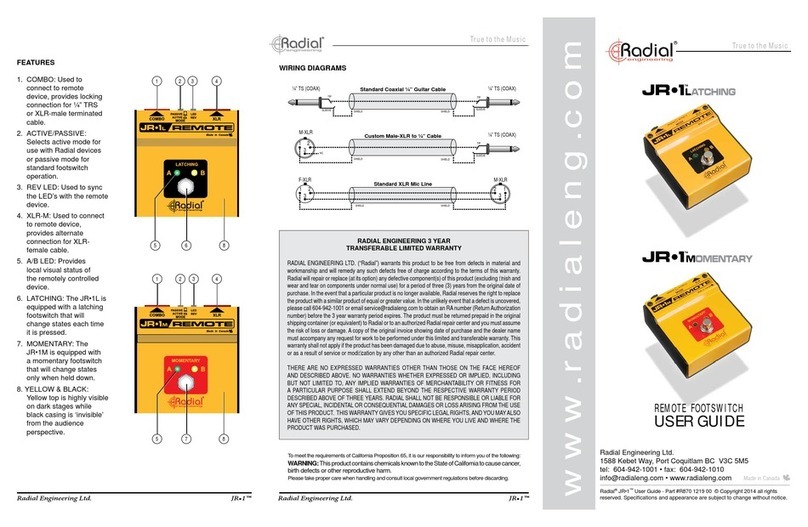
Radial Engineering ProRMP User manual

Radial Engineering

Radial Engineering ProRMP User manual

Radial Engineering Reamp JCR Studio reamper User manual

Radial Engineering

Radial Engineering Reamp JCR Studio reamper User manual

Radial Engineering SHOTGUN User manual

Radial Engineering

Radial Engineering SHOTGUN User manual

Radial Engineering Reamp HP User manual

Radial Engineering

Radial Engineering Reamp HP User manual

Radial Engineering JR-1L User manual

Radial Engineering

Radial Engineering JR-1L User manual

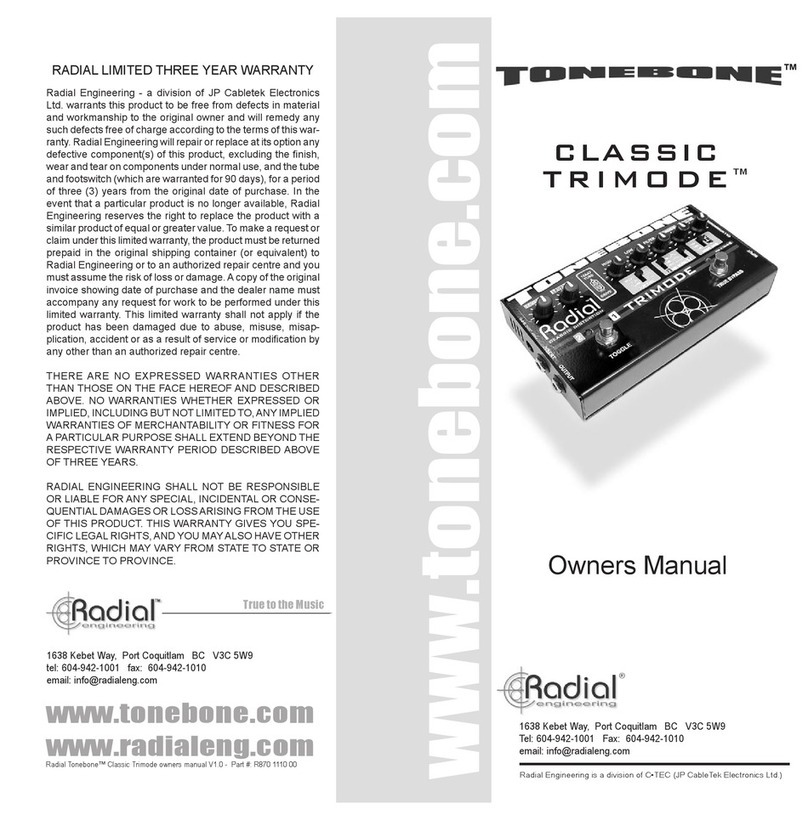
Radial Engineering CLASSIC TRIMODE TONEBONE User manual

Radial Engineering

Radial Engineering CLASSIC TRIMODE TONEBONE User manual

Radial Engineering STUDIO Q User manual

Radial Engineering

Radial Engineering STUDIO Q User manual

Radial Engineering X42 V2 User manual

Radial Engineering

Radial Engineering X42 V2 User manual

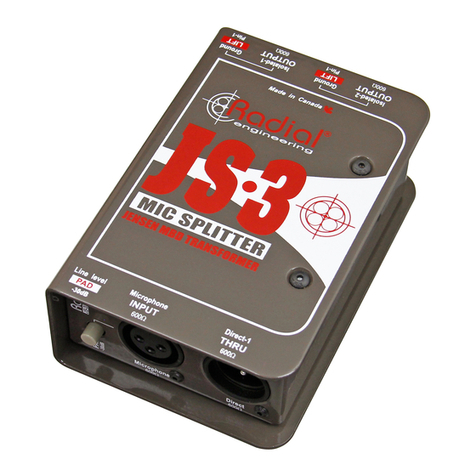
Radial Engineering JS-3 User manual

Radial Engineering

Radial Engineering JS-3 User manual

Radial Engineering JD7 Injector User manual

Radial Engineering

Radial Engineering JD7 Injector User manual

Radial Engineering Reamp EXTC Stereo User manual

Radial Engineering

Radial Engineering Reamp EXTC Stereo User manual

Radial Engineering STAGEDIRECT User manual

Radial Engineering

Radial Engineering STAGEDIRECT User manual

Radial Engineering Reamp X-Amp User manual

Radial Engineering

Radial Engineering Reamp X-Amp User manual

Radial Engineering StageBug SB-2 User manual

Radial Engineering

Radial Engineering StageBug SB-2 User manual

Radial Engineering StageBug SB-2 User manual

Radial Engineering

Radial Engineering StageBug SB-2 User manual

Radial Engineering Dragster User manual

Radial Engineering

Radial Engineering Dragster User manual

Radial Engineering PZ-DI User manual

Radial Engineering

Radial Engineering PZ-DI User manual

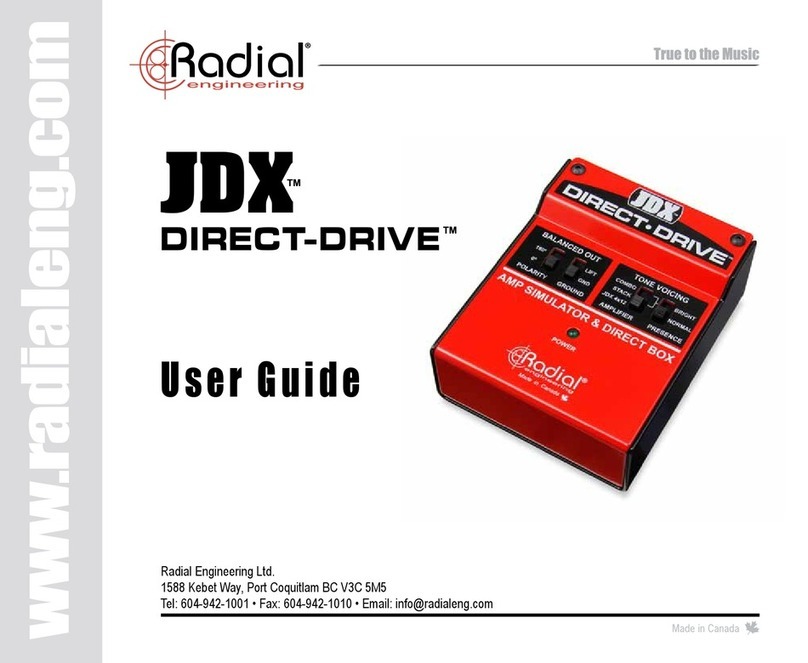
Radial Engineering JDX Direct-Drive User manual

Radial Engineering

Radial Engineering JDX Direct-Drive User manual

Popular Music Equipment manuals by other brands

Yamaha UD-Stomp Service manual

Yamaha

Yamaha UD-Stomp Service manual

Make Noise SOUNDHACK MORPHAGENE manual

Make Noise

Make Noise SOUNDHACK MORPHAGENE manual

circuitbenders drumBs PCB Build guide

circuitbenders

circuitbenders drumBs PCB Build guide

Industrial Music Electronics BIONIC LESTER MARK III Operation manual

Industrial Music Electronics

Industrial Music Electronics BIONIC LESTER MARK III Operation manual

Fishman M-200 PRO MANDOLIN PICKUP installation guide

Fishman

Fishman M-200 PRO MANDOLIN PICKUP installation guide

dbx 566 Brochure & specs

dbx

dbx 566 Brochure & specs

PRESONUS CENTRAL STATION user manual

PRESONUS

PRESONUS CENTRAL STATION user manual

Alien Apparatus Solo Performer Show Controller user guide

Alien Apparatus

Alien Apparatus Solo Performer Show Controller user guide

Clarion DPH910 Service manual

Clarion

Clarion DPH910 Service manual

Yamaha DTX-Multi 12 Service manual

Yamaha

Yamaha DTX-Multi 12 Service manual

Clearaudio Statement TT1 user manual

Clearaudio

Clearaudio Statement TT1 user manual

CRL Systems SC100 Installation, operation and technical manual

CRL Systems

CRL Systems SC100 Installation, operation and technical manual

CHD Elektroservis CRX8-M installation manual

CHD Elektroservis

CHD Elektroservis CRX8-M installation manual

Atlantis A04-HM-CV015 quick start guide

Atlantis

Atlantis A04-HM-CV015 quick start guide

Fender BASSBREAKER 18/30 Service manual

Fender

Fender BASSBREAKER 18/30 Service manual

Xaoc Devices JENA Operator's manual

Xaoc Devices

Xaoc Devices JENA Operator's manual

Tieline Commander G3 TLR300 Reference manual

Tieline

Tieline Commander G3 TLR300 Reference manual

Akai DPS24 Service manual

Akai

Akai DPS24 Service manual

manuals.online logo
manuals.online logoBrands
  • About & Mission
  • Contact us
  • Privacy Policy
  • Terms and Conditions

Copyright 2025 Manuals.Online. All Rights Reserved.