Radial Engineering Ltd. Radial Engineering Ltd.Studio-Q™ User Guide Studio-Q™ User Guide
4
MAKING CONNECTIONS
As always turn off your audio equipment or turn down all volume controls before making connections� This will help you avoid plug-
in and turn-on transients that can damage more sensitive components like tweeters� There is no power switch on the Studio-Q;
simply connecting the power cable from the 15VDC supply will automatically turn it on� Check for power by depressing the MIC
switch� The LED above will illuminate� A handy cable clamp is provided to lock the cable and prevent accidental disconnection�
Connect the output from your recording system to the Studio-Q using either balanced ¼” TRS or unbalanced ¼” TS cables� A
balanced connection will typically yield about 6db more gain� From the Studio-Q connect the program output to your headphone
ampli er.
Testing the audio
We suggest you set the Studio-Q controls to the start position as follows:
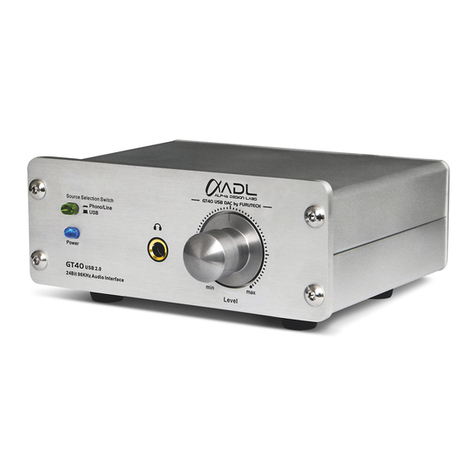
1� Set the recessed DIM control to 12 o’clock
2� Set recessed INT-MIC trim control to 3 o’clock
3� Set the master MIC level to 7 o’clock (off)
4� Set the PROGRAM level to 7 o’clock (off)
5
Connect a headphone amp to the output and set a track to play and
slowly increase the master PROGRAM volume on the Studio-Q until a
comfortable setting is found� Depress the TALKBACK switch, talk at a
normal level and slowly turn up the master MIC level until you can hear
your own voice comfortably over the music� You can also adjust the
DIM control so that when the talkback mic is on the program material is
reduced to a comfortable background level or even off�
Adding an external mic
The Studio-Q is equipped with a second mic input that will also feed the headphone system, allowing a producer or band
member to speak to artists� This is designed for a standard dynamic microphone� Turning on the producer mic can be done via
a remote footswitch like the JR1-M� To use the talkback button to activate an external mic, engage the REMOTE ON BOTH
MICS recessed switch on the right side of the Studio-Q
To test, follow the same procedure as above� Then set the recessed EXT-MIC level to 7 o’clock (off) � Press the TALKBACK
switch and speak into the external microphone while slowly bringing up the EXT-MIC level� You will now want to compare
the output between the INT and EXT (internal and external) microphones to make sure they are reasonably well balanced�
You will then use the master MIC volume control to set the nal gain. If you wish to only hear the output of the external
microphone, simply turn the INT-MIC control fully counter-clockwise to mute it completely�
MIC
DIM
REMOTEPWR
EXT-MICINT-MIC
TALKBACK
TM
STUDIO Q
EXT MIC
REMOTE ON BOTH MICS
REMOTE OUT: PWR / DRY CONTACT
PROGRAM
OUT PROGRAM IN


