manuals.online logo
Brands
  1. Home
  2. •
  3. Brands
  4. •
  5. Radial Engineering
  6. •
  7. Music Equipment
  8. •
  9. Radial Engineering JR-1L User manual

Radial Engineering JR-1L User manual

www.radialeng.com
TruetotheMusic
Radial Engineering Ltd.
®TruetotheMusic
USERGUIDE
Radial Engineering Ltd. JR•1™JR•1™
FEATURES
1. COMBO: Used to
connect to remote
device, provides locking
connection for ¼” TRS
or XLR-male terminated
cable.
2. ACTIVE/PASSIVE:
Selects active mode for
use with Radial devices
or passive mode for
standard footswitch
operation.
3. REV LED: Used to sync
the LED’s with the remote
device.
4. XLR-M: Used to connect
to remote device,
provides alternate
connection for XLR-
female cable.
5. A/B LED: Provides
local visual status of
the remotely controlled
device.
6. LATCHING: The JR•1Lis
equipped with a latching
footswitch that will
change states each time
it is pressed.
7. MOMENTARY: The
JR•1M is equipped with
a momentary footswitch
that will change states
only when held down.
8. YELLOW & BLACK:
Yellow top is highly visible
on dark stages while
black casing is ‘invisible’
from the audience
perspective.
RADIAL ENGINEERING 3 YEAR
TRANSFERABLE LIMITED WARRANTY
RADIAL ENGINEERING LTD. (“Radial”) warrants this product to be free from defects in material and
workmanship and will remedy any such defects free of charge according to the terms of this warranty.
Radialwillrepairor replace(at itsoption) anydefective component(s)of thisproduct (excludingfinishand
wear and tear on components under normal use) for a period of three (3) years from the original date of
purchase.Inthe eventthataparticularproduct isnolonger available,Radialreservestheright toreplace
theproduct withasimilarproductofequalorgreatervalue.Inthe unlikelyeventthatadefectisuncovered,
pleasecall604-942-1001oremail[email protected]to obtainanRAnumber(ReturnAuthorization
number) before the 3 year warranty period expires. The product must be returned prepaid in the original
shippingcontainer (orequivalent) toRadialortoanauthorizedRadialrepaircenterandyoumustassume
the risk of loss or damage. Acopy of the original invoice showing date of purchase and the dealer name
mustaccompanyanyrequest for worktobe performed underthislimitedand transferablewarranty.This
warrantyshallnotapplyif theproducthasbeendamaged duetoabuse, misuse,misapplication, accident
or as a result of service or modification by any other than an authorized Radial repair center.
THERE ARE NO EXPRESSED WARRANTIES OTHER THAN THOSE ON THE FACE HEREOF
AND DESCRIBED ABOVE. NO WARRANTIES WHETHER EXPRESSED OR IMPLIED, INCLUDING
BUT NOT LIMITED TO, ANY IMPLIED WARRANTIES OF MERCHANTABILITY OR FITNESS FOR
A PARTICULAR PURPOSE SHALL EXTEND BEYOND THE RESPECTIVE WARRANTY PERIOD
DESCRIBED ABOVE OFTHREE YEARS. RADIALSHALLNOTBE RESPONSIBLE OR LIABLE FOR
ANY SPECIAL, INCIDENTAL OR CONSEQUENTIALDAMAGES OR LOSS ARISING FROM THE USE
OFTHISPRODUCT. THISWARRANTYGIVESYOU SPECIFICLEGALRIGHTS,ANDYOUMAYALSO
HAVE OTHER RIGHTS, WHICH MAY VARY DEPENDING ON WHEREYOU LIVEAND WHERETHE
PRODUCT WAS PURCHASED.
Radial®JR•1™User Guide - Part #R870 1219 00
© Copyright 2014 all rights
reserved. Specifications and appearance are subject to change without notice.
Radial Engineering Ltd.
1588 Kebet Way, Port Coquitlam BC V3C 5M5
tel: 604-942-1001 • fax: 604-942-1010
[email protected] • www.radialeng.com
REMOTE FOOTSWITCH
®
WIRING DIAGRAMS
1 2 3 4
5 7 8
1 2 3 4
65 8
12
3
F-XLR
12
3
SHIELD
SHIELD
NC
M-XLR
12 3
M-XLR
TIP
SLEEVE
TIP
SLEEVE SHIELD SHIELD
¼” TS (COAX)¼” TS (COAX)
TIP
SLEEVE
¼” TS (COAX)
SHIELD
SHIELD
Standard Coaxial ¼” Guitar Cable
Custom Male-XLR to ¼” Cable
Standard XLR Mic Line
To meet the requirements of California Proposition 65, it is our responsibility to inform you of the following:
WARNING:ThisproductcontainschemicalsknowntotheStateofCaliforniatocausecancer,
birth defects or other reproductive harm.
Please take proper care when handling and consult local government regulations before discarding.
INTRODUCTION
Thankyouforpurchasing theRadialJR•1footswitch.Please takeafewmoments
to read this short manual and familiarize yourself with the various functions. This
will help you get the most out of the JR•1 as you explore its uses. Should you
have a question that is not covered in this manual, we invite you to send us an
email at [email protected] and we will do our very best to reply in short order.
OVERVIEW
TheRadialJR•1isa remote footswitchequippedwitheitheralatchingfootswitch
(JR•1L) or momentary footswitch (JR•1M) depending which model you have
purchased. The JR•1 controls various Radial devices, such as the Relay Xo
stereo switcher, and derives its power from the device under control, thus
eliminating the need for a local power supply or batteries.
LATCHING: The JR•1L is equipped with a latching footswitch
that will change states each time it is pressed. Press the switch
once totogglefromAto Bandpressagainto changebacktoA.
The latching footswitch is a good option when switching effects
that stay on for the duration of a song.
JR•1L EFFECTS
RELAY
Xo
MIXERVOCAL MIC
MOMENTARY: The JR•1M is equipped with a momentary
footswitch that will change states only when held down. Press
and hold the switch to toggle fromAto B and release the switch
tochangebacktoA.Themomentaryfootswitchis wellsuitedfor
‘push-to-talk’ uses like toggling to an intercom system to speak
with stage technicians.
JR•1M
RELAY
Xo
INTERCOM
PA SYSTEMVOCAL MIC
Radial Engineering Ltd.Radial Engineering Ltd. Radial Engineering Ltd.
JR•1™JR•1™JR•1™
ACTIVE MODE
Onthe rear panel you will findtworecessed‘set and forget’switcheslabeled
ACTIVE/PASSIVE and LED REV.Thesearerecessedtopreventaccidentally
changingsettingsduringuse.Useasmallscrewdrivertoaccesstherecessed
switches during setup. Once you are done, you will likely leave them alone.
Set the switch to ‘active’ (inward position) when the JR•1 is controlling a
Radial device such as the Relay Xo stereo switcher. When set to active, the
JR•1sources its power from the remotedeviceandthe LED indicators work.
Located next to the ACTIVE/PASSIVE switch is a second recessed switch
labeled‘REV LED’.This is used to helpsynctheA/BstatusLEDssothatthe
‘A’ LED on the footswitch coincides with the ‘A’ LED on the remote device.
If the indicators are not in sync, try toggling the position of this switch to
solve the problem.
PASSIVE MODE
A passive mode may be engaged that allows the JR•1 to function as a
standardfootswitch for any device with acompatible¼”footswitch jack. Use
passive mode with non-Radial devices such as guitar amplifiers to change
amp channels or electronic keyboard to turn on the sustain.
To use like a standard footswitch, set the ACTIVE/PASSIVE switch to
‘passive’(outwardposition).TheA/BstatusLEDs will not illuminate when the
JR•1 is operating in passive mode. Connection is done the same way with
¼” guitar cable. Connect one end to the JR•1 and the other to a compatible
footswitch jack.
¼” GUITAR CABLE
GUITAR AMPJR•1
MAKING CONNECTIONS
Connecting the JR•1 is done using ¼” guitar cables or XLR mic lines
depending on the device you are connecting to. The rear panel features a
combo connector that accepts ¼” or XLR connectors and an alternate XLR
connector is provided for flexibility.
Only one remote output connector should be used at a time as using
two concurrently could cause a control system conflict.
CONNECTING WITH ¼” GUITAR CABLES
Standard coaxial guitar and instrument cable may be used to connect the
JR•1 to the remote device.
JR•1
¼” GUITAR CABLE
RELAY Xo
CONNECTING WITH XLR MIC LINES
Any standard XLR mic cable may be used. The locking XLR connectors are
beneficial on busy stages as it reduces the opportunity for a connection to
come lose during a performance. Press the metal tab above the connector
to release the cable.
JR•1
LOCKING XLR MIC LINE
RELAY Xo
Another advantage is that XLR cables can be dasiy-chained together to
make a longer cable. This means you won’t have to depend on a specific
custom built cable to connect your remote device.
DAISY CHAIN OF XLR CABLES
This manual suits for next models

1

Other Radial Engineering Music Equipment manuals

Radial Engineering ProRMP User manual

Radial Engineering

Radial Engineering ProRMP User manual

Radial Engineering SHOTGUN User manual

Radial Engineering

Radial Engineering SHOTGUN User manual

Radial Engineering X42 V2 User manual

Radial Engineering

Radial Engineering X42 V2 User manual

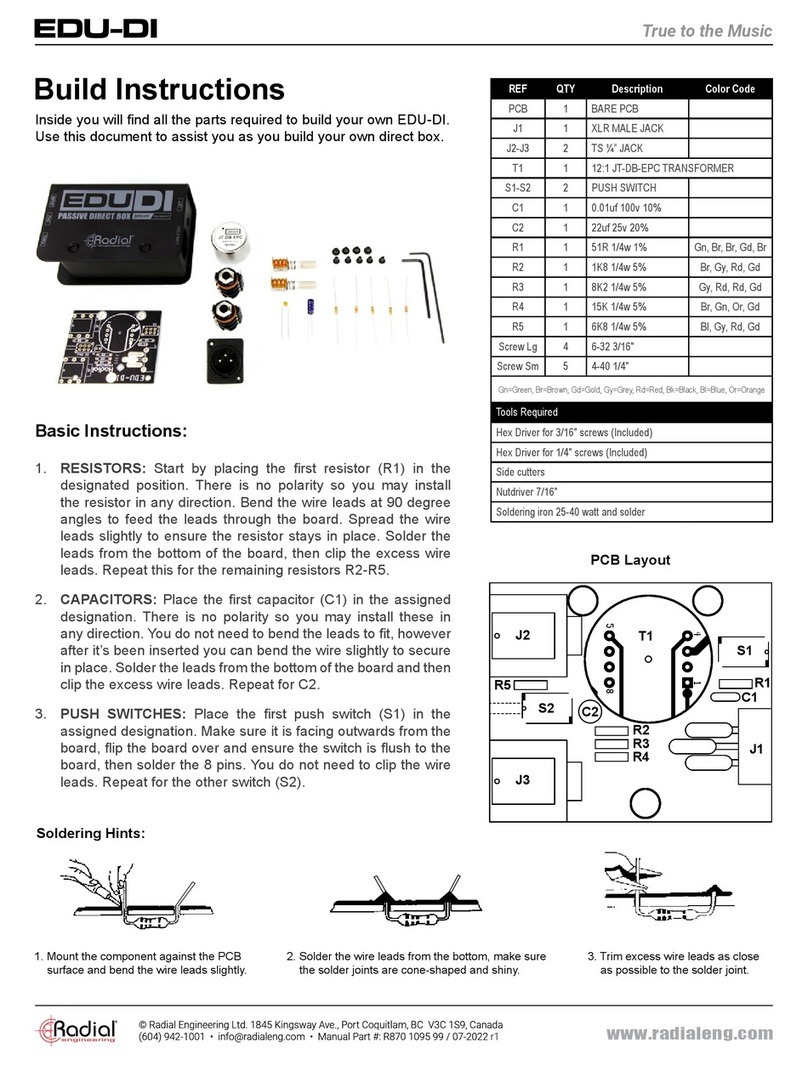
Radial Engineering EDU-DI Manual

Radial Engineering

Radial Engineering EDU-DI Manual

Radial Engineering Reamp JCR Studio reamper User manual

Radial Engineering

Radial Engineering Reamp JCR Studio reamper User manual

Radial Engineering StageBug SB-2 User manual

Radial Engineering

Radial Engineering StageBug SB-2 User manual

Radial Engineering STUDIO Q User manual

Radial Engineering

Radial Engineering STUDIO Q User manual

Radial Engineering Reamp X-Amp User manual

Radial Engineering

Radial Engineering Reamp X-Amp User manual

Radial Engineering Reamp HP User manual

Radial Engineering

Radial Engineering Reamp HP User manual

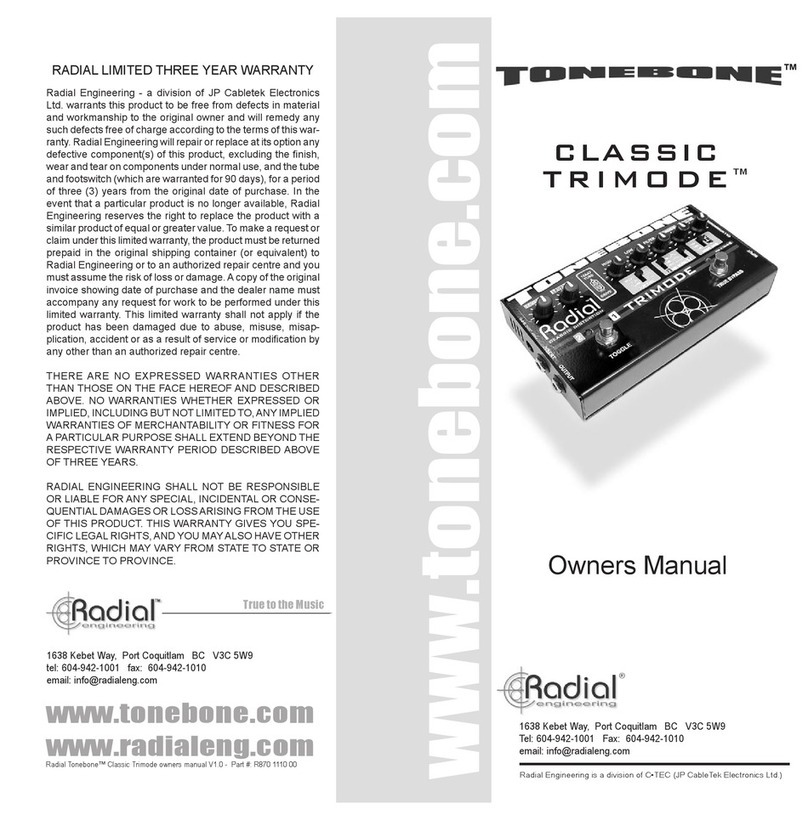
Radial Engineering CLASSIC TRIMODE TONEBONE User manual

Radial Engineering

Radial Engineering CLASSIC TRIMODE TONEBONE User manual

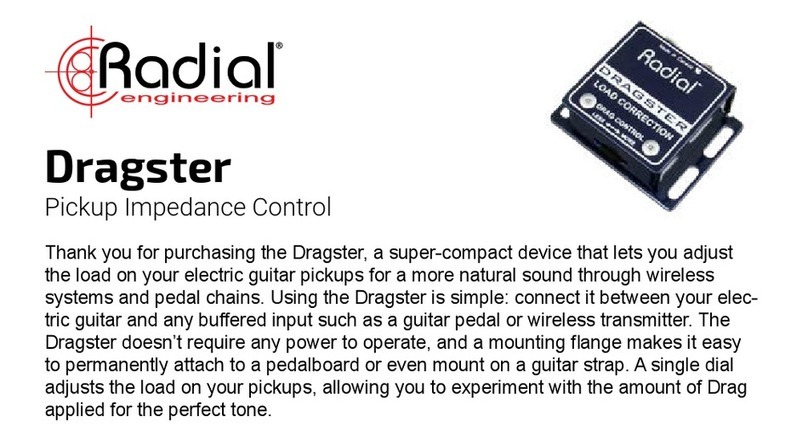
Radial Engineering Dragster User manual

Radial Engineering

Radial Engineering Dragster User manual

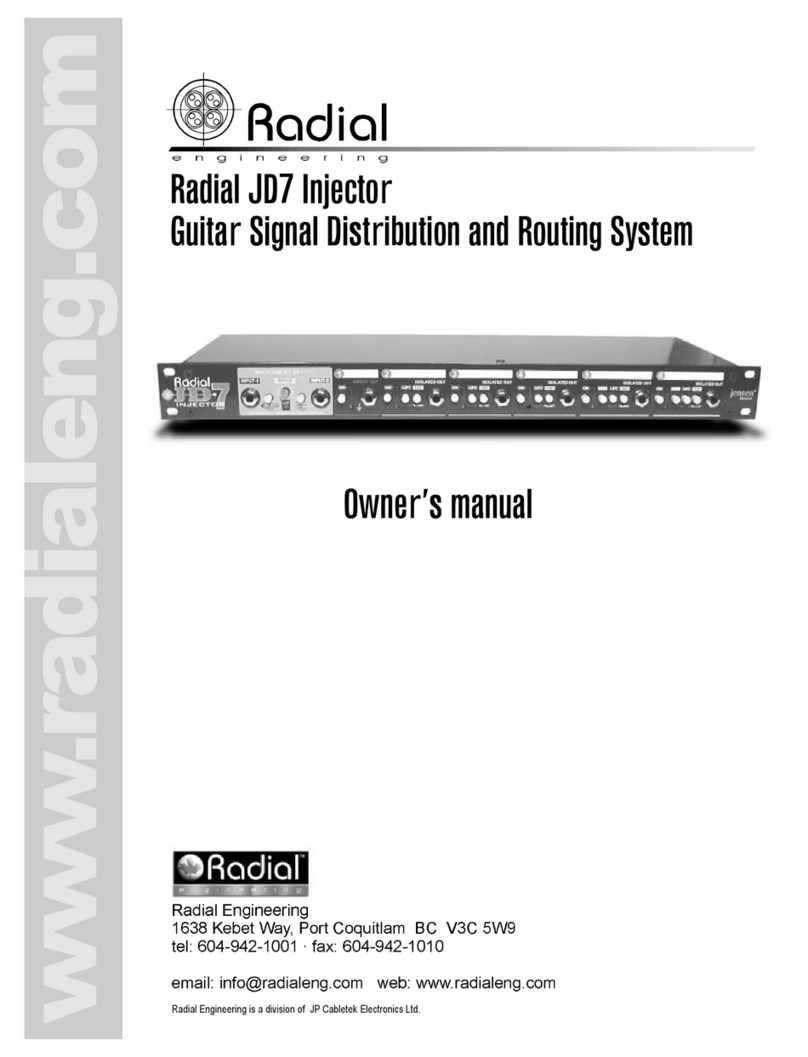
Radial Engineering JD7 Injector User manual

Radial Engineering

Radial Engineering JD7 Injector User manual

Radial Engineering PZ-DI User manual

Radial Engineering

Radial Engineering PZ-DI User manual

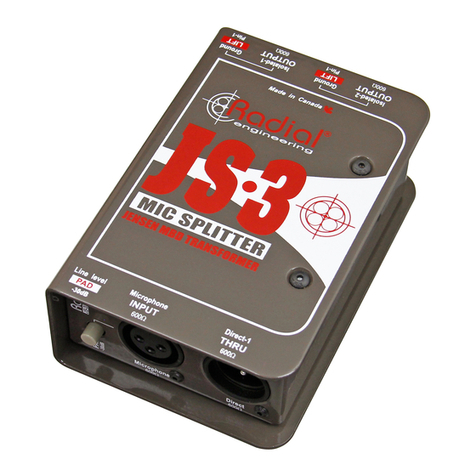
Radial Engineering JS-3 User manual

Radial Engineering

Radial Engineering JS-3 User manual

Radial Engineering StageBug SB-2 User manual

Radial Engineering

Radial Engineering StageBug SB-2 User manual

Radial Engineering JDX Direct-Drive User manual

Radial Engineering

Radial Engineering JDX Direct-Drive User manual

Radial Engineering Reamp EXTC Stereo User manual

Radial Engineering

Radial Engineering Reamp EXTC Stereo User manual

Radial Engineering STAGEDIRECT User manual

Radial Engineering

Radial Engineering STAGEDIRECT User manual

Popular Music Equipment manuals by other brands

Behringer V-Verb Pro REV2496 user manual

Behringer

Behringer V-Verb Pro REV2496 user manual

Atlantic Technology Incabinet damping kit installation manual

Atlantic Technology

Atlantic Technology Incabinet damping kit installation manual

Acoustic Remedy CLIMACASE owner's manual

Acoustic Remedy

Acoustic Remedy CLIMACASE owner's manual

Brunetti Vector user manual

Brunetti

Brunetti Vector user manual

Vintage Revolution PedalPro owner's manual

Vintage Revolution

Vintage Revolution PedalPro owner's manual

APART PR1000R instruction manual

APART

APART PR1000R instruction manual

Behringer Denoiser SNR2000 user manual

Behringer

Behringer Denoiser SNR2000 user manual

EMG EMG-VMC Installation information

EMG

EMG EMG-VMC Installation information

2hp LFO manual

2hp

2hp LFO manual

Dangerous Music LIAISON user guide

Dangerous Music

Dangerous Music LIAISON user guide

EMG 40-TW Installation information

EMG

EMG 40-TW Installation information

MTX Thunder sports MUDSYS41 owner's manual

MTX

MTX Thunder sports MUDSYS41 owner's manual

Schatten Design CV Clip-On Violin Pickup instructions

Schatten Design

Schatten Design CV Clip-On Violin Pickup instructions

M-Audio Midiman Thru 3x8 manual

M-Audio

M-Audio Midiman Thru 3x8 manual

TerraTec DMX 6fireLT manual 

TerraTec

TerraTec DMX 6fireLT manual 

AvonSynth AVS-VCO-1 user guide

AvonSynth

AvonSynth AVS-VCO-1 user guide

Technics OTTAVA f SC-C65 Basic owner's manual

Technics

Technics OTTAVA f SC-C65 Basic owner's manual

Bastl grandPA manual

Bastl

Bastl grandPA manual

manuals.online logo
manuals.online logoBrands
  • About & Mission
  • Contact us
  • Privacy Policy
  • Terms and Conditions

Copyright 2025 Manuals.Online. All Rights Reserved.