LIMITED WARRANTY
Warranty Claims
PRODUCTS UNDER WARRANTY
WHAT IS NOT COVERED BY THIS WARRANTY
One year from the date of original installation or fifteen (15) months after shipment date from German Knife Radiance
whichever occurs first.
• Radiance Medium Duty Microwaves- NE/NM series (TMW-1100NE, TMW-1100NM, TMW-1100C)
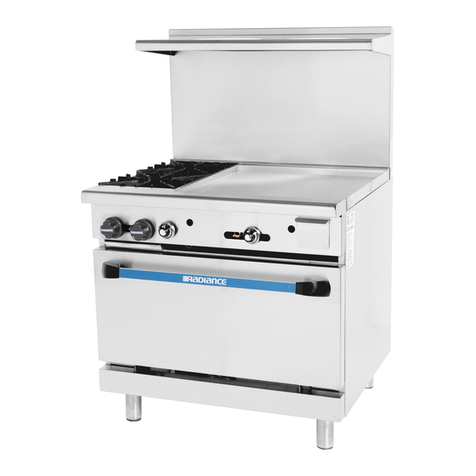
• Radiance Ranges & Countertop cooking series (All TAR-, TARG-, TAHP-, TARB-, TAMG-, TATG-, TASP-, TAWR-)
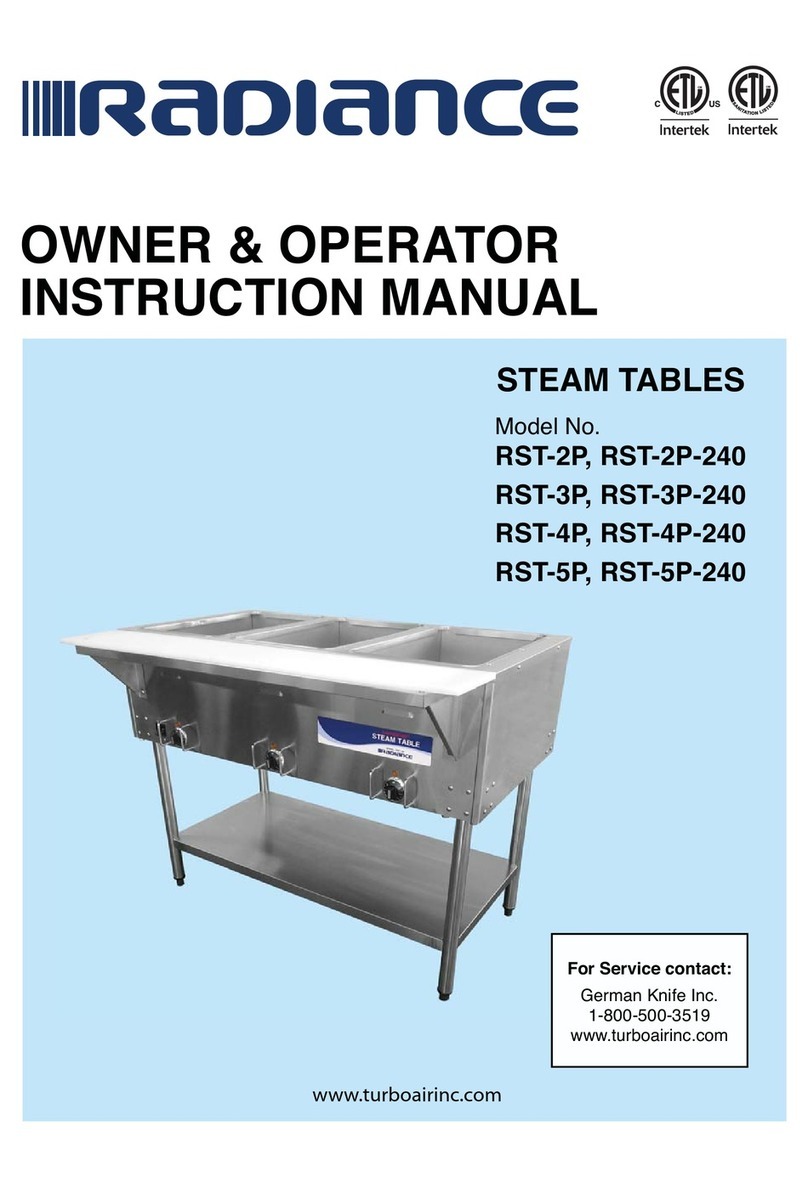
• Radiance Steam Tables (RST-)
• Radiance Cheesemelters, Salamanders, Hand Wrappers (All TACM-, TASM-, RHW-, RFW-)
• Radiance Bakery Equipment (RBCO-, RBDO-, TDC-)
• German Knife Light Duty Slicer- LD series (GS-12LD)
Two years from the date of original installation or twenty seven (27) months after shipment date from German Knife Radiance
whichever occurs first.
• German Knife Heavy Duty Meat Slicer- Automatic & Manual (GS-12A, GS-12M)
• German Knife Band Saw (All GBS-)
One year from the date of original installation or fifteen (15) months after shipment date from German Knife Radiance
whichever occurs first. Plus 2 additional years for Magnetron (part only)
• Radiance Heavy Duty Microwaves- HD Series (TMW-1200HD, TMW-1800HD)
Stainless steel fabrication models such as sinks, work tables, equipment stands, wall shelves, utility carts are not covered under warranty
unless damage is reported or claimed right after shipment is received not exceeding 3 days from receiving.
Any part covered under this warranty that is found by German Knife / Radiance to have been defective within the above time period is
limited to the repair or replacement, including labor charges, of defective parts or assemblies. The labor charges shall include standard
straight time labor charges only and reasonable travel time as determined by German Knife / Radiance.
German Knife / Radiance warrants that the equipment, as supplied from the factory to the end-user, is free from defects in materials and
workmanship. Should any part be found defective resulting from normal use within the defined warranty period, German Knife / Radiance
will gladly dispatch an authorized service agency to repair and/or replace necessary parts under the following conditions.
Repairs under this warranty are to be performed by a German Knife / Radiance authorized service agency only.
On-site warranty service calls within 100 miles of an authorized service company. End user is responsible for all extra travel and mileage
at prevailing rates. No mileage or travel time is paid.
German Knife / Radiance will not be responsible for service parts and labor charges performed by non-authorized service companies.
All claims should include the model number, serial number, proof of purchase, date of installation, and all pertinent information
supporting the alleged defect.
German Knife / Radiance’s sole obligation under this warranty is limited to either repair or replacement of parts, subject to the additional
limitations below. This warranty neither assumes nor authorizes any person to assume obligations other than those expressly covered by
this warranty.
• Equipment failure resulting from improper installation will not be honored under warranty. Examples are wrong utility connection
and improper utility supply problems.
• Equipment that has not been maintained accordingly. Examples are calibration of controls, adjustment to pilots and burners,
and damage from improper cleaning.
• Equipment that has not been used in an appropriate manner, alteration, neglect, abuse, misuse, accident, damage during transit
or installation, fire, food, acts of God.
• Warranty is not transferrable and only applies in favor of the original purchaser.
• Equipment failure resulting from electrical power failure, use of extension cords, unstable power supply, low voltage,
and voltage drops to the unit.
These warranties are exclusive and in lieu of all other warranties, including implied warranty and merchantability or fitness for a particular
purpose. No consequential damages. German Knife / Radiance is not responsible for economic loss, profit loss or special, indirect, or
consequential damages. There are no warranties which extend beyond the description on the face hereof.
Outside the U.S., this warranty does not apply to, and German Knife / Radiance is not responsible for, any warranty
claims made on products sold or used outside the continent of the United States.


