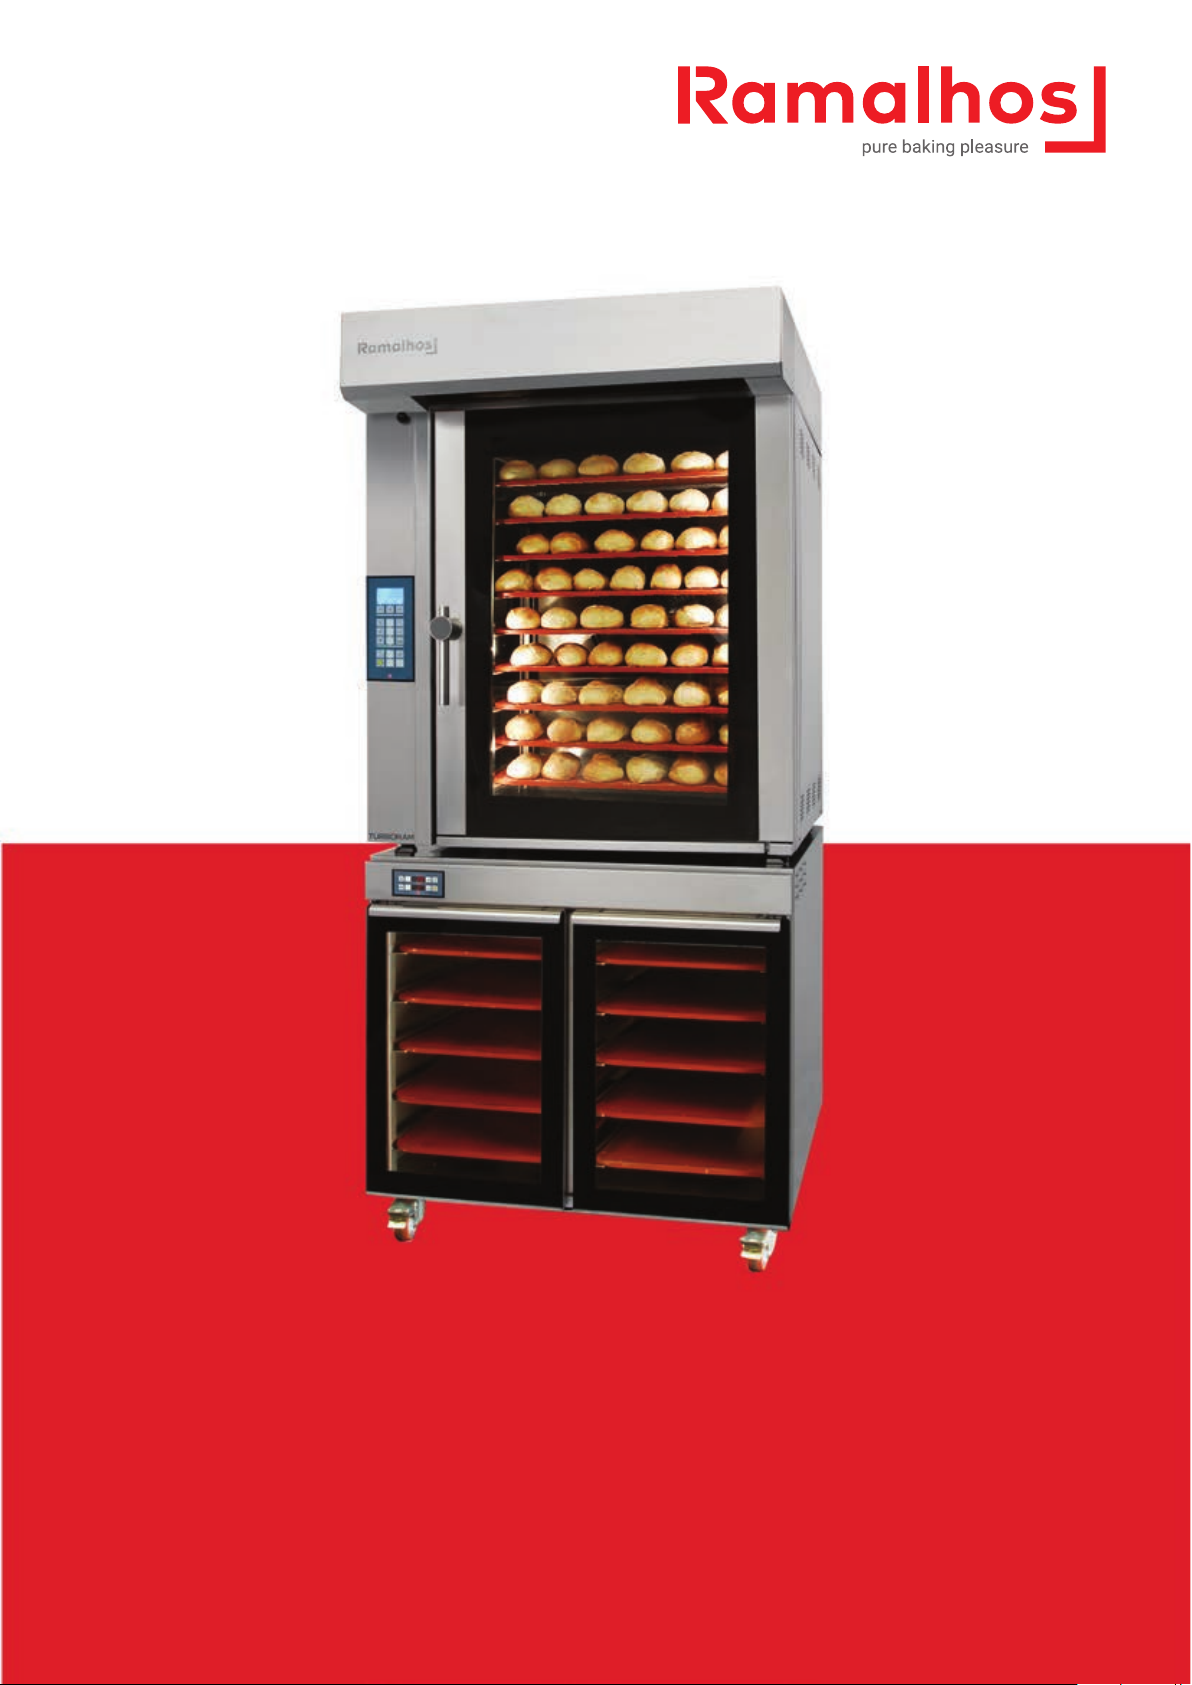
TURBORAM | Edition C - Revision 4
Instruction Manual | 10
Baking with a programme
Proceed as follows to select a programme:
1 - Press (NPROG) once;
2 - Use ( ) or ( ) to search for the desired pro-
gramme;
3 - Once you find the desired programme, press (OK)
once.
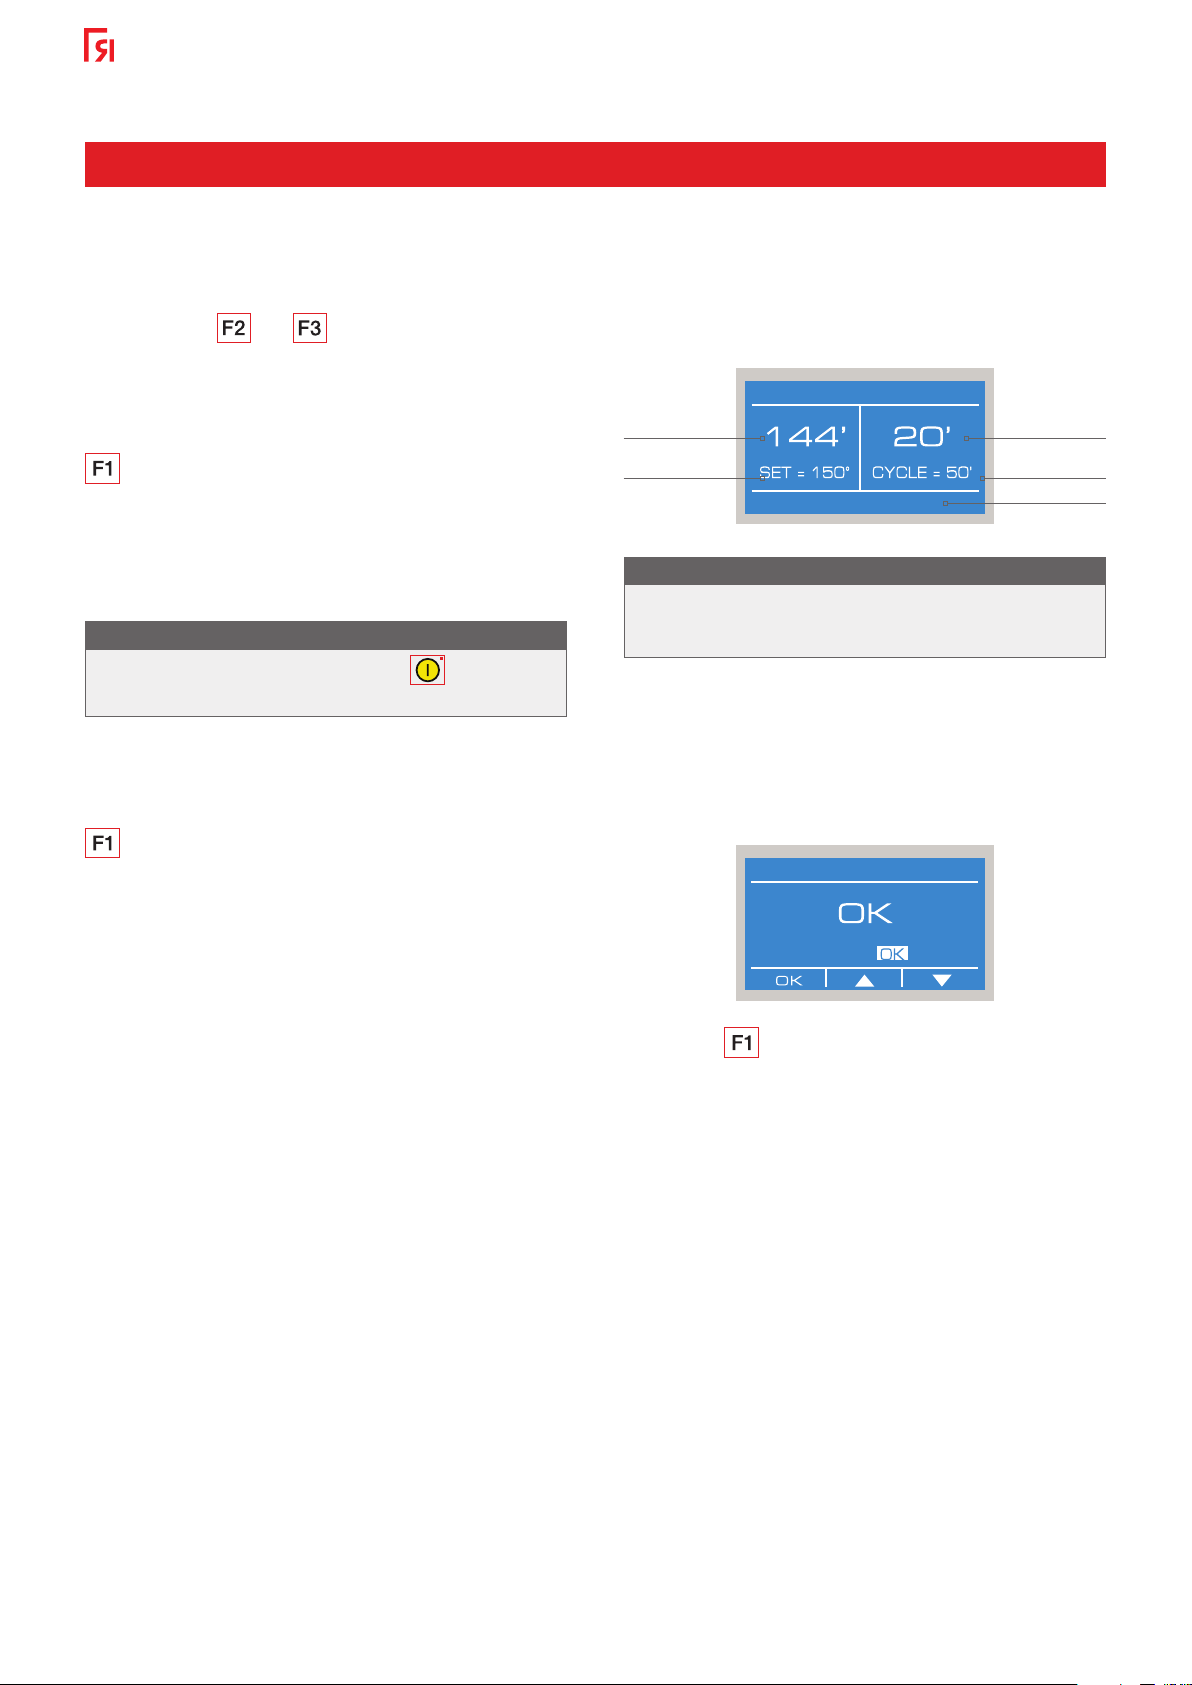
Once the programme appears on the display, proceed as fol-
lows to start the baking cycle:
1 - Press the button once.
The oven will pre-heat until it reaches the selected tempera-
ture.
Once the oven reaches the selected temperature, an acoustic
signal will be heard and the message OPEN and LOAD will
show up on the display intermittently.
Open the oven, load the product to be baked and close the
oven door.
As the oven door is closed the message BAKING IN COURSE
will show up on the display intermittently.
During this stage, steam injection and remaining baking time
will be done automatically.
Once the programmed baking time is over, an acoustic signal
will be heard and the message OPEN TO STOP will show up
on the display intermittently.
Open the oven door and unload the baked produce.
If the oven door is kept open for more than 10 seconds when
the product is unloaded, the oven will remain inactive until a
new baking cycle is started.
EDITING PROGRAMMES DURING THE BAKING CYCLE
Proceed as follows to alter the temperature or baking time
during a baking cycle (while the message BAKING IN COURSE
appears intermittently on the display):
• Temperature
1 - Press the temperature button on the display once to see
the selected temperature.
2 - Use ( ) or ( ) to alter the temperature.
3 - Press (OK) to set the desired temperature.
• Baking time
1 - Press the time button on the display once to see the se-
lected baking time.
2 - Use ( ) or ( ) to alter the baking time.
3 - Press (OK) to set the desired baking time.
• Open or close the steam output valve manually
The steam output valve may be opened or closed by press-
ing the button.
If the LED of the button is turned off it means the valve is
closed. If the LED is on it means the valve is opened.
• Manual steam injection
The oven will inject steam automatically in the beginning of
the baking cycle (as mentioned previously). However, should
you need to inject more steam press the button once
and the control panel will inject steam.
If the operator realizes that baking time needs to be extend-
ed as the product is unloaded, he/she should close the oven
door within ten seconds and the oven will automatically add
minutes to the baking cycle.
Even when the oven is in standby mode in between baking
cycles, the turbines will continue functioning until the tem-
perature drops below 150ºC to allow the motors to cool
down.
If the changes are made in the programme 0---Manual, they
will be immediately stored in that programme.
If the changes are made in a different programme (not
0---Manual), they will only be effective for that baking cycle
and will not be stored in the programme for future baking
cycles.
Important note
Baking of products with high alcohol content is strongly
disadvised due to potential danger of explosion and fire.
If reduced alcohol content products are used, the steam
valve must remain open throughout baking in order to
easily evaporate alcohol content.