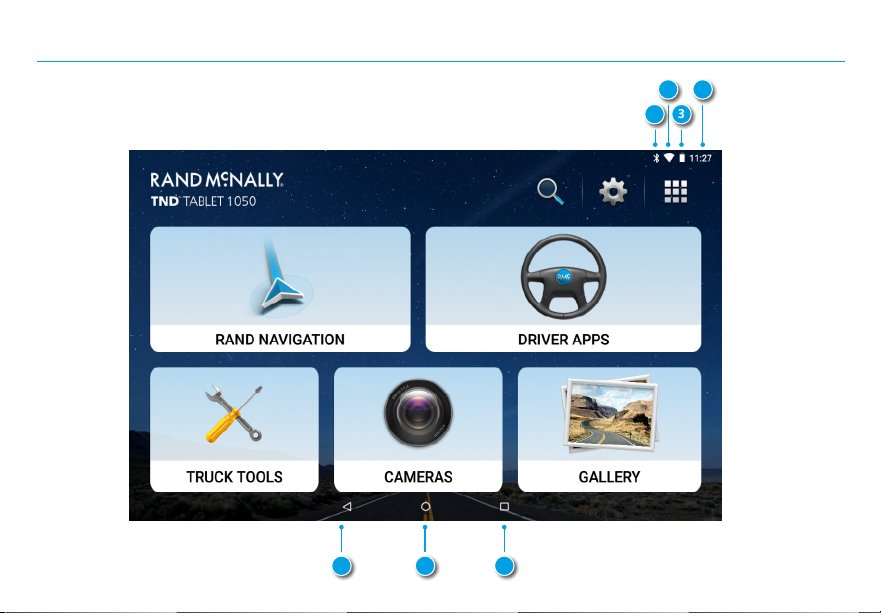
Rand McNally TND TABLET 1050 User manual
Other Rand McNally Tablet manuals

Rand McNally
Rand McNally RV TABLET 80 User manual

Rand McNally
Rand McNally overdryve 7RV User manual

Rand McNally
Rand McNally TND TABLET 85 User manual

Rand McNally
Rand McNally TND User manual

Rand McNally
Rand McNally RV Tablet 70 User manual

Rand McNally
Rand McNally RV TABLET 80 User manual

Rand McNally
Rand McNally TND User manual

Rand McNally
Rand McNally TND 85 User manual

Rand McNally
Rand McNally TND TABLET 1050 User manual