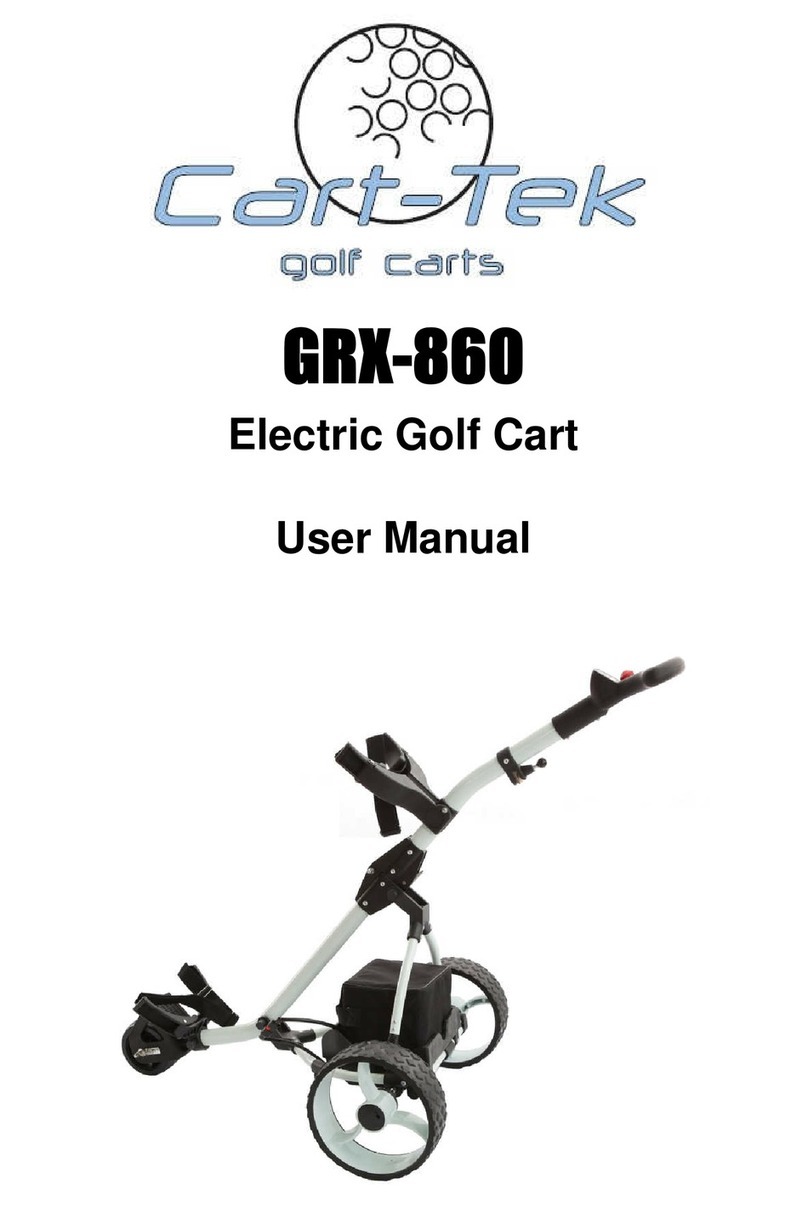
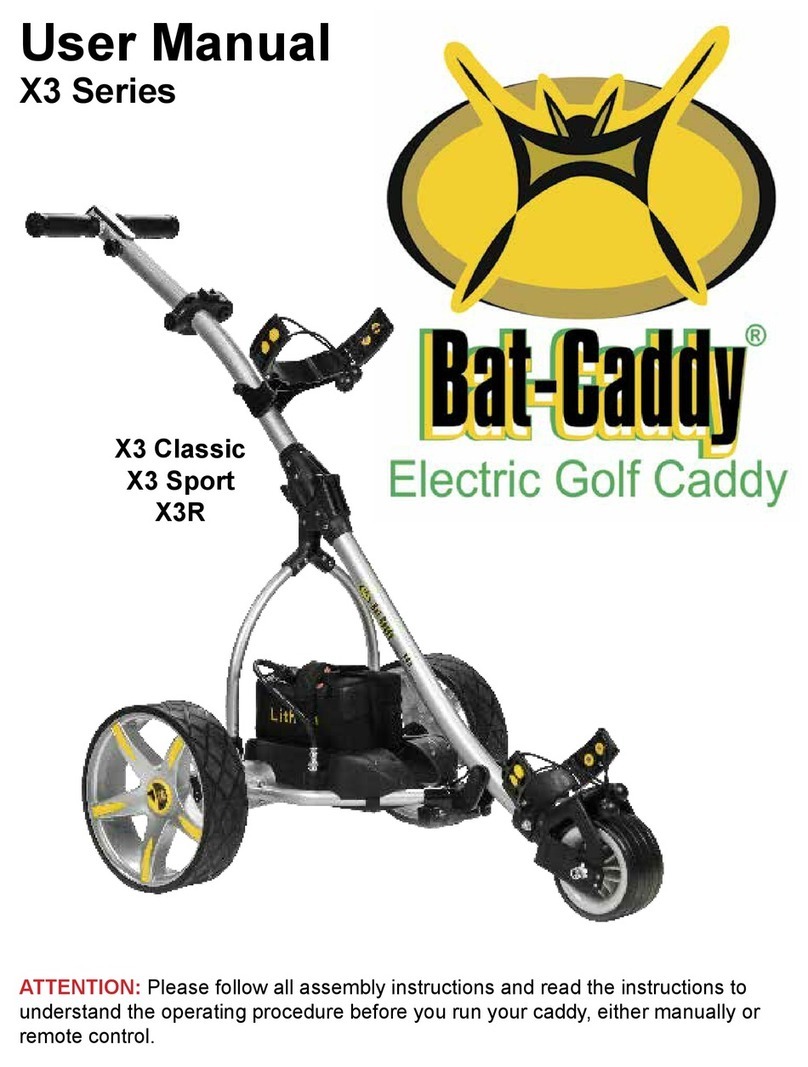
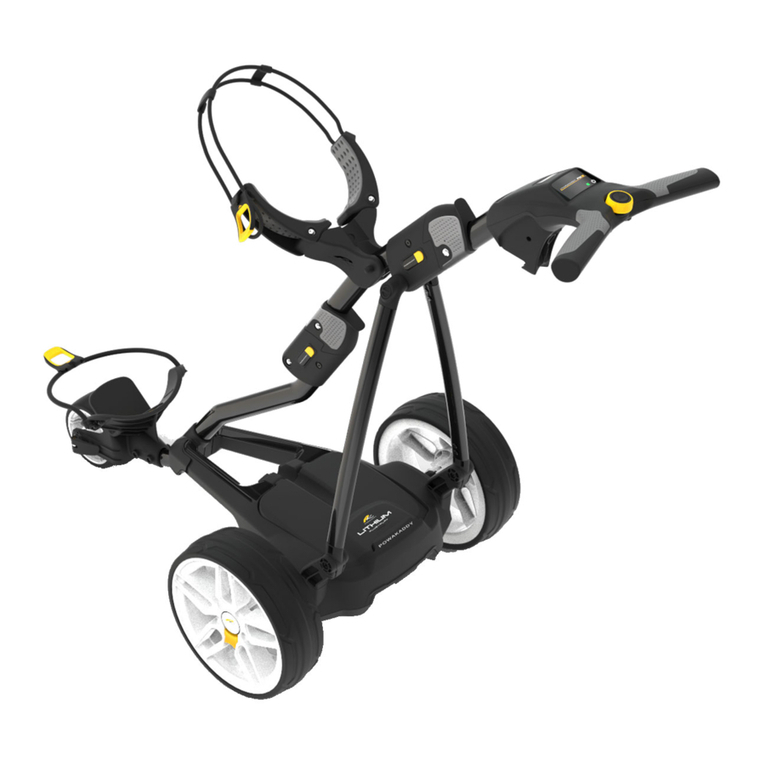
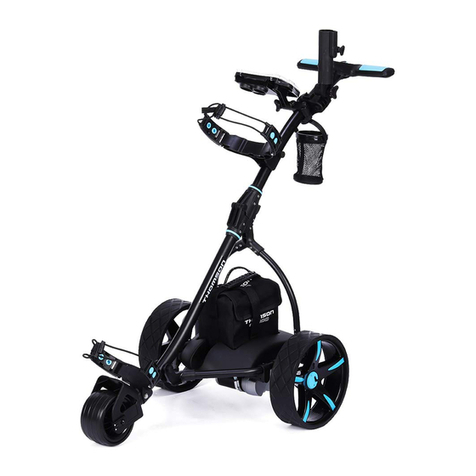
RBSM G93R User manual

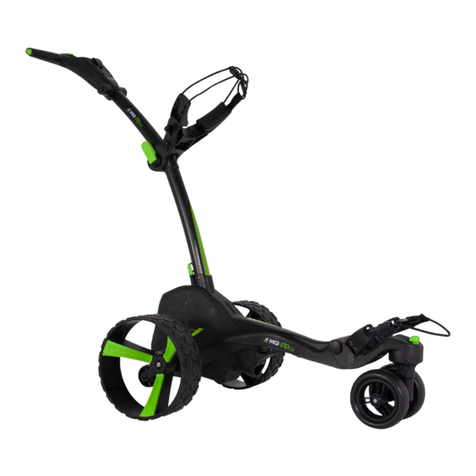
Digital Remote golf trolley
User Manual
WARNING: PLEASE FOLLOWALLASSEMBLY INSTRUCTIONS AND READAND UNDERSTAND
THE OPERATING INSTRUCT
For customer assistance, please call our toll free line at (844) 202-3572
www.rbsmsports.com
Please do not return the item to the store you purchased. Call our toll free number.

Packing List
Standard Parts
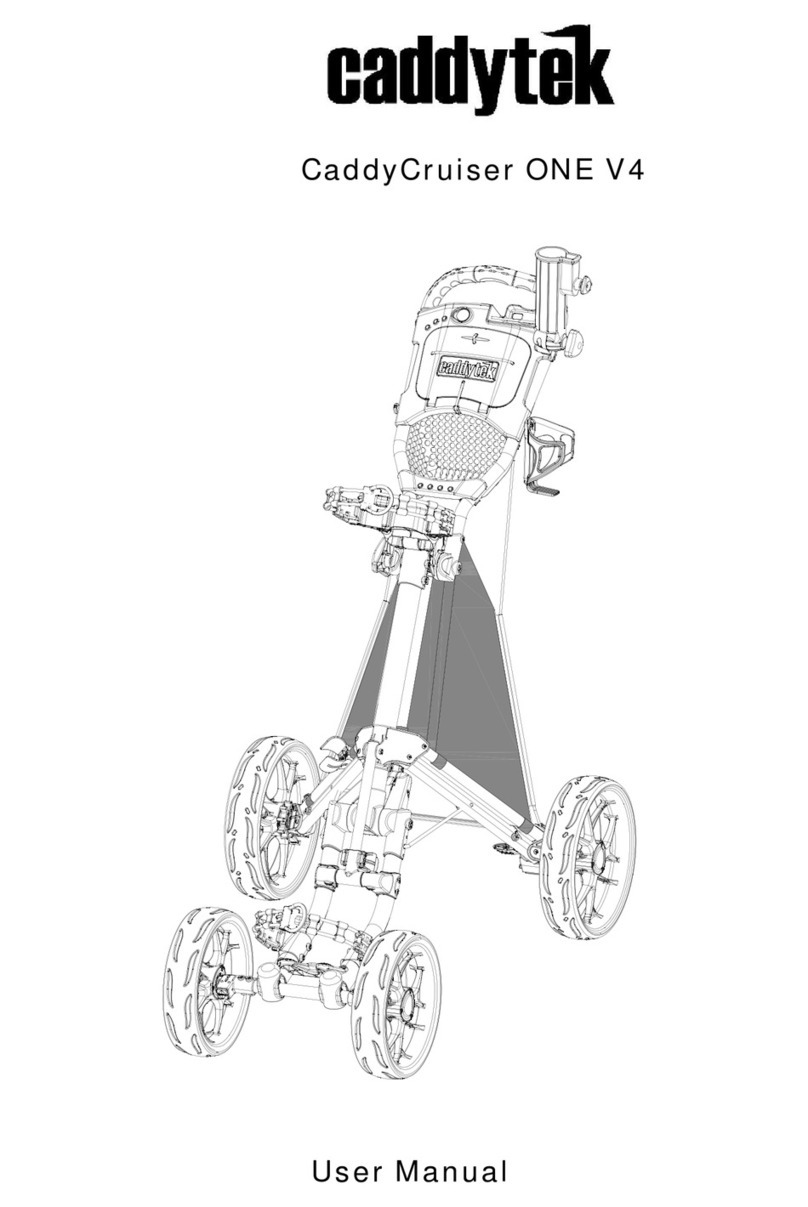
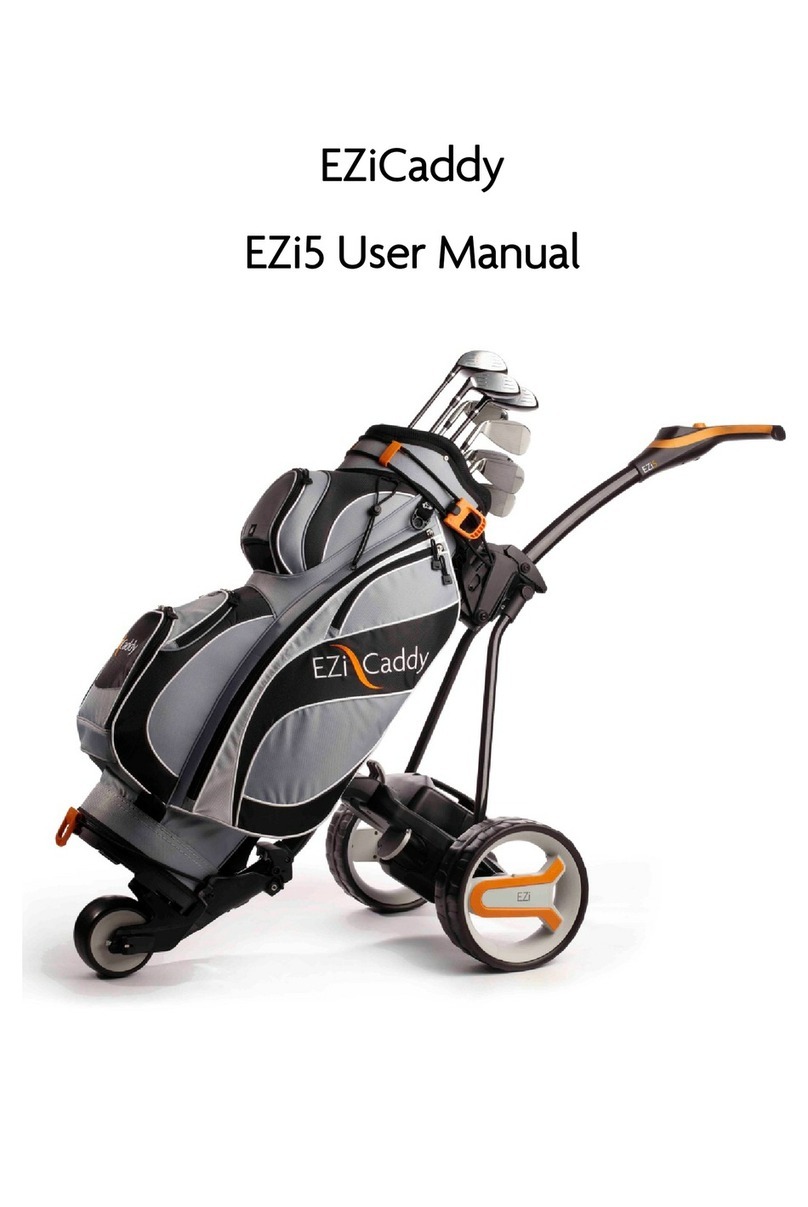
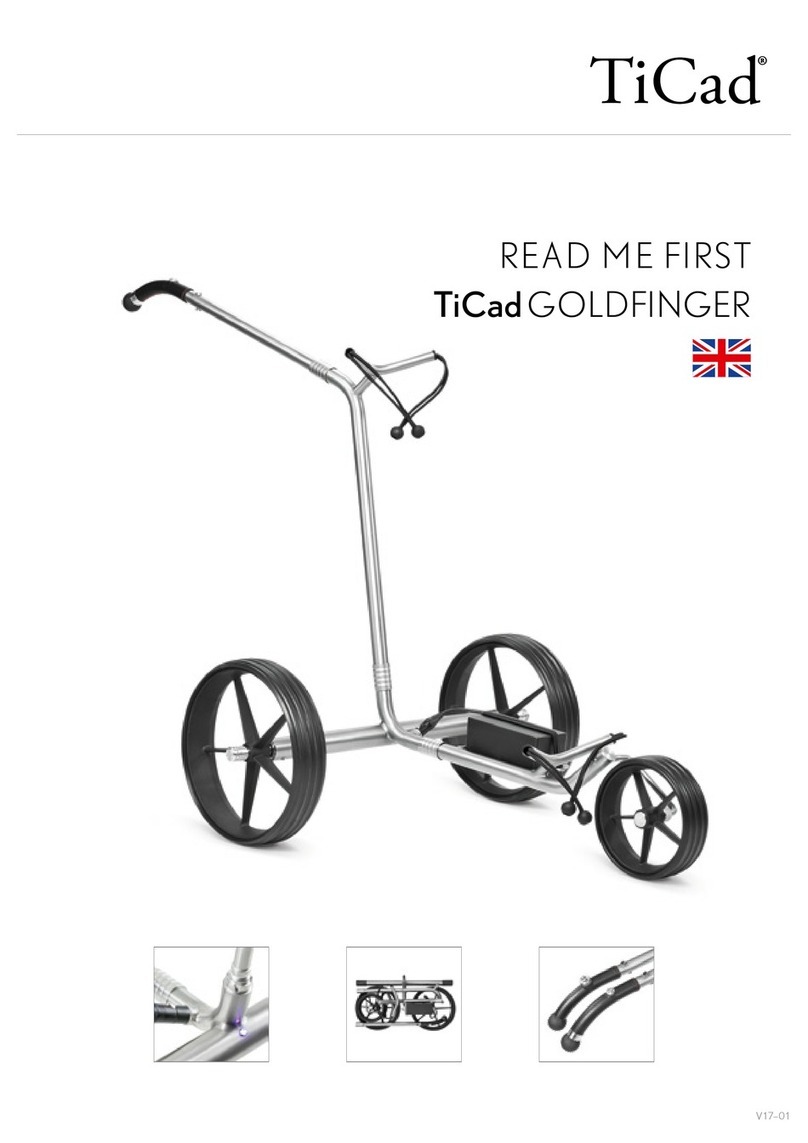
1 x Caddy Frame
1 x Anti-Tip Wheel & Pin
2 x Rear Wheels
1 x Battery Pack (Battery, Bag, Leads)
1 x Charger
1 x Tool kit
Remote handset
Extras may be included as per the advert statement.
1. Glossary
1 Handle 8 Battery tray
2 Upper Bag Holder 9 Lower Bag Holder
3 Upper Bag holder belt 10 Front Wheel
4 Battery 11 Folding part
5 Rear Wheel 12 Charger
6 Wheel Cap 13 remote control
7 Wheel Rubber 14 Anti Tip Wheel

2.Assembly Instructions
1. Unpack all items carefully and check everything has been included. Some
extras may be in small packages so do not throw anything away until all has
been checked.
2. Place the frame structure (one piece) on the floor and ensure you do not
scratch the frame on a hard surface. Erect the frame by unfolding and
connecting the main frame tube together at the joint and locking the Y-shape
lower support structure to the main frame with the frame lock mechanism.

3. Attach the wheels to the axles by pushing the wheel locking button on the
outside of the wheel and inserting the axle extension into the wheel. Make sure
to keep the locking button on the outside of the wheel pushed in during this
process, in order to enable the axle extensions, including the two pins, to be
inserted all the way into the wheel. If not locked in, the wheel will not be
connected to the clutch and will not be propelled!!! Test the lock by trying to
pull the wheel out. To disassemble the wheels proceed in reverse order. If you
feel the wheels are not working then take them off –switch the power on and if
the axle rotates you will know you have not pushed the wheels all the way in.
4. Place battery pack on battery tray and fasten Velcro strap around battery and
fasten tightly. Insert battery plug into caddy outlet.
5. Insert anti-flip wheel into frame -only for remote control model.

3. Handle Function
1. New Timer Function (Distance function)
A→B: When press one time, digitron show A, the trolley will run 10 Meters and stop by itself
When press two times, digitron show B, the trolley will run 20 Meters and stop by itself
When press three times, digitron show C, the trolley will run 30 Meters and stop by itself
2. New Cruise and Brake Function:
►│: a. ON/OFF button: controls the caddy’s power supply. Press for ca. 2 seconds in order to
switch the caddy ON or OFF (similar to a mobile phone operation)
b. Go/stop button. Press on time trolley will stop, press another time trolley will start.
Timer and go/stop button: when trolley go from 1-9 speed level, start Timer function and press
go/stop ,it is cancel Timer function , digitron back to former speed level , press another time ,
trolley will go in former speed level.
3. Speed controller
Scrolling of the speed button lets you choose your preferred speed to suit your space perfectly, and
the display will show the preferred speed. The speed level is from 1 to 9.
4. Remote Control
A. Stop : The red button in the middle of the directional arrows should
be used for braking the caddy.
B. Timer: 10,20,30meters, Stop (same as manual control timer
function)
C. Left Arrow: initiates left turns. When the arrows are released the

caddy stops turning and continues straight with the original speed
prior to turning.
D. Right Arrow: same as left arrow function
E. Forward Arrow: Pushing the forward arrow will set the caddy in
forward motion. Pushing multiple times will increase the speed.
F. Backward Arrow: Pressing the back arrow will set the caddy in
backward motion. Increase speed by pushing multiple times.
G. ON/OFF Switch: Located on side of device ,turns remote control
on or off.
5. Operating Instructions
1. Operating your Caddy
In order to turn the caddy on push the On/Off switch to On. The battery charge LED should light
up.
While holding on to the handle start dialing the speed control with your index finger slowly

forward or clockwise. The caddy will start moving forward.Adjust the speed to the desired pace.
To stop or slow the caddy down either dial the speed control knob backwards or use the cruise
control or On/Off buttons as described previously.
2. Battery Use and Care
PLEASE OBEYTHESE PRECAUTIONS FOR BATTERY USE & CHARGING
a) Please do not charge the battery in a sealed container or in upside down position. It is
recommended to charge the battery in a well ventilated area.
b) Please do not charge the battery near a heater, or where heat accumulation may occur or
in direct sunshine.
c) In order to prolong the service life of the battery, please avoid complete discharge and
charge the battery after every use. When the trolley is not in use for an extended period
of time, it is recommended to charge the battery once a week.
d) The battery’s poles red color stands for positive, and the black for negative. In case of
battery replacement please reconnect the poles of the battery correctly. Otherwise your
caddy could suffer severe damage.
e) Please do not disassemble the battery or throw it into a fire as this could cause an
explosion.
f) NEVER TOUCH THE ELECTRIC POLES OF THE BATTERY!! SAFETY HAZARD!!
3 How to Charge the Battery
Charge the battery by plugging the charger into the battery and then plug the charger into the main
electricity supply. Charge the battery after each round of golf. Charging is complete when charger
light (See type of charger) changes colour. Battery charging takes between 5 - 10 hours. However,
we recommend you charge for an extra 2 hours after the charger light shows a full charge. This is
because the battery will usually be 90 percent charged when the charger light changes.
Once the battery is fully charged there is no need to leave it plugged into the charger .There are
two types of battery chargers.
There are different types of chargers for our golf trolleys. The chargers will usually have a light
which changes colour when a full charge is given (remember to add a couple of hours to the
charging time)
6. General Maintenance
The steps below will ensure that you get a prolonged and reliable life out of your golf
trolley.
1) The Caddy has been designed so that the user can concentrate on playing golf, whilst the caddy
does the work of carrying your bag. In order to keep your golf trolley looking at its best, we
advise that you wipe any mud or grass from the frame, wheels and chassis after every round

with a damp cloth or paper towel.
2) Do NOT use any high-pressure jet washers to prevent moisture entering the electronic systems,
motors or gear boxes of the caddy.
3) Remove the rear wheels every few weeks and remove any debris that might cause the wheels
to drag. You might also apply some lubricant, such WD-40 to keep moving parts smooth.
4) A four - five hour round of golf played once a week for 12 months is equivalent to four years
use of a lawnmower, so please inspect your cart at least once a year thoroughly, and if you
notice any symptoms of wear, contact your golf trolley Service Center. Alternatively, you can
have your caddy inspected and tuned by our Service Center, so it’s always in great shape for
the new season.
5) Always disconnect the battery when you store the caddy, and always put your caddy together
before re-connecting the battery. If you are not planning to play for at least a month, store the
battery in a warm and dry place (not on concrete floor) and charge once a week for 6 hours.
All of these recommendations will help keep your trolley in top condition and ensure that it
remains your reliable partner, both on and off the course.
7. Trouble Shooting Guide
Symptom Action
Caddy does not have power: -check all wiring connections and plugs
-check battery charge
-Check if wheels & clutches are in order

Motor is running but wheels don’t turn
-check if wheels are secured to axle by split pin
-check right and left wheel position
Trolley pulls to left or right -Check if wheel is fitted over the clutch and latched
to axle
-Check if clutch pin is visible at both sides of the
axle
-Check if the clutch turns freely in one direction
only
-
Battery lacks power -Check cable connections
-Check charger function
-Give a new full charge
-Ensure you have not completely discharged the
battery
Problems attaching wheels –Remove outer cap and adjust quick release catch
8. FrequentlyAsked Questions (FAQ)
In order to provide our customers with the most accurate and in-depth information please read
below some answers to the most frequently asked questions.
Should I charge the battery once I receive the unit?

Reply: Our 12V sealed lead acid batteries come more or less fully charged, but we recommend
you charge them for a full 12 hours before the first usage. The charger should either have a
blinking green light or a red light while it's charging and turn into a steady green light when the
battery is fully charged. The batteries develop their full potential after a few full charging
cycles. Some chargers may have a different light format.
How long does the battery last?
Reply: Our batteries are rated to last on average for 36 holes or 8-10 hours of play per charge.
Depending on the weight and topography of your course they might last longer or shorter.
However, we recommend recharging the battery after every 18 holes, as complete drainage
reduces the life time of a battery significantly.
What do the lights on the handle mean?
Reply: The red, yellow and green LEDs on the handle indicate the level of charge of the
battery. When the battery is fully charged they all should be lit. As the battery drains itself first
the green, then yellow will go off. If only the red is on it's time to recharge.
My caddy has no power when I try to turn it on?
Reply: Please check if all electrical connections are tight. Also check the fuse in the red cable
of the battery leads within the battery carrying case. If broken please replace with a standard
36Amp automotive fuse.
My caddy tends to track to one side. What should I do?
Reply: All caddies will follow weight and slope. If the weight in your bag is unevenly
distributed the caddy will always tend to track to that side. Make sure that your bag is balanced.
Please test the tracking of your caddy without the bag on even terrain. The tracking can also be
adjusted by adjusting the front wheel. Please open the axle screw and the tracking rod located
on the right side of the front wheel. Shift the wheel as needed and tighten the screws in reverse
order.
Do caddies interfere with each other when playing with other carts?
Reply: No. the remote controls have slightly different frequencies, so they don't interfere with
each other.
I lost my remote control and just received a replacement. How do I reprogram the unit?
Reply: In order to resynchronize a new remote control you need to turn the caddy on and press
either forward or reverse on the new remote while aiming it at the caddy for 5-10 seconds until
the remote tunes in and the caddy moves
The manual control function works, but the remote control does not?
Reply:Please confirm that the rheostat speed knob is in Off or Stop position. Also check the
batteries in your remote control handset. If it still does not work open up the remote control and
check the connections. It is vital you only use high powered batteries in your handset
The caddy does not respond well to the remote control handset?
Reply:Please check the fit and condition of the handset batteries. Make sure you don’t exceed
the range distance limit.
The trolley stops by itself sometimes?
Reply:Please check the battery charge level. Also the controller box has a shut-down function,
if the battery is too low or the controller is overheating or the caddy does not receive a signal
for 30-40 seconds.
Whom do I contact for service, parts and technical support?
Reply:If you require any assistance please email and one of our service engineers will
reply promptly to deal with any questions or issues.
Table of contents