5
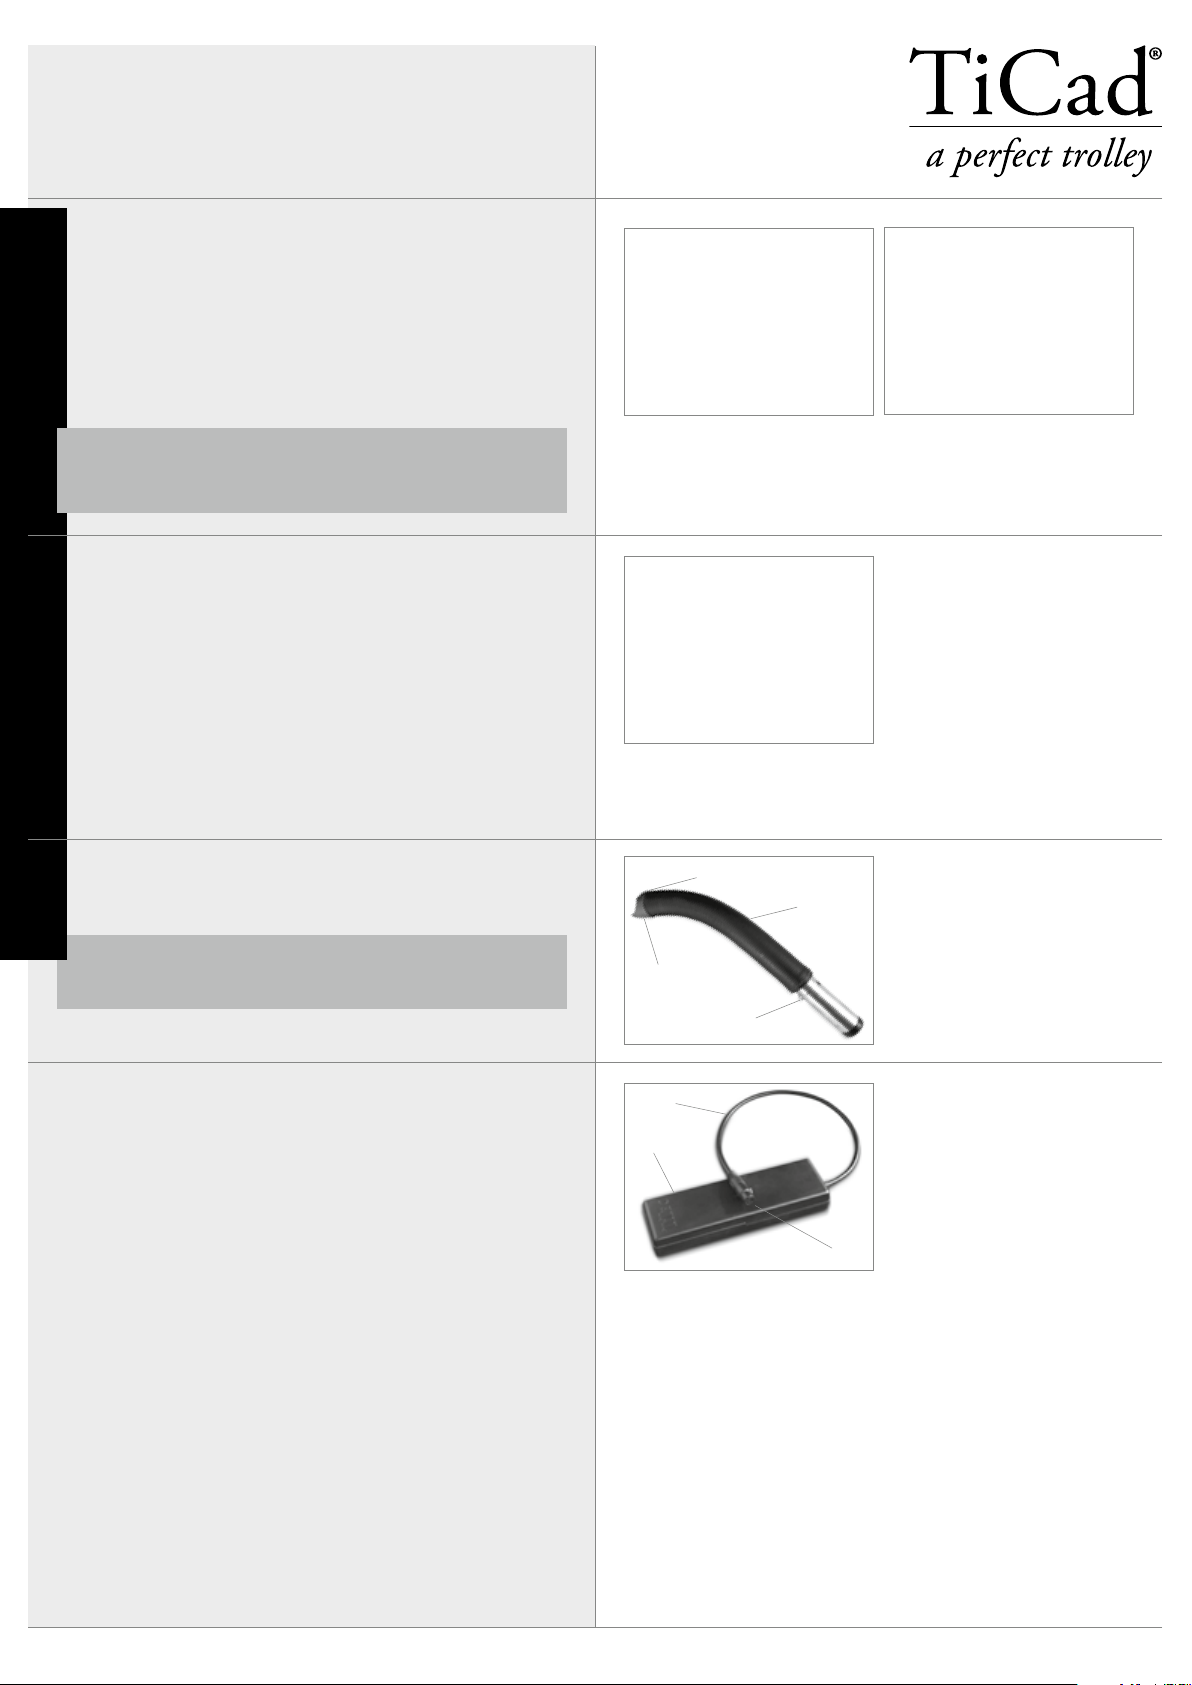
1 Battery inside plastic housing
2 Cable
3 5-pin connector
1
2
3
ELECTRONICS
Battery:
The battery will continue to discharge power while connected
even if the trolley is standing still. The control unit contains a
number of fuses to protect the drives from being overloaded and
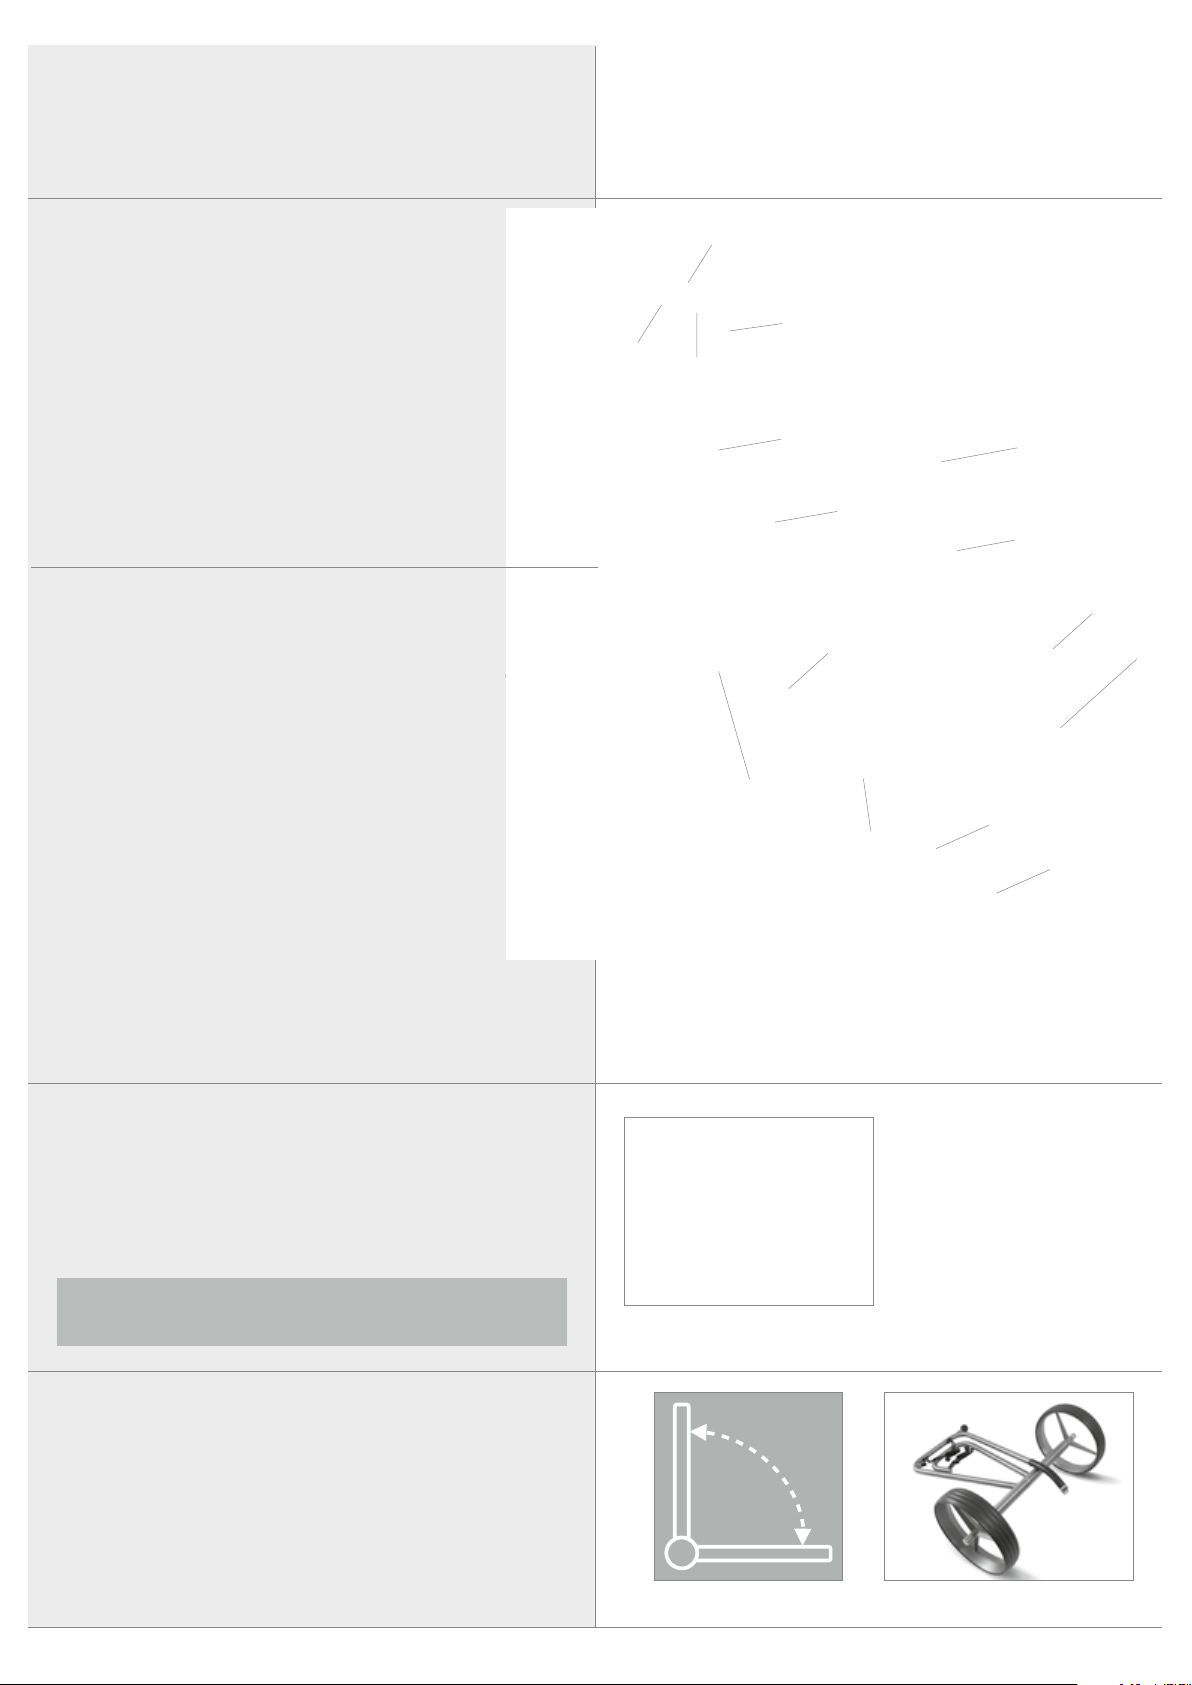
to protect the battery. These fuses are tripped: if the wheels are
blocked, if the trolley moves up excessively steep inclines, at slow
speed coupled with excessive resistance or if the battery is empty.
In this case, the golf trolley will come to a stop. To start the trolley
again, press the start button. If the trolley comes to a stop after a
sudden impact with an obstacle (e.g. pot-hole or kerb stone), dis-
connect the battery connector and reconnect it after 5 seconds.
If the battery has sufficient charge, you can then start the trolley
again.
A standard battery generally holds sufficient charge for an ave-
rage of 27 holes and an additional trolley weight of approx. 16 kg.
Care:
The frame of your TiCad®trolley is made of a high-quality,
rust-proof material and has been sealed to keep out rain. The
frame can be cleaned with a conventional household cleaning
product – but not with abrasive cleaners. The titanium‘s shine
can be restored with a special cleaning oil available from TiCad®.
The hubs of the wheels and the couplings must not be oiled or
greased.
Never clean your trolley with a jet washer. Should your trolley
ever become briefly flooded with water, please send it to us im-
mediately!
tery at as low a temperature as possible, and ideally at 8°C! Avoid
using the battery in high temperatures (> 50°C), as this could
cause irreversible damage.
If the battery is not used for a long period of time, fully charge it
at the latest every 8-12 weeks to prevent it from becoming dam-
aged. Avoid causing mechanical damage to the battery case and
the cable. The battery case‘s seal is rainwater-proof and must not
be opened. If the battery has been submerged in water or is dam-
aged during a fall, please send it immediately to TiCad®GmbH &
Co. KG. Do not attempt to open or repair the battery yourself. The
battery must only be opened and repaired by trained, specialist
personnel. Doing so yourself will void the warranty and may make
the battery unsafe.
Caring for the battery:
Your TiCad®trolley is fitted with a rechargeable lithium-ion bat-
tery. Please fully charge the battery before using the trolley for
the first time.
ATTENTION! Lithium-ion batteries are considered
hazardous goods. The lithium-ion battery supplied with the
trolley contains a protective circuit that protects the battery
from incorrect use. However, the instructions on the bat-
tery‘s use and care still have to be strictly followed, and the
battery treated with care, as non-observance and improper
use can increase the risk of fire. Never expose the battery to
mechanical stress or manually manipulate it. Always make
sure to carefully wrap and store the battery! The battery
must only be charged with the supplied charger.
8 hours to fully charge and be ready for operation again. If you
are playing a lot of golf, you can leave the lithium battery con-
stantly connected to the charger during the season. However, it
is still recommended to disconnect the battery from the charger
once it is fully charged. If you only play golf occasionally and want
your battery to always be ready for use, fully charge the battery
before storing it and then to-up its charge the day before you are
playing golf.
For over-winter storage, disconnect the battery from the charger
and store it fully charged in a cool and dry room at an ambient
temperature of less than 20°C. We recommend storing the bat-