RCA RP-7920 User manual

PERSONAL CD PLAYER
ncA
RP-7920

IMPORTANT BATTE RY IN FORMATION
•Do not mix different types of batteries, such as an alkaline with a NiCad, or use new batteries
with old ones.
•Be sure to follow the polarity (+/-) diagram in the battery compartment when installing
batteries. Reversing polarity may damage the batteries or the unit.
•Alkaline batteries are good for about 10 hours of continuous CD play. Rechargeable batteries
substantially reduce play time.
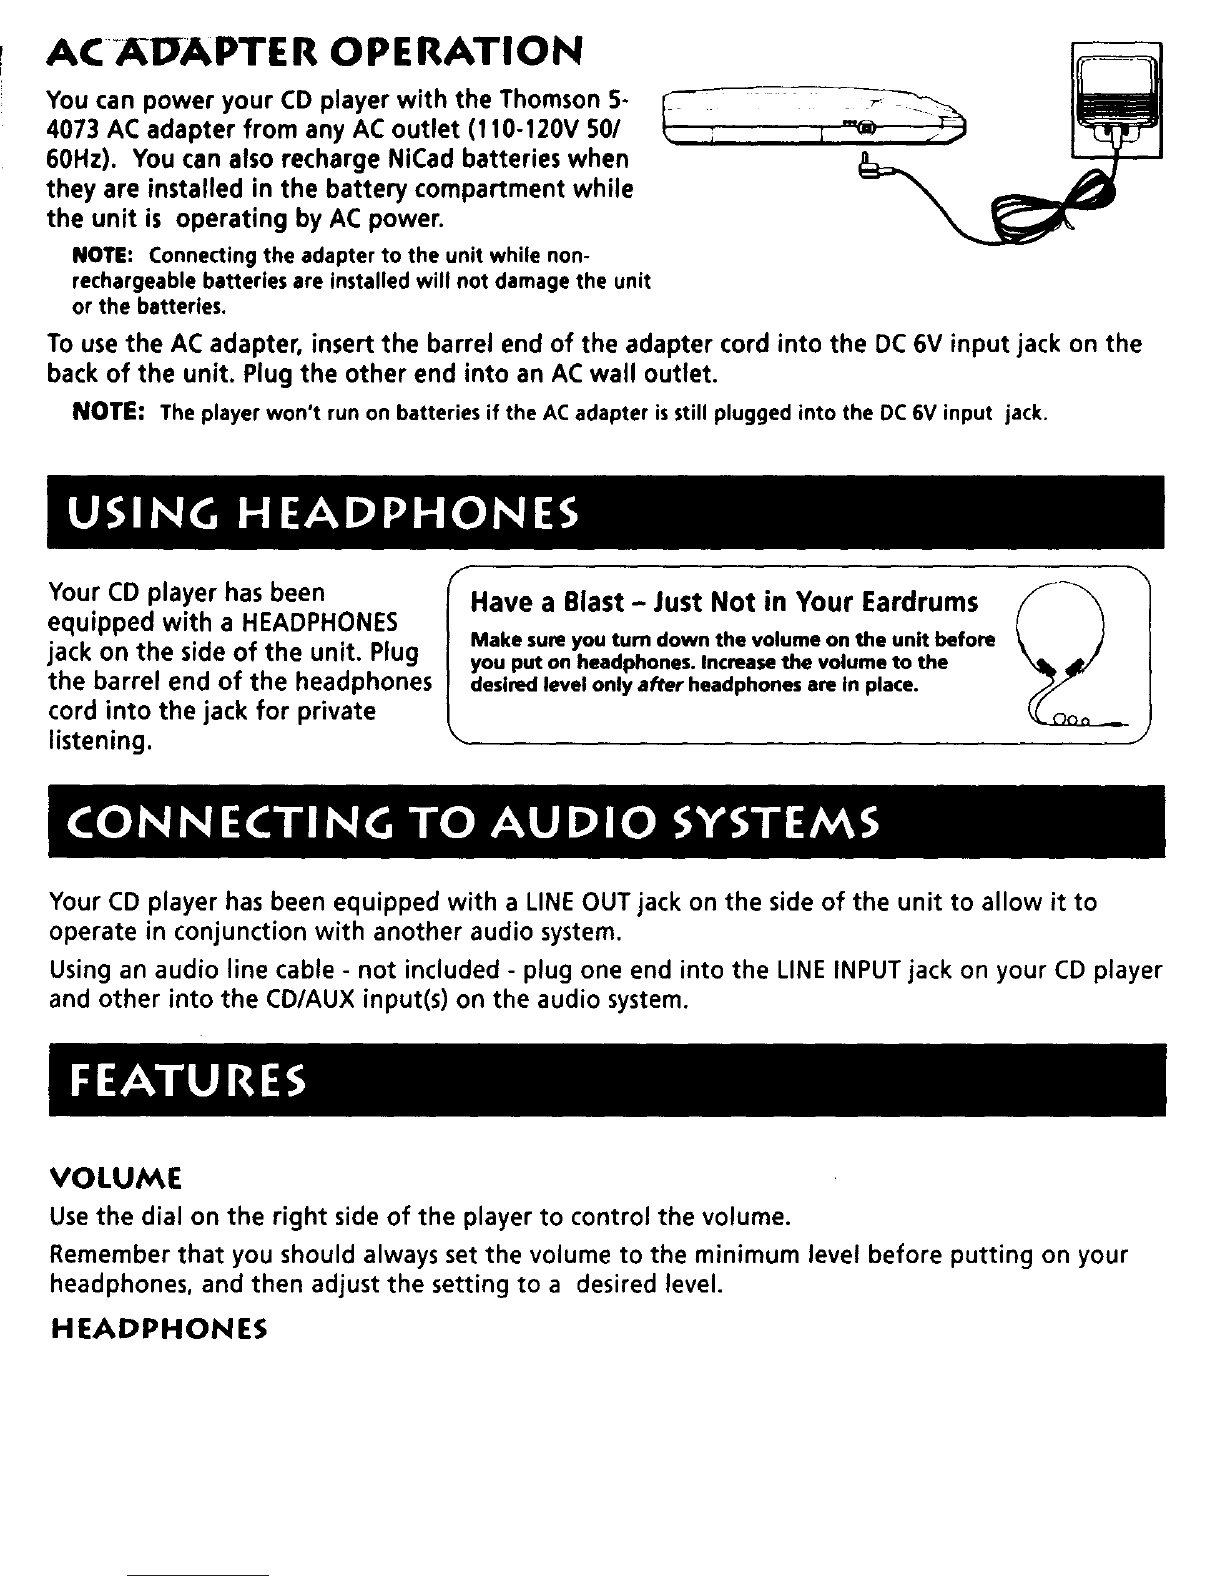
• Connecting the adapter to the unit while non-rechargeable batteries are installed
will not damage the unit or the batteries.
•Although you may use any brand of NiCad battery to power this unit, it will only recharge the
following types: KENWOOD NB-77, KENWOOD NB-88 OR PANASONIC RP-BP60D. If you
choose to use another brand of NiCad, follow the manufacturer's directions for recharging.
•If you're not going to use your player for a month or more, be sure to remove batteries
because they can leak and damage the unit.
Rechargeable batteries may slowly loose their charge when stored, therefore an initial charge
may be required before use.
•Dispose of batteries in the proper manner, according to federal, state, and local regulations.
•Any battery may leak electrolyte if mixed with a different battery type, if inserted incorrectly,
if all batteries are not replaced at the same time, if disposed of in fire, or if an attempt is made
to charge a battery not intended to be recharged.
•Discard leaky batteries immediately. Leaking batteries can cause skin burns or other personal
injury.
•Remember that battery life expectancy is directly correlational to volume and bass listening
levels. If you use the volume and bass features at maximum levels, your batteries will operate
at maximum consumption.
H EADSET SAFETY
•Do not play your headset at a high volume. Hearing experts advise against continuous
extended play.
• If you experience a ringing in your ears, reduce volume or discontinue use.
•Do not use while operating a motorized vehicle or bicycle, it may create a traffic hazard and is
illegal in many areas.
•You should use extreme caution or temporarily discontinue use in potentially hazardous
situations.
•Even if your headset is an open-air type designed to let you hear outside sounds, don't turn
up the volume so high that you can't hear what's around you.

There are two ways to power your CD player:
BATTERY OPERATION
FOR ALKALINE BA'n'ERIES:
1. Slide the battery door on the bottom of the unit to the
right to open.
2. Insert two "AA" batteries as shown in the diagram on
the bottom of the battery compartment.
INOTIE:The unit will not work, and the batteries will be drained and/or_
depleted if not inserted as shown in the diagram. J
3. Close the battery door.
FOR RECHARGEABLE BAI-I'ERIES (OPTIONAL):
This unit is equipped with battery recharging circuitry. Although you may use any brand of NiCad
battery to power the unit, for safety measures, it will ONLY recharge the following specially made
battery types: KENWOOD NB-77, KENWOOD NB-88 OR PANASONIC RP-BP60D. If you choose to
use another brand of NiCad, be sure to follow the manufacturer's directions for recharging.
It is always a good idea to let nickel-cadmium batteries run all the way down before charging
them. Then when you do charge them, do so to their full potential and they will last longer and
provide more power.
TO CHARGE NICAD BATTERIES:
1. Install nickel-cadmium batteries as instructed above.
2. Connect the AC adapter to the DC 6V input jack.
3. Plug the AC adapter into an AC wall outlet. The CHARGING indicator will light and the unit will
work off the AC power from the outlet while recharge the batteries at the same time.
4. After approximately 15 hours, unplug the adapter from the wall outlet and disconnect it from
the unit.
NOTE: DO NOT charge for more than 24 hours. Excessive charging may adversely affect the performance of the
rechargeable batteries.

AC DAPTE R OP ERATION
You can power your CD player with the Thomson 5-
4073 AC adapter from any AC outlet (110-120V 50/
60Hz). You can also recharge NiCad batteries when
they are installed in the battery compartment while
the unit is operating by AC power.
NOTE: Connecting the adapter to the unit while non-
rechargeable batteries are installed will not damage the unit
or the batteries.
To use the AC adapter, insert the barrel end of the adapter cord into the DC 6V input jack on the
back of the unit. Plug the other end into an AC wall outlet.
NOTE: The player won't run on batteries if the AC adapter isstill plugged into the DC 6V input jack.
Your CD player has been
equipped with a HEADPHONES
jack on the side of the unit. Plug
the barrel end of the headphones
cord into the jack for private
listening.
fHave a Blast - Just Not in Your Eardrums
Make sure you turn down the volume on the unit before
you put on headphones. Increase the volume to the
desired level only after headphones are in place.
\
Your CD player has been equipped with a LINE OUT jack on the side of the unit to allow it to
operate in conjunction with another audio system.
Using an audio line cable - not included - plug one end into the LINE INPUT jack on your CD player
and other into the CD/AUX input(s) on the audio system.
VOLUME
Use the dial on the right side of the player to control the volume.
Remember that you should always set the volume to the minimum level before putting on your
headphones, and then adjust the setting to a desired level.
HEADPHONES

PLAY/PAUSE _/11
Press the PLAY/PAUSE button once to begin discaction. Pressagain to temporarily suspend play.
The track number will flash in the display while the disc is paused. Press a third time to resume
disc action.
STOP I
Pressthe STOP button once to stop disc action. The total number of tracks and the disc's total
playing time will show in the display for 10 seconds, after which power will turn off automatically.
SKIP/SEARCH I_1/I_IH
Press 141_1once to skip to the beginning of the current track or repeatedly to skip to previous
tracks. Press and hold during play to search at high speed within the current track. Play resume
when button is released.
PressI_1_ once to skip forward to the beginning of the next track or repeatedly to skip forward
to the beginning of the other tracks. Pressand hold during play to search forward at high speed
within the current track. Play resumes when button isreleased.
DBBS (DYNAMIC BASS BOOST SYSTEM)
DBBS isused to enhance low frequency (bass) levels. Make sure you set the volume to minimum
before activating the DBBS,then adjust to desired level.
P. MODE
Press during play to choose various play modes available. Press once for Normal Play. Press again
to Repeat One track. Press three times to Repeat All tracks. Press four times to activate the INTRO
feature and hear the first 10 seconds of each track on the CD. Press five times to play the tracks in
Random order. Press six times to activate Program Repeat and seven times to activate Program
Play.
HOLD
Use this switch to prevent accidental activation of unwanted functions while the unit is in the Play
or Stop mode. In the "on _ position, the HOLD button disables all function buttons. In the "off"
position, the unit enables all function buttons for normal operation.
LCD (LIQUID CRYSTAL DISPLAY)
The LCD will always display the number and elapsed time of the track playing while the disc is
active. When the disc is paused, the elapsed time will flash. BATT symbol (_) will appear in the
_lisplay when the unit is being powered by batteries. When the batteries are weak and need to be
;hanged, BATT will blink in the display.

1. Connect the headphones via the HEADPHONES jack and turn the volume all the way down.
2. Pressthe OPEN button to open the CD compartment door.
3. Insert the CD of your choice with the label side facing up.
i
C Th,.oo,t,.capa ,eo.p,ay,oga3"co.iog,ewithoutana0a.ter
i
4. Close the CD compartment door by pushing down on the left side of the door where it says
"PUSH CLOSE."
5. Slide the HOLD switch to the "off" position.
6. Press the PLAY/PAUSE button to begin CD play.
"The LCD will show the total number of tracks and playing time of the loaded disc before
starting to play it. During play, the LCD will show the current track number and its elapsed
playing time.
7. Adjust the volume to desired level.
8. Press the PLAY/PAUSE button again to temporarily suspend disc activity. The LCD will flash.
Press the button a third time to resume disc activity.
9. Press the STOP button to end all disc activity.
REPEAT PLAY
TO REPEAT ONE:
1. Press the P.MODE button until the Repeat 1 indicator (c_-__.._1) shows in the display.
2. Choose the track you want to hear using the SKIP/SEARCH buttons.
The unit will play the selected track to its end, automatically return to its beginning and play it again.
TO REPEAT ALL:
•Press the P.MODE button until the Repeat All indicator (_',__,_ ALL) shows in the display. The
unit will play the disc from start to finish, return to the beginning and play it again.
RAN DOM PLAY
Press the P.MODE button until the Random indicator shows in the display. The unit will play all
tracks out of sequence once.
INTRO PLAY

2. Press the PLAYIPAUSE button to activate the Intro feature.
The unit will play the first 10 seconds of each track on the disc and then stop automatically.
PROG RAM PLAY
1. Press the P.MODE button until the program indicator (M) flashes in the display.
2. Press the SKIP/SEARCH buttons to choose the track you want to hear.
3. Press the SET button to store the track number in that memory location. The next memory
location will flash in the display.
4. Repeat Steps 2 and 3 to store up to 22 tracks.
5. Press the PLAY/PAUSE button to start the Program Repeat Play mode.
When the last track has played, the unit will automatically stop.
PROG RAM REPEAT PLAY
1. Press the P.MODE button until the program repeat indicator (c',__ M) flashes in the display.
2. Follow Steps 2-5 above.
When the last track has finished playing, the unit will automatically return to the beginning of
the program and play it again.
TO CHECK PROGRAM PLAY LIST
1. Press the P.MODE button until the program memory indicator (M) appears in the display.
2. Press the SET button to scroll through the programmed tracks one by one in order.
TO CHANGE THE PROGRAMMED PLAY LIST
1. Pressthe SETbutton to find the track you want to replace.
2. Choose the track you want to replace it with using the SKIP/SEARCHbuttons.
3. Pressthe SETbutton to enter the new track in place of the old one.
TO CLEAR TH E PROGRAMMED CONTENTS
In order to clear the program from memory, pressthe SELbutton to enter the normal play mode
and then open the CD door.
1. Press the STOP button to end all disc activity.
2. Press the OPEN button to open the CD compartment door.
3. Grasp the CD by its edge while gently press down on the unit's center spindle.
4. Lift the CD from the edge and remove it from the compartment.

Problem Cause Solution
Disc isin place,
but won't play. No power.
Disc is in upside down.
Disc is dirty.
Batteries are weak.
Adapter plugged into jack
but not into power source.
CD door is not closed tightly.
Disc not seated correctly.
Make sure power adapter is
_netting power from outlet or
stallfresh batteries.
Insert disc with label up.
Clean the disc or try another
disc.
Replace batteries or try AC/DC
power.
Remove adapter from player to
use with batteries, or plug into
outlet.
Close door tightly.
Pressdown firmly.
Sound skips. Discis damaged. Insert a new disc.
Excessiveexternal vibration. Find a more stable position.
Disc is in place, player is in
play mode, but still no sound. Requires headphones
or external amplifier.
Poor connections.
PAUSE is active.
Put on headphones.
Adjust volume.
Check connections.
Press PLAY/PAUSE to put in
play mode.
Unit will not scan the disc.
Play iserratic Batteries are weak.
Dirty or damaged disc
Replace batteries or try AC/DC
power.
Replace or clean the disc.

Do not touch the laser lens.
Temperature changes can cause condensation to form on the laser lens. If condensation forms
on the lens, leave the disc compartment door open (with no disc) for an hour to remove
condensation.
eExposure to direct sunlight or extreme heat (such as inside a car parked in the sun) can cause
damage or malfunction.
=To prevent dust from reaching internal parts, keep the disc compartment door closed when not
using (except when necessary to remove condensation).
eDo not place objects on top of the player.
CLEANING THE LASER LENS
It's important that you periodically clean the laser lens, especially when dust or fingerprints are
evident. Not cleaning the laser lens can result in inferior sound quality or no sound at all. To clean
the lens, follow these directions:
1. Turn off the unit's power.
2. Open the disc compartment and remove the disc (if there
is one).
3. Clean the lens with a soft brush or use an air blower brush
designed for cameras.
4. If you still are not able to remove dirt particles, moisten a
cotton swab with isopropyl alcohol and gently apply to
the face of the laser lens, rubbing gently until all traces of
dirt are removed.
HAI_DLING COMPACT DISCS
To get the best possible sound from your compact discs, you
need to keep them clean. Note the following guidelines
regarding the use and care of compact discs:
=Don't touch the playing surface (the side without the label).
Laser
lens
=Don't store discs in places with high temperatures or high humidity--they can become warped.
*Don't put tape or any other adhesives on either side of the disc.
• Don't use cleaners or anti-static sprays on discs, such as those used on conventional
phonograph records.
eAlways store each disk in its case and not in the CD player.
•Before playing a disc, wipe any dust or fingerprints from the playback surface with a soft cloth.
Wipe from the hub to the edcje with a straiclht motion.

PRECAUTIOHS
• Never open the cabinet under any circumstances. Any repairs or internal adjustments should be
made only by a trained technician.
•Warning: Never operate this product with the cabinet removed.
•Do not touch the player with wet hands. If any liquid enters the player cabinet, take the player
to a trained technician for inspection.
•This compact disc player uses a laser to read the music on the disc. The laser mechanism
corresponds to the cartridge and stylus of a record player. Although this product incorporates
a laser pick-up lens, it is completely safe when operated according to directions.
•Discs rotate at high speed inside the player. Do not use damaged, warped, or cracked discs.
This product should be serviced only by those specially trained in appropriate servicing techniques.
FOR YOUR RECORDS
In the event that service should be required, you may need both the model number and the serial
number. In the space below, record the date and place of purchase, and the serial number:
Date of Purchase
Place of Purchase
Serial No.
What your warranty covers:
• Any defect in material or workmanship.
For how long after the original purchase:
•One year.
(The warranty period for rental units begins with the first rental or 45 days from date of
shipment to the rental firm, whichever comes first.)
What we will do:
•Provide you with a new or, at our option, a refurbished unit.
• The exchange unit is warranted for the remainder of your product's original warranty period.
How to make a warranty claim:
•Properly pack your unit. Include any cables, etc., which were originally provided with the
product.We recommend using the orginial carton and packaging materials.
•Remove cassette tapes or CDs from unit before shippinq as these will not be returned.

Thomson Consumer Electronlr.s, Inc.
Product Exchange Center
32 Spur Drive
El Paso, Texas 79906
• Payany charges billed to you by the Exchange Center for service not covered by the
warranty.
•Insure your shipment in case of loss or damage. Thomson accepts no liability in case of
damage or loss.
• A new or refurbished unit will be shipped to you prepaid freight.
What your warranty does not cover:
•Customer instruction. Your owner's manual provides information regarding the operating
instructions and user controls. For additional information, ask your dealer.
•Installation and setup service adjustments
•Batteries
•Damage from misuse or neglect
•Products that have been modified or incorporated into other products.
•Product purchased or serviced outside the USA
•Acts of God, such as but not limited to lightning damage.
Product Registration:
• Please complete and mail the Product registration Card packed with your unit. It will make it
easier to contact you should it ever be necessary. The return of the card is not required for
warranty coverage.
How state law relates to this warranty:
• This warranty gives you specific legal rights, and you may also have other rights which vary
from state to state.
If you purchased your product outside of the U.S.A:
• This warranty does not apply. Contact your dealer for warranty information.
Wipe fromthe hub to the edge wJ_n a strafgnt motion.

FEDERAL COMMUNICATIONS COMMISSION (FCC)
IN FORMATION
This device complies with Part 15 of the FCC Rules. Operation is subject to the following two
conditions: (1) this device may not cause harmful interference, and (2) this device must accept any
interference received, including interference that may cause undesired operation.
In accordance with FCC requirements, changes or modifications not expressly approved by
Thomson Consumer Electronics could void the user's authority to operate this product.
This device generates and Uses radio frequency (RF) energy, and if not installed and used properly,
this equipment may cause interference to radio and television reception.
If this equipment does cause interference to radio or television reception (which you can
determine by turning the equipment off and on), try to correct the interference by one or more of
the following measures:
• Reorient the receiving antenna (that is, the antenna for the radio or television that is
"receiving" the interference).
•Move the unit away from the equipment that is receiving interference.
•Plug the unit into a different wall outlet so that the unit and the equipment receiving
interference are on different branch circuits.
If these measures do not eliminate the interference, please consult your dealer or an experienced
radio/television technician for additional suggestions. Also, the Federal Communications
Commission has prepared a helpful booklet, "How To Identify and Resolve Radio TV Interference
Problems." This booklet is available from the U.S. Government Printing Office, Washington, DC
20402. Please specify stock number 004-000-00345-4 when ordering copies.
This product complies with DHHS Rules 21 CFR Subchapter J. Applicable at the date of
manufacture.
_1HOMSON CONSUMER ELECTRONICS
P.O. Box 1976, Indianapolis, IN 46206
O 1997 Thomson Consumer Electronics, Inc.
Trademark(s) ®Registered
Marca(s) Registrada(s)
Model RP-7920
15274860 (E/SRev. 2)
Printed in China
Other manuals for RP-7920
1
Table of contents
Other RCA CD Player manuals

RCA
RCA RCA RP2700 User manual

RCA
RCA RCD152 User manual

RCA
RCA RP-7953 User manual

RCA
RCA RP2427 User manual

RCA
RCA RP2715 User manual

RCA
RCA RP2730 User manual

RCA
RCA RP2910 User manual

RCA
RCA RCD175 - Portable Cd Player User manual

RCA
RCA RCD3379 - Portable CD Player Boom Box User manual

RCA
RCA SPS3600 User manual