37’’ LCD TV RCA L37WD23
5
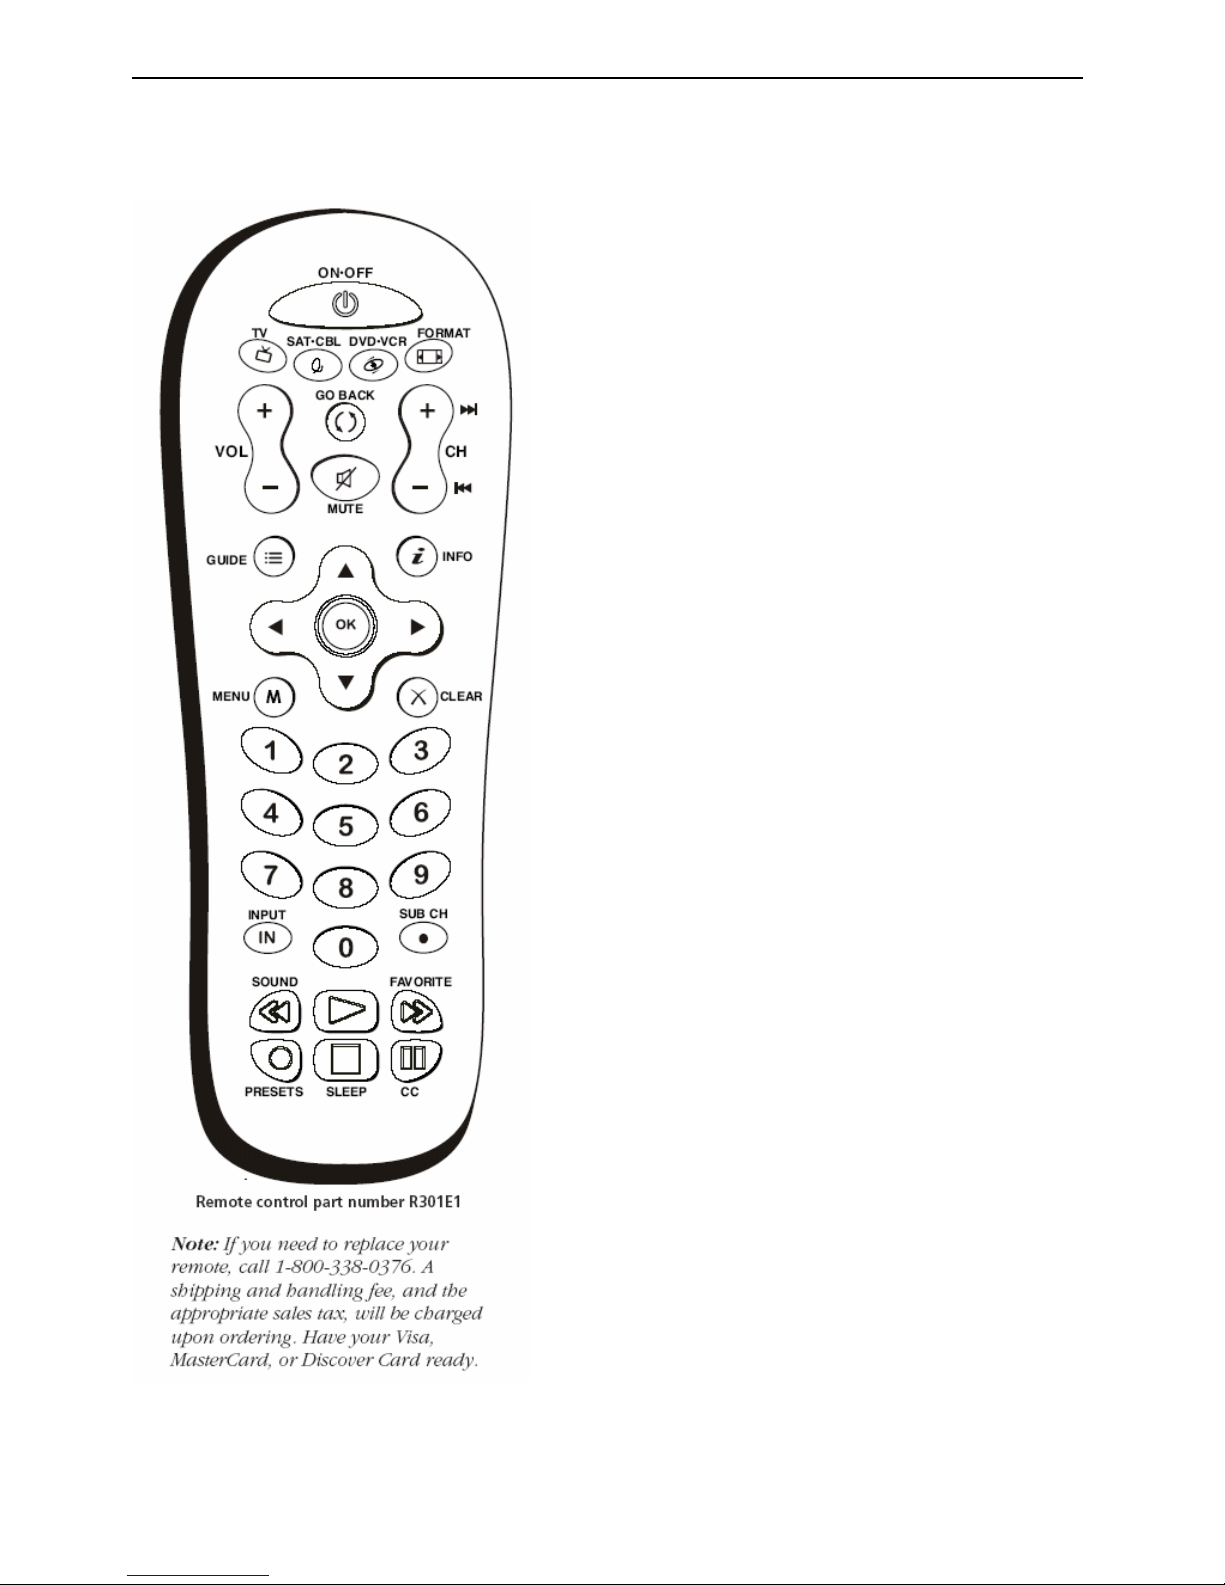
2. Operating Instructions
2.1. The Use of Remote Control
Arrows Used to highlight different items in the TV menu and to
adjust the menu controls.
Number Buttons Enter channel numbers. To enter a digital channel
with a sub-channel, enter the main channel, then press the SUB CH
button to enter the sub-channel and press OK.
CC Toggles through the CC settings: CC Off, CC On, and CC On
When Mute.
CH + or CH - Scans up or down through the current channel list.
Press once to change the channel up or down; press and hold to
continue changing channels.
CLEAR Removes any menu or display from the screen and returns
you to normal viewing.
DVD•VCR Places the remote in DVD or VCR mode. This button
lights when you press a valid button in DVD•VCR mode (see Modes of
Operation on page 24 for more information).
FAVORITE Press to browse the channels set in your Favorite
Channel list. Go to page 35 for more information.
FORMAT Press to change the size of the picture on-screen.
GO BACK Returns you to the previous channel.
GUIDE Displays an electronic program guide (when available).
INFO If no menus are on-screen, displays the channel banner; press
again to clear the screen.
INPUT Displays the available video input channels- Watch TV,
Composite, S-Video, Composite (Side), S-Video (Side), Component 1,
Component 2, VGA, HDMI 1 and HDMI 2.
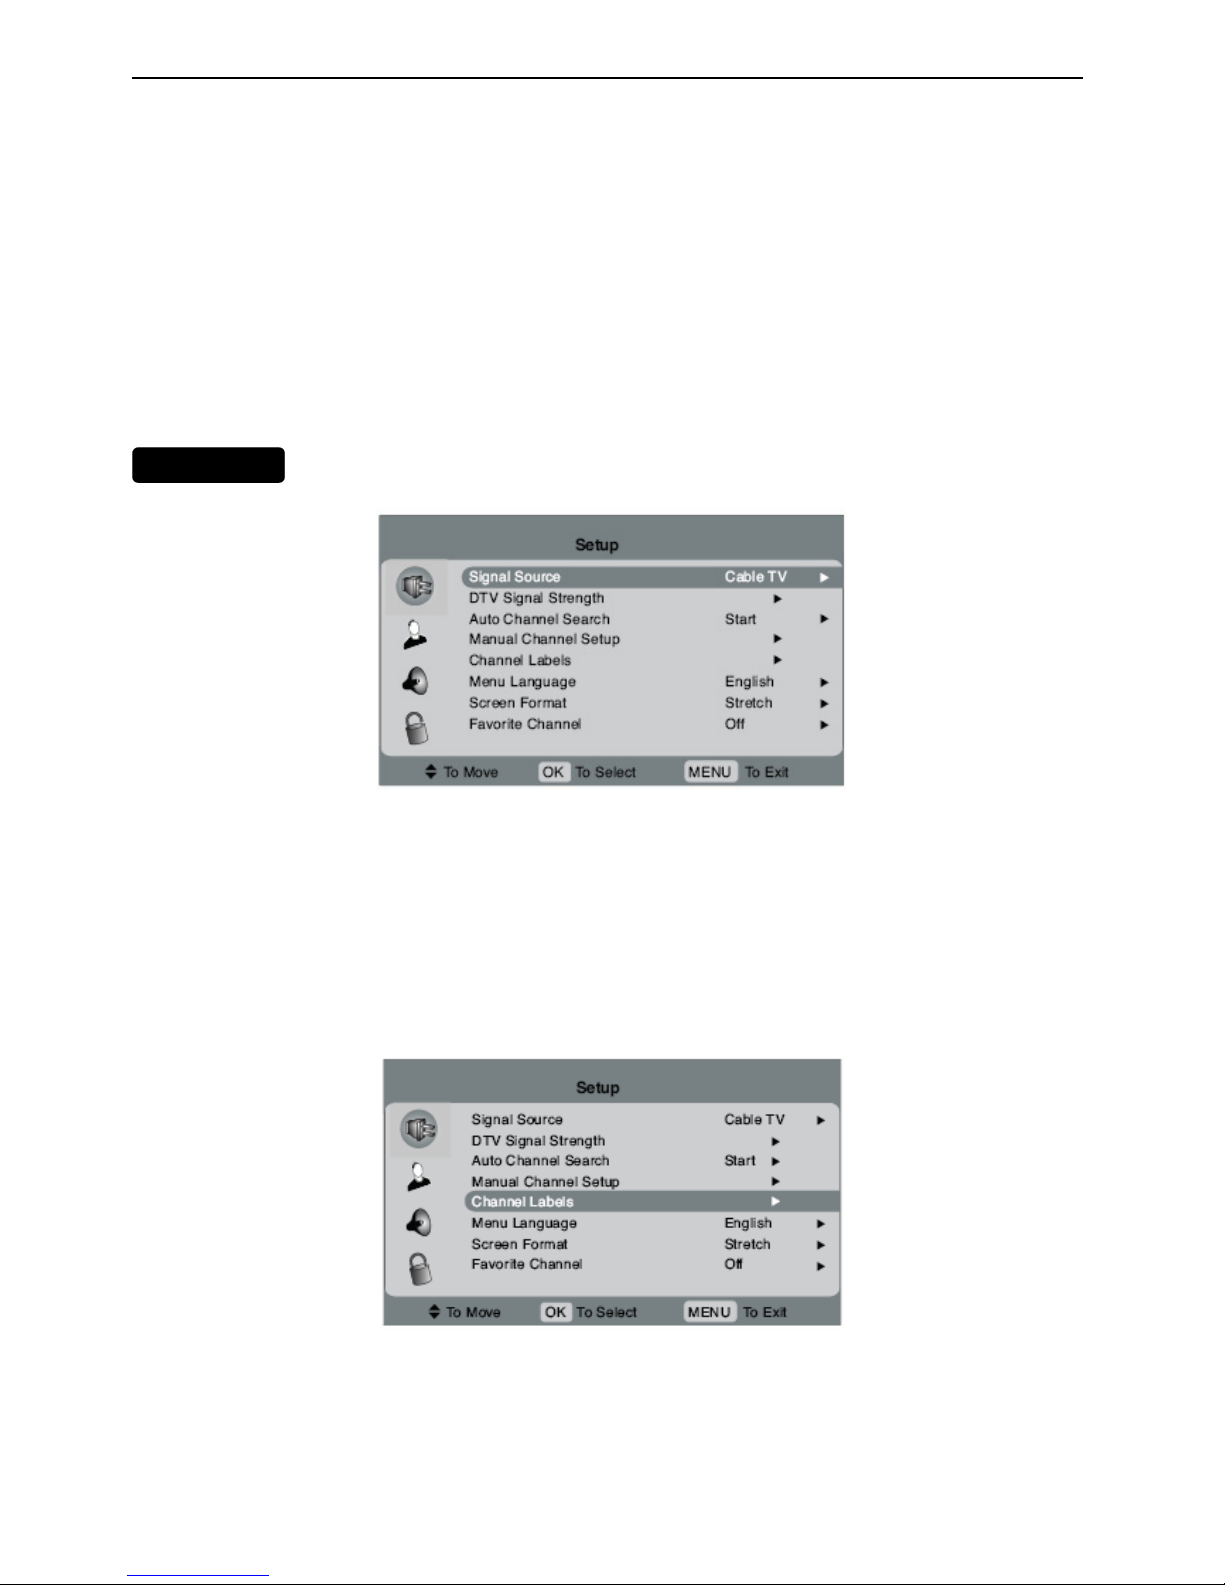
MENU Displays the Main menu. If the main menu is displayed,
exits the menu; if a sub-channel is displayed, takes you back to the
previous menu.
MUTE Reduces the TV’s volume to its minimum level. Press again
to restore the volume. To program this button to work with an audio
system, follow the instructions for Volume Punch through Feature on
page 24.
OK When in the menu system, selects highlighted items.
ON•OFF When in TV mode, turns the TV on or off. If in another
mode (SAT•CBL or DVD•VCR) and programmed, will turn the device
on or off.
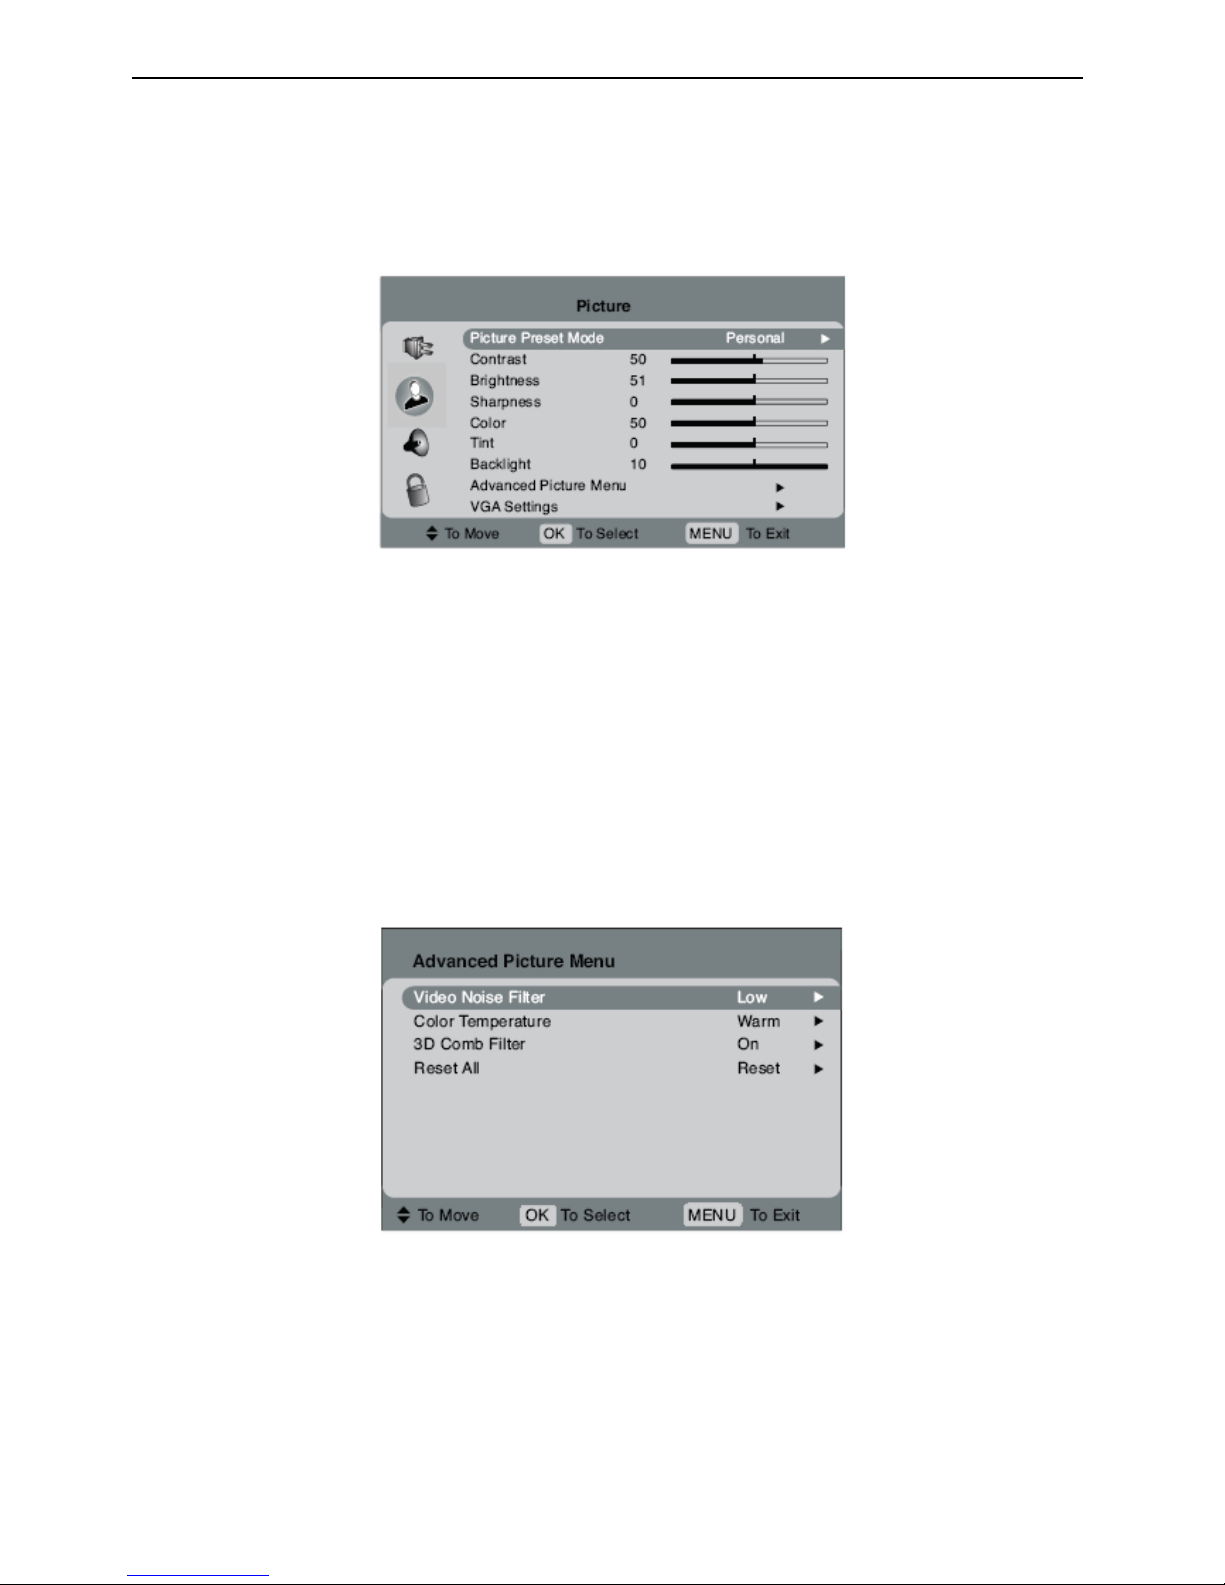
PRESETS Toggles through the picture mode settings: Natural,
Vibrant, Gaming, and Personal.
REVERSE, PLAY, FORWARD, RECORD, STOP, PAUSE (buttons at
bottom of the remote) If programmed, provides transport control
for some remote-controllable VCRs or DVD players.
SAT•CBL Places the remote in SAT•CABLE mode. This button
lights when you press a valid button in SAT•CBL mode (see Modes of
Operation on page 24 for more details).
SLEEP Sets the TV to turn off after 30 min, 60 min, or 90 min.
SOUND For an Analog channel, switches the sound mode options. For
a Digital channel,
switches the audio language. In VGA mode, switches to the audio input
you selected from the
VGA Sound Source option.
SUB CH When entering a digital channel that has a sub channel , press
this button to enter a
Sub channel . Once the channel is entered, press the OK button to tune
to the channel.
TV Turns on the TV and puts the remote in TV mode.
VOL – or VOL + Decreases or increases the TV’s volume. To program
this button to work