Introduction
Table of Contents
1
Important Information
Warning ______________________________ i
Cautions ______________________________ i
Note to Cable TV Installer _______________ i
Product Registration ____________________ i
Setting Up the TV/VCR
Startup
Check Accessories With TV/VCR ____ 2
Insert Batteries in Remote ___________ 2
Connect Antenna or Cable-TV
System________________________ 3
Place the TV/VCR Where You
Want to Operate It _____________ 3
Turn On the TV/VCR ______________ 3
Set the Clock and Auto Channel
Search Automatically ___________ 4
Set the Clock Manually _____________ 4
Add or Remove Channels from
TV/VCR's Memory ____________ 5
Select the Language. (Escoge
una Idioma.)___________________ 5
Select a Channel and Adjust
the Volume____________________ 5
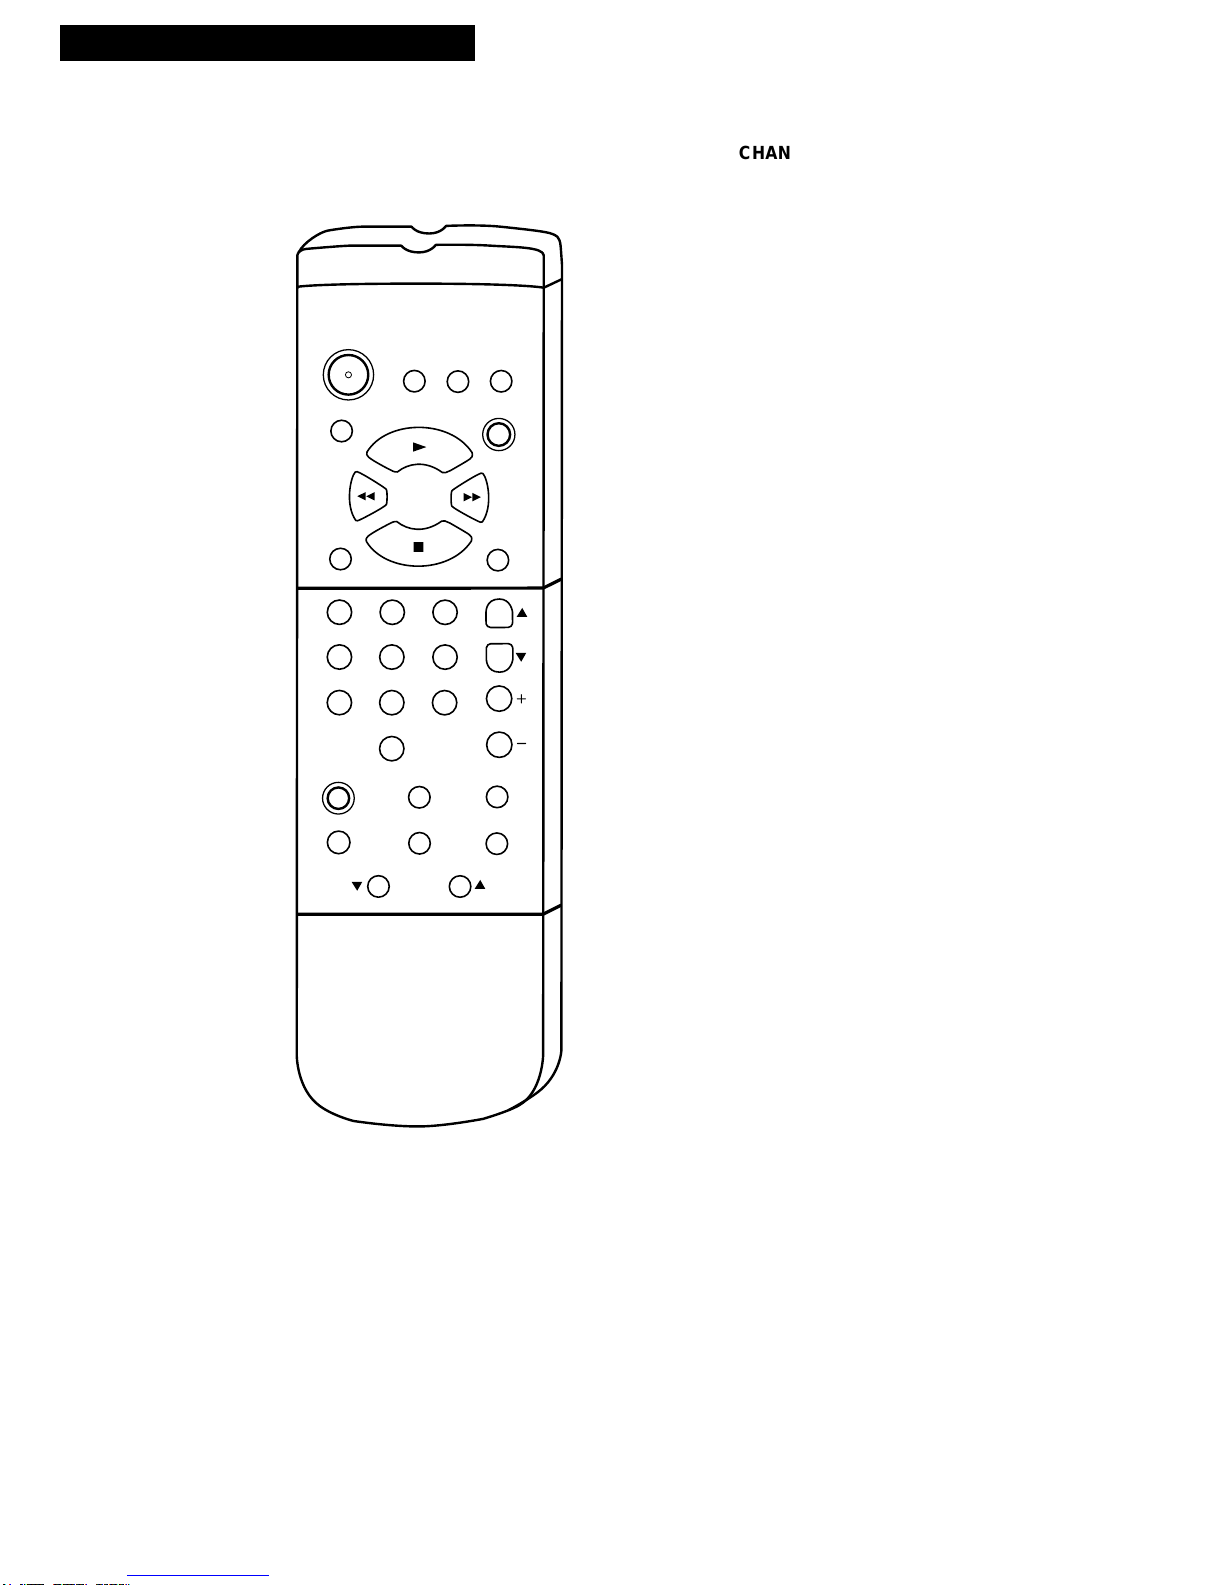
Using the Remote Control
Buttons _____________________________ 6-7
Using the TV/VCR Features
On-Screen Displays ____________________ 8
Adjust the Video ______________________ 8
Adjust the Audio_______________________ 9
Closed Captions ______________________ 10
Alert Sound___________________________11
Program Guard _______________________11
Wake-Up Timer_______________________ 12
Sleep Timer __________________________ 12
TV Stereo System _____________________ 13
Playing a Tape
Operating Instructions_________________ 14
Selecting Audio for Tape Playback ______ 15
Using the Playback Features
Pause____________________________ 16
Frame Advance___________________ 16
Picture Search ____________________ 16
Slow Motion______________________ 16
Automatic Tracking _______________ 17
Manual Tracking__________________ 17
Time Counter_____________________ 17
Auto Play Feature_________________ 18
Auto Repeat Feature_______________ 18
Commercial Scan _________________ 18
Index Search _____________________ 19
Zero Search ______________________ 20
Blank Search _____________________ 20
Recording a Program
Recording Features
Recording Speeds _________________ 21
Recording Pause __________________ 21
Types of Recordings __________________ 22
Basic Recording –
Operating Instructions __________ 22
Recording Audio Only ____________ 22
Recording Broadcast
Stereo TV or SAP ____________ 23
Recording While You're Away
VCR Plus+ Recording _______ 24-26
Timer Recording _______________ 27
Checking or Clearing VCR Plus+
or Timer Recordings __________28
Stopping a VCR Plus+
or Timer Recording ___________28
Recording Fron the Line Input ____28
Express Recording ________________ 29
Copying and Editing Tapes_________ 30
Location of Controls
Front Panel___________________________ 31
Back Panel ___________________________32
Hooking Up the TV/VCR
Choosing a Hookup ___________________ 32
Connect Antenna or
Cable System Without Cable Box____ 33
Connect Cable System With Cable Box
to Unscramble All Channels ________ 34
Connect Cable System With Cable Box
to Unscramble Only
Premium Channels _______________ 34
Connect VCR or Camcorder
for Copying Tapes ________________ 35
References
Trouble Checks ____________________ 36-37
Cleaning the TV/VCR _________________ 38
Specifications_________________________ 38
Limited Warranty _____________________ 39
Index _____________________________ 40-41