1
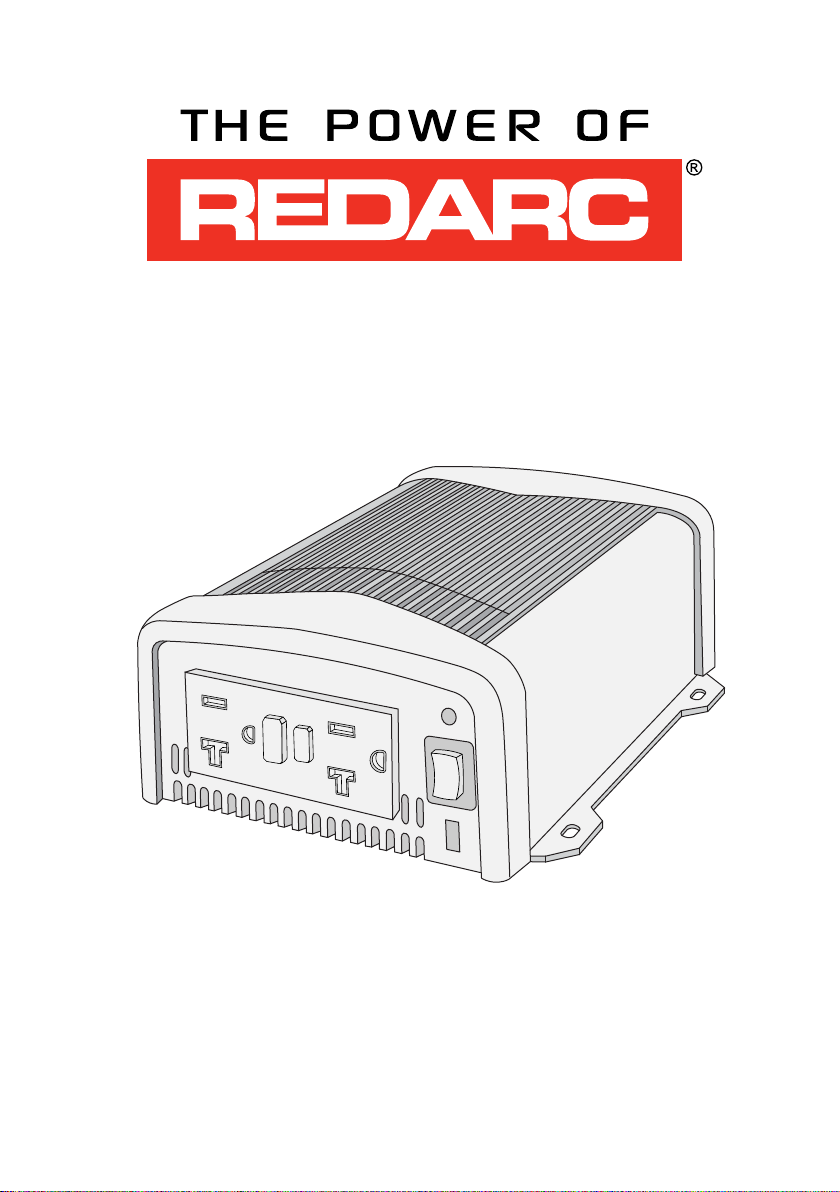
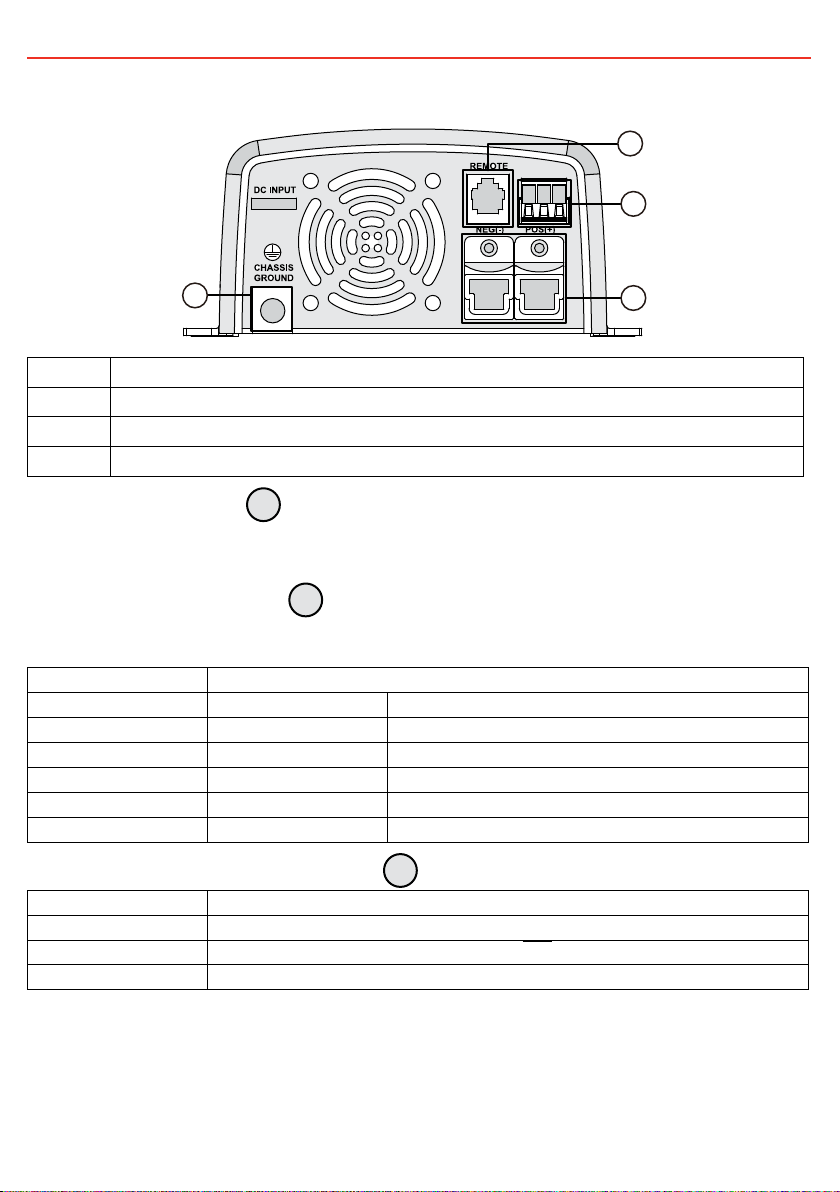
RS SERIES INVERTERS (400W)
REDARC Pure Sine Wave Inverters produce a pure sine wave output. This means that the power output
from a REDARC Pure Sine Wave Inverter is not only the same as the mains supply, it’s often better.
The R-12-400RS-NA inverter is compliant for residential and industrial applications.
WARNINGS AND SAFETY INSTRUCTIONS
SAVE THESE INSTRUCTIONS — THIS MANUAL CONTAINS IMPORTANT SAFETY INSTRUCTIONS FOR THE REDARC RS
SERIES PURE SINE WAVE INVERTERS.
DO NOT operate the Inverter unless you have read and understood this manual and the inverter is
installed as per these installation instructions. REDARC recommends that the Inverter be installed by a
suitably qualified person.
WARNING
RISK OF ELECTRICAL SHOCK. DO NOT DISASSEMBLE THE
INVERTER — THE INTERNAL CIRCUITRY CONTAINS
HAZARDOUS VOLTAGES. ATTEMPTING TO SERVICE THE
UNIT YOURSELF MAY RESULT IN ELECTRIC SHOCK OR
FIRE AND WILL VOID THE UNIT WARRANTY.
RISK OF ELECTRICAL SHOCK. DO NOT EXPOSE THE
INVERTER TO RAIN, SNOW, SPRAY, BILGE OR DUST.
DOING SO MAY RESULT IN DAMAGE TO THE INVERTER
OR OTHER APPLIANCES INSTALLED IN THE SYSTEM OR
RESULT IN ELECTRIC SHOCK OR FIRE.
RISK OF ELECTRICAL SHOCK. OPERATION OF THE
INVERTER WITHOUT A PROPER AND RELIABLE GROUND
CONNECTION MAY RESULT IN AN ELECTRICAL SAFETY
HAZARD. ENSURE PROPER GROUND CONNECTION IS
MADE DURING INSTALLATION AND IS MAINTAINED.
FOR FIXED AND/OR TRANSPORTABLE (VEHICLE)
INSTALLATIONS, INSTALL ACCORDING TO THE
APPROPRIATE STANDARDS IN USERS REGION. IF
GROUNDING PATH BREAKS AT ANY POINT, USER IS AT
RISK OF SHOCK OR ELECTROCUTION.
RISK OF ELECTRICAL SHOCK. ALL ELECTRICAL WORK
MUST BE PERFORMED IN ACCORDANCE WITH LOCAL
AND NATIONAL CODES, STANDARDS AND WIRING
RULES. INSTALLATION MUST BE PERFORMED BY
QUALIFIED PERSONAL WHO MEET ALL LOCAL AND
GOVERNMENTAL CODE REQUIREMENTS FOR LICENSING
AND TRAINING FOR THE INSTALLATION, MAINTENANCE
AND CONNECTION OF ELECTRICAL POWER SYSTEMS.
SAFETY REGULATIONS RELEVANT TO THE INSTALLATION
AND USE LOCATION SHALL BE FOLLOWED DURING
INSTALLATION, OPERATION AND MAINTENANCE OF THE
INVERTER, IMPROPER OPERATION MAY HAVE A RISK OF
ELECTRIC SHOCK, FIRE OR DAMAGE TO EQUIPMENT AND
PROPERTY.
FIRE HAZARD. ENSURE GROUND, AC AND DC CABLE
SIZES CONFORM TO LOCAL AND NATIONAL STANDARDS
AND WIRING CODES.
RISK OF ELECTRICAL SHOCK AND FIRE. BEFORE
PROCEEDING, CAREFULLY CHECK THAT THE INVERTER
IS NOT CONNECTED TO ANY BATTERIES AND THAT ALL
WIRING IS DISCONNECTED FROM ANY ELECTRICAL
SOURCES.
RISK OF ELECTRIC SHOCK WHEN REMOVING THE COVER
FOR SERVICING, INTERNAL HEAT-SINKS ARE NOT
BONDED TO GROUND, TEST BEFORE TOUCHING
DO NOT CONNECT THE OUTPUT TERMINALS OF THE
INVERTER TO AN INCOMING AC SOURCE.
CAUTION
1. This appliance is not intended for use by
persons (including children) with reduced
physical, sensory or mental capabilities, or lack
of experience and knowledge, unless they are
supervised or have been instructed on how to
use the appliance by a person responsible for
their safety. Children should be supervised to
ensure that they do not play with the appliance.
2. Do not operate the inverter with damaged or
substandard wiring. Selecting the wrong cable
or fuse size could result in harm to the installer
or user and/or damage to the inverter or other
appliances installed in the system. The installer
is responsible for ensuring that the correct
cable and fuse sizes are used when installing
this inverter. Refer to Section 2.2.4 (page 10)
for more information.
INST114-3