RedTitan Print2PC Parallel Port Converter
Quick Installation Guide - US English
© RedTitan Technology Limited 2006, 2007, 2008, 2009, 2010
Revision 3 - March 2010
Product contents
Certificate of conformance. FCC and EN45014 (overleaf)
PRINT2PC UP1 parallel to USB converter.
CD-ROM for installation software and documentation
Introduction
PRINT2PC UP1 is a microprocessor based parallel port converter. It is
used in installations where data that is normally sent to a printer must be
collected for reprocessing. Verify that the printer is attached by a parallel
(sometimes called Centronics) port. PRINT2PC UP1 is NOT suitable for
printers using a serial attachment.
Consult the computer manufacturer documentation for advice on any
precautions that must be taken before attaching this device in place of
the printer. UP1 is powered by the PC USB.
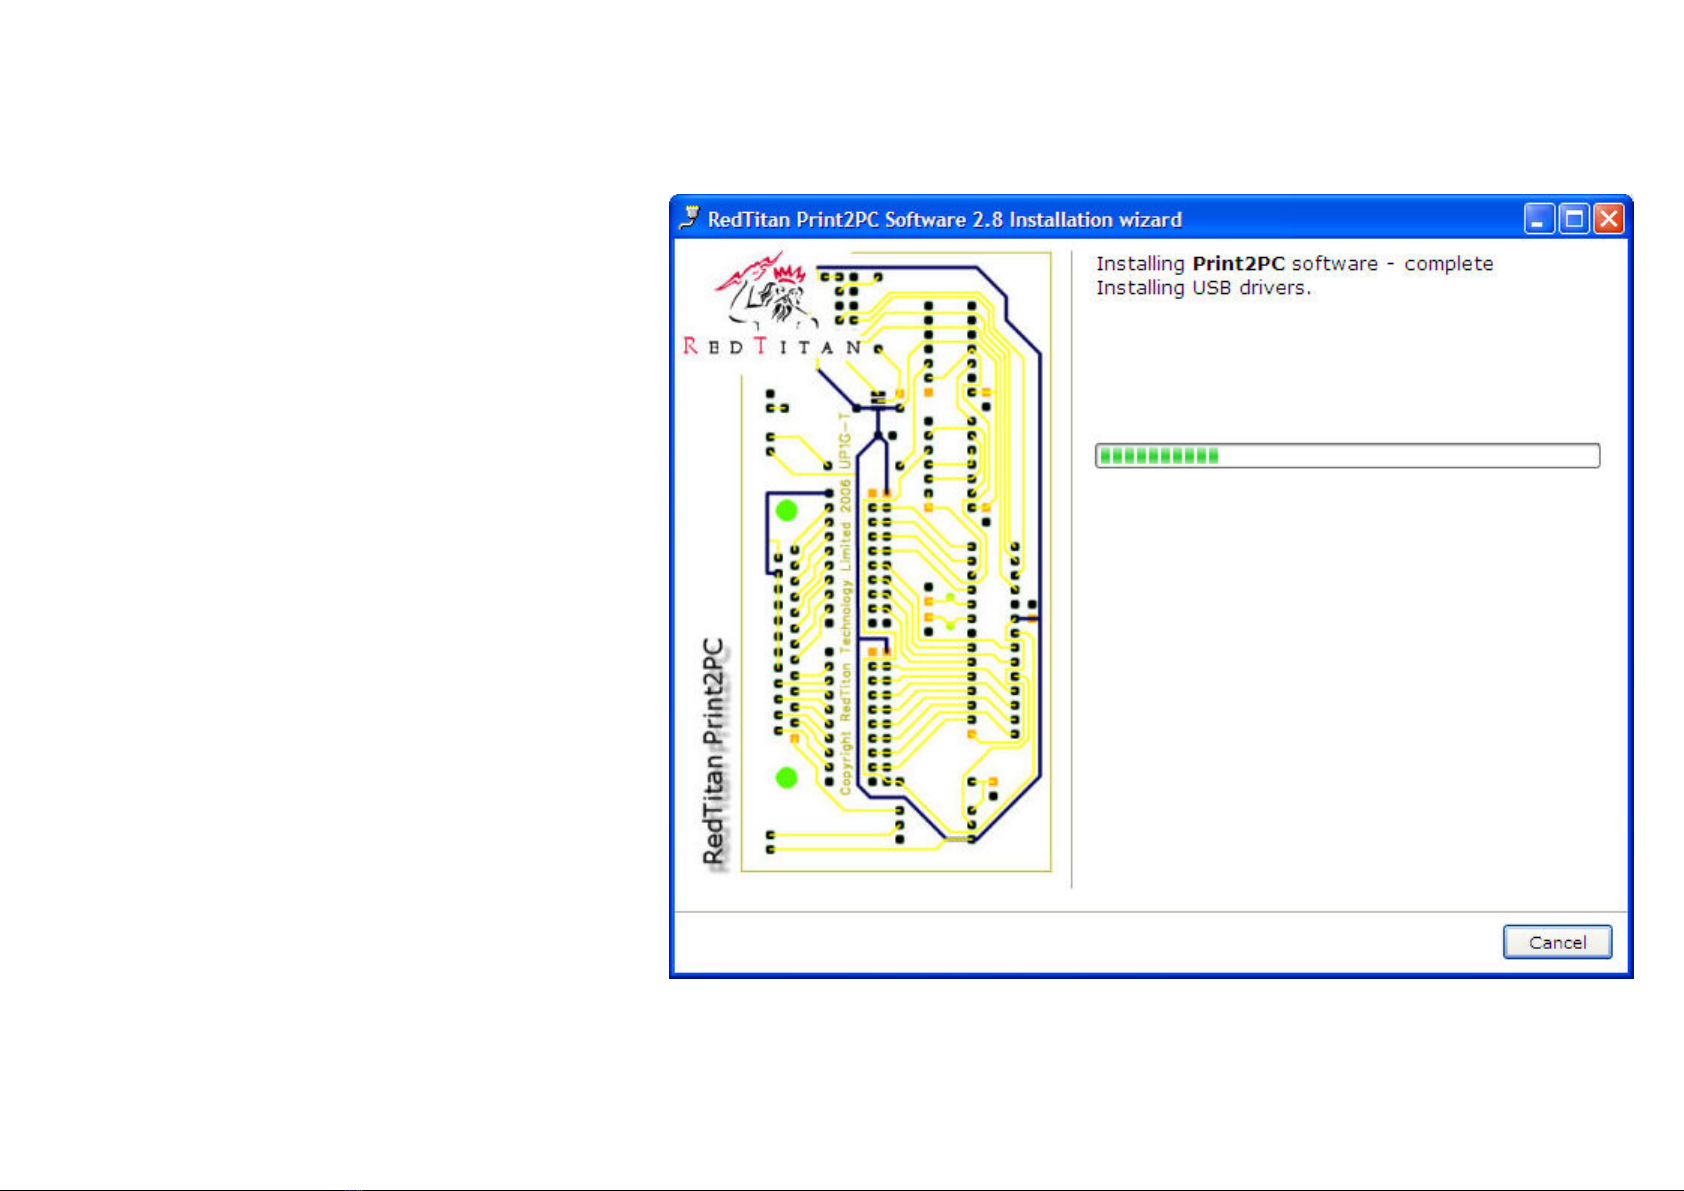
Note: Do not attach the USB cable to the Print2PC port until you
have completed the software installation.
PC System Requirements
PC-compatible computer, CPU speed of 200MHz or above
Memory: 64MB or above, 128MB recommended.
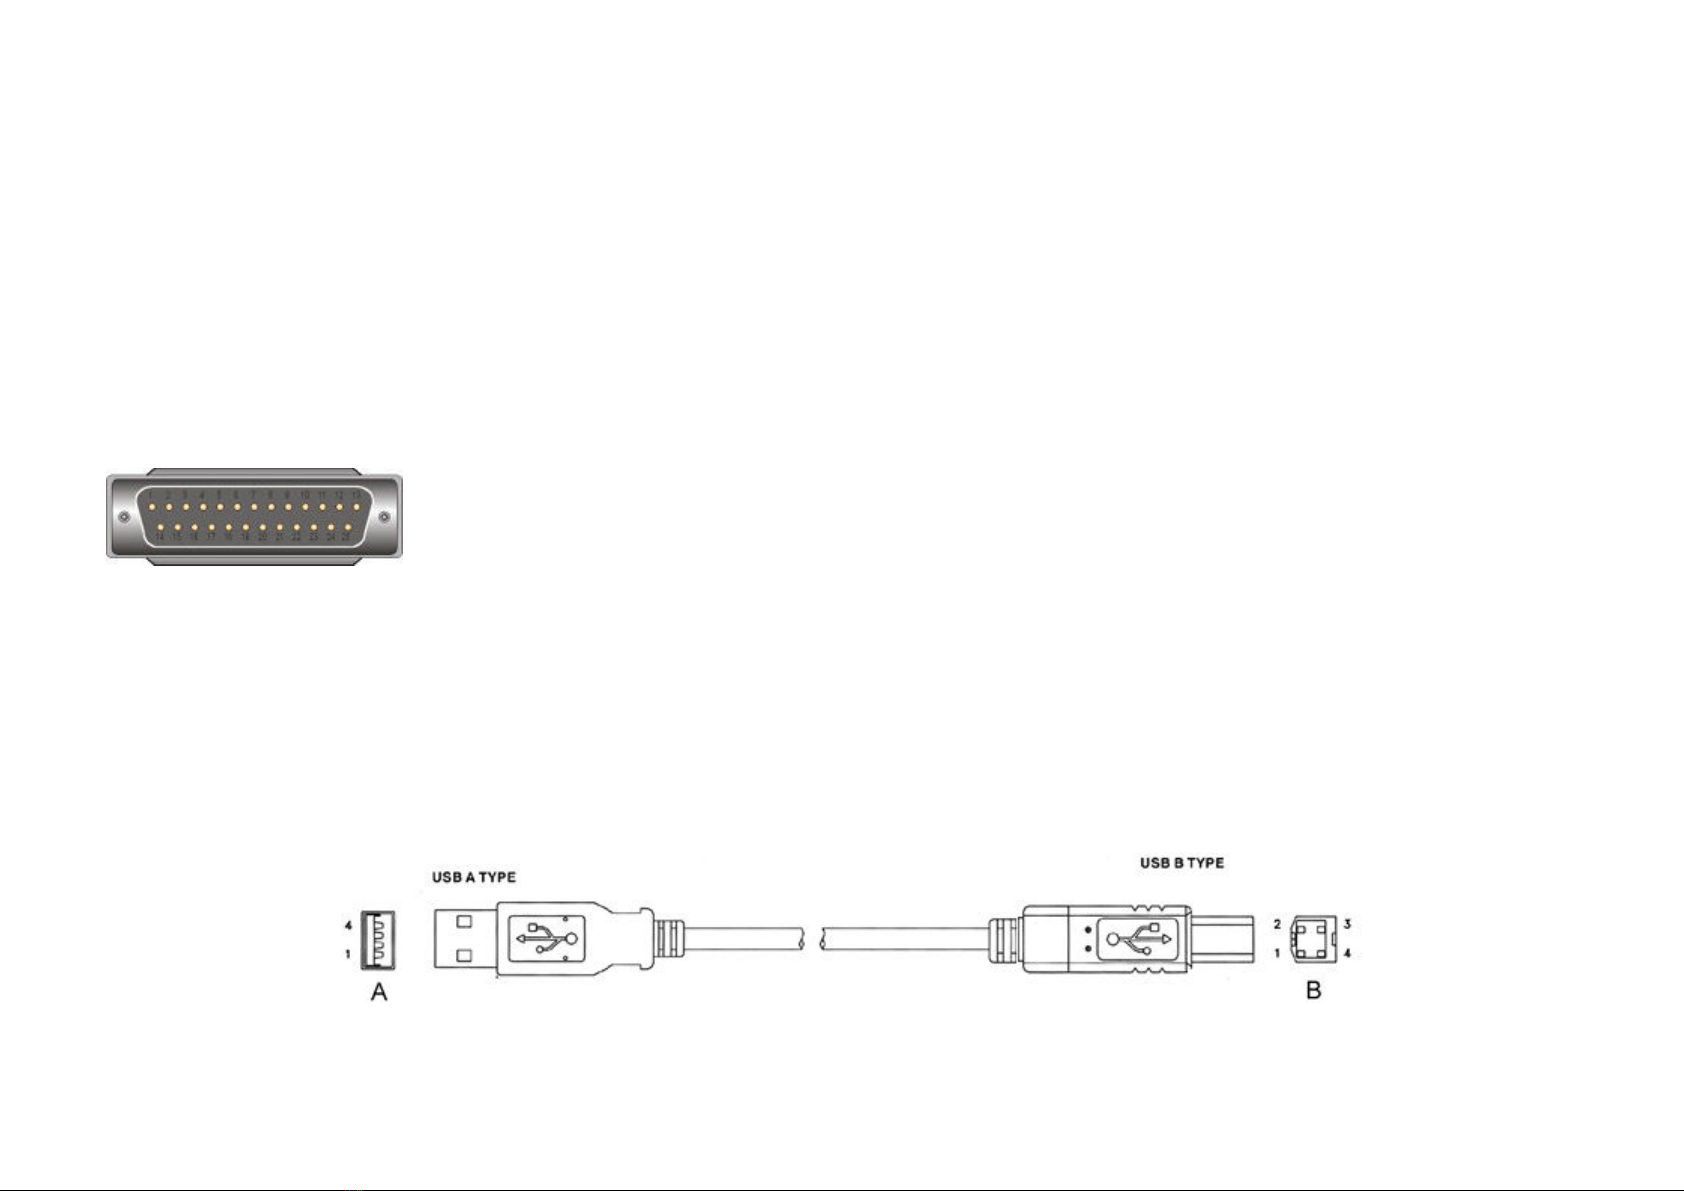
One available USB port. Shielded USB A to B cable.
Fully wired and shielded IEEE 1284 A-A cable.
Windows ™ XP, TCP/IP services. Personal web server should not
be installed
DECLARATION OF CONFORMITY
Including information to the user.
Product identification: UP1 Protocol Converter
The United States Federal Communications Commission (in 47 CFR 15.105) has specified
that the following notice be brought to the attention of users of this product.
This equipment has been tested and found to comply with the limits for a Class B digital
device, pursuant to part 15 of the FCC Rules. Operation is subject to the following two
conditions:
(1) this device may not cause harmful interference, and
(2) this device must accept any interference received, including interference that may
cause undesired operation.
Class B limits are designed to provide reasonable protection against harmful interference in
a residential installation. This equipment generates, uses, and can radiate radio frequency
energy, and, if not installed and used in accordance with the instructions, may cause
harmful interference to radio communications. However, there is not a guarantee that
interference will not occur in a particular installation. If this equipment does cause harmful
interference to radio or television reception, which can be determined by turning the
equipment off and on, the user is encouraged to try to correct the interference by one or
more of the following measures:
- Reorient the receiving antenna.
- Increase the separation between the equipment and the receiver.
- Connect the equipment into an outlet on a different circuit from the receiver.
- Consult the dealer or an experienced radio/TV technician for help.
CAUTION: Pursuant to Part 15.21 of the FCC Rules, any changes or modifications to
this equipment not expressly approved by RedTitan, may cause harmful interference
and void the FCC authorization to operate this equipment.
Responsible Party
Name: RedTitan llc.
Address: 3761, Shallow Court; Marietta; Georgia 30066
Telephone number: 770-924-1226
Date: 14th August 2006