ASPECT VANITY
PRIOR TO INSTALLATION
A licensed tradesperson must install your Rifco vanity
It is the responsibility of the purchaser to examine and check the vanity for suitabilty
and damage BEFORE installation.
Once the vanity has been installed, no claims for damage or incorrect goods can be made.
Please check all goods for damage and notify point of purchase of any damage/missing products.
INSTALLATION INSTRUCTIONS
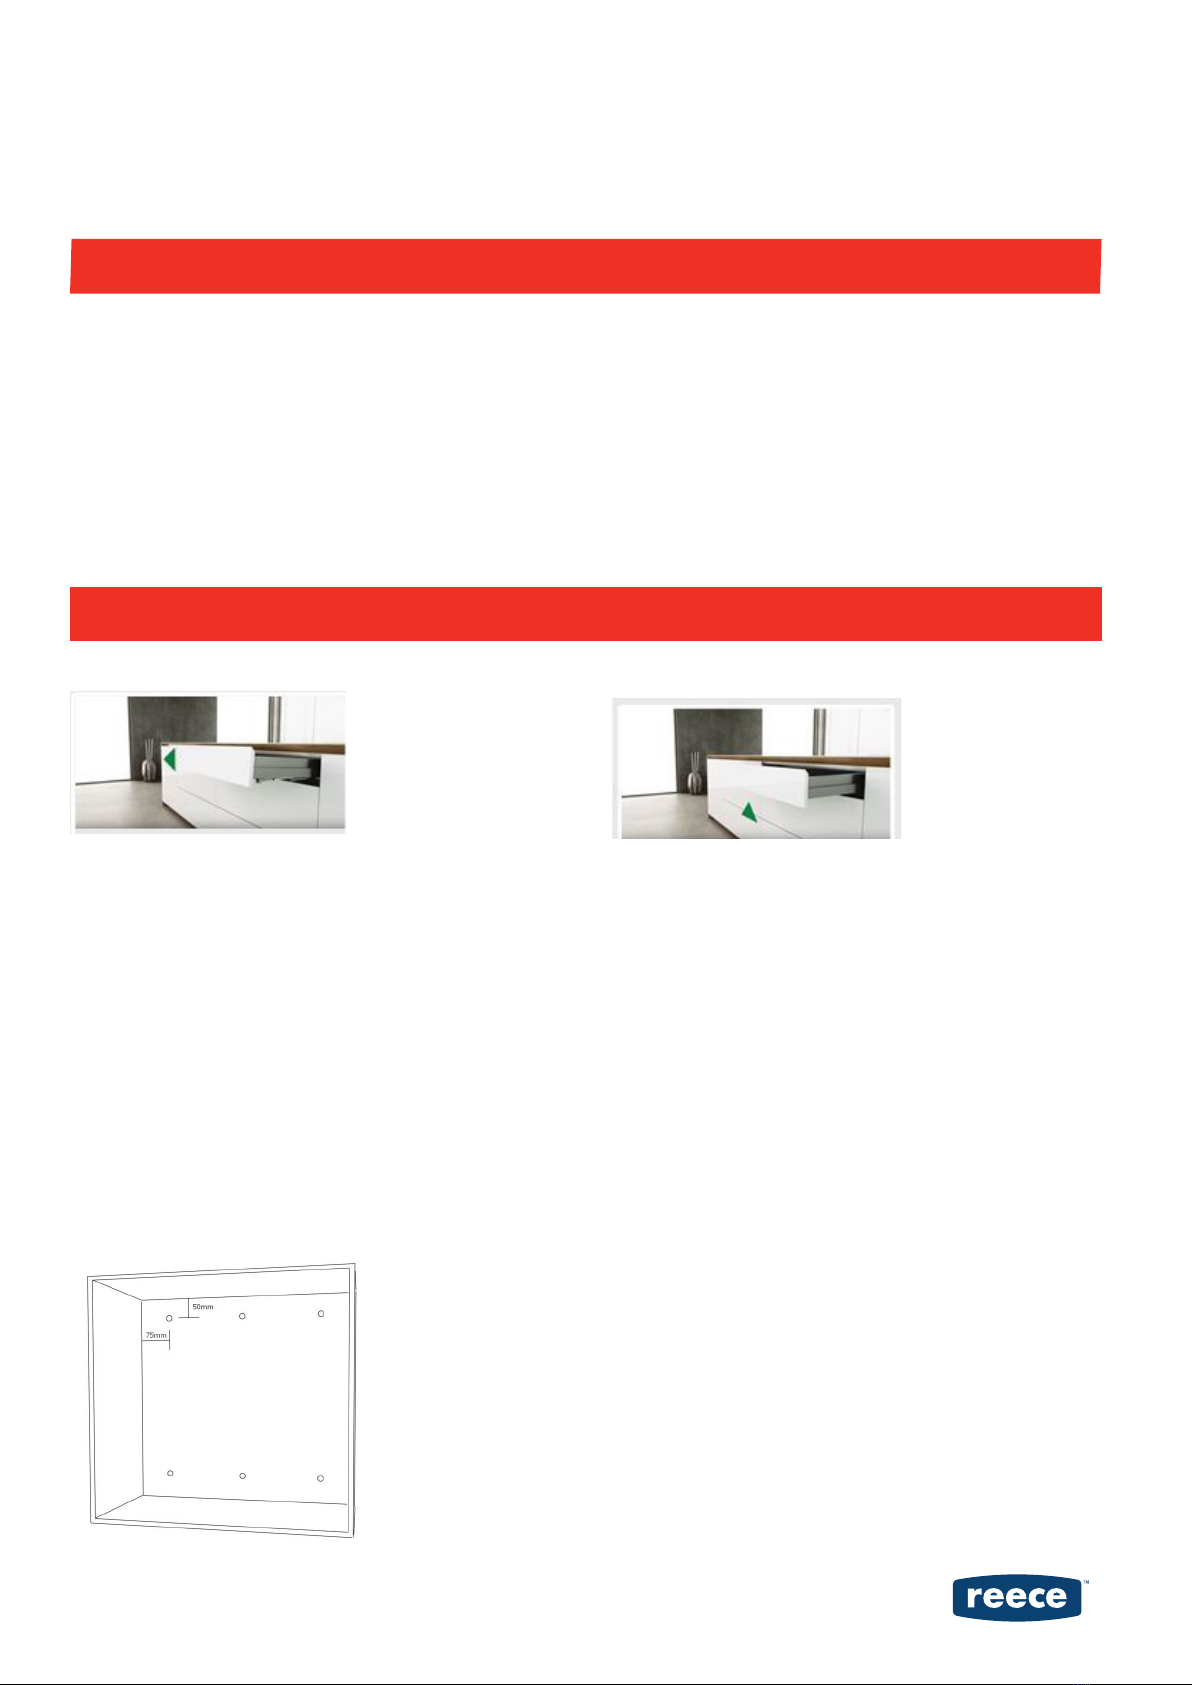
1. Remove the drawer
Open the drawer about 80%
Place drawer in a safe spot.
To ensure the longevity of the unit, no part should be never be dragged, stood on and
it is recommended that the drawer runners are covered to prevent dust blocking the runners.
2. Remove the top from vanity ensuring it is in a safe spot, where it cannot be damaged/marked.
No claims for damages will be recognised after installation.
3. Having established the position of the vanity on the wall, mark and drill the holes for your
plumbing xtures (ie waste outlet, hot and cold water inlets)
Move vanity into position and ensure it is level and square.
This may require packing behind and/or below the vanity.
4. Once it is level and square, x the vanity to the wall using the correct tting depending on your wall
(no xing supplied). If using standard screws and star plugs, be sure to use the washers in order to
spread the load.
Position xings as shown below:
The number of ttings used to x cabinet will depend on the size of
unit, your installer will know the suitable amount depending on the
size of your cabinet.
It is recommended the following minimum;
Up to 900 width of vanity – 3 per row
900 to 1200 width of vanity – 4 per row
For wall hung vanities, it is essential the unit is xed securely.
The use of dyna bolts is recommended for masonry wall and xing to studs in cavity walls.
It is not recommend to install wall hung vanities with toggle type xing systems.
Pull upwards, not too
hard, you’ll hear the click
Plumbers, please ensure a copy of the installation instructions
is left with the end user for future reference
KADO
page 1 of 4


